導入
This manual provides essential information for the safe and effective operation, maintenance, and troubleshooting of your INGCO CIDLI20558E 20V Brushless Cordless Impact Drill. Please read this manual thoroughly before using the tool to ensure proper handling and to prevent injury or damage.
一般的な安全情報
電動工具を使用するときは、火災、感電、および人身傷害のリスクを軽減するために、常に基本的な安全上の注意事項に従ってください。
- 作業エリアの安全性: 作業場は清潔に保ち、明るく保ちましょう。雑然とした場所や暗い場所は事故を招きます。可燃性の液体、ガス、粉塵など、爆発性雰囲気下では電動工具を使用しないでください。
- 電気安全: アースされた表面や接地面への身体の接触を避けてください。電動工具を雨や濡れた場所に放置しないでください。
- 個人の安全: 常に目の保護具を着用してください。長時間工具を操作する場合は、聴覚保護具を使用してください。適切な服装をし、ゆったりとした服や装飾品は避けてください。長い髪は束ねてください。
- ツールの使用と手入れ: 電動工具に無理な力を加えないでください。用途に適した電動工具を使用してください。電動工具の調整、アクセサリの交換、保管を行う前に、必ず電動工具からバッテリーパックを外してください。
- バッテリーパックの使用と手入れ: メーカー指定の充電器のみを使用して充電してください。バッテリーパックを他の電動工具に使用しないでください。
パッケージ内容
Upon unpacking, ensure all items listed below are present and undamaged. If any parts are missing or damaged, contact your retailer.
- 1 x INGCO CIDLI20558E Cordless Impact Drill
- 2 x 2.0Ah Batteries (FBLI2001)
- 1 x Charger (FCLI2001E) - Input: 220-240V~50/60Hz
- 47 x Accessories (various drill bits, screwdriver bits, etc.)
- 3 x Masonry Drill Bits
- キャリングケース x 1
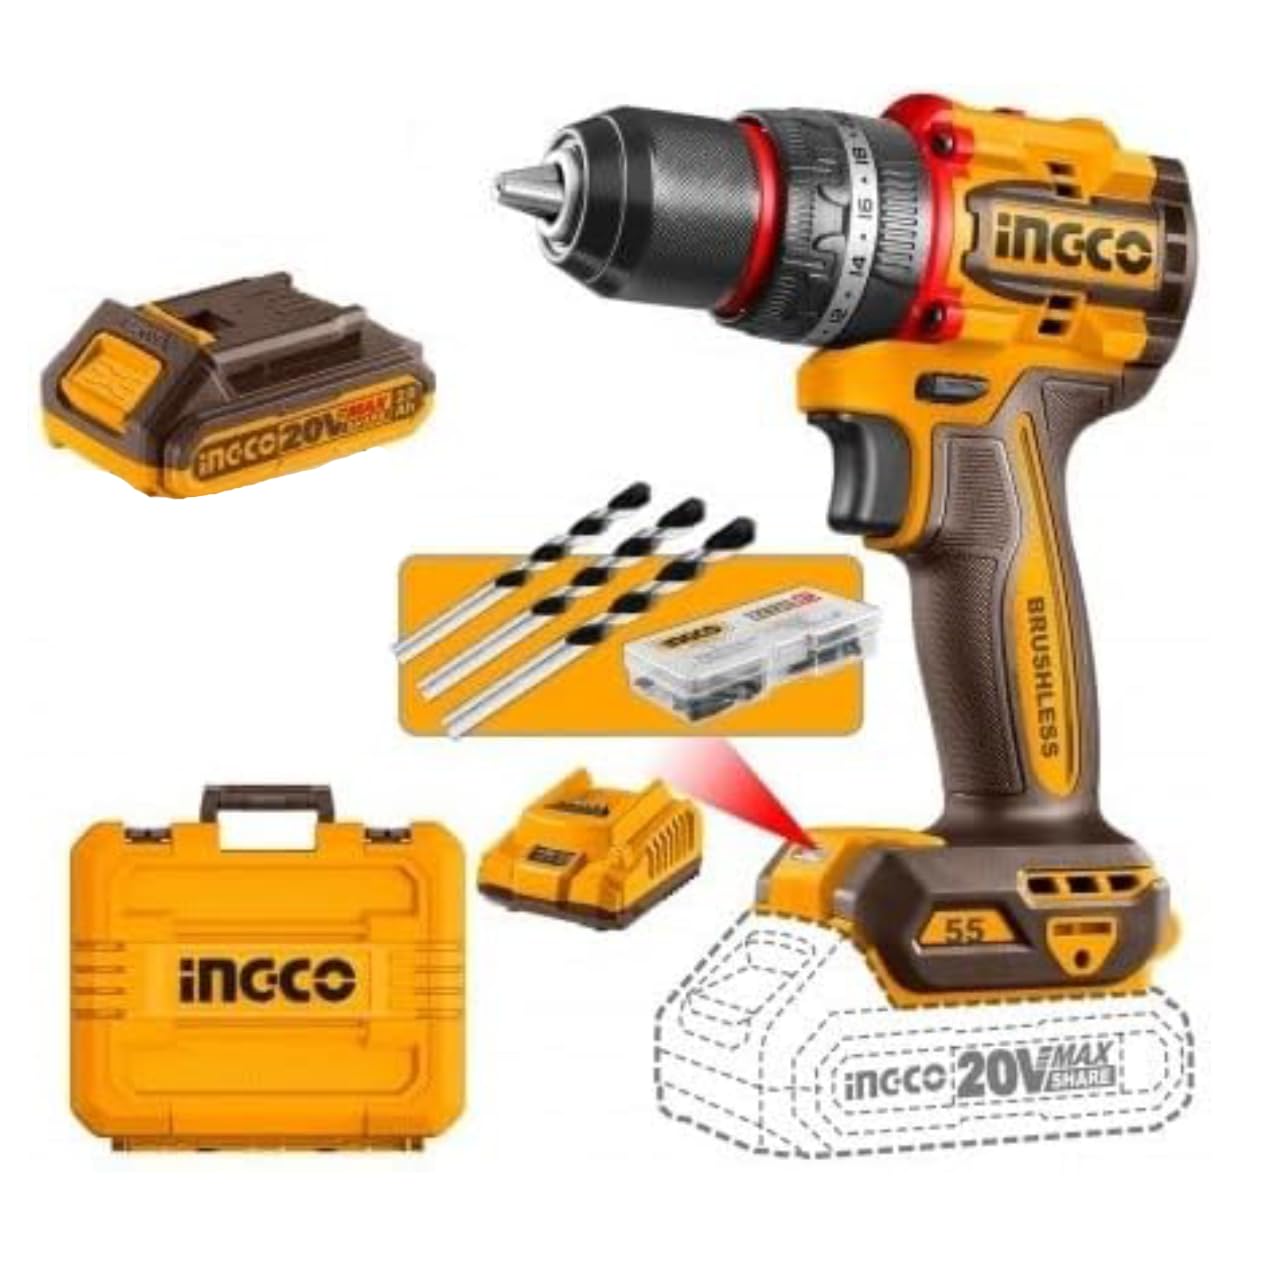
画像1: 以上view of the INGCO CIDLI20558E Cordless Impact Drill kit, showing the drill, two 2.0Ah batteries, charger, various accessories, and the included carrying case.
設定
4.1 バッテリーの充電
- Connect the charger (FCLI2001E) to a standard 220-240V~50/60Hz power outlet.
- Slide the battery pack (FBLI2001) onto the charger until it clicks into place.
- The charger's indicator light will show the charging status. Refer to the charger's specific instructions for light indications (e.g., red for charging, green for fully charged).
- 完全に充電されたら、充電器を電源コンセントから外し、バッテリー パックを取り外します。
注記: For optimal battery life, allow the battery to cool down before charging if it has been heavily used. Do not store batteries in a discharged state.
4.2 バッテリーパックの取り付けと取り外し
- インストールするには: Align the battery pack with the base of the drill handle. Slide the battery into the drill until it clicks securely into place. Ensure it is firmly seated before operation.
- 削除するには: Press the battery release button (usually located at the front or rear of the battery pack) and slide the battery out of the drill handle.
4.3 ドリルビット/アクセサリの取り付けと取り外し
- インストールするには: Rotate the chuck counter-clockwise to open the jaws. Insert the desired drill bit or accessory into the chuck, ensuring it is centered. Rotate the chuck clockwise to tighten the jaws firmly around the bit. The 13mm metal chuck provides a secure grip.
- 削除するには: チャックを反時計回りに回転させてジョーを緩め、ビットを取り外します。

Image 2: Detail of the drill's chuck and adjustable torque collar, highlighting the robust metal construction and control features.
操作手順
5.1 電源のオン/オフと速度制御
- The drill is activated by pressing the trigger switch. The speed is variable and controlled by the amount of pressure applied to the trigger.
- トリガーを放すとドリルがオフになります。
5.2 正転/逆転
A forward/reverse selector switch is located above the trigger. Push it to the left for forward rotation (drilling/screwing in) and to the right for reverse rotation (removing screws). Ensure the switch is in the center position for safety when not in use, as this locks the trigger.
5.3 Speed Selection (Gearbox)
The drill features a two-speed mechanical gearbox, located on top of the drill body.
- Gear 1 (0–500 rpm): For high torque applications, such as driving large screws or drilling large holes in softer materials.
- Gear 2 (0–2000 rpm): For high-speed drilling in wood, metal, or for smaller screws.
注意: Always change gears when the drill is stopped to prevent damage to the gearbox.
5.4 トルク設定とモードセレクター
The torque collar allows you to adjust the amount of torque applied, preventing overtightening of screws or damage to materials. The drill offers 22+1+1 settings:
- 設定1〜22: For screwdriving applications. Start with a lower setting and increase as needed.
- ドリルモード(ドリルビットシンボル): For general drilling without impact. The clutch is bypassed, providing maximum torque.
- Impact Drill Mode (Hammer Symbol): For drilling into masonry or concrete, utilizing the percussion function (up to 30,000 bpm).
Rotate the collar to select the desired setting. Ensure the collar clicks into place.
5.5 LED作業灯とバッテリーインジケーター
- The integrated LED light illuminates the work area when the trigger is pressed, improving visibility in dark spaces.
- A battery indicator LED on the battery pack or drill body shows the remaining charge level, allowing you to monitor autonomy.
メンテナンス
- クリーニング: 過熱を防ぐため、ドリルの通気口を清潔に保ちましょう。柔らかくてamp ツールを清掃するための布asing. 強力な化学薬品や研磨剤入りの洗剤は使用しないでください。
- チャックのメンテナンス: ビットが適切に掴まれるよう、チャックジョーを定期的に清掃してください。
- バッテリーのケア: 電池は直射日光を避け、涼しく乾燥した場所に保管してください。極端な温度にさらさないでください。長期保管する場合は、電池を完全に充電してください。
- ストレージ: 使用しないときは、ドリル、電池、充電器を付属のキャリングケースに入れて、子供の手の届かない乾燥した安全な場所に保管してください。
- サービス: All internal maintenance and repairs should be performed by qualified service personnel.
トラブルシューティング
| 問題 | 考えられる原因 | 解決 |
|---|---|---|
| ドリルが始動しません。 | Battery not charged or not properly installed. Forward/reverse switch in center (locked) position. | Charge battery fully and ensure it is securely installed. Move forward/reverse switch to either forward or reverse position. |
| 電力が低下したり、動作時間が短くなったりします。 | バッテリーの充電量が少なくなっています。バッテリーが古いか損傷しています。 | バッテリーを充電してください。問題が解決しない場合は、バッテリーの交換を検討してください。 |
| Chuck does not hold bit securely. | Chuck jaws are dirty or worn. Bit shank is dirty or damaged. | Clean chuck jaws and bit shank. Ensure bit is inserted correctly and chuck is tightened firmly. |
| 使用中に過熱する。 | Ventilation slots blocked. Excessive load on the motor. | Ensure ventilation slots are clear. Reduce pressure on the drill or use a lower speed/higher torque setting for heavy-duty tasks. Allow the tool to cool. |
技術仕様
| モデル番号 | CIDLI20558E |
| モータータイプ | ブラシレス |
| 巻tage | 20V |
| 無負荷速度(ギア1) | 0~500rpm |
| 無負荷速度(ギア2) | 0~2000rpm |
| 影響率 | 30,000bpm |
| 最大トルク | 55Nm |
| チャックサイズ | 13 mm (Metal Chuck) |
| トルク設定 | 22+1+1 |
| バッテリー容量 | 2.0Ah (FBLI2001) |
| 充電器入力 | 220-240V~50/60Hz (FCLI2001E) |
| 寸法 | 27 x 10 x 34 cm |
| 材料 | Metal (Chuck) |
保証とサポート
This INGCO product is covered by a manufacturer's warranty. For specific warranty terms and conditions, please refer to the warranty card included with your product or visit the official INGCO website. For technical support, spare parts, or service inquiries, please contact your local INGCO dealer or customer service department.


