1. はじめに
This manual provides detailed instructions for the safe and effective use of your xTool Mini Heat Press Machine. Please read this manual thoroughly before operating the device and retain it for future reference. The xTool Mini Heat Press is designed for heat transfer applications on various materials, including fabrics, wood, and ceramics.
2. 安全情報
安全な操作を確保するために、次の注意事項を守ってください。
- Always place the heat press on a heat-resistant surface.
- Do not touch the hot plate during or immediately after use. Use the insulated safety base provided.
- お子様やペットの手の届かない場所に保管してください。
- 使用していないときや清掃する前には、デバイスのプラグを抜いてください。
- デバイスを水やその他の液体に浸さないでください。
- Ensure the power cord is not damaged and avoid placing heavy objects on it.
- The device features an automatic shut-off function after 11 minutes of inactivity for enhanced safety.
- 換気の良い場所で使用してください。

画像: The xTool Mini Heat Press highlights its safety features, including an 11-minute auto-off, V0 flame-retardant materials, an insulated safety base, and overheat protection, ensuring safe operation for users.
3. パッケージ内容
パッケージにすべてのアイテムが揃っていることを確認します。
- xTool Mini Heat Press Machine
- 絶縁安全ベース
- 電源コード
- ユーザーマニュアル(このドキュメント)
4.製品オーバーview
Familiarize yourself with the components of your xTool Mini Heat Press:
- ヒートプレート: The heating surface for transfers.
- ハンドル: Ergonomically designed for comfortable grip and pressure application.
- 電源ボタン: Controls power on/off and temperature settings.
- インジケーターライト: Display current temperature level and heating status.
- Insulated Safety Base: Provides a safe resting place for the hot press.
画像: The xTool Mini Heat Press Machine shown resting on its insulated safety base, highlighting its compact design.

画像: A visual comparison illustrating the ergonomic open handle of the xTool Mini Heat Press, designed for easier and more comfortable holding compared to a closed-handle design.

画像: A visual comparison showing the xTool Mini Heat Press with a larger heat plate (platen) compared to another mini press, indicating its suitability for a wider range of project sizes.
5. セットアップ
Follow these steps to set up your xTool Mini Heat Press:
- Unpack the xTool Mini Heat Press and its accessories.
- Place the insulated safety base on a stable, heat-resistant surface.
- Plug the power cord into the heat press and then into a standard electrical outlet. The device will beep once, and the power indicator light will illuminate.
- If using the optional Control Pod (not included), insert the transceiver from the Control Pod into the designated port on the Mini Heat Press. The Control Pod allows for precise temperature and time control.
ビデオ: This video demonstrates the compatibility of the xTool Mini Heat Press with an optional Control Pod (not included), showing how to connect the transceiver for advanced temperature and time control.
6. 操作手順
6.1. 電源オンと温度選択
- Press the Power Button once to turn on the device. The orange indicator light will show, indicating low-level preheating.
- Press the Power Button repeatedly to cycle through the three temperature settings:
- 低レベル: 295°F (145°C)
- Middle Level: 355°F (180°C)
- 高いレベル: 400°F (205°C)
- The indicator lights will change to green when the selected temperature is reached.

画像: A visual representation of the xTool Mini Heat Press's three heat settings, indicating the corresponding temperatures for Low, Medium, and High levels.
ビデオ: This video demonstrates the rapid heating capability of the xTool Mini Heat Press, showing it reaches operating temperature in approximately 2 minutes.
6.2. Heat Transfer Application
The xTool Mini Heat Press is suitable for various heat transfer materials, including HTV, DTF, and sublimation projects. Always refer to the specific instructions for your transfer material for optimal temperature and time settings.
- Prepare your material (e.g., T-shirt, shoe, hat) by ensuring it is clean and wrinkle-free.
- Place your transfer design onto the material in the desired position.
- Cover the design with a protective sheet (e.g., parchment paper, Teflon sheet).
- Once the Mini Heat Press reaches the desired temperature, place it firmly over the design. Apply even pressure.
- Hold the press in place for the recommended time (typically 10-60 seconds, depending on the material and transfer type). For larger designs, move the press in sections, overlapping slightly to ensure full coverage.
- Carefully lift the heat press and place it back on its safety base.
- Allow the material to cool according to your transfer material's instructions (cold peel or warm peel).
- Gently peel off the protective sheet and transfer film.

画像: A visual guide illustrating the simple three-step process for heat transfer using the xTool Mini Heat Press: Set the design, Press with the device, and achieve a successful transfer on a plush toy.

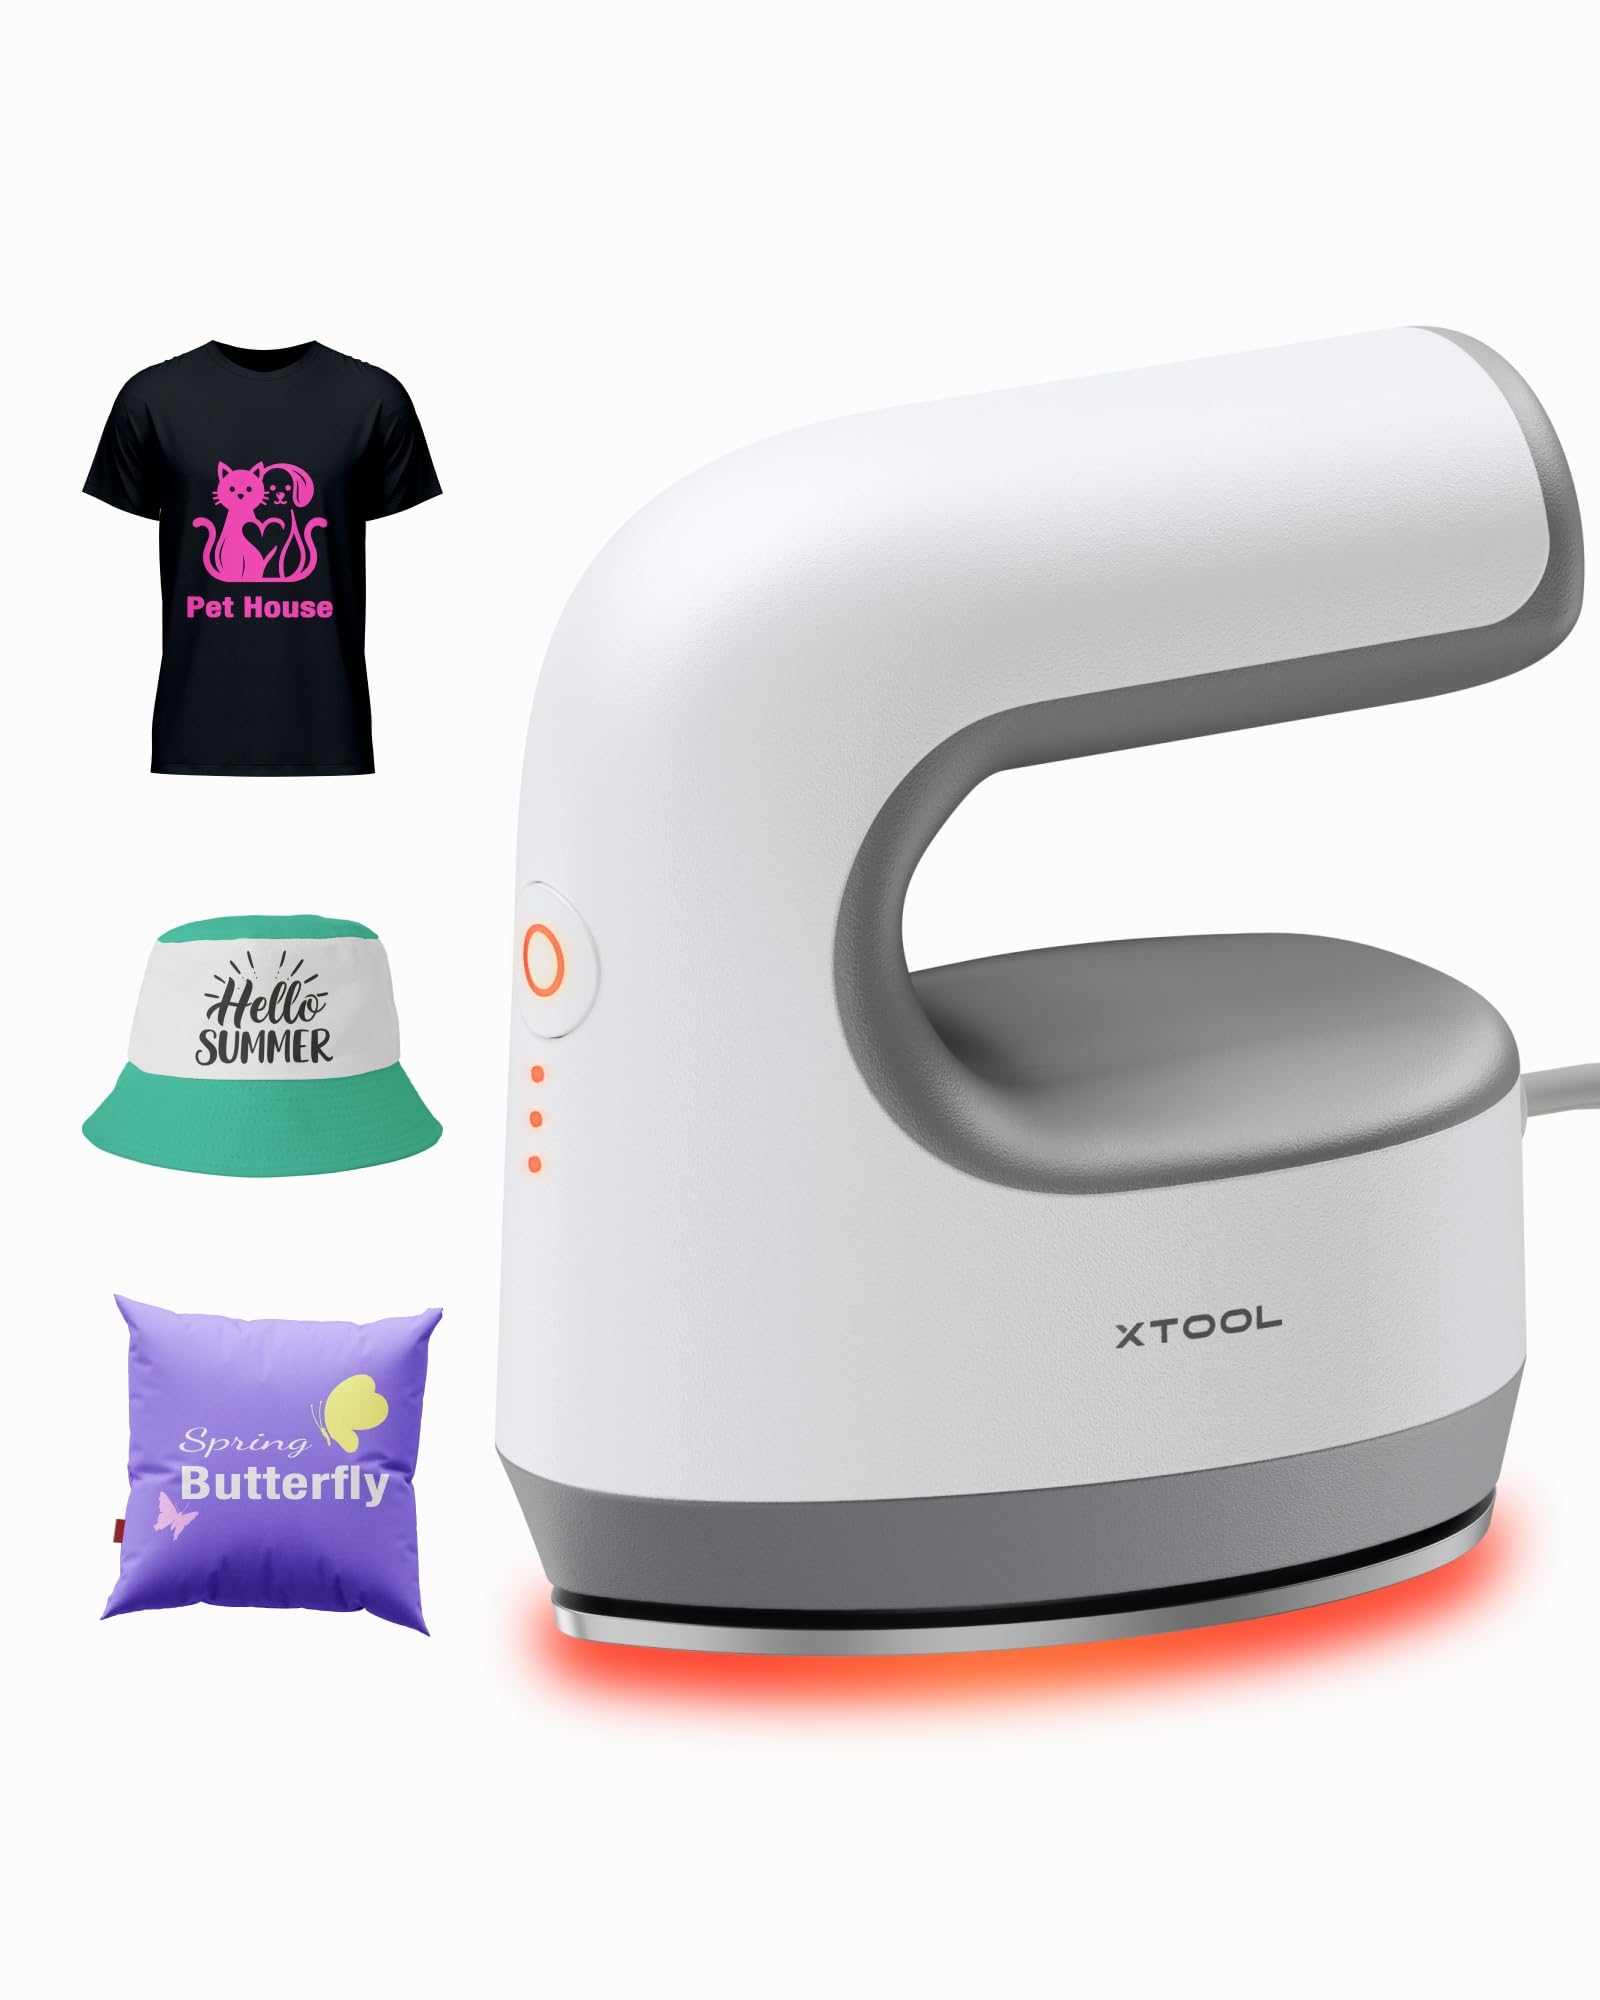
画像: コラージュショーasing the wide range of applications for the xTool Mini Heat Press, including customizing shoes, acrylic keychains, canvas bags, socks, stuffed toys, t-shirts, and earrings.
ビデオ: このビデオでは、view of the xTool Mini Heat Press, demonstrating its ease of use and effectiveness for various heat transfer projects.
ビデオ: This video illustrates the process of using the xTool Mini Heat Press to create custom fall-themed shirts, showcasing its application on fabric.
7. メンテナンス
Proper maintenance ensures the longevity and performance of your heat press:
- クリーニング: After the device has cooled completely, wipe the heat plate with a soft, damp 布で拭いてください。研磨剤や溶剤は使用しないでください。
- ストレージ: Store the Mini Heat Press on its insulated safety base in a dry, cool place, away from direct sunlight and moisture.
- コードのケア: Avoid wrapping the power cord tightly around the device. Store it loosely to prevent damage.
8。 トラブルシューティング
問題が発生した場合は、次の一般的な問題と解決策を参照してください。
| 問題 | 考えられる原因 | 解決 |
|---|---|---|
| デバイスの電源が入りません。 | 電源コードが正しく接続されていないため、コンセントから電力が供給されません。 | 電源コードの接続を確認し、別のデバイスでコンセントをテストします。 |
| Heat plate not heating up. | 温度設定が正しくありません。機器が故障しています。 | Ensure correct temperature level is selected; contact customer support if issue persists. |
| 転写がきちんと付着しません。 | Insufficient heat or pressure; incorrect time; material incompatibility. | Increase temperature/time/pressure as per transfer material instructions; ensure material is suitable for heat transfer. |
| デバイスは自動的に電源が切れます。 | 11-minute inactivity safety feature activated. | This is normal operation. Press the power button to restart. |
9. 仕様
| 特徴 | 詳細 |
|---|---|
| モデル番号 | xTool Mini Heat Press |
| ブランド | xツール |
| 最高気温 | 400°F (205°C) |
| 熱設定 | 3 (Low: 295°F, Mid: 355°F, High: 400°F) |
| 加熱時間 | Approx. 2 minutes to 400°F |
| アイテム重量 | 0.77 lbs (1.94 lbs with packaging) |
| 製品寸法 | 7.48 x 5.12 x 8.66インチ |
| 安全機能 | 11-min Auto-off, V0 Flame-retardant materials, Overheat Protection, Insulated Safety Base |
| 推奨用途 | T-shirts, bags, ceramic coasters, wood, acrylic, hats, shoes, keychains, socks, stuffed toys |
10.保証とサポート
保証情報およびテクニカルサポートについては、公式xToolを参照してください。 web公式サイトをご覧いただくか、カスタマーサービスに直接お問い合わせください。保証請求の際は、購入証明としてレシートを保管してください。
- オンラインサポート: Visit the xTool official webFAQ、チュートリアル、連絡先情報が記載されたサイト。
- メールサポート: Reach out via email for assistance with product issues.
- 電話サポート: Contact the dedicated support line for immediate help.


