1. はじめに
The EazeID M950 is a versatile label maker designed for home, office, and school use. It offers two primary printing modes: direct input via its integrated QWERTY keyboard and wireless control through the 'Print Master' mobile application via Bluetooth. Featuring a rechargeable battery and a backlit LCD screen, the M950 provides convenience and clarity for all your labeling needs. This manual provides detailed instructions for setting up, operating, and maintaining your device.
2. パッケージ内容
以下にリストされているすべてのアイテムがパッケージに含まれていることを確認してください。
- 1 x EazeID M950 Label Maker
- 1 x 3M21 Black on White Label tape (12mm*4M)
- タイプCデータケーブル1本
- 梱包箱1個
- ユーザーマニュアル (本書) x 1

Figure 2.1: EazeID M950 Label Maker package contents.
3.製品オーバーview
The EazeID M950 Label Maker features a compact design with an integrated QWERTY keyboard and a backlit LCD screen for ease of use. It utilizes thermal printing technology, eliminating the need for ink or toner.

図3.1: 前面 view of the EazeID M950 Label Maker and accessories.

Figure 3.2: Key features and components of the EazeID M950 Label Maker.
4. セットアップ
4.1デバイスの充電
The M950 Label Maker is equipped with a built-in 1200mAh rechargeable lithium battery. Before first use, or when the battery is low, charge the device using the provided Type-C USB cable.
- Connect the Type-C end of the cable to the charging port on the side of the label maker.
- Connect the USB-A end of the cable to a 5V-2A charging adapter (not included) or a compatible USB port.
- The device will indicate charging status on the LCD screen. A full charge typically takes 1-2 hours.
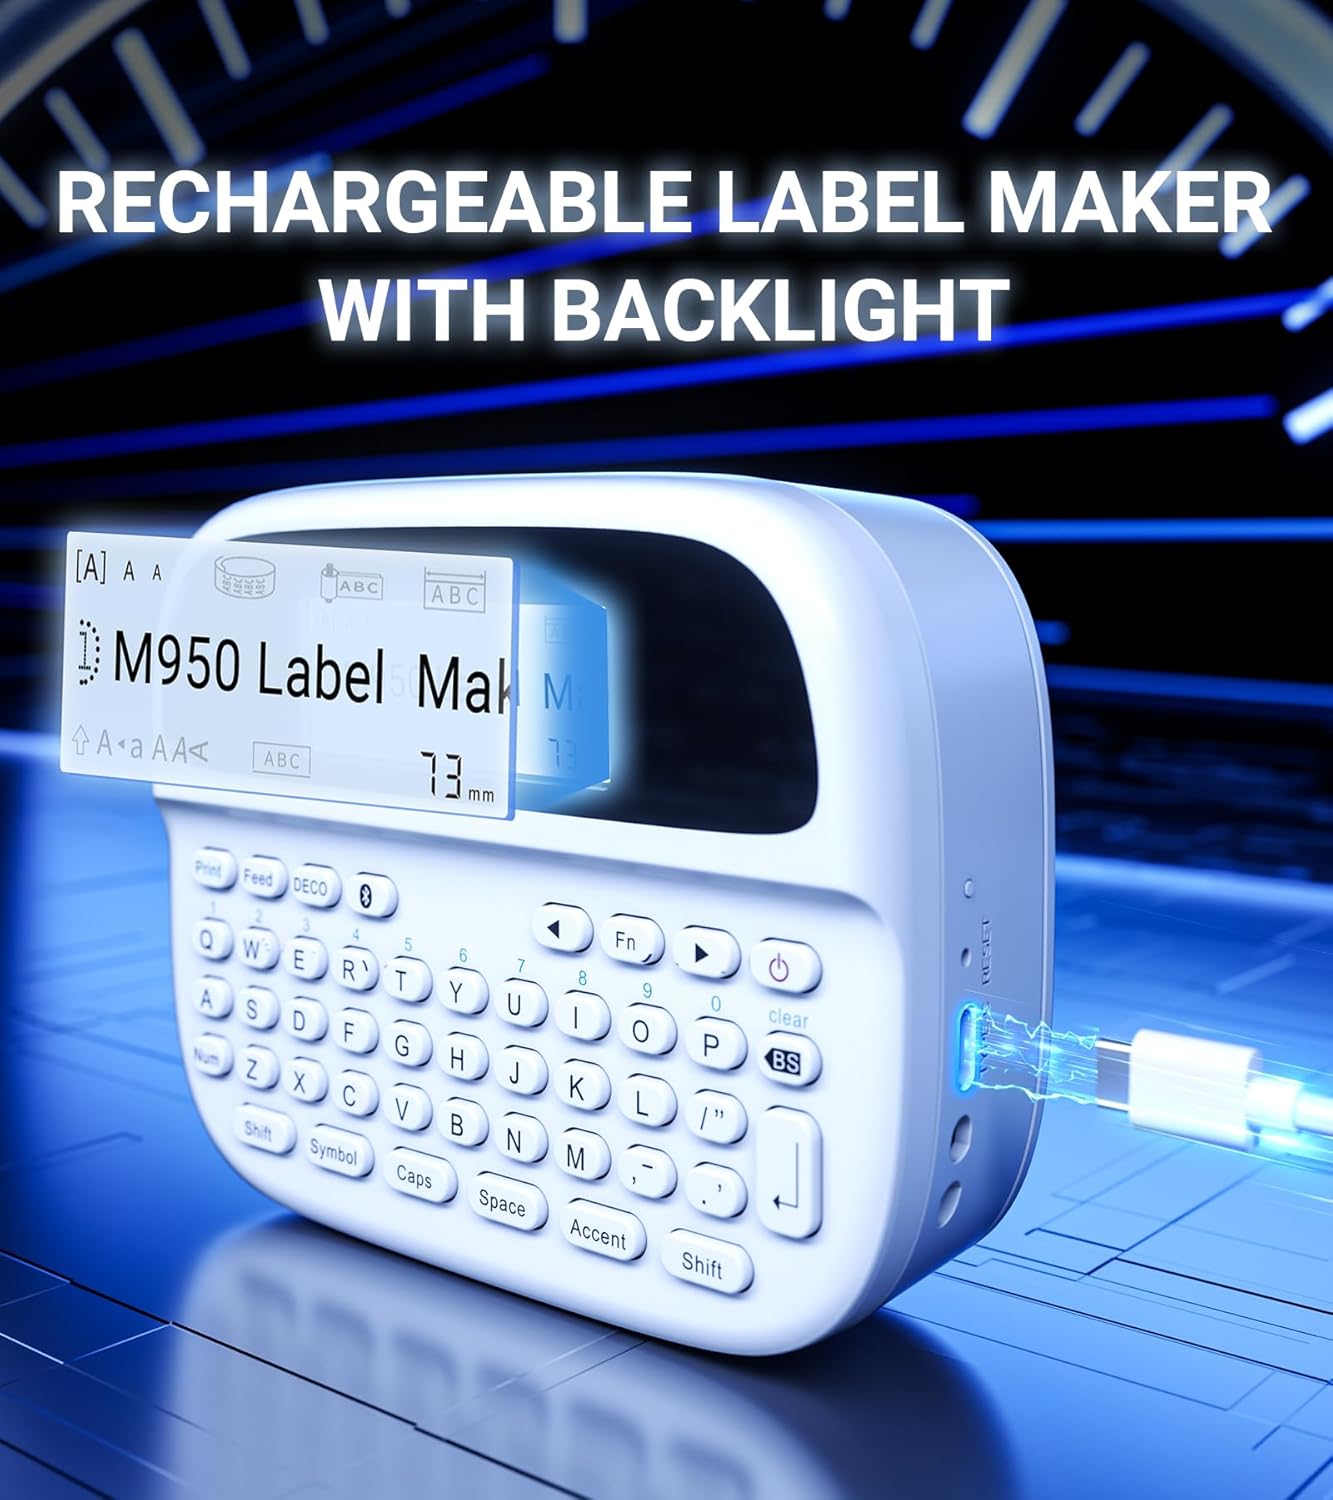
Figure 4.1: Charging the EazeID M950 Label Maker.
4.2 ラベルテープを取り付ける
To install or replace the label tape cassette:
- Ensure the label maker is powered off.
- Locate the tape compartment cover on the top of the device. Gently open the cover.
- Insert the label tape cassette into the compartment, ensuring it clicks into place. The tape should feed smoothly out of the slot.
- テープ収納部のカバーをしっかり閉めてください。

図4.2:内部 view of the M950 label maker showing tape cassette placement.
5. 操作手順
5.1 電源のオン/オフ
- 電源を入れるには: 力 button (usually marked with a power symbol) until the LCD screen illuminates.
- 電源を切るには: 力 画面がオフになるまでもう一度ボタンを押します。
5.2 Direct Printing via QWERTY Keyboard
The M950 features an ergonomic QWERTY keyboard for direct label creation.
- 電源オン: ラベルメーカーをオンにします。
- Input Text: Use the QWERTY keyboard to type your desired label text. The text will appear on the backlit LCD screen.
- Formatting Options: Use the function keys (e.g., Fn, シンボル, キャップ, アクセント) to access various fonts, sizes, symbols, and other formatting options.
- 印刷: を押す 印刷 button to generate the label.
- カット: 内蔵カッターを使用して、印刷されたラベルをテープロールからきれいに切り離します。

Figure 5.1: Using the QWERTY keyboard for direct label printing.
5.3 Bluetooth App Printing (Print Master App)
For advanced features and customization, connect your M950 to the 'Print Master' app via Bluetooth.
- アプリをダウンロードする: Download the 'Print Master' app from your device's app store (available on Android and iOS).
- Power On & Bluetooth: Turn on the label maker and ensure Bluetooth is enabled on both the label maker and your smartphone.
- 接続する: Open the 'Print Master' app. The app will search for nearby EazeID label makers. Select 'EazeID M950' from the list to connect.
- Design Label: Use the app's interface to create your label. The app offers a vast library of customizable templates, over 1000 patterns, 100+ frames, 100+ fonts, barcodes, and QR codes.
- 印刷: Once your label is designed, tap the 'Print' icon in the app.
- カット: Use the built-in cutter on the label maker to separate the printed label.

Figure 5.2: The EazeID M950 supports both keyboard and Bluetooth app printing modes.

Figure 5.3: Connecting to the 'Print Master' app via Bluetooth.
6. メンテナンス
6.1デバイスのクリーニング
To ensure optimal performance and longevity of your label maker:
- クリーニングの前にデバイスの電源を切ってください。
- ラベル メーカーの外側を拭くときは、柔らかく乾いた布を使用してください。
- For the print head, gently wipe with a cotton swab lightly dampイソプロピルアルコールで消毒してください。使用する前に完全に乾かしてください。
- 研磨剤や溶剤は使用しないでください。
6.2バッテリーケア
バッテリ寿命を最大化するには:
- バッテリーを頻繁に完全に放電することは避けてください。
- 継続的に使用しない場合でも、デバイスを定期的に充電してください。
- 長期間使用しない場合は、デバイスを涼しく乾燥した場所に保管してください。
7。 トラブルシューティング
If you encounter issues with your EazeID M950 Label Maker, refer to the following common problems and solutions:
| 問題 | 考えられる原因 | 解決 |
|---|---|---|
| デバイスの電源が入らない | バッテリー残量が少ない、デバイスの故障 | デバイスを30分以上充電してください。それでも反応しない場合は、サポートにお問い合わせください。 |
| 印刷されない、またはかすれた印刷 | Tape installed incorrectly; Print head dirty; Low battery | Reinstall tape cassette. Clean the print head. Charge the device. |
| Bluetooth接続に失敗しました | Bluetooth off; App not updated; Device too far | Ensure Bluetooth is enabled on both devices. Update 'Print Master' app. Move label maker closer to smartphone. Restart both devices. |
| Labels are difficult to peel | Specific label tape characteristic | Ensure you are using genuine EazeID label tape. Try bending the label backing slightly to separate. |
8. 仕様
Technical specifications for the EazeID M950 Label Maker:
- モデル名: EazeID M950 Label Maker
- 印刷技術: サーマル
- 印刷解像度: 203DPI
- 接続性: Bluetooth、USBタイプC
- 最大メディアサイズ: 12mm(0.47インチ)
- バッテリー: 1200mAh リチウムイオン(充電式、付属)
- 制御方法: App (Print Master), QWERTY Keyboard
- 特別な機能: Backlit LCD Screen, Built-in Cutter, Portable
- 製品寸法: 約1×1×1インチ
- 商品の重量: 1.06ポンド
- 含まれるコンポーネント: Label maker, tape, USB-C cable, user manual

Figure 8.1: EazeID M950 Label Maker dimensions and key features.
9. 保証とサポート
The EazeID M950 Label Maker comes with a limited warranty. For specific warranty terms and conditions, please refer to the warranty card included in your product packaging or visit the official EazeID webサイト。
For technical support, troubleshooting assistance, or inquiries about replacement parts and accessories, please contact EazeID customer service through the contact information provided on the official webサイトまたは購入プラットフォーム。


