1. 重要な安全上の注意事項
本製品を操作する前に、すべての安全に関する指示をよく読んで理解してください。指示に従わない場合、製品の損傷、怪我、または感電につながる可能性があります。
- 電源のボリュームを確認してくださいtag製品の要件(AC100-240V)に適合します。
- Do not immerse the light fixture or power adapter in water. This product is water-resistant, not submersible.
- Always unplug the light from the power outlet before performing any maintenance, cleaning, or installation.
- 水がコードに沿って流れてコンセントに到達するのを防ぐため、電源コードにドリップ ループが形成されていることを確認します。
- Do not operate the light if any part is damaged, especially the power cord or adapter. Contact customer support for replacement parts.
- お子様やペットの手の届かない場所に保管してください。
2.製品オーバーview
2.1 パッケージ内容
- hygger HG957-26W LED Aquarium Light
- 電源アダプター
- 調整可能な取り付けブラケット
- 取扱説明書
2.2 製品の特徴
- Full Spectrum LED lighting for optimal plant growth and fish coloration.
- Integrated LCD control panel with touch buttons for easy programming.
- Simulates natural sunrise, sunset, and moonlight cycles.
- DIY mode with up to 8 customizable light stages for personalized schedules.
- Adjustable light intensity (0-100%) and 7 color options (Red, Purple, Blue, Light Blue, Green, Yellow, White).
- Memory function retains programmed settings after a power outage.
- Durable aluminum alloy plastic casing with water-resistant coating.
2.3 つのコンポーネント図


3. 仕様
| 特徴 | 詳細 |
|---|---|
| モデル | HG957-26W |
| Light Dimensions (L x W x H) | 45 x 10 x 2.2 cm |
| 推奨タンクサイズ | 46~61 cm(18~24インチ) |
| 入力ボリュームtage | AC100-240V |
| 出力巻tage | DC15V |
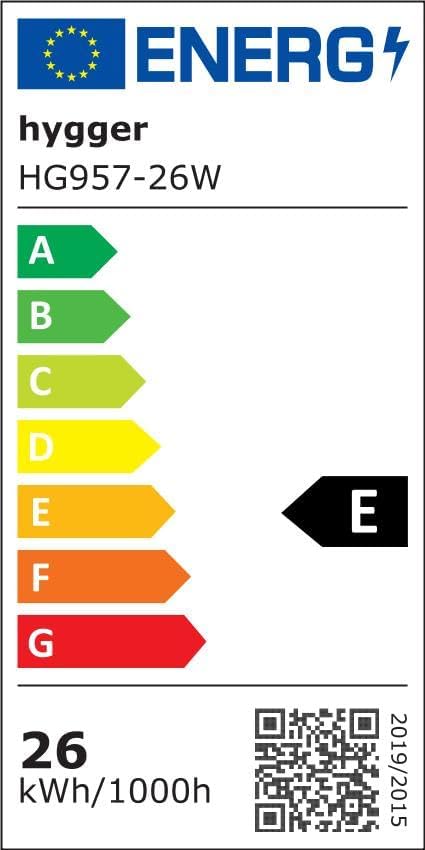
| 消費電力 | 26ワット |
| LED数量 | 77 PCS (38 White 6500K, 10 Blue 450-455nm, 6 Red 620-625nm, 4 Green 520-525nm, 19 RGB) |
| CRI(演色評価数) | 89 |
| ルーメン | 1290 |
| 色温度 | 6,500-10,000K |
| 電源コードの長さ | 2.7メートル |
| 材料 | アルミニウム合金、プラスチック |
| アイテム重量 | 1.2キログラム |

4. セットアップ
- ライトを開梱する: Carefully remove the LED aquarium light and all accessories from the packaging. Inspect for any damage.
- 取り付けブラケットを取り付ける: Slide the adjustable mounting brackets onto the ends of the light fixture. Ensure they are securely fastened.
- Position on Aquarium: Place the light fixture on top of your aquarium, adjusting the brackets to fit the tank's width (for 46-61 cm tanks). Ensure the light is stable and level.
- 接続電源: Connect the power adapter to the light fixture, then plug the adapter into a suitable power outlet. Ensure a drip loop is formed with the power cord to prevent water from reaching the outlet.
- 初回電源オン: The light should power on, and the LCD display will activate.
5. 操作手順
The hygger HG957-26W LED Aquarium Light features an integrated LCD control panel for easy programming. The panel includes touch buttons for setting time, adjusting modes, and changing intensity/color.


5.1 Setting Local Time
- を押し続けます 設定/保存 時刻表示が点滅するまでボタンを押します。
- 使用 増加 そして 減少 時間を調整するボタン。
- プレス 設定/保存 again to move to minutes, then adjust using the 増加 そして 減少 ボタン。
- プレス 設定/保存 時間設定を確認して終了します。
5.2 Standard Mode (Daylight + Moonlight)
This mode combines a full spectrum daylight period with a blue moonlight period, simulating a natural 24-hour cycle.

- を押す Power/Light Mode button repeatedly to cycle through modes until "Standard Mode" or a similar indicator appears on the display.
- The default settings for Daylight and Moonlight will activate.
- To adjust intensity: In the desired mode, press the Power/Light Mode button twice quickly to enter fine-tuning mode, then use 増加 そして 減少 明るさを調整するためのボタン。
5.3 Daylight Mode (Sunrise & Sunset Simulation)
This mode simulates a gradual sunrise and sunset over 15-minute periods, preventing sudden light changes that can stress fish.

- を押す Power/Light Mode button until "Daylight Mode" is selected.
- 押し続ける 設定/保存 to enter editing mode for Daylight ON/OFF times.
- 使用 増加 そして 減少 to set the desired ON time (e.g., 6:30).
- プレス 設定/保存 to move to OFF time (e.g., 18:30), then adjust.
- プレス 設定/保存 to confirm. The light will now follow the programmed sunrise/daylight/sunset cycle.
5.4 Moonlight Mode
This mode provides a gentle blue light for nighttime viewing, also with gradual on/off transitions.

- を押す Power/Light Mode button until "Moonlight Mode" is selected.
- 押し続ける 設定/保存 to enter editing mode for Moonlight ON/OFF times.
- 使用 増加 そして 減少 to set the desired ON time (e.g., 18:00).
- プレス 設定/保存 to move to OFF time (e.g., 23:30), then adjust.
- プレス 設定/保存 確認します。
- To change moonlight color: In Moonlight Mode, press the Power/Light Mode button once to cycle through the 6 single-color options (Red, Purple, Blue, Light Blue, Green, Yellow).
5.5 DIY Mode (Customizable Light Stages)
The DIY mode allows you to create a personalized lighting schedule with up to 8 separate light stages, each with its own start time, end time, and intensity.

- を押す Power/Light Mode button until "DIY Mode" is selected.
- 押し続ける 設定/保存 to enter editing mode for DIY stages。
- The display will show "L1" (Light Stage 1). Press 設定/保存 to edit its start time, then use 増加 そして 減少 調整する。
- プレス 設定/保存 to edit the end time, then adjust.
- プレス 設定/保存 to edit the intensity (00-100%), then adjust. Set intensity to 00 to turn off the light during that stage.
- Repeat for L2 through L8. After setting L8, press 設定/保存 to confirm all DIY settings.
5.6 Adjustable Intensity and Color
Beyond programmed modes, you can manually adjust intensity and cycle through colors.


- 色を変更するには: どのモードでも、 Power/Light Mode button once to cycle through available colors.
- 強度を調整するには: を押す Power/Light Mode button twice quickly to enter fine-tuning mode, then use 増加 そして 減少 明るさを調整するためのボタン。
5.7メモリ機能
The light features a memory function. In case of a power outage, the light will resume its last programmed settings. However, the time display may reset. After power is restored, the default operation starts at 12 PM every day. It will take another 4 hours for the light to turn on if it was programmed to turn on after 12 PM.

6. メンテナンス
- クリーニング: 定期的に照明器具を柔らかくて乾いた布で拭いてください。amp 布で埃や水滴を拭き取ってください。清掃前にライトの電源プラグを抜いてください。研磨剤入りの洗剤や溶剤は使用しないでください。
- 検査: Periodically check the power cord and adapter for any signs of damage, such as fraying or cracks. If damage is found, discontinue use and replace the component immediately.
- 耐水性: The light has a water-resistant coating, but it is not submersible. Avoid direct immersion in water and ensure the control panel remains dry.
7。 トラブルシューティング
| 問題 | 考えられる原因 | 解決 |
|---|---|---|
| ライトが点灯しません。 | 電源がありません。 Power adapter or light fixture is faulty. | Check power connection to the outlet and the light. Ensure the outlet is working. If possible, test with another compatible adapter. If still not working, the light or adapter may be faulty. |
| Light turns on/off at incorrect times. | Incorrect local time setting. Incorrect program settings (Daylight, Moonlight, DIY). | Reset the local time on the control panel. Review and re-program the desired mode settings (Daylight ON/OFF, Moonlight ON/OFF, or DIY stages)。 |
| Light intensity or color is not as expected. | Incorrect intensity/color setting. Light is in a different mode than expected. | Adjust intensity/color using the fine-tuning function (press Power/Light Mode twice quickly). Cycle through modes to ensure the correct one is active. |
| LCD display is blank or unresponsive. | 電源の問題。 コントロールパネルの故障。 | Check power connection. Unplug and replug the light to reset. 問題が解決しない場合は、カスタマー サポートにお問い合わせください。 |
8. 保証とサポート
Specific warranty information and customer support contact details are not available in the provided product data. Please refer to the product packaging or the retailer's website for detailed warranty terms and support contacts.
さらに詳しいサポートが必要な場合は、 hygger brand store on Amazon.


