導入
This manual provides detailed instructions for the safe and efficient operation of your DROK DC Buck Converter CNC. This adjustable power supply regulator module is designed to convert an input voltage range of 10V-100V DC to an adjustable output voltage of 0-60V DC, with an output current of 0-12A and power up to 720W. It features constant voltage and current modes, a cooling fan, an LCD display, and multiple protection mechanisms.
製品の特徴
- 調整可能なボリュームtage&Current: 入力ボリュームtage: 10V-100V; Output Voltage: 0-60V; Output Current: 0-12A; Output Power: 0-720W. All parameters are arbitrarily adjustable.
- コンスタントボリュームtage & Current Modes: The module supports both constant output voltage (CV) and constant output current (CC) settings via key buttons.
- 冷却ファン: Equipped with an integrated cooling fan to maintain optimal operating temperature, activating when output current exceeds 1.5A.
- LCDディスプレイ: Features a clear LCD color screen for real-time display of voltage, current, and power, enhancing user convenience.
- 包括的な保護: Includes reverse connection protection, input low voltage protection (LVP), over voltage protection (OVP), over current protection (OCP), and over power protection (OPP) for enhanced safety and durability.
製品終了view
Familiarize yourself with the components of the DROK DC Buck Converter CNC:

この画像は上部 view of the DROK DC Buck Converter CNC with key components labeled. From left to right and top to bottom, you can identify the Input Port, Input 15A Automotive Fuse, Power Indicator LED, Fan Cooling System, LCD Display, Silicone Buttons for control, Communication Port, Output Port, and Rotary Encoder for fine adjustments.
The module's design includes clearly marked input and output terminals, a protective fuse, an active cooling fan, and an intuitive LCD interface for monitoring and control.
仕様
| パラメータ | 価値 |
|---|---|
| 入力ボリュームtage | 10V-100V DC |
| 出力巻tage | 0-60V DC |
| 出力電流 | 0-12A |
| 出力電力 | 0~720W |
| 巻tage Regulation Resolution | 10mV |
| Current Regulation Resolution | 10mA |
| 巻tage 表示解像度 | 10mV |
| 現在のディスプレイ解像度 | 10mA |
| Fan Start-up Condition | Output Current > 1.5A |
| 短絡保護 | 15A Automotive Fuse |
| 入力保護 | Reverse Connection Protection, Low Voltage保護(LVP) |
| 出力保護 | オーバーVoltage Protection (OVP), Over Current Protection (OCP), Over Power Protection (OPP) |
| 寸法(長さ×幅×高さ) | 135mm × 98mm × 45mm (5.31インチ × 3.86インチ × 1.77インチ) |
| アイテム重量 | 13.1オンス |
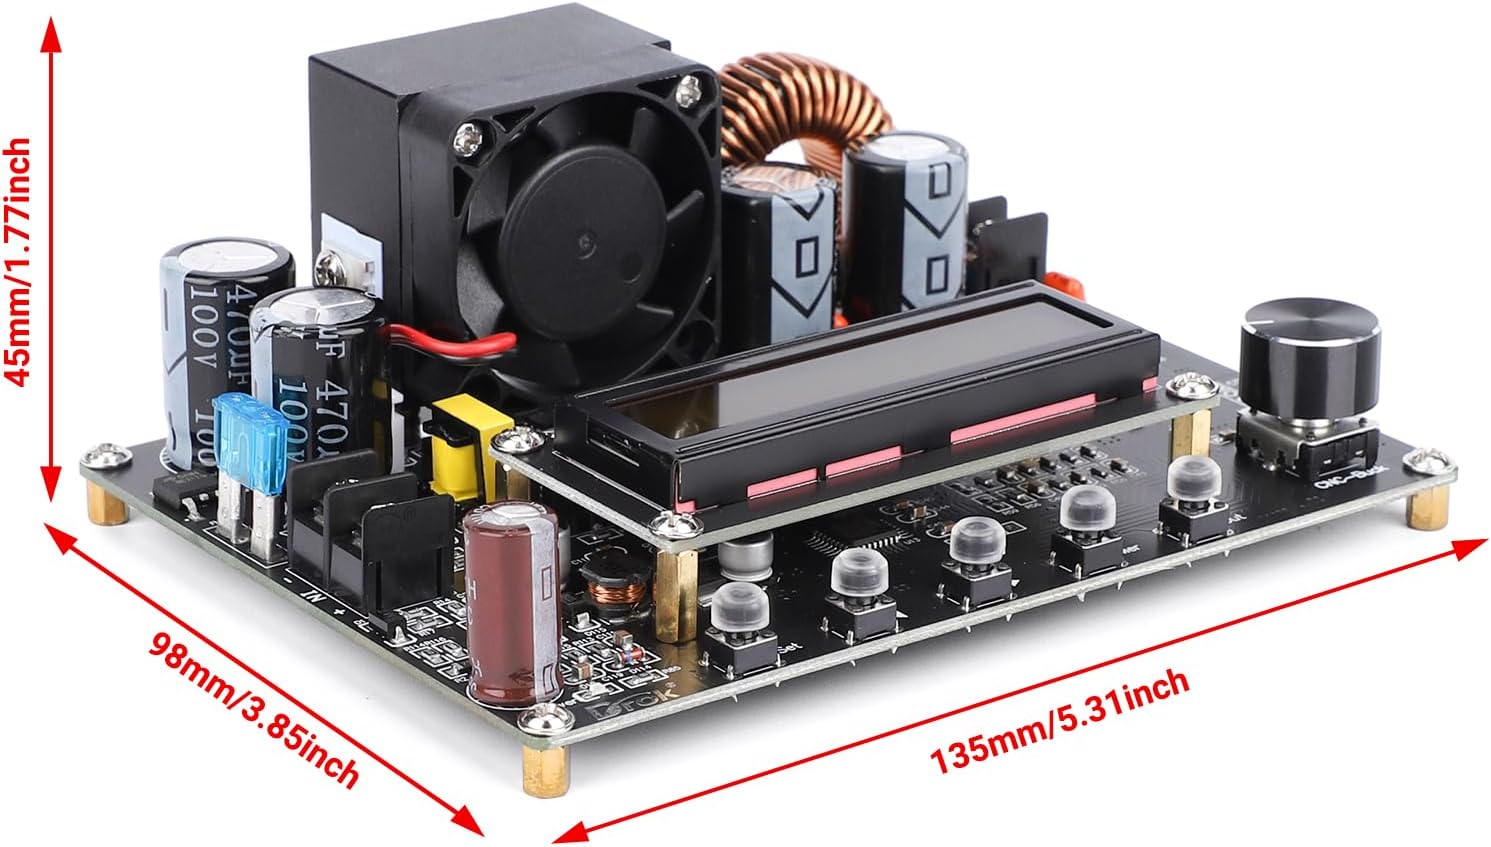
This image illustrates the physical dimensions of the buck converter module, indicating its length, width, and height for proper installation planning.
設定
Proper setup is crucial for safe and effective operation. Ensure all connections are secure before applying power.
- 電源を切る: Ensure all power sources are disconnected before making any wiring connections.
- 入力配線: Connect your DC input power source (10V-100V) to the "IN+" and "IN-" terminals on the module. Ensure correct polarity: "IN+" for positive, "IN-" for negative. The module features reverse connection protection, but correct wiring is always recommended.
- 出力配線: Connect your load to the "OUT+" and "OUT-" terminals. Ensure correct polarity: "OUT+" for positive, "OUT-" for negative.
- 接地: The module typically shares a common negative ground between input and output. Verify this for your specific application to avoid ground loops or unexpected behavior.
- 取り付け: Secure the module in a well-ventilated area, away from conductive materials. Consider using a non-conductive enclosure if operating in an environment where accidental contact is possible.
- 初回電源オン: After all connections are verified, apply power to the input. The LCD display should illuminate, showing current voltage と現在の測定値。
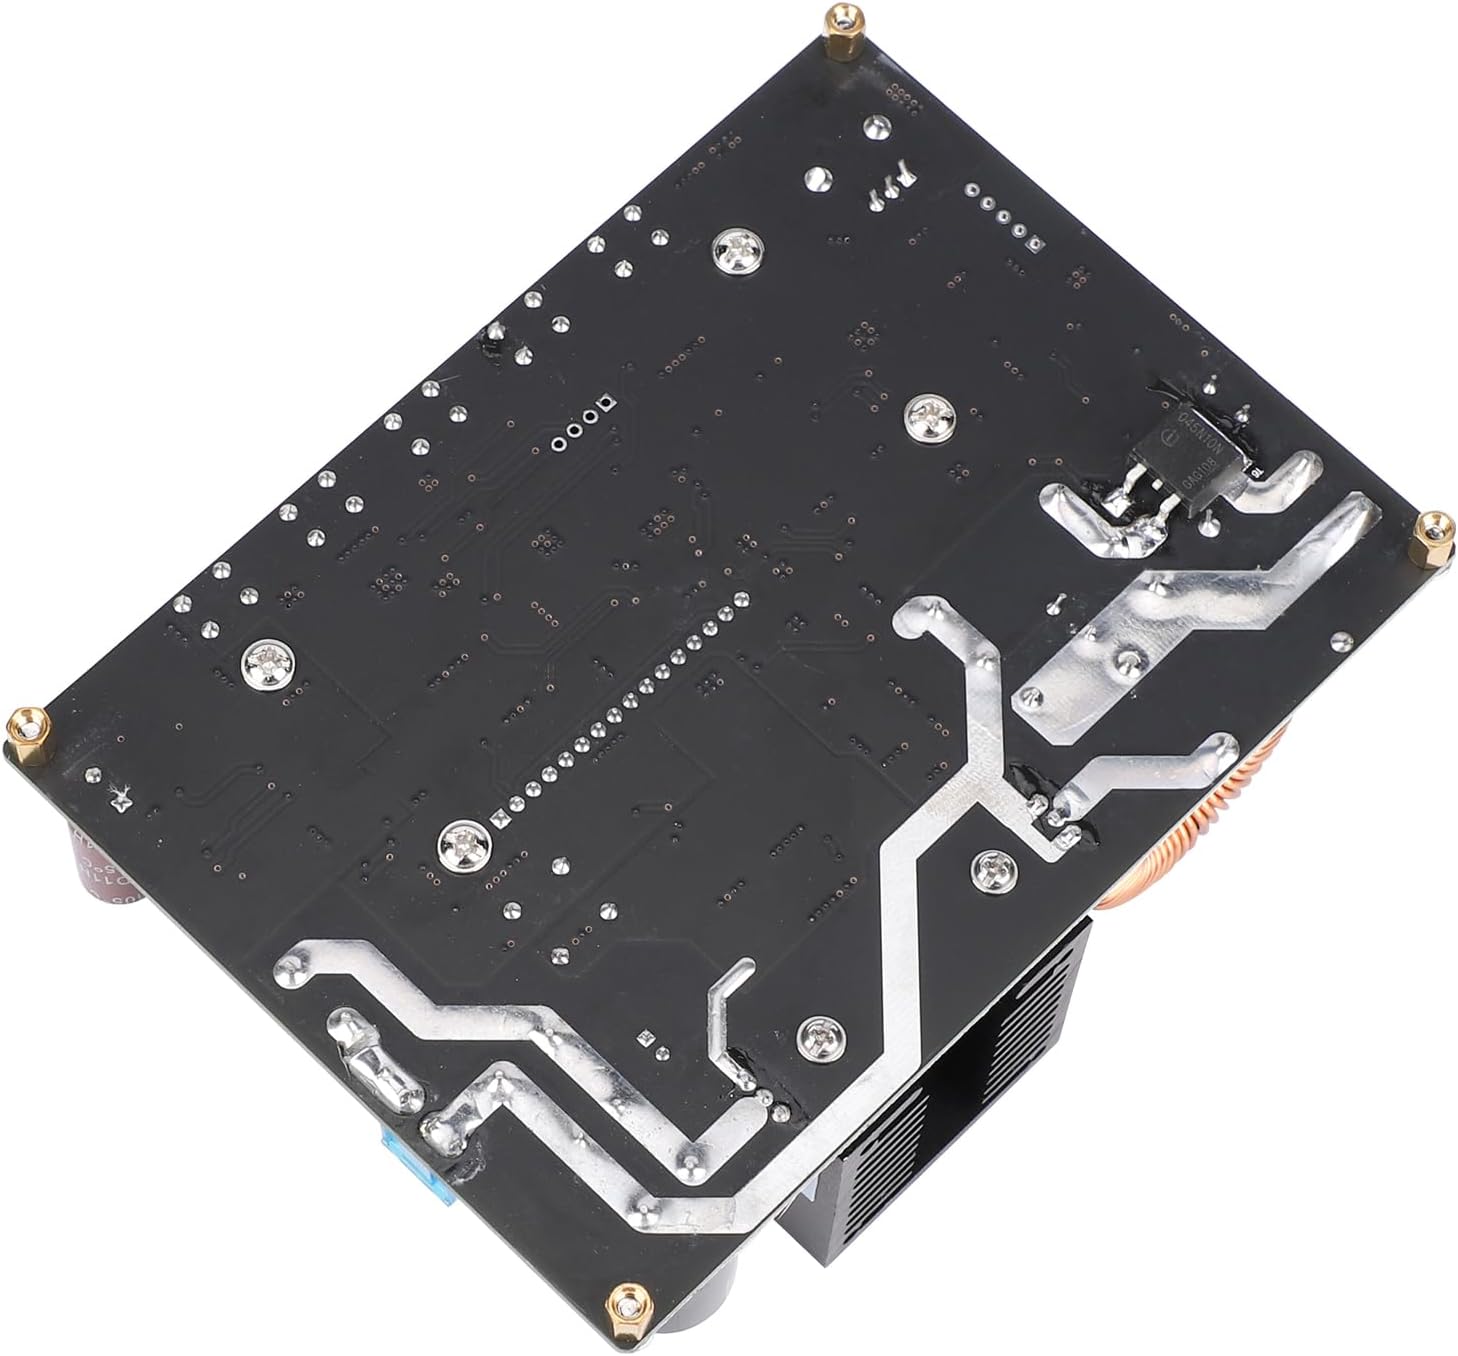
この画像は view of the circuit board's underside, which can be helpful for understanding mounting points and general layout.
操作手順
The DROK DC Buck Converter CNC is controlled via its LCD display, silicone buttons, and rotary encoder.
出力ボリュームの設定tageと現在
- 設定にアクセスする: Press the "SET" button to enter the parameter setting mode. The display will show the currently adjustable parameter (e.g., output voltage)。
- Navigating Parameters: Use the "SET" button to cycle through different parameters: output voltage, output current limit, and potentially other settings depending on the firmware version.
- 値の調整: While a parameter is selected, turn the "Rotary Encoder" (knob) clockwise to increase the value and counter-clockwise to decrease it. Short press the rotary encoder to switch between coarse and fine adjustment modes.
- Confirming Settings: Once the desired value is set, press the "OK" button (or the "SET" button again, depending on the model) to confirm and save the setting.
- 出力制御: Use the "ON/OFF" button to enable or disable the output. When disabled, the module may still show input voltage but will not supply power to the output terminals.
LCD ディスプレイについて
The LCD provides real-time feedback on the module's status:
- 出力巻tage(V): 現在のボリュームを表示しますtage being supplied to the load.
- 出力電流(A): Shows the current being drawn by the load.
- 出力電力 (W): Indicates the total power being delivered.
- 入力ボリュームtage (IN V): ボリュームを表示しますtage of the input power source.
- 保護インジケーター: May display indicators for active protections (e.g., OVP, OCP) if triggered.
The module can be programmed to output a predetermined voltage upon power-up or only when the output button is pressed. Refer to the specific on-screen menu options for configuring this behavior.
メンテナンス
Regular maintenance ensures the longevity and reliable performance of your buck converter.
- 清潔に保ちます: Periodically clean the module, especially the fan and heatsink, to prevent dust buildup which can hinder cooling. Use a soft, dry brush or compressed air. Ensure power is disconnected before cleaning.
- 接続を確認してください: Regularly inspect all input and output wiring connections to ensure they are tight and free from corrosion. Loose connections can lead to arcing, overheating, or unstable operation.
- ファンの動作を監視する: Ensure the cooling fan operates correctly when the output current exceeds 1.5A. A non-functional fan can lead to overheating and module damage.
- 環境条件: Operate the module within its specified temperature and humidity ranges. Avoid exposure to moisture, extreme temperatures, or corrosive environments.
- ヒューズの検査: If the module fails to power on or provide output, check the 15A automotive fuse. Replace it with a fuse of the same rating if blown.
トラブルシューティング
This section addresses common issues you might encounter with your DROK DC Buck Converter CNC.
| 問題 | 考えられる原因と解決策 |
|---|---|
| 電源なし/ディスプレイオフ |
|
| 出力なしVoltage |
|
| 出力巻tage/Current Unstable |
|
| ファンが動作しない |
|
| Incorrect Readings on LCD |
|
保証とサポート
DROK provides a one-year service period for products purchased. If you encounter any quality issues with your DROK DC Buck Converter CNC within this period, you are eligible for a brand new replacement.
For technical assistance, troubleshooting beyond this manual, or warranty claims, please contact DROK customer support through the retailer where the product was purchased or visit the official DROK web連絡先情報のサイト。
When contacting support, please have your product model number (DROK-TRANSFORMER) and purchase details readily available.


