導入
The Ansmann Energy Check LCD is a professional battery tester designed to quickly and accurately determine the energy content and voltage of various primary and rechargeable batteries. This compact and user-friendly device provides results within 2-3 seconds, displaying the actual energy content in 10% steps and the cell voltage 単位はボルト (V)。

Figure 1: Ansmann Energy Check LCD Battery Tester. This image shows the overall design of the battery tester, including the LCD display and the various slots for different battery types.
設定
パッケージ内容
Before using your Ansmann Energy Check LCD, ensure all components are present:
- Ansmann Energy Check LCD Battery Tester
- 1 x 9V Battery (for powering the tester)
Inserting the 9V Battery
The Ansmann Energy Check LCD is powered by a 9V battery. To install or replace the battery:
- Locate the battery compartment on the back or side of the tester.
- 電池ボックスのカバーを開きます。
- 正しい極性(+ 端子と - 端子)を確認して、9V 電池を挿入します。
- 電池カバーをしっかりと閉じてください。
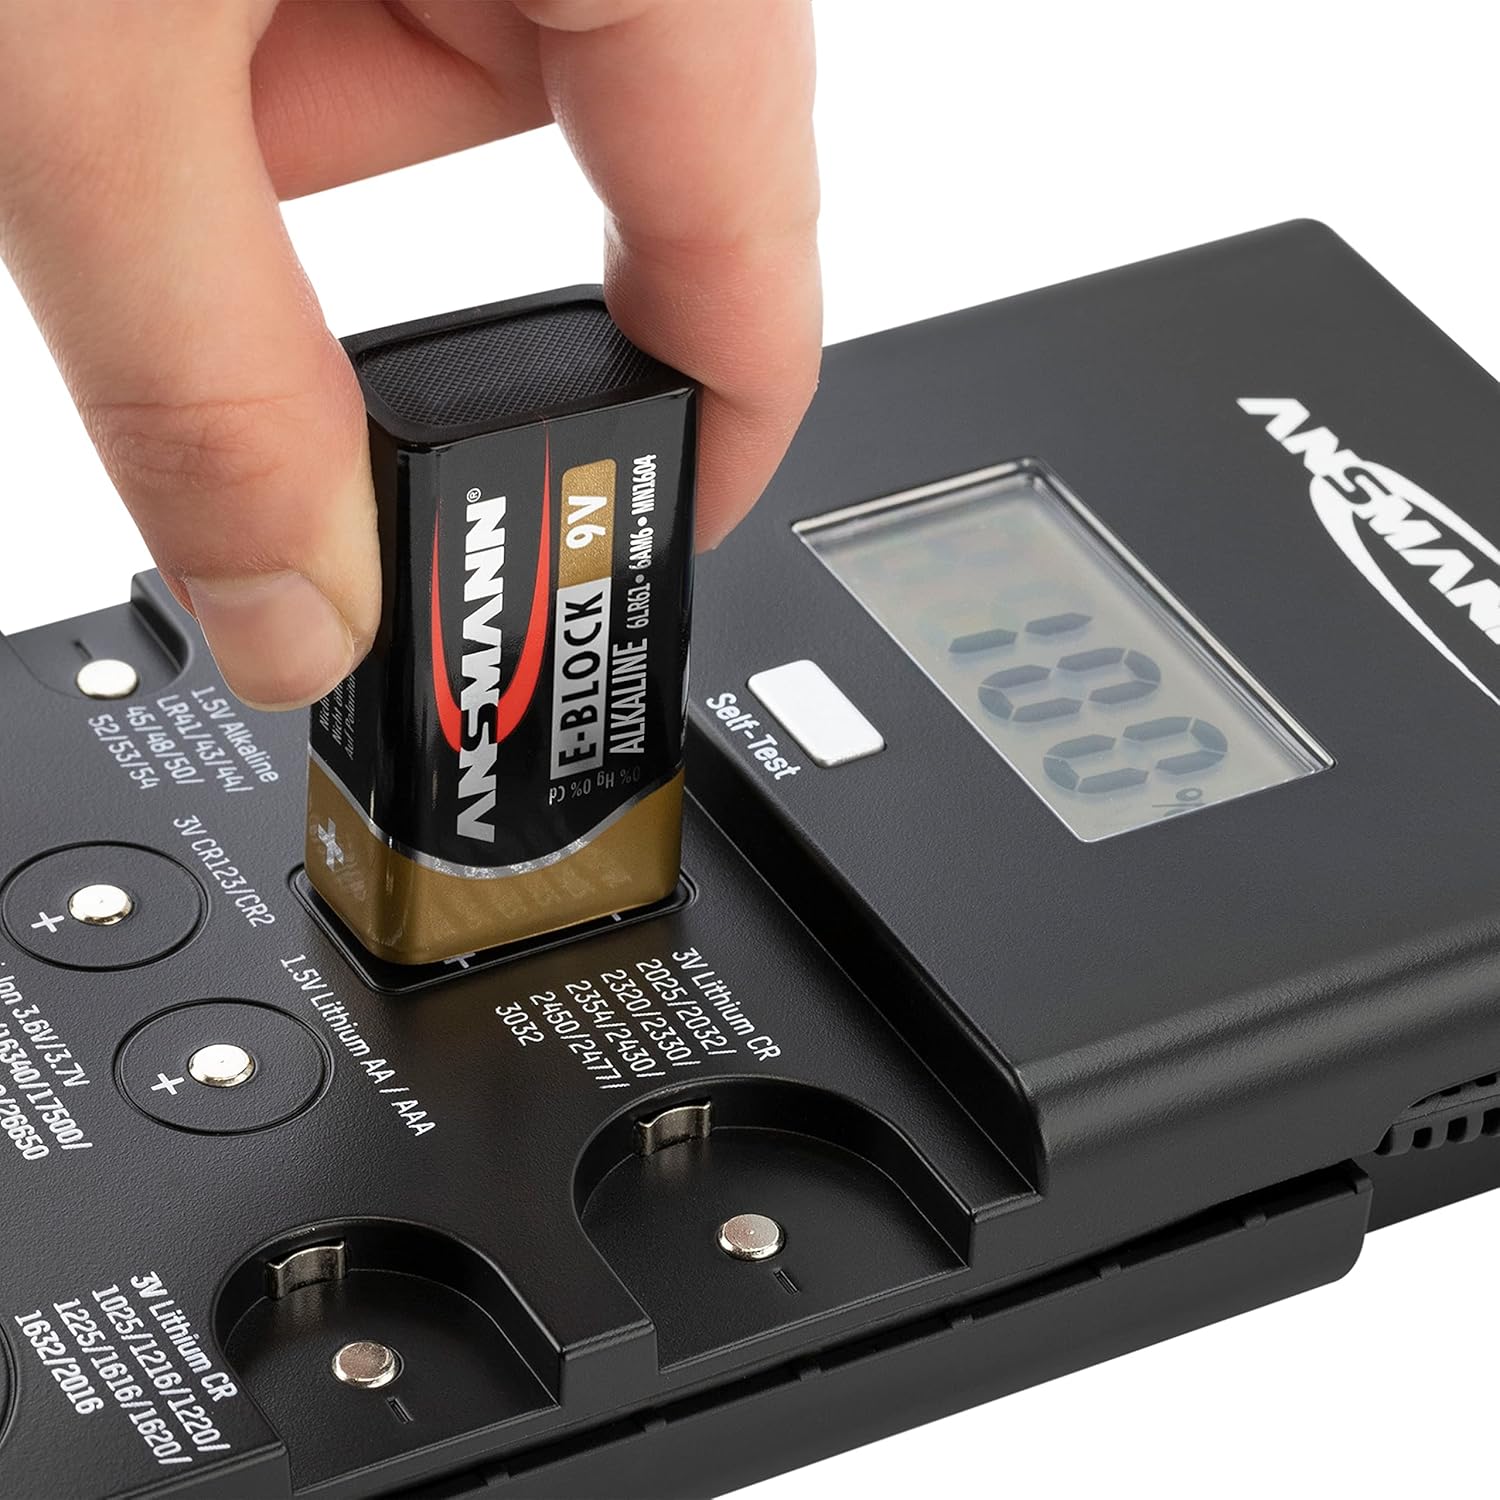
Figure 2: Inserting the 9V battery into the tester. This image demonstrates the correct way to insert the 9V battery that powers the Ansmann Energy Check LCD.
操作手順
一般的な操作
The Ansmann Energy Check LCD provides quick and easy battery testing. The device automatically detects the battery type and displays the energy content in 10% steps and the voltage in volts (V) within 2-3 seconds.

Figure 3: Fast Testing and Percentage Display. This image highlights the quick testing capability and the 10% step display of the battery's energy content.
Battery Type Identification and Testing Slots
The tester features multiple dedicated slots and a test probe for various battery types. Refer to the diagram below to identify the correct testing location for your battery.

Figure 4: Battery Type Testing Slots. This detailed diagram illustrates where each specific battery type should be placed or connected for accurate testing.
テスト手順
バッテリーをテストするには:
- Identify the correct slot or contact points for your battery type using Figure 4.
- バッテリー端子が清潔でゴミなどがないことを確認してください。
- Place the battery firmly into the designated slot or press it against the contact points, observing correct polarity (+ and -). For batteries requiring the test probe, connect the probe to the battery's positive terminal and the negative terminal to the corresponding contact on the tester.
- The LCD display will show the battery's energy content in percentage and its voltage.

Figure 5: Testing a Button Cell Battery. This image shows a user testing a small button cell battery by pressing it onto the designated contact points.

Figure 6: Testing an AA Battery with Probe. This image illustrates the use of the test probe for larger cylindrical batteries like AA or AAA.
メンテナンス
クリーニング
To ensure accurate readings and prolong the life of your tester, keep it clean. Wipe the exterior with a soft, dry cloth. Periodically clean the metal contact surfaces with a cotton swab lightly dampened with rubbing alcohol to remove any residue that might affect conductivity.
ストレージ
Store the Ansmann Energy Check LCD in a cool, dry place away from direct sunlight and extreme temperatures. If the tester will not be used for an extended period, it is recommended to remove the 9V battery to prevent leakage.
トラブルシューティング
- テスターの電源が入らない:
Check if the 9V battery is correctly inserted with the proper polarity. Ensure the 9V battery itself has sufficient charge. Replace if necessary.
- 不正確または一貫性のない読み取り:
Ensure the battery being tested is making firm and clean contact with the tester's terminals. Clean the battery terminals and the tester's contact points if there is any visible dirt or corrosion. Ensure the battery is placed in the correct slot for its type.
- Display shows 'LO' or 'ERR':
This may indicate a very low battery charge or an incompatible battery type. Verify the battery type is supported by the tester.
仕様
| 特徴 | 仕様 |
|---|---|
| モデル番号 | 1900-0100 |
| 製品寸法 | 3.94 x 1.26 x 7.68インチ |
| アイテム重量 | 9.63オンス(273グラム) |
| 電源 | 1Vバッテリー9個(付属) |
| 色 | 黒 |
| 測定表示 | Energy content in 10% steps, Voltage in Volts (V) |
サポートされているバッテリーの種類
- 3V Lithium Button Cells: CR1025, CR1216, CR1220, CR1616, CR1620, CR1632, CR2016, CR2025, CR2032, CR2320, CR2330, CR2354, CR2430, CR2450, CR2477, CR3032
- 3V Lithium Photo Batteries: CR2, CR123(A)
- 1.5V Alkaline Button Cells: LR41, LR43, LR44, LR45, LR48, LR50, LR52, LR53, LR54, LR55, LR57, LR58, LR59, LR60, LR63, LR66, LR69
- 1.44V Zinc-Air Button Batteries: 10、13、675、312
- 12V Alkaline Batteries: A23、A27
- 1.5V Alkaline Batteries: AAA, AA, C, D, 9V alkaline battery
- 1.2V NiMH/NiCd Batteries: AAA, AA, C, D
- 1.5Vリチウム電池: AAA、AA
- 3.6V/3.7V Li-ion Batteries: 14500年、14650年、16340年、17500年、18500年、18650年、22650年、26650年
安全情報
Please observe the following safety guidelines when handling batteries and using the Ansmann Energy Check LCD:

Figure 7: Battery Safety Icons. This image displays universal symbols for safe battery handling, including warnings against improper disposal, short-circuiting, heating, and disassembling batteries.
- 破損した電池や液漏れしている電池をテストしないでください。
- バッテリー端子をショートさせないでください。
- 電池を火中に廃棄しないでください。
- 電池を分解しないでください。
- 電池はお子様の手の届かないところに保管してください。
- 地域の規制に従ってバッテリーを廃棄してください。
保証とサポート
For detailed warranty information, technical support, or service inquiries regarding your Ansmann Energy Check LCD, please visit the official Ansmann webご購入の際は、ウェブサイトをご覧いただくか、カスタマーサービスまでお問い合わせください。保証請求の際は、購入証明としてレシートを保管してください。
詳細は以下をご覧ください。 Ansmann Store on Amazon.


