1.製品オーバーview
The Makeid L1-A Label Maker is a portable and rechargeable wireless label printer designed for creating custom labels at home, school, or work. It connects wirelessly via Bluetooth to compatible Android and iOS devices, allowing users to design personalized labels using a dedicated mobile application. This device utilizes thermal printing technology to produce clear and lasting prints on waterproof, fade-resistant, and residue-free label tapes. It features a built-in cutter for easy label separation.
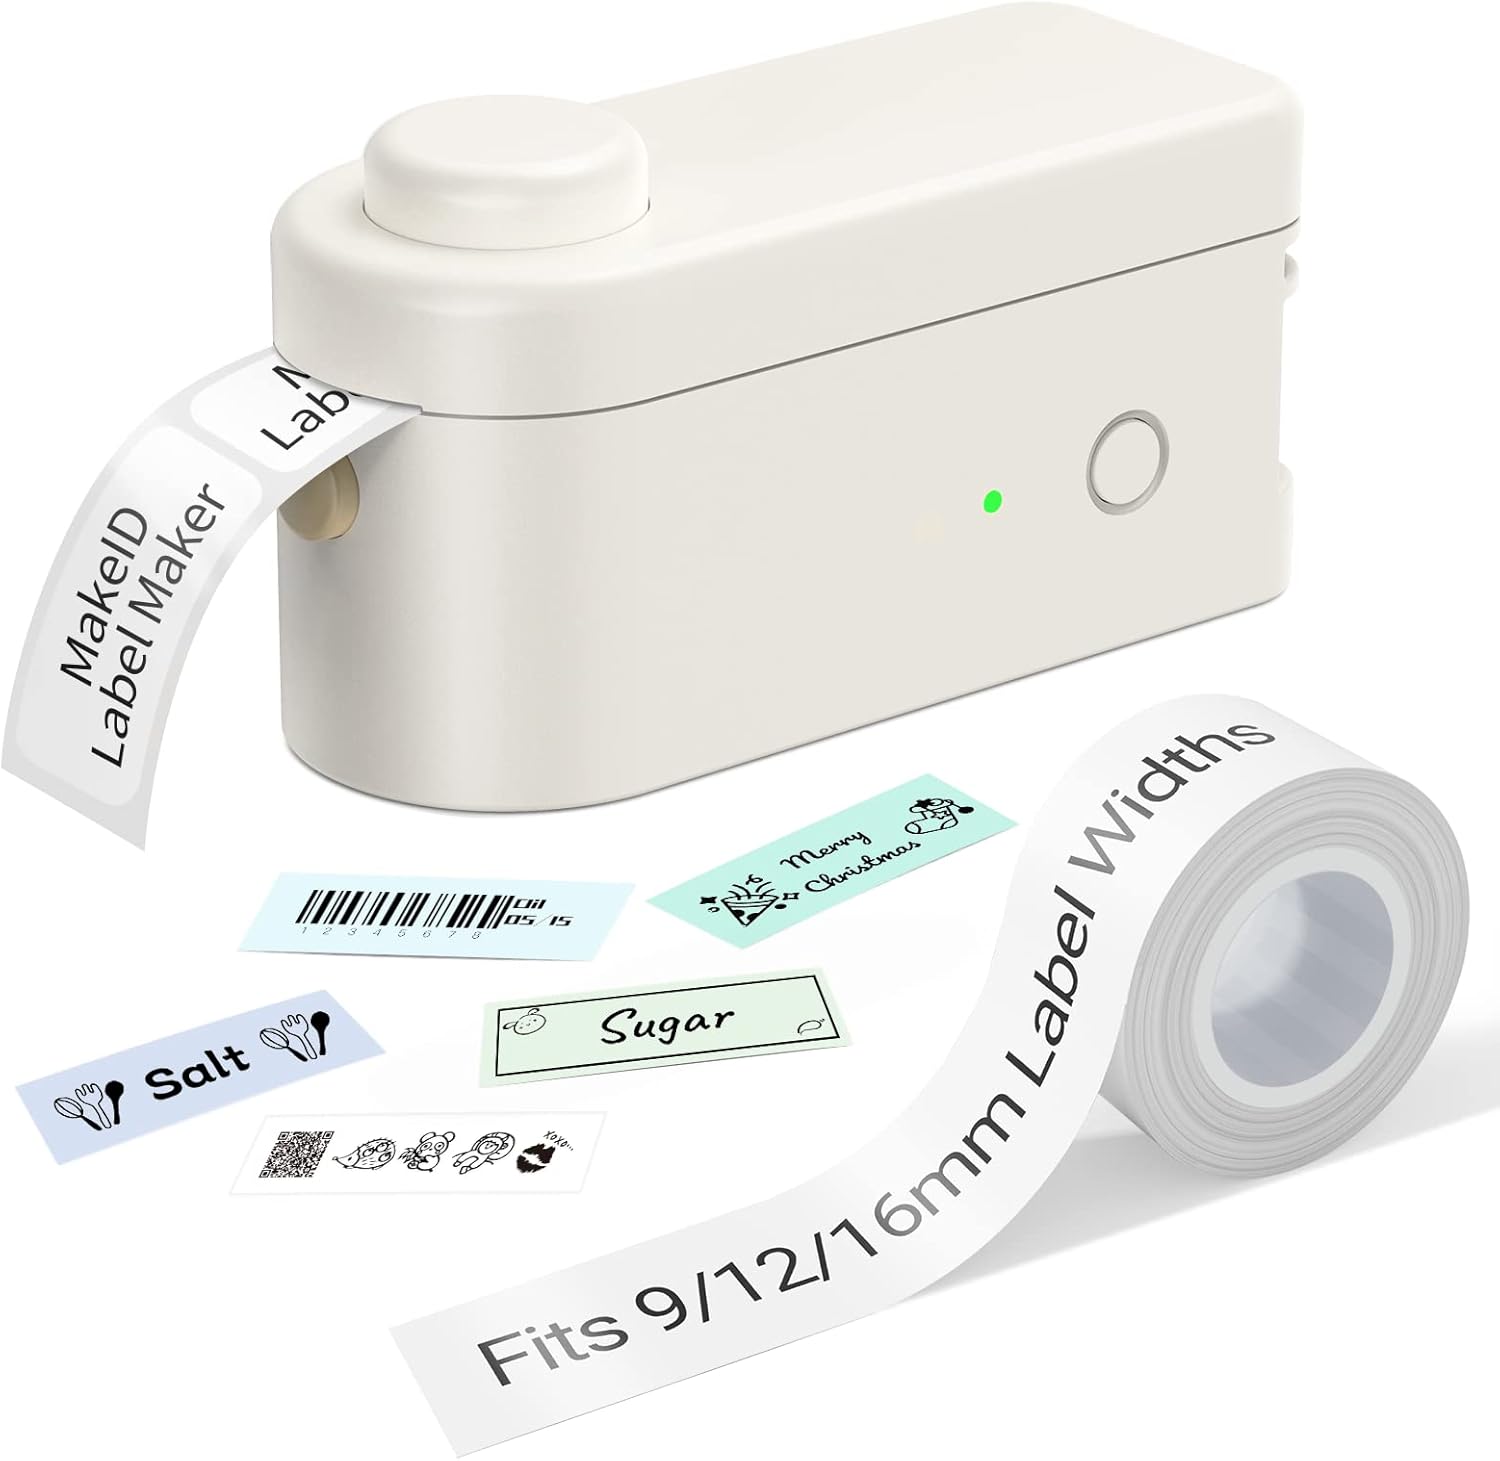
Figure 1: Makeid L1-A Label Maker with a roll of label tape and examples of printed labels, demonstrating its compact size and output capabilities.
2. 安全情報
- デバイスを極端な温度、直射日光、高湿度にさらさないでください。
- デバイスを水やその他の液体から遠ざけてください。
- ご自身でデバイスの分解や修理を試みないでください。資格のあるサービス担当者にご相談ください。
- Use only Makeid approved label tapes and accessories.
- お子様の手の届かない場所に保管してください。
- 充電中は適切な換気を行ってください。
3.セットアップガイド
3.1 開梱と初期充電
Carefully remove the label maker and any accessories from the packaging. Before first use, fully charge the device using the provided USB cable. The charging indicator light will typically change color or turn off when charging is complete.
3.2 ラベルテープを取り付ける
- ラベルメーカーのテープコンパートメントカバーを開きます。
- Insert the label tape cartridge, ensuring it clicks into place securely.
- Gently pull a small length of tape out of the cartridge, extending it slightly past the cutter.
- Close the tape compartment cover.

Figure 2: The Makeid label maker with its tape compartment open, illustrating the process of inserting a label tape cartridge.
3.3 アプリのダウンロードとBluetooth接続
The Makeid label maker operates via a dedicated mobile application. Download the "MakeID-Life" app from your device's app store (Google Play for Android, App Store for iOS).

Figure 3: Step-by-step guide within the Makeid app demonstrating how to turn on Bluetooth, select the L1 model, and confirm the connection for printing.
- スマートフォンまたはタブレットで Bluetooth が有効になっていることを確認してください。
- MakeID-Life アプリを開きます。
- Turn on the Makeid label maker by pressing the power button.
- Within the app, navigate to the device connection section (often indicated by a Bluetooth icon or "Connect Device").
- Select the "L1" model from the list of available devices.
- Confirm the connection. The app will indicate when the device is successfully paired.
4. 操作手順
4.1 ラベルのデザイン
The MakeID-Life app provides a versatile interface for label design. You can:
- Enter text and choose from multiple font styles.
- Add numbers, symbols, emojis, and icons.
- Create continuous labels or die-cut labels (depending on tape type).
- Adjust label length and other parameters.

Figure 4: The Makeid-Life app displaying various font choices and customization features, including the ability to add images, QR codes, and barcodes to labels.
4.2 ラベルの印刷
Once your label design is complete in the app:
- アプリ内の「印刷」ボタンをタップします。
- The label maker will begin printing the label.
- After printing, wait for the label to fully emerge from the printer.
- Press the built-in cutter button to cleanly cut the label.

図5:例amples of labels created with the Makeid label maker, demonstrating its versatility for continuous labels (9mm, 12mm, 16mm widths) and die-cut labels, suitable for various classification needs.

Figure 6: Demonstrations of the Makeid label maker's practical applications, including personal item identification, business product labeling, kitchen organization, and cautionary reminders.
5. メンテナンス
5.1 プリントヘッドのクリーニング
最適な印刷品質を保つために、サーマルプリントヘッドを定期的にクリーニングしてください。柔らかく糸くずの出ない布で軽く拭いてください。ampened with isopropyl alcohol. Gently wipe the print head surface. Ensure the device is turned off and unplugged before cleaning.
5.2 ストレージ
Store the label maker in a cool, dry place away from direct sunlight and extreme temperatures. Remove the label tape cartridge if the device will not be used for an extended period.
6。 トラブルシューティング
| 問題 | 考えられる原因 | 解決 |
|---|---|---|
| デバイスが起動しない | バッテリー残量が少ない; 電源ボタンが正しく押されていない | デバイスを充電します。電源ボタンを数秒間押し続けます。 |
| Bluetooth経由で接続できません | Bluetooth off on phone/tablet; Device not in pairing mode; App issue | Ensure Bluetooth is on; Restart the label maker; Restart the app; Forget device in phone's Bluetooth settings and re-pair. |
| Poor print quality / Faded print | Print head dirty; Incorrect tape installed; Low battery | Clean the print head; Ensure correct Makeid tape is used; Charge the device. |
| Tape jam / Label not feeding | Tape not installed correctly; Obstruction in tape path | Re-install tape cartridge; Check for any debris and carefully remove. |
7. 仕様
- ブランド: マケイド
- モデル名: L1-A
- 接続技術: ブルートゥース
- 印刷技術: サーマル
- 特別な機能: Portable, Wireless, Built-in Cutter
- 対応テープ幅: 9mm、12mm、16mm
- プリンター出力: モノクロ
- 最大印刷速度: 25ppm
- 商品の重量: 0.28ポンド(約127g)
- DPI Resolutions: 203DPI, 300DPI (model dependent)
8. 保証とサポート
具体的な保証情報は通常、製品のパッケージまたはメーカーの公式ウェブサイトに記載されています。 web保証範囲および条件の詳細については、これらのリソースを参照してください。
For technical support, troubleshooting assistance beyond this manual, or inquiries about replacement parts and accessories, please visit the official Makeid website or contact their customer service department. Contact information can usually be found on the product packaging or the Makeid brand store page.
Note: As per the provided product data, specific warranty duration or direct support contact details are not available in this document.


