1.製品オーバーview
The Weiser SmartCode 10 is a commercial-grade electronic lever lock designed for secure and convenient keyless entry. It features an auto-lock function, simple programming, and supports up to 30 customizable user access codes. This lock is ideal for various applications including hotels, motels, office buildings, retail stores, and multi-family housing.

Figure 1.1: Weiser SmartCode 10 Electronic Door Lock (Exterior and Interior)

Figure 1.2: Recommended Uses for SmartCode 10 Commercial Lever
2. セットアップとインストール
The Weiser SmartCode 10 lock is designed for easy installation with minimal tools. A screwdriver is typically the only tool required.
2.1. 含まれるコンポーネント
- Electronic Door Assembly Unit (Interior and Exterior)
- レバー
- スマートキーツール
- 2つのキー
- ラッチ
- ネジ
- ストライクプレート
- レンチ
- Spindle Manual
2.2. インストール手順
Refer to the detailed Spindle Manual included in your package for specific, step-by-step installation instructions. General steps include:
- Prepare the door: Ensure the door bore hole and backset are compatible with the lock.
- ラッチとストライクプレートを取り付けます。
- Assemble the exterior and interior electronic units.
- Connect the cable between the units.
- Secure the lock to the door with the provided screws.
- レバーを取り付けます。
- Insert the 9V battery (see Section 3.4).
- Perform the door handing process as described in the manual to calibrate the lock.

Figure 2.1: Installed Weiser SmartCode 10 Lock (Interior View)
3. 操作手順
3.1. Keyless Entry and Backlit Keypad
The SmartCode 10 allows entry using a personalized code on the keypad. The keypad is backlit and remains lit for 5 seconds after inactivity, ensuring visibility in low-light conditions.
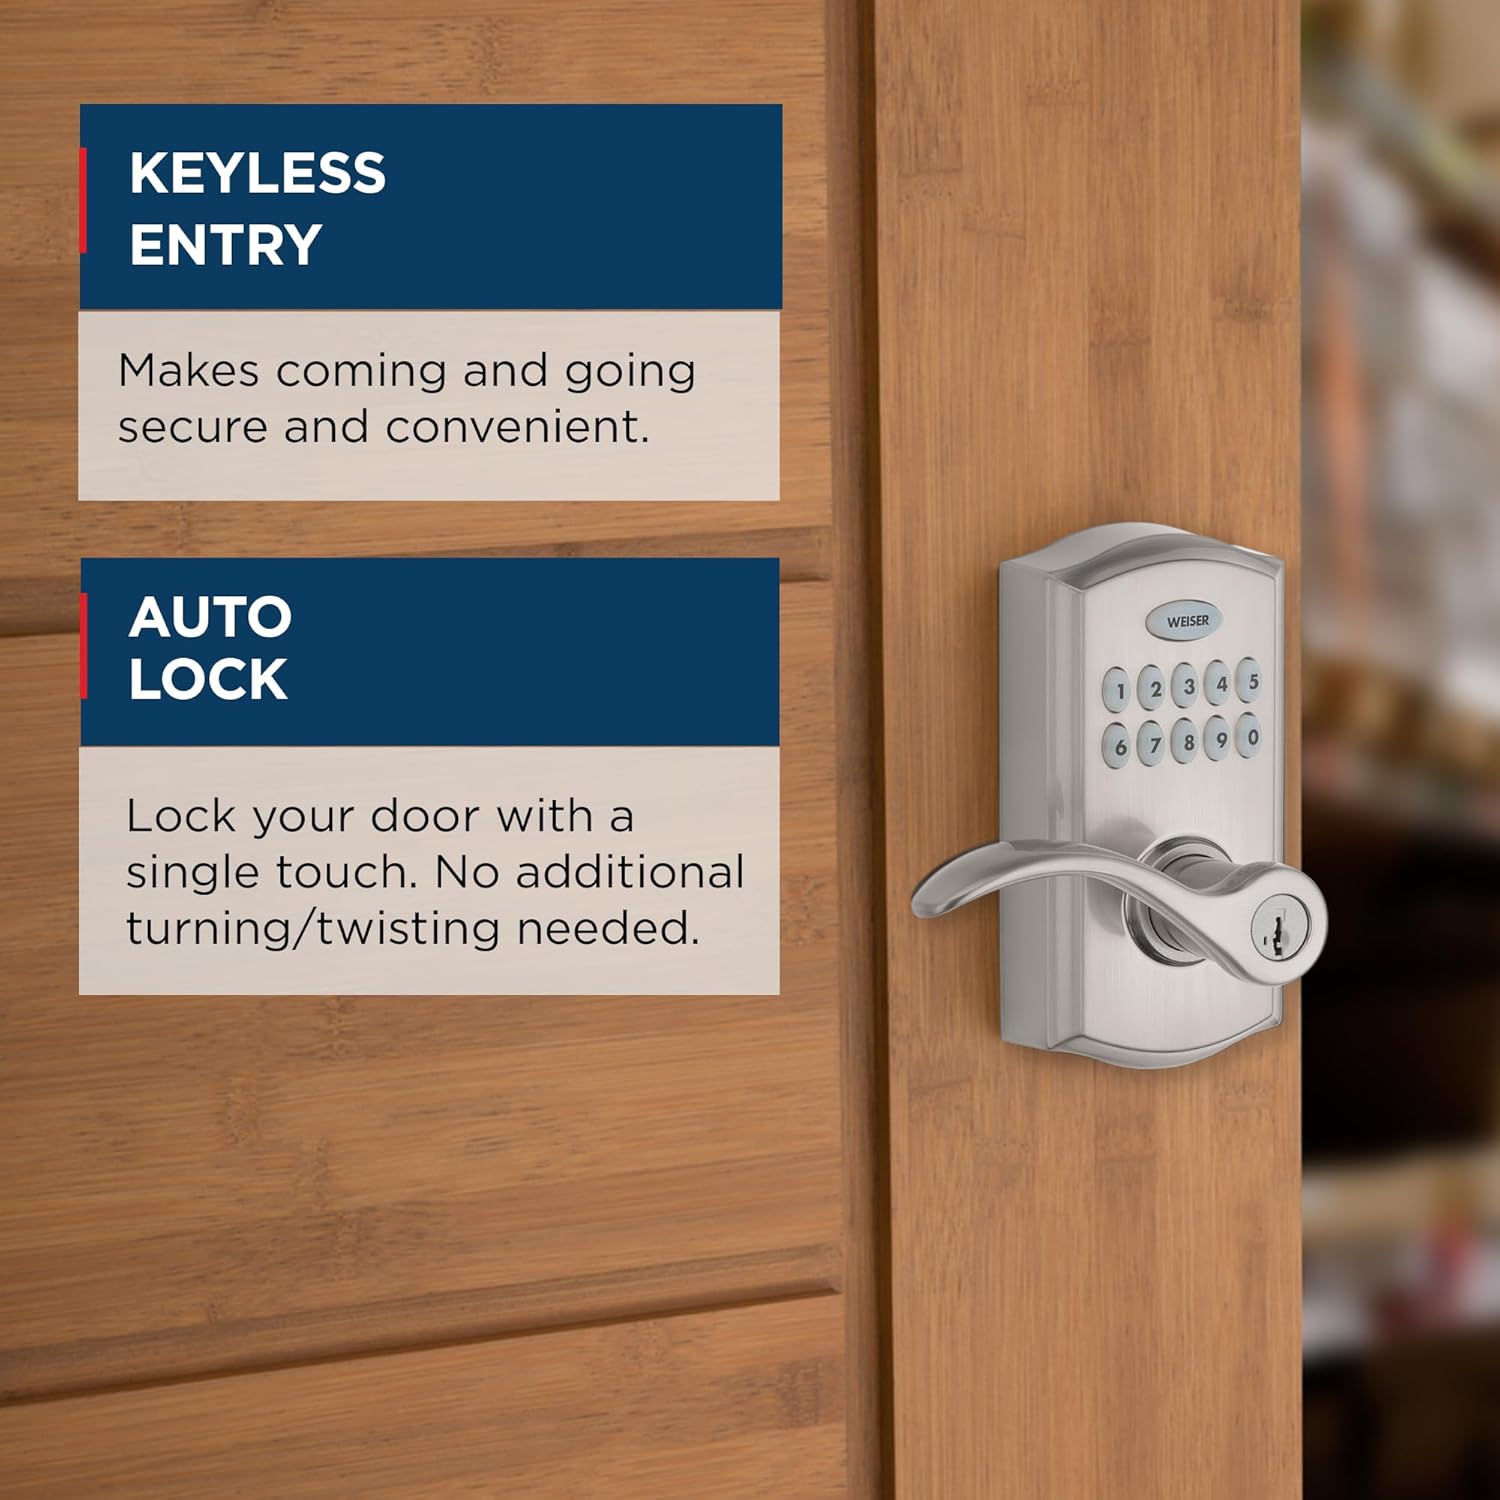
Figure 3.1: Keyless Entry and Auto Lock Features
3.2. User Access Codes
The lock supports up to 30 unique user access codes. These codes can be customized and shared with employees, maintenance personnel, or service providers. Refer to the programming guide in your manual for instructions on adding, deleting, or modifying user codes.

Figure 3.2: Multiple User Access Codes
3.3. Auto-Lock and Passage Mode
The SmartCode 10 features an auto-lock function, which automatically locks the door after entry. The interior turn piece allows you to switch between 'Auto-Lock' and 'Passage Mode'.
- 自動ロックモード: The door always locks after entry. A key or code is required for re-entry.
- 通過モード: The door remains unlocked, allowing free entry without a code or key.
Property managers can disable the passage function, ensuring the unit auto-locks every time and requires a key or code for entry. This is ideal for restrooms or utility closets.

Figure 3.3: Auto-Lock Mode vs. Passage Mode
3.4. Emergency Egress
For safety, the interior lever is always free to allow exit at any time, regardless of the lock's status.

Figure 3.4: Emergency Egress Feature
3.5. SmartKey Re-key Technology
The SmartCode 10 features SmartKey re-key technology, which protects against advanced break-in techniques and allows you to re-key the lock yourself in seconds. This feature makes lost or unreturned keys obsolete.

Figure 3.5: SmartKey Security Overview

Figure 3.6: How to Re-key in Seconds
4. メンテナンス
4.1. バッテリーの交換
The SmartCode 10 operates on a 9V alkaline battery. When the battery is low, the lock will provide an audible and/or visual indicator. To replace the battery:
- Locate the battery cover on the interior assembly of the lock.
- 電池カバーを取り外します。
- 古い 9V バッテリーを慎重に取り外します。
- 正しい極性を確認して、新しい 9V アルカリ電池を挿入します。
- 電池カバーを取り付けます。
It is recommended to replace the battery annually or when the low battery indicator appears to ensure optimal performance.
4.2. 清掃
ロックの外側を柔らかくてきれいな布で拭いてください。amp 布で拭いてください。研磨剤入りの洗剤や溶剤は仕上げを傷める可能性があるため、使用しないでください。
5。 トラブルシューティング
If you encounter issues with your SmartCode 10 lock, try the following common troubleshooting steps:
- ロックが応答しない: 電池を確認してください。必要であれば、新しい9Vアルカリ電池と交換してください。
- キーパッドが点灯しない: これは通常、バッテリー残量が少ないことを示しています。バッテリーを交換してください。
- 機能しないコード: Ensure you are entering the correct code. Try reprogramming the user codes as per the manual. Perform the door handing process again.
- ロックが作動しない/解除されない: Check for any obstructions in the door frame or latch. Ensure the lock is properly aligned and secured to the door. Re-perform the door handing process.
- Unexpected auto-locking: Verify the lock is not in 'Disable Passage Mode' if you intend for it to remain unlocked.
For persistent issues, refer to the detailed troubleshooting section in your Spindle Manual or contact customer support.
6. 仕様
| 特徴 | 詳細 |
|---|---|
| モデル番号 | 9GED26000-001 |
| 製品寸法 | 19.56 x 13.46 x 23.11 cm |
| アイテム重量 | 2.13キロ |
| 色 | サテンニッケル |
| スタイル | コマーシャル |
| 仕上げる | サテンニッケル |
| 材料 | 金属 |
| ロックタイプ | 円筒形 |
| 電源 | 9V Alkaline Battery (Included) |
| 特集 | Easy to Install, Auto Lock, SmartKey Technology, Backlit Keypad |
| ユーザーコード | 最大30 |
| 原産国 | 中国 |

図6.1: 製品寸法
7. 保証情報
The Weiser SmartCode 10 Electronic Door Lock comes with a 機械および仕上げの生涯保証. This warranty covers defects in material and workmanship for the lifetime of the product, provided it is installed and maintained according to the manufacturer's instructions. For specific terms and conditions, please refer to the warranty documentation included with your product or visit the official Weiser webサイト。
8. カスタマーサポート
さらなるサポート、技術サポート、または保証請求については、Weiserカスタマーサービスまでお問い合わせください。連絡先はWeiserの公式ウェブサイトでご確認いただけます。 webサイトまたは製品に付属のドキュメントをご覧ください。
Weiser Official Webサイト: www.weiserlock.com


