1. 安全情報
Please read and understand all safety information and operating instructions before using this multimeter. Failure to follow these instructions may result in electric shock, fire, or damage to the meter.
- 測定を行う前に、必ずテスト リードが正しく接続され、機能スイッチが正しい範囲に設定されていることを確認してください。
- 体積を測定しようとしないでくださいtages or currents exceeding the maximum rated values for this meter.
- 通電中の回路を扱う際は細心の注意を払ってください。高電圧tag危険な場合があります。
- Never open the meter casing unless specifically instructed for battery or fuse replacement. Ensure test leads are disconnected before opening.
- 正確な測定を行うために、電池残量低下インジケーターが表示されたら電池を交換してください。
- メーターが損傷しているように見える場合、またはテスト リード線の絶縁が損なわれている場合は、メーターを使用しないでください。
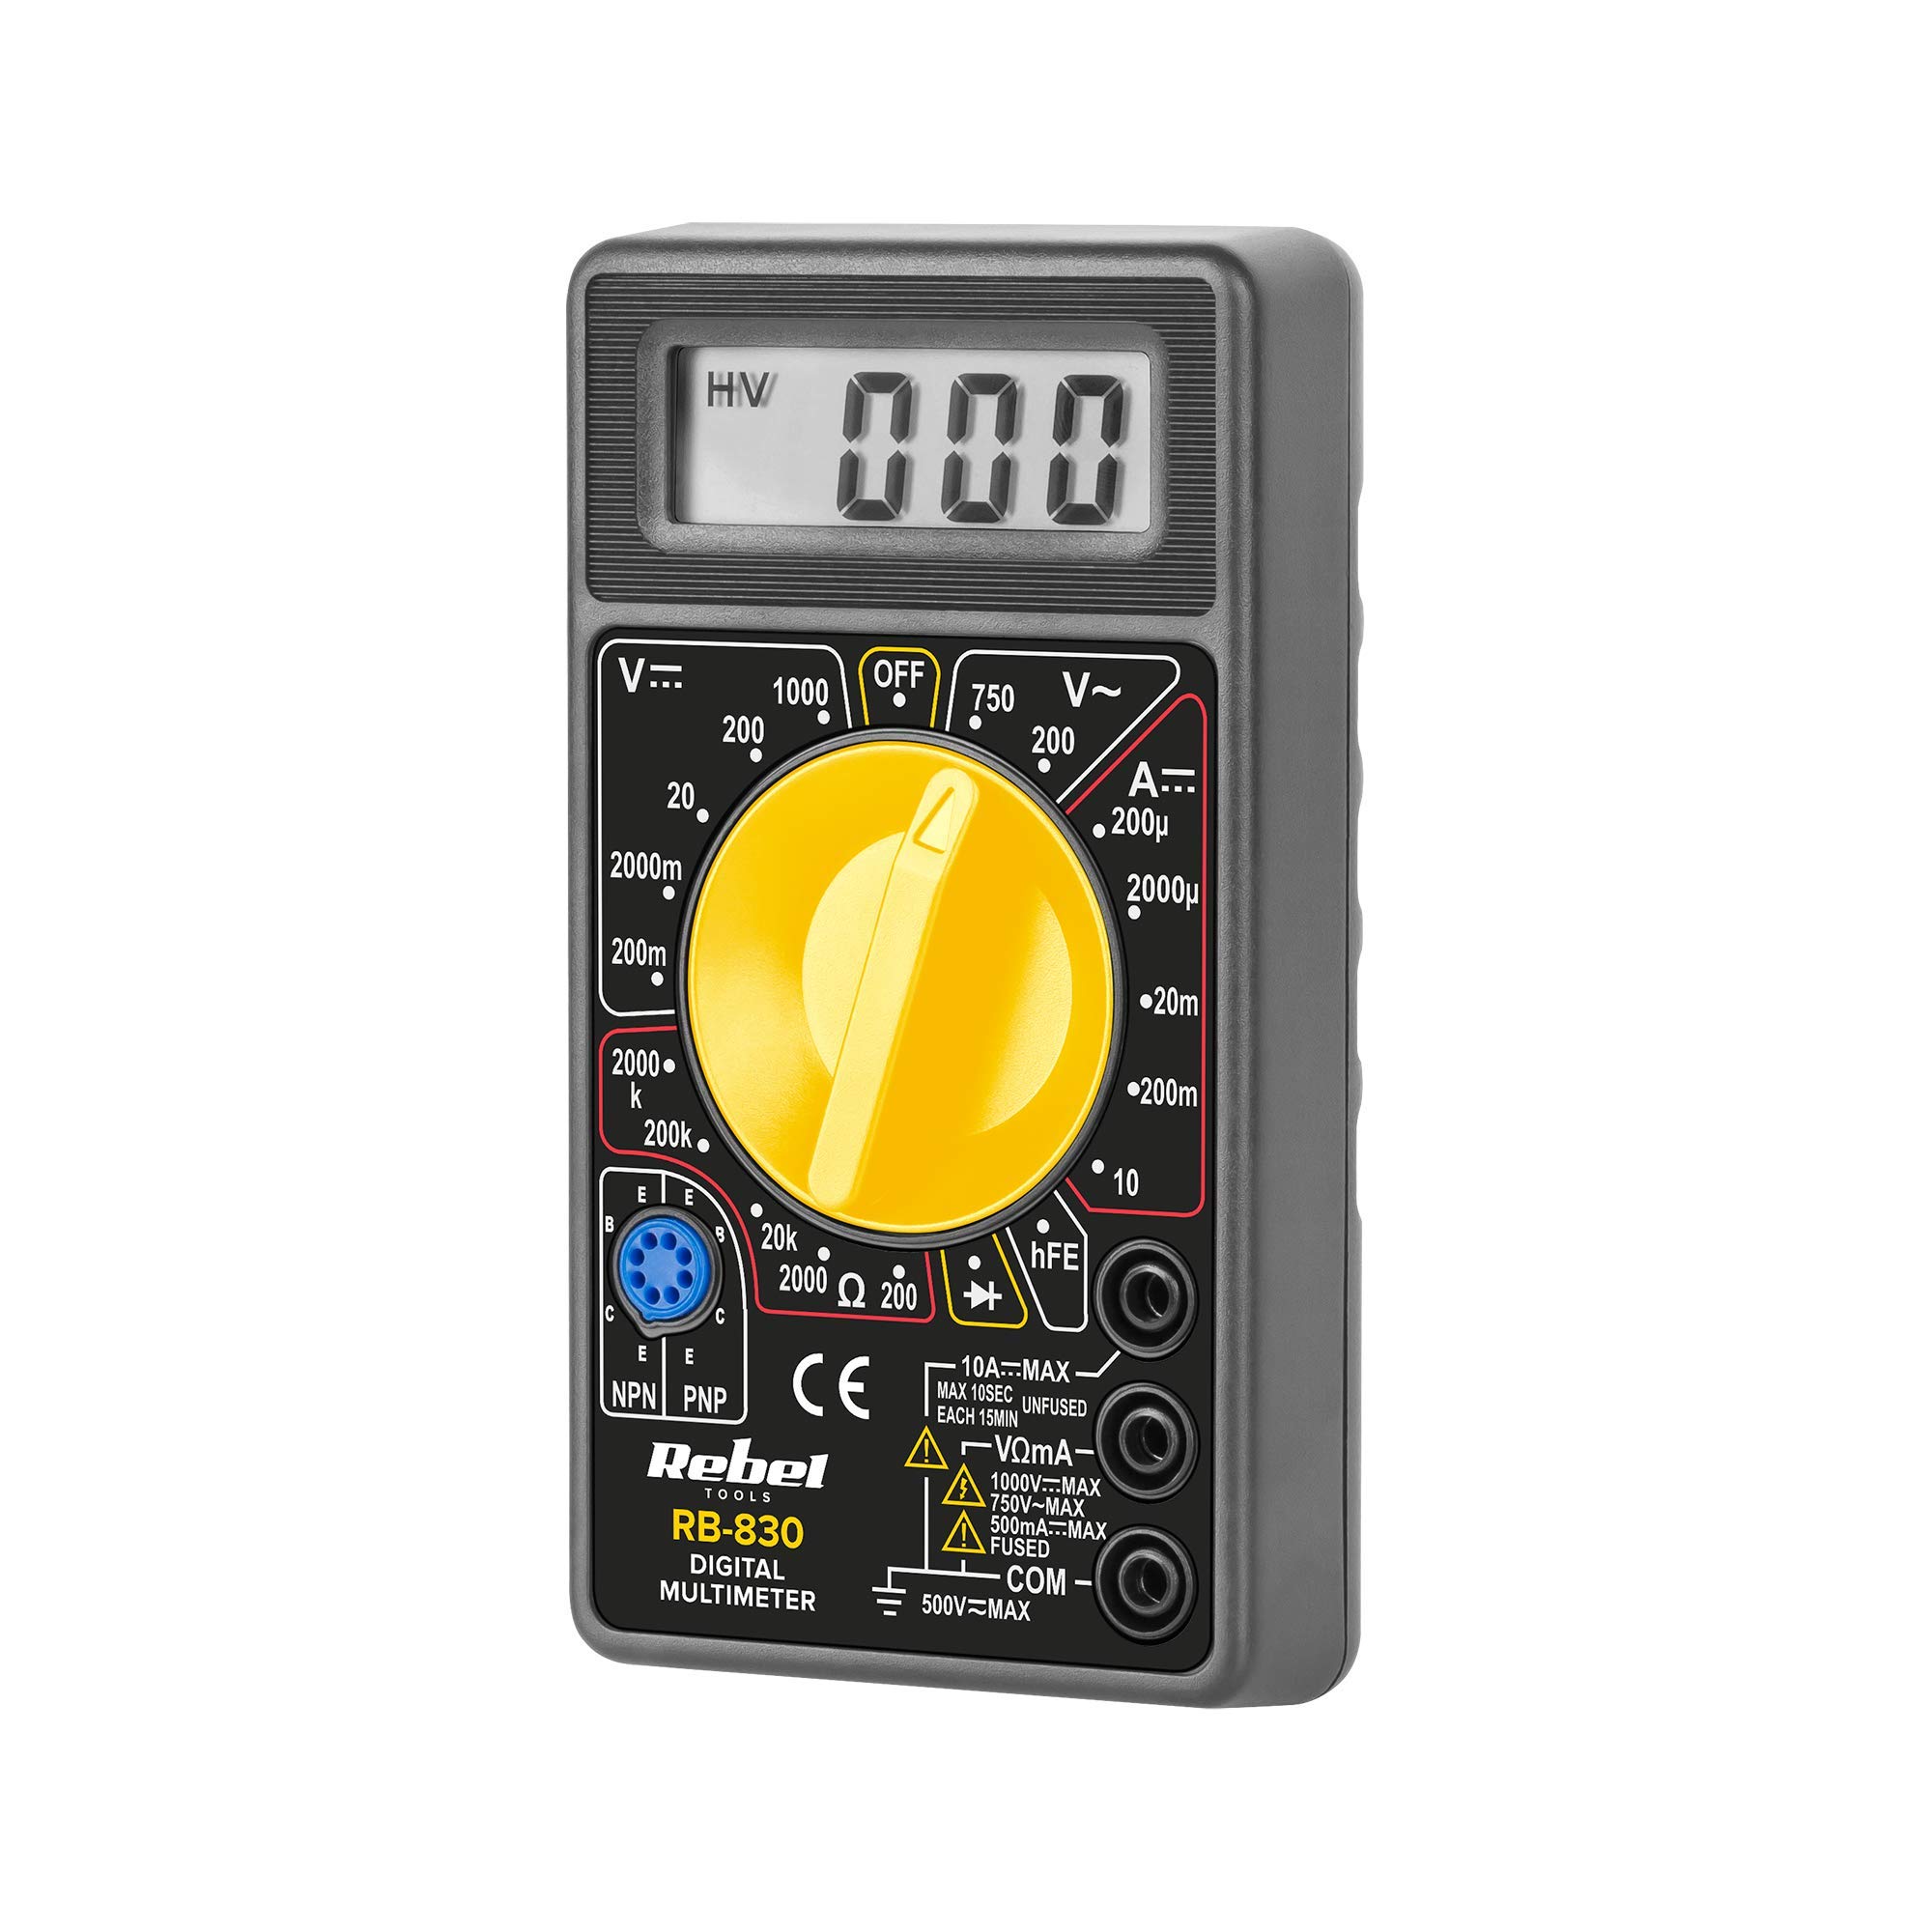
図1: 後方 view of the Rebel MIE-RB-830 Multimeter, showing the battery compartment cover and a warning label. The label advises removing test leads before opening the case to avoid electrical shock and to install fuses with correct amp/volt ratings. It also indicates the power supply is a 9V battery, type NEDA 1604 9V 6F22.
2.製品オーバーview
The Rebel MIE-RB-830 is a compact, battery-operated digital multimeter designed for measuring DC/AC voltage, DC current, resistance, diode, and transistor (hFE) values. It is suitable for general electrical testing and troubleshooting.
2.1。 構成部品
- Digital Multimeter Unit
- テストリード(赤と黒)
- 9V Battery (may be included or sold separately)
- ユーザーマニュアル(このドキュメント)

図2: The Rebel MIE-RB-830 Digital Multimeter shown with its accompanying red and black test leads. The multimeter features a large LCD display and a rotary function switch.

図3: 閉じる view of the red and black test leads. These leads are essential for connecting the multimeter to the circuit under test.
3. セットアップ
3.1. バッテリーの取り付け
- マルチメーターの電源がオフになっており、すべてのテストリードが取り外されていることを確認します。
- Locate the battery compartment cover on the back of the meter (refer to Figure 1).
- 固定ネジを外し、カバーを慎重に取り外します。
- Insert a new 9V battery (NEDA 1604 or 6F22 type), observing the correct polarity (+ and -).
- 電池ボックスのカバーを元に戻し、ネジで固定します。
3.2. テストリードの接続
- 接続する 赤 test lead to the "VΩmA" input jack.
- 接続する 黒 test lead to the "COM" (common) input jack.
- For current measurements exceeding 200mA (up to 10A), connect the red test lead to the "10A" input jack.
4. 操作手順
4.1. 機能選択
Turn the rotary switch to the desired measurement function and range. Always start with a higher range if the approximate value is unknown to prevent overloading the meter.
4.2. DC電圧の測定tage(V–)
- ロータリースイッチを希望のDC Volに設定しますtage (V–) range (e.g., 20V, 200V).
- 赤いテストリードを回路のプラス (+) 側に、黒いテストリードをマイナス (-) 側に接続します。
- 巻を読むtagLCDディスプレイのe値。
4.3.AC電圧の測定tage (V∼)
- ロータリースイッチを希望のACボリュームに設定しますtage (V∼) range (e.g., 200V, 750V).
- テストリード線をAC電圧に接続しますtag電子ソース。
- 巻を読むtagLCDディスプレイのe値。
4.4. Measuring DC Current (A–)
注意: To measure current, the meter must be connected in series with the circuit. Never connect the meter in parallel with a voltage source when in current mode, as this can damage the meter and the circuit.
- Set the rotary switch to the desired DC Current (A–) range (e.g., 20mA, 200mA, 10A).
- For currents up to 200mA, ensure the red lead is in the "VΩmA" jack. For currents up to 10A, move the red lead to the "10A" jack.
- 電流を測定する回路を開き、メーターを直列に接続します。
- LCDディスプレイで現在の値を読み取ります。
4.5. 抵抗(Ω)の測定
注意: 抵抗を測定する前に、テスト対象の回路またはコンポーネントの電源がオフになっていることを確認してください。
- Set the rotary switch to the desired Resistance (Ω) range (e.g., 200Ω, 2kΩ, 200kΩ).
- 測定対象のコンポーネントまたは回路にテスト リード線を接続します。
- LCD ディスプレイで抵抗値を読み取ります。
4.6. ダイオードテスト (→|–)
- Set the rotary switch to the Diode Test (→|–) position.
- 赤いテストリードをダイオードのアノードに接続し、黒いテストリードをカソードに接続します。
- ディスプレイには前進ボリュームが表示されますtag電圧降下(シリコンダイオードでは通常 0.5V ~ 0.8V)。
- リード線を逆に接続してください。正常なダイオードの場合、ディスプレイに「OL」(オープンループ)と表示されるはずです。
4.7. トランジスタ(hFE)テスト
- ロータリースイッチをhFEの位置に設定します。
- トランジスタが NPN か PNP かを識別します。
- Insert the transistor's emitter, base, and collector leads into the corresponding sockets on the hFE test socket.
- Read the hFE (DC current gain) value on the display.
5. メンテナンス
5.1. バッテリーの交換
When the low battery indicator appears on the display, replace the 9V battery as described in Section 3.1. Using a low battery can lead to inaccurate readings.
5.2.ヒューズの交換
If the current measurement function stops working, the fuse may need replacement. This operation should only be performed by qualified personnel.
- マルチメーターの電源がオフになっており、すべてのテストリードが取り外されていることを確認します。
- Open the back casing of the meter (this may involve more screws than just the battery compartment).
- Locate the blown fuse and replace it with a fuse of the exact same type and rating (e.g., F200mA/250V for mA range, F10A/250V for 10A range). Refer to the internal markings or specifications for precise fuse ratings.
- すべてのネジがしっかりと締まっていることを確認しながら、メーターを慎重に組み立て直します。
5.3. 清掃
広告でメーターを拭くamp 布と中性洗剤を使用してください。研磨剤や溶剤は使用しないでください。メーターは乾燥した状態に保ってください。
6。 トラブルシューティング
| 問題 | 考えられる原因 | 解決 |
|---|---|---|
| 表示なしまたはかすかな表示 | バッテリー残量が少ない、または切れている | 9V電池を交換してください。 |
| 誤った測定値 | Low battery; Incorrect range selection; Poor test lead connection | Replace battery; Select appropriate range; Ensure leads are firmly connected. |
| 電流測定が機能しない | Blown fuse; Incorrect lead connection for current | Replace fuse (see Section 5.2); Ensure red lead is in "VΩmA" or "10A" jack as appropriate. |
| 「OL」(オーバーロード)表示 | Measured value exceeds selected range; Open circuit (for resistance/continuity) | より高い範囲を選択してください。回路の断線がないか確認してください。 |
7. 仕様
| 測定機能 | 範囲 | 正確さ |
|---|---|---|
| DCVol。tage(V–) | 200mV、2V、20V、200V、1000V | ±(0.5% + 2桁) |
| ACVol。tage (V∼) | 200V、750V | ±(1.2% + 10桁) |
| 直流電流(A–) | 200µA、2mA、20mA、200mA、10A | ±(1.0% + 2桁) |
| 抵抗(Ω) | 200Ω, 2kΩ, 20kΩ, 200kΩ, 2MΩ | ±(0.8% + 2桁) |
| ダイオード試験 | はい | フォワードvoltageドロップ |
| トランジスタ(hFE)テスト | はい | hFE value |
| 電源 | 9V Battery (NEDA 1604 or 6F22) | |
| 画面 | 3½ Digit LCD, Max. 1999 | |
| 寸法 | 約13.5 x 10 x 4 cm | |
| 重さ | 約107グラム(電池なし) | |
| 動作温度 | 0°C ~ 40°C (32°F ~ 104°F) | |
| 保管温度 | -10°C ~ 50°C (14°F ~ 122°F) | |
| 安全基準 | CE、RoHS |
8. 保証とサポート
This Rebel MIE-RB-830 Digital Multimeter is covered by a standard manufacturer's warranty against defects in materials and workmanship. Please refer to the warranty card included with your purchase or contact your retailer for specific warranty terms and conditions.
For technical support or service inquiries, please contact the point of purchase or visit the official Rebel web連絡先情報のサイト。


