1. はじめに
The SINGER MX60 sewing machine is designed for ease of use and portability, making it an excellent choice for beginners and experienced sewers alike. Its lightweight construction allows for convenient transport to classes or for use in smaller workspaces. With 57 stitch applications and a robust metal frame, the MX60 is versatile enough for various projects, from basic mending to creative crafts.
2.製品オーバーview: 主要コンポーネント
Familiarize yourself with the main parts of your SINGER MX60 sewing machine:
- スプールピン: Located on top, these hold your thread spools.
- Bobbin Winding Spindle: Used to wind thread onto bobbins.
- ハンドホイール: Manually moves the needle up and down. Always turn it towards you.
- ステッチセレクターダイヤル: Allows you to choose from 57 different stitch applications.
- リバースレバー: Engages reverse stitching to secure seams.
- 糸調子ダイヤル: 上糸の張力を調節します。
- Thread Take-Up Lever: Guides the upper thread through the machine.
- 糸カッター: A convenient cutter located on the side of the machine.
- 押さえ足リフター: Raises and lowers the presser foot. It has an extra-high setting for thicker fabrics.
- 押さえ足: Holds the fabric securely against the feed dogs.
- Needle Plate Cover: Covers the bobbin area and feed dogs.
- Removable Extension Table / Accessory Storage: Provides a larger work surface and can be removed for free-arm sewing. It also contains a storage compartment for accessories.
- LED照明: 縫製エリアを照らし、視認性を高めます。
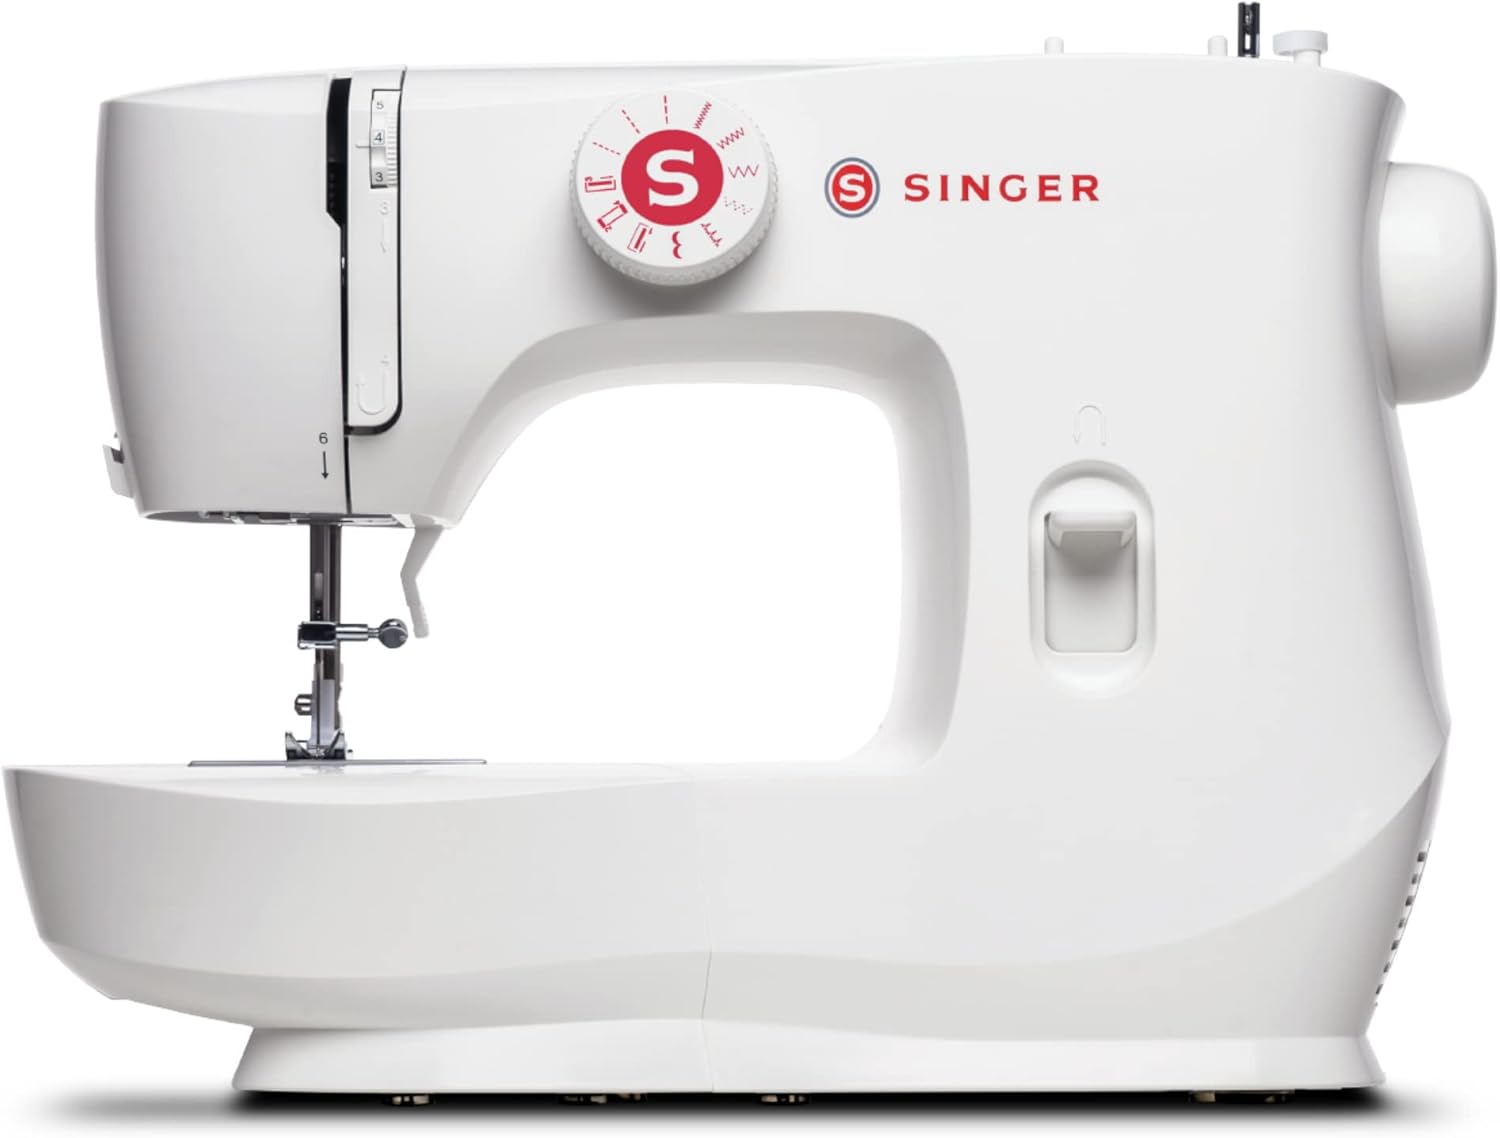
図2.1: 前面 view of the SINGER MX60 sewing machine, highlighting its compact design.

Figure 2.2: Close-up of the easy stitch selection dial on the SINGER MX60.

図2.3:以上view of key features including LED lighting, front loading bobbin, stitch selection, and reverse lever.

図2.4:内部 view showing the heavy-duty metal frame for durability and stability.
Video 2.1: Watch the SINGER MX60 Sewing Machine in Action! This video provides a general overview of the machine's operation and features.
3. セットアップ
3.1電源接続
- 機械の電源スイッチがオフになっていることを確認してください。
- Connect the foot pedal cord to the machine's power socket.
- 電源コードを適切な電源コンセントに差し込みます。
- Turn the machine's power switch to the ON position. The LED light will illuminate.
3.2 ボビンの巻き取りと挿入
Proper bobbin winding and insertion are crucial for smooth sewing. Refer to the detailed instructions in the full user manual for visual guidance.
Video 3.1: SINGER Front Load Bobbin Case Threading & Insertion Tutorial. This video demonstrates how to correctly thread and insert the front-loading bobbin.

図3.1: View of the front-loading bobbin area, accessible by removing the accessory storage.
3.3 上糸通し
Follow the numbered threading guides printed directly on the machine for quick and easy upper thread setup.

図3.2:上 view of the machine showing the easy-to-follow threading guides.
4. 操作手順
4.1 ステッチの選択
Turn the Stitch Selector Dial to choose your desired stitch. The MX60 offers 57 stitch applications, including basic, decorative, and buttonhole stitches. The stitch length and width are preset for simplicity.
4.2 逆縫い
To secure the beginning and end of a seam, press and hold the Reverse Lever while sewing. Release the lever to resume forward stitching.
4.3 フリーアーム縫製
Remove the accessory storage compartment to convert the machine to free-arm mode. This is ideal for sewing cylindrical items like pant hems, cuffs, and sleeves.
4.4 4ステップボタンホール
The MX60 features a simple 4-step buttonhole function. Follow the markings on the stitch selector dial and use the included buttonhole foot for precise results.
4.5 ファブリックの互換性
This machine is best suited for light and medium-weight fabrics such as cotton, knits, and synthetics.
4.6 Main Uses
- Beginner Sewing
- Basic Garment Construction
- Quilting & Patchwork
- Crafting & DIY Projects
- Simple Mending & Repairs
- Decorative Sewing
5. メンテナンス
5.1 クリーニング
Regularly clean your SINGER MX60 to ensure optimal performance. Use the included brush to remove lint and dust from the bobbin area and feed dogs. Refer to the full user manual for detailed cleaning instructions.
5.2 給油
Periodically oil the machine as recommended in the user manual to keep moving parts lubricated. Always use proper sewing machine oil.
6。 トラブルシューティング
For common issues such as skipped stitches, thread breakage, or tension problems, consult the troubleshooting section of the full user manual. Many issues can be resolved by re-threading the machine correctly or cleaning the bobbin area.
7. 仕様
- 製品寸法: 7 x 13 x 11.5インチ(奥行き x 幅 x 高さ)
- 商品の重量: 10ポンド
- Amps: 0.6
- ワッツ: 72
- 原産国: 中国
- モデル番号: MX60
8. 付属品
The SINGER MX60 comes with a comprehensive accessory kit to get you started:
- 万能フット
- ジッパーフット
- ボタンホール押え
- ダーニングプレート
- Lドライバー
- シームリッパー/ブラシ
- スプールピンフェルト(2x)
- 針のパック(3x)
- SINGER Class 15 bobbins (4x)

Figure 8.1: The SINGER MX60 sewing machine displayed with its full accessory kit and foot pedal.
9.保証とサポート
Your SINGER MX60 sewing machine is covered by a limited warranty:
- 90日間の保証: For electrical components.
- 2年間保証: For mechanical components.
- 25年間保証: For the machine head.
For detailed instructions, troubleshooting, and further support, please refer to the official user manual:


