1. はじめに
This manual provides comprehensive instructions for the installation, operation, and maintenance of the HP AP-314 IEEE 802.11ac Wireless Access Point, model JW795A. The Aruba 310 Series access points are designed to deliver high performance and an optimal user experience for mobile and IoT devices in dense office environments.
Key features of this device include:
- Wireless transmission speed: 2.10 Gbit/s
- Number of network (RJ-45) Ports: 1
- MU-MIMO capability for efficient multi-user communication
- Advanced client match radio management
- Integrated Aruba Beacon technologies
2. 安全情報
Please read all safety instructions before installing or operating this device. Failure to follow these instructions may result in injury or damage to the product.
- デバイスが換気の良い場所に設置されていることを確認してください。
- Use only the power adapter supplied with the device (if applicable).
- デバイスを水や過度の湿気にさらさないでください。
- デバイスを熱源の近くや直射日光の当たる場所に置かないでください。
- この製品は屋内使用のみを目的としています。
3. 箱の中身
開梱したら、次のアイテムが含まれていることを確認してください。
- Access Point (HP AP-314)
- (Note: Power adapter and mounting hardware may be sold separately or included depending on the specific package.)
4.製品オーバーview
The HP AP-314 is a high-performance wireless access point designed for robust network connectivity. It features a compact, discreet design suitable for various indoor environments.
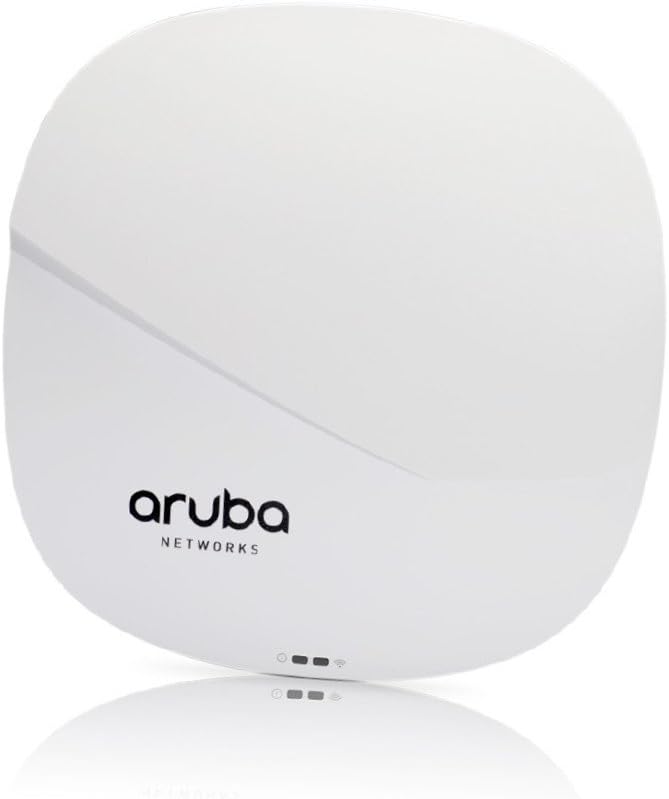
Figure 1: HP AP-314 Wireless Access Point Front View
The image displays the front of the HP AP-314 Wireless Access Point. It is a white, square-shaped device with rounded corners. The 'aruba NETWORKS' logo is prominently displayed in black text. Below the logo, three small indicator lights are visible, suggesting power, network activity, and wireless status.
4.1 構成要素と指標
- ステータス LED: Indicate power, network connectivity, and wireless activity. Refer to the device's quick start guide or full technical documentation for specific LED patterns and their meanings.
- イーサネットポート(RJ-45): For connecting to the wired network and receiving Power over Ethernet (PoE) if supported.
- USBポート: For potential future expansion or specific configurations.
5. セットアップ
5.1 アクセスポイントの取り付け
The AP-314 can be mounted on a ceiling or wall. Specific mounting hardware (not always included) is required. Ensure the mounting location allows for optimal wireless coverage and is away from obstructions.
- 適切な取り付け位置を選択してください。
- Secure the mounting bracket (if applicable) to the chosen surface using appropriate screws.
- Attach the access point to the mounting bracket, ensuring it clicks securely into place.
5.2 ネットワークと電源への接続
- Connect an Ethernet cable from your network switch (preferably a PoE-enabled switch) to the RJ-45 port on the access point.
- If not using PoE, connect a compatible power adapter (sold separately) to the device's power input and then to a power outlet.
- Once powered, the status LEDs will illuminate, indicating the boot-up process.
5.3初期構成
初期設定では通常、デバイスの web interface or using a network management system (e.g., Aruba Central or a local controller). Refer to the Aruba documentation for detailed configuration steps specific to your network environment.
- コンピュータをアクセス ポイントと同じネットワーク セグメントに接続します。
- Determine the IP address of the access point (e.g., via DHCP server logs or a discovery tool).
- 開く web browser and navigate to the access point's IP address.
- Log in using the default credentials (refer to Aruba documentation for defaults).
- Configure wireless networks (SSIDs), security settings, and other network parameters as required.
6. 操作手順
Once configured, the HP AP-314 operates autonomously to provide wireless network access. Users can connect to the configured SSIDs using their wireless-enabled devices.
6.1 ワイヤレスネットワークへの接続
- On your wireless device (laptop, smartphone, tablet), scan for available Wi-Fi networks.
- Select the SSID (network name) you configured for the AP-314.
- Enter the network password or security key if prompted.
- これで、デバイスはワイヤレス ネットワークに接続されるはずです。
6.2 Monitoring and Management
The access point's status can be monitored via its web interface or through your network management system. This allows for checking connected clients, network traffic, and device health.
7. メンテナンス
7.1ファームウェアアップデート
Regularly check for and apply firmware updates to ensure optimal performance, security, and access to new features. Firmware updates are typically available from the HP/Aruba support webサイト。
7.2 クリーニング
Clean the exterior of the access point with a soft, dry cloth. Do not use liquid cleaners or aerosols directly on the device.
7.3 最適な配置
Ensure the access point remains in an optimal location, free from new obstructions that could degrade wireless signal quality.
8。 トラブルシューティング
| 問題 | 考えられる原因 | 解決 |
|---|---|---|
| 電源が入らない / デバイスが起動しない | Power adapter not connected; PoE not active; faulty power source. | Check power connections. Ensure PoE switch port is active. Try a different power outlet. |
| ネットワーク接続がありません | Ethernet cable disconnected; network switch issue; incorrect IP configuration. | Verify Ethernet cable connection. Check network switch status. Confirm IP settings. |
| Wi-Fi信号が弱い、または速度が遅い | Interference; device placement; outdated firmware; too many connected devices. | Relocate the access point. Check for sources of interference. Update firmware. Consider network optimization. |
| アクセスできません web インタフェース | IP アドレスが正しくありません。ネットワーク接続に問題があります。ファイアウォールがアクセスをブロックしています。 | Verify the access point's IP address. Ensure your computer is on the same network. Temporarily disable firewalls. |
9. 仕様
| 特徴 | 詳細 |
|---|---|
| ブランド | HP |
| モデル番号 | JW795A |
| ワイヤレスタイプ | 802.11ac (also supports 802.11a/b/g/n) |
| 無線伝送速度 | 2.10 ギガビット/秒 |
| Number of Network (RJ-45) Ports | 1 |
| USB 2.0 ポートの数 | 1 |
| アイテム重量 | 1.43ポンド(約0.65kg) |
| 製品寸法(長さx幅x高さ) | 7 x 2 x 7インチ(約17.8 x 5.1 x 17.8 cm) |
| 巻tage | 3.6V (internal component voltage; external power supply requirements may vary) |
| メーカー | ヒューレット・パッカード |
| 欧州連合 | 190017041261 |
| 最初に利用可能 | 11年2016月XNUMX日 |
10. 保証とサポート
For warranty information, technical support, and additional resources, please refer to the official HP or Aruba Networks website. You can typically find detailed documentation, FAQs, and contact information for customer service there.
Ensure you have your product model number (JW795A) and serial number ready when contacting support.