導入
The Chief TS325TU Medium THINSTALL Dual Swing Arm Wall Display Mount is designed to provide a secure and versatile mounting solution for flat panel displays ranging from 30 to 52 inches. This mount offers an ultra-low profile when collapsed and extends up to 25 inches, allowing for optimal viewing angles with its Centris low-profile tilt and Centerless lateral shift capabilities. It features integrated cable management for a clean installation.
安全情報
警告: Failure to read, understand, and follow all instructions can result in serious personal injury, property damage, or voiding of product warranty. If you have any questions, contact Chief customer service or a qualified installer.
- 最大積載量を超えないでください 75.00ポンド(34キログラム).
- 取り付け面がマウントおよびディスプレイの合計重量を安全に支えられることを確認してください。
- Always mount to structural studs or appropriate wall anchors. Note that this mount is designed for studs approximately 16 inches apart.
- Use appropriate tools and follow all local building codes.
- 設置中は子供やペットを近づけないでください。
パッケージ内容
インストールを開始する前に、すべてのコンポーネントが揃っていることを確認してください。
- メインアセンブリ x 1
- 1 x Wall Rail
- 1 x Right Upright
- 1 x Left Upright
- 1 x Top Interface Support
- 1 x Bottom Interface Support
- 2 x Wall Rail Cover
- 1 x Lag Screw Cover
- 1 x Bumper
- 1 x Latch Spacer
- 2 x Long Adhesive
- 4 x Short Adhesive
- Mounting Hardware (various screws, washers, spacers)
セットアップとインストール
Proper installation is critical for the safety and performance of your display mount. It is recommended to have at least two people for installation due to the weight and size of the mount.
必要なツール(付属していません):
- スタッドファインダー
- 適切なドリルビットで穴を開ける
- レベル
- 巻尺
- Socket Wrench / Ratchet
- プラスドライバー
- 鉛筆
ステップバイステップのインストール:
- 壁を準備します。
Locate and mark the center of two adjacent wall studs. This mount is designed for standard 16-inch stud spacing. Ensure there are no electrical wires or plumbing in the drilling path. It is highly recommended to plan your entire layout, including TV, speakers, and wiring, before drilling.
- Attach Wall Rail:
Position the Wall Rail on the marked studs, ensuring it is level. Mark the pilot hole locations. Drill pilot holes into the studs. Secure the Wall Rail to the wall using the provided lag screws. Ensure the screws are tightened securely but do not overtighten to avoid stripping.
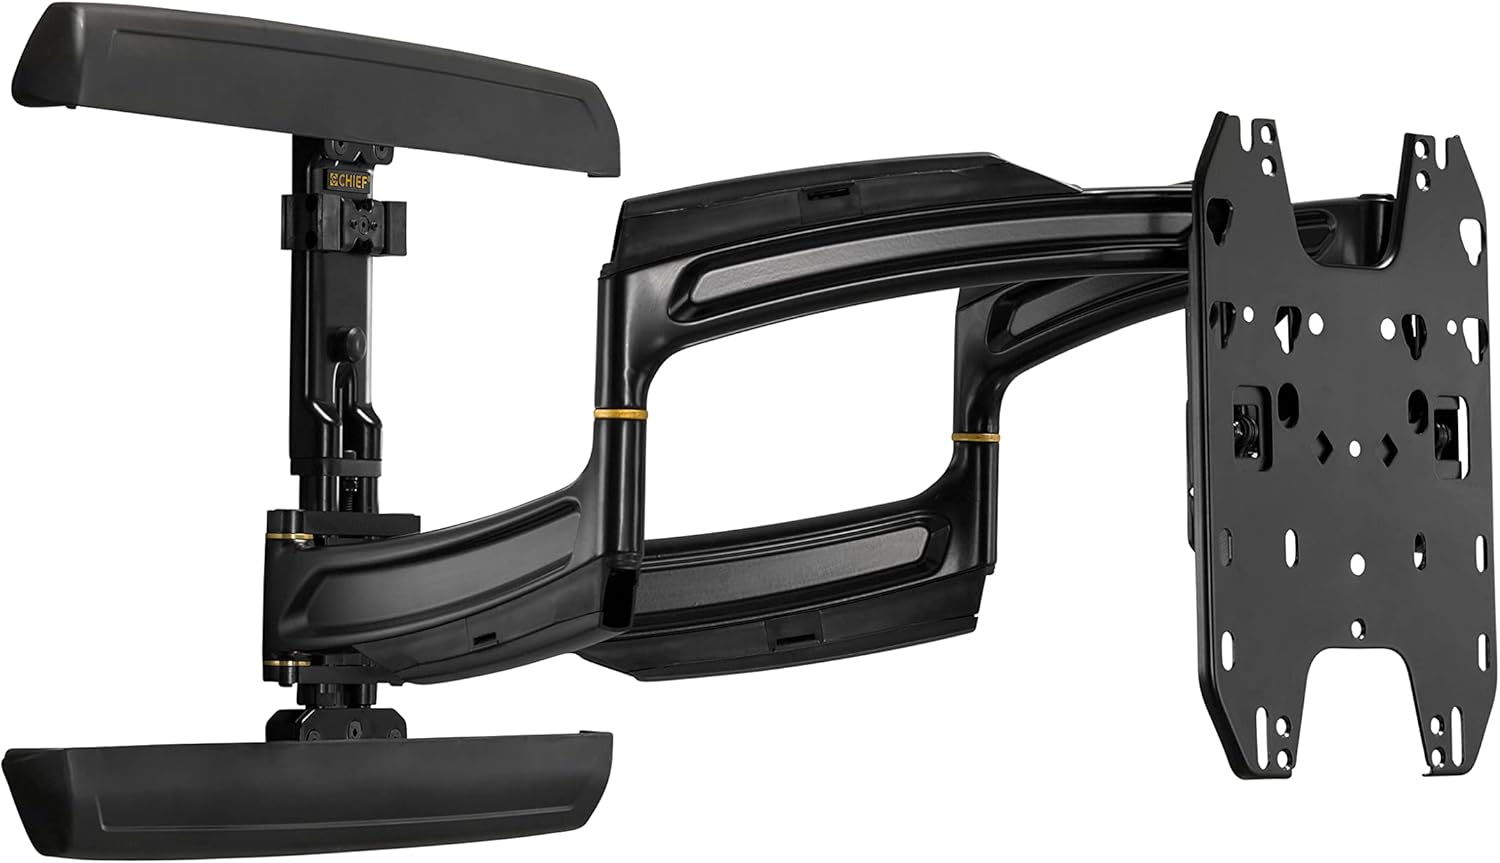
Image: Main assembly of the Chief TS325TU mount, showing the wall plate, articulating arms, and display interface.
- Assemble Display Interface:
Attach the Right and Left Uprights to the back of your display using the appropriate screws, washers, and spacers from the mounting hardware kit. Ensure the uprights are centered and level on the display. Then, attach the Top and Bottom Interface Supports to the uprights.
- Mount Display to Wall Rail:
Carefully lift the display with the attached interface and hook it onto the Wall Rail. The design allows for post-installation lateral shift of up to 16 inches (406 mm) for limitless centering capability. Secure the display to the mount according to the specific instructions in the detailed manual (refer to manufacturer's full manual for precise steps).
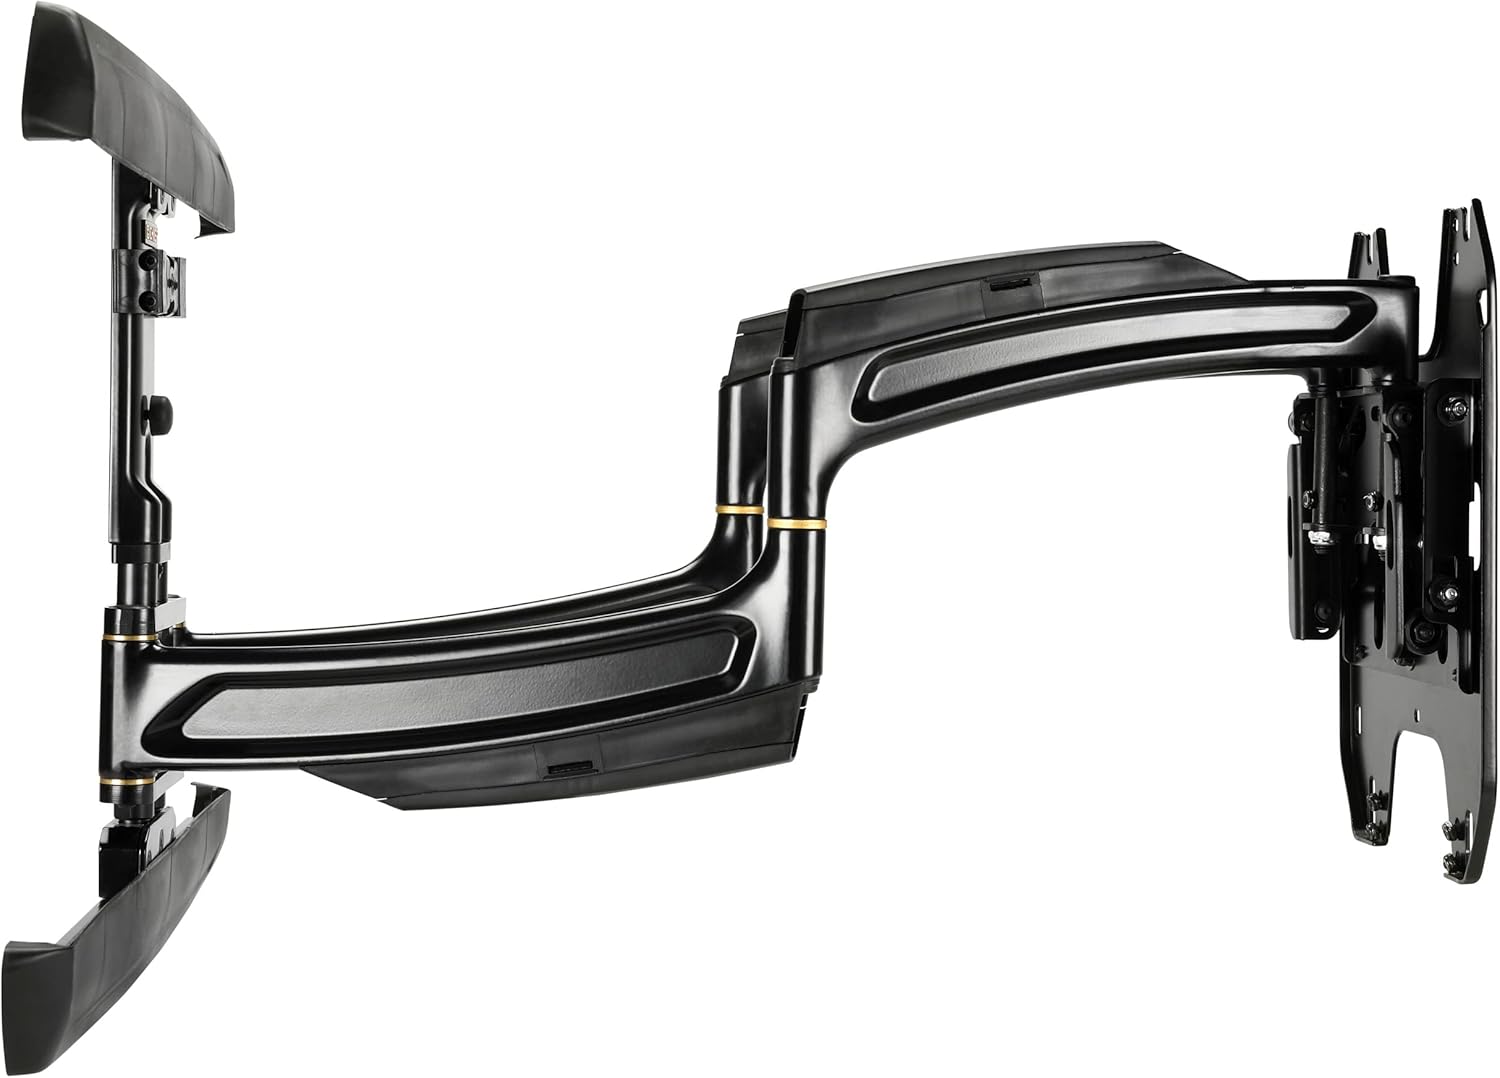
画像: サイド view of the Chief TS325TU mount, illustrating its compact profile when retracted and the extension capability.
- ケーブル管理
Utilize the enclosed, tool-free cable covers and the wide open wall plate to route power and signal cables. This helps maintain a clean and organized appearance.
マウントの操作
The Chief TS325TU mount offers flexible positioning for your display:
- 拡大: The mount extends up to 25 inches (635 mm) from the wall, maximizing viewing potential from various positions in the room.
- The Centris low-profile tilt mechanism allows for up to 15 degrees of effortless fingertip tilt. This enables you to achieve optimal viewing angles and reduce glare.
- スイベル/パン: The dual swing arms allow for significant swivel capabilities, enabling you to turn the display left or right to suit your viewニーズを満たす。
- 横方向シフト: After installation, the display can be shifted laterally along the wall plate by up to 16 inches (406 mm) to fine-tune its horizontal position without re-drilling.

画像: 斜め view of the Chief TS325TU mount, highlighting its robust construction and articulating design.
メンテナンス
定期的なメンテナンスにより、マウントの寿命が長くなり、安全に操作できるようになります。
- クリーニング: Dust the mount regularly with a soft, dry cloth. For stubborn marks, use a slightly damp cloth with mild soap, then wipe dry. Avoid abrasive cleaners or solvents.
- 接続を確認してください: すべてのネジとボルトがしっかりと締まっているか定期的に確認してください。締めすぎないようにしてください。
- 動きのチェック: Occasionally extend, retract, tilt, and swivel the mount to ensure smooth operation. If movement becomes stiff, consult the troubleshooting section or contact support.
トラブルシューティング
| 問題 | 考えられる原因 | 解決 |
|---|---|---|
| マウントが不安定またはぐらつくように感じます。 | Loose wall mounting bolts or display attachment screws. | Carefully re-tighten all wall and display attachment screws. Do not overtighten. If the issue persists, consult a professional installer. |
| Difficulty extending or retracting the arm. | 腕の関節の摩擦。 | Ensure the mount is not overloaded. Check for any obstructions. The mount is designed for smooth movement; excessive force should not be required. |
| Display does not tilt smoothly. | Tilt mechanism tension. | The Centris tilt mechanism is designed for fingertip adjustment. Refer to the full manufacturer's manual for specific tilt tension adjustment procedures if needed. |
| ケーブルがきちんと管理されていません。 | Improper routing through cable covers. | Re-route cables through the integrated cable covers on the arms and wall plate for a cleaner look. |
For complex issues or if you are unsure about any step, please contact Chief customer support or a certified installer.
仕様
| 特徴 | 詳細 |
|---|---|
| 製品モデル | TS325TU |
| ブランド | チーフ |
| 取り付けタイプ | 壁掛け |
| 移動タイプ | 傾斜、関節式 |
| 最大積載量 | 75.00ポンド(34キログラム) |
| Minimum Compatible Display Size | 30インチ |
| Maximum Compatible Display Size | 52インチ |
| 最大延長 | 25インチ(635 mm) |
| 最大傾斜角度 | 15度 |
| Lateral Shift Adjustment | Up to 16 Inches (406 mm) |
| 製品寸法(折りたたみ時) | 1.3 x 29.5 x 17.2 インチ (33 x 749 x 437 mm) |
| アイテム重量 | 1ポンド(0.45kg) Note: This weight seems unusually low for a mount of this type and capacity. Please refer to official manufacturer documentation for precise weight. |
| 材料 | 金属 |
| 色 | 黒 |
保証とサポート
For detailed warranty information, please refer to the official Chief Manufacturing website or the documentation included with your product. Chief provides support for their products to ensure customer satisfaction.
If you require technical assistance, have questions about installation, or need to report a missing part, please visit the official Chief Manufacturing support page or contact their customer service directly. Contact information can typically be found on their webサイト:


