1. はじめに
Thank you for choosing the LogiLink PX0014 7-inch Digital Photo Frame. This device allows you to display your digital photos in a convenient and stylish manner. This manual provides essential information for setting up, operating, and maintaining your digital photo frame to ensure optimal performance and longevity.
2.製品オーバーview
2.1 主な特徴
- 7-inch LCD display with a resolution of 480 x 234 pixels.
- 16:10 aspect ratio for wide-screen viewing。
- Supports JPEG image format.
- Equipped with a USB port for external storage.
- Supports SD/SDHC and Multimedia Card (MMC) memory cards.
- Includes Calendar and Clock functions.
2.2 パッケージ内容
パッケージに以下の項目が含まれているか確認してください。
- LogiLink PX0014 Digital Photo Frame
- 電源アダプター
- ユーザーマニュアル(このドキュメント)
- リモコン (付属している場合)
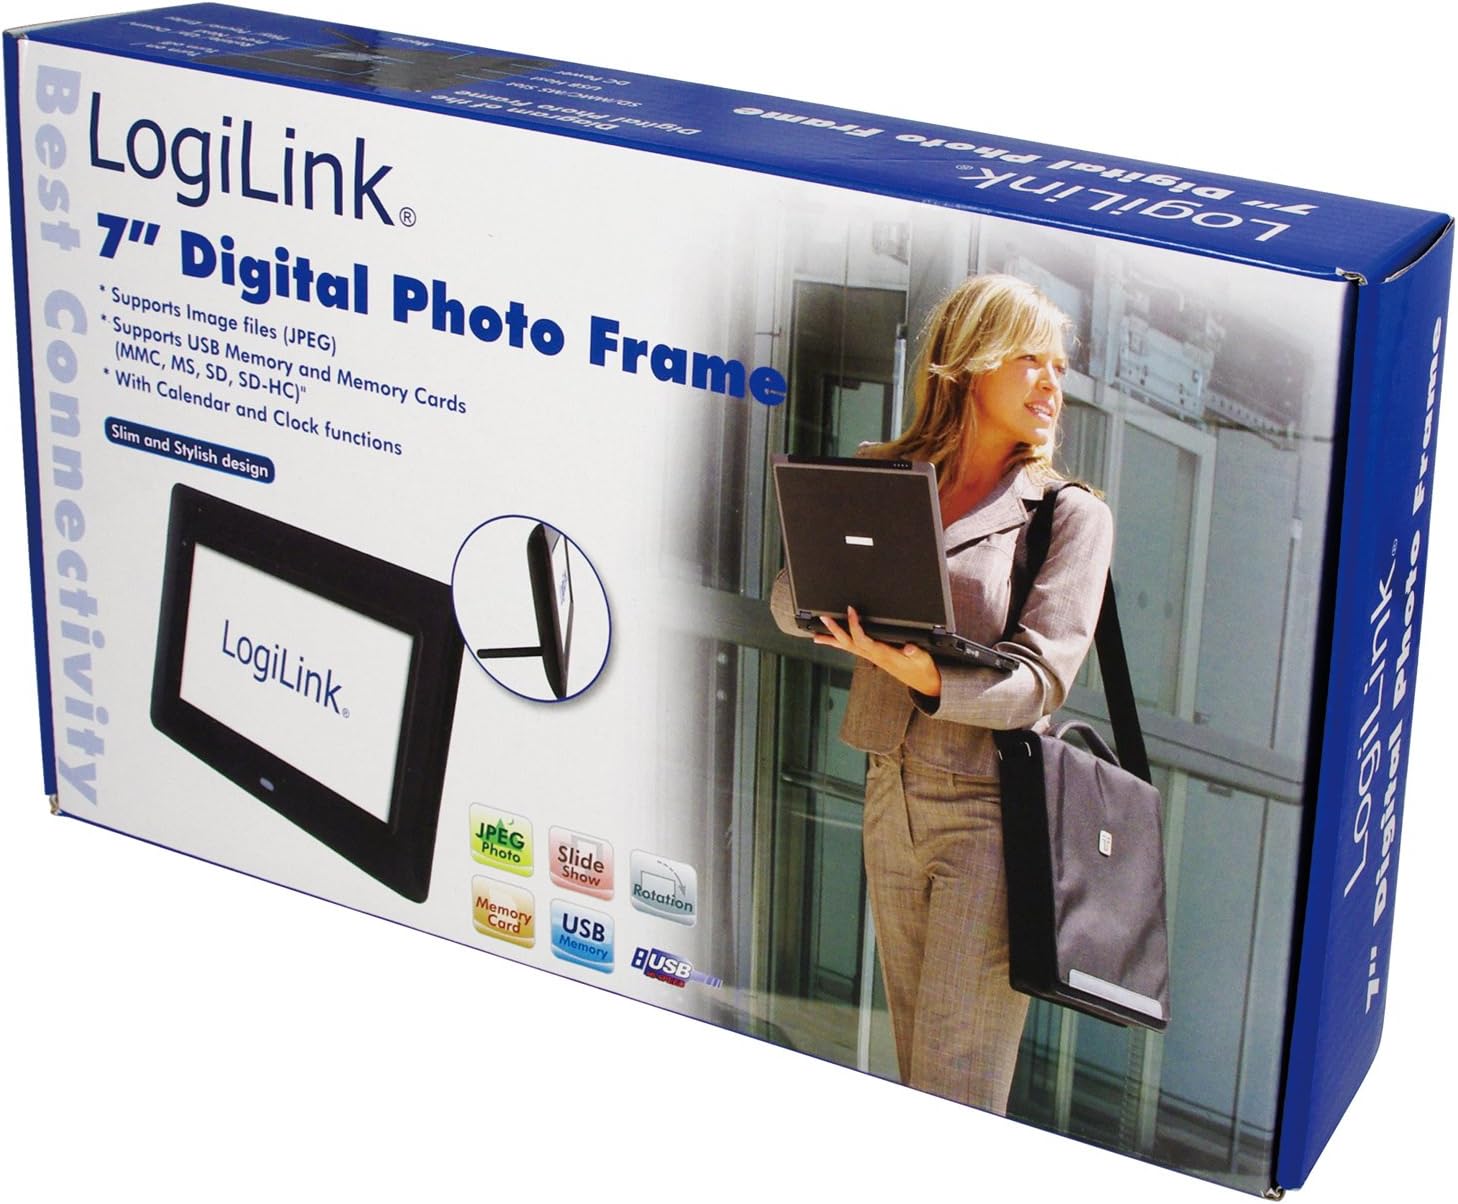
Image 1: The LogiLink PX0014 Digital Photo Frame packaging, showing the product box with a woman holding a laptop and an inset image of the frame itself.
2.3 デバイスのレイアウト
Familiarize yourself with the various parts of your digital photo frame:

Image 2: The LogiLink PX0014 Digital Photo Frame, a black rectangular frame with a white screen displaying the LogiLink logo, positioned in front of its product packaging.
Refer to the diagram in the included quick start guide for specific button and port locations, typically including:
- 電源ボタン: デバイスの電源をオン/オフにします。
- ナビゲーションボタン: For menu navigation and photo selection.
- メモリカードスロット: For SD/SDHC and MMC cards.
- USBポート: USB フラッシュドライブを接続します。
- DC INポート: 電源アダプタを接続します。
- Stand Slot: 付属のスタンドを取り付けるためのものです。
3. セットアップ
3.1電源接続
- Insert the small end of the power adapter into the DC IN port on the back or side of the photo frame.
- 電源アダプタのもう一方の端を標準の電源コンセントに差し込みます。
- The frame should power on automatically or can be turned on using the power button.
3.2 Inserting Memory Cards or USB Drives
The LogiLink PX0014 supports SD/SDHC, MMC memory cards, and USB flash drives.
- Ensure the photo frame is powered off or in standby mode before inserting or removing storage devices.
- For Memory Cards: Locate the appropriate memory card slot. Insert the card with the metal contacts facing down (or as indicated by the slot diagram) until it clicks into place.
- For USB Drives: USBフラッシュドライブをUSBポートに挿入します。
- Once inserted, power on the frame. The frame should automatically detect the storage device and display its contents or prompt you to select a source.
4. 操作手順
4.1 基本的なナビゲーション
Use the buttons on the back/side of the frame or the remote control (if included) to navigate the menus. Typically, there are buttons for:
- メニュー: メインメニューにアクセスします。
- EXIT/RETURN: Goes back to the previous screen or exits the menu.
- ARROW Keys (Up/Down/Left/Right): オプションをナビゲートします。
- 入力/OK: 選択を確認します。
4.2 Viewing写真
- From the main menu, select 'Photo' or 'Browse'.
- Choose the desired storage source (e.g., 'SD Card', 'USB Drive').
- Navigate to the folder containing your JPEG images.
- 画像を選択して view it individually, or select 'Slideshow' to start an automatic presentation of all images in the folder.
- You can typically adjust slideshow intervals and transition effects in the settings menu.
4.3 Calendar and Clock Functions
The LogiLink PX0014 includes a built-in calendar and clock. To access and set these functions:
- Go to the main menu and select 'Settings' or 'System'.
- Look for options like 'Date & Time' or 'Calendar'.
- Adjust the current date, time, and time format as needed using the navigation buttons.
- Some models allow displaying the clock or calendar alongside photos during a slideshow. Check the settings for these display options.
5. メンテナンス
5.1 画面のクリーニング
液晶画面を清掃するには、柔らかく糸くずの出ない布で優しく拭いてください。頑固な汚れには、軽くampen the cloth with water or a non-abrasive screen cleaner. Avoid using harsh chemicals or abrasive materials, as these can damage the screen surface.
5.2 一般的な手入れと保管
- Keep the digital photo frame away from direct sunlight, high temperatures, and excessive humidity.
- デバイスを落としたり、強い衝撃を与えたりしないでください。
- When not in use for extended periods, unplug the power adapter and store the frame in a cool, dry place.
6。 トラブルシューティング
If you encounter issues with your LogiLink PX0014, refer to the following common problems and solutions:
| 問題 | 考えられる原因 | 解決 |
|---|---|---|
| フレームの電源が入りません。 | 電源アダプターが接続されていないか故障しているため、電源コンセントが機能していません。 | 電源アダプターがフレームと電源コンセントの両方にしっかりと接続されていることを確認してください。別のコンセントでお試しください。 |
| 画像は表示されません。 | No memory card/USB drive inserted; unsupported file フォーマット; 破損 files. | Insert a memory card or USB drive with JPEG images. Ensure images are in JPEG format. Try different images or reformat the storage device (backup data first). |
| メモリカード/USBドライブを読み取ることができません。 | Improper insertion; incompatible format; faulty card/drive. | Reinsert the card/drive correctly. Ensure it is formatted to FAT32. Try a different card/drive. |
| リモコンが機能しない。 | Battery depleted; obstruction; remote not pointed at sensor. | Replace the battery. Ensure there are no obstructions between the remote and the frame's IR sensor. Point the remote directly at the sensor. |
7. 仕様
| 特徴 | 詳細 |
|---|---|
| ブランド | ロジリンク |
| モデル番号 | PX0014 |
| 製品寸法 | 24.99 x 24.99 x 15.01 cm |
| アイテム重量 | 300グラム |
| 画面サイズ | 7インチ |
| 解決 | 480 x 234 ピクセル |
| アスペクト比 | 16:10 |
| 接続技術 | USB |
| カードリーダー | Multimedia Card, Memory Card (SD/SDHC) |
| 電源 | コード式電気 |
| 制御方法 | リモートコントロール |
8. 保証情報
LogiLink products are designed and manufactured to the highest quality standards. This product is covered by a limited warranty from the date of purchase. Please refer to the warranty card included in your package or visit the official LogiLink webお住まいの地域に固有の詳細な保証条件については、こちらのサイトをご覧ください。
9. サポート
For technical assistance, product inquiries, or to report any issues not covered in this manual, please contact LogiLink customer support. You can typically find contact information, including phone numbers, email addresses, and online support portals, on the official LogiLink web地点 (www.logilink.eu).


