
1. はじめに
This manual provides essential information for the safe and efficient operation of your PowMr 4000W Hybrid Solar Inverter. This device is designed to convert 24VDC battery power into 110/120VAC pure sine wave electricity, integrating a 140A MPPT charge controller for optimal solar energy utilization. It supports various battery types and off-grid system configurations. Please read this manual thoroughly before installation and use, and retain it for future reference.
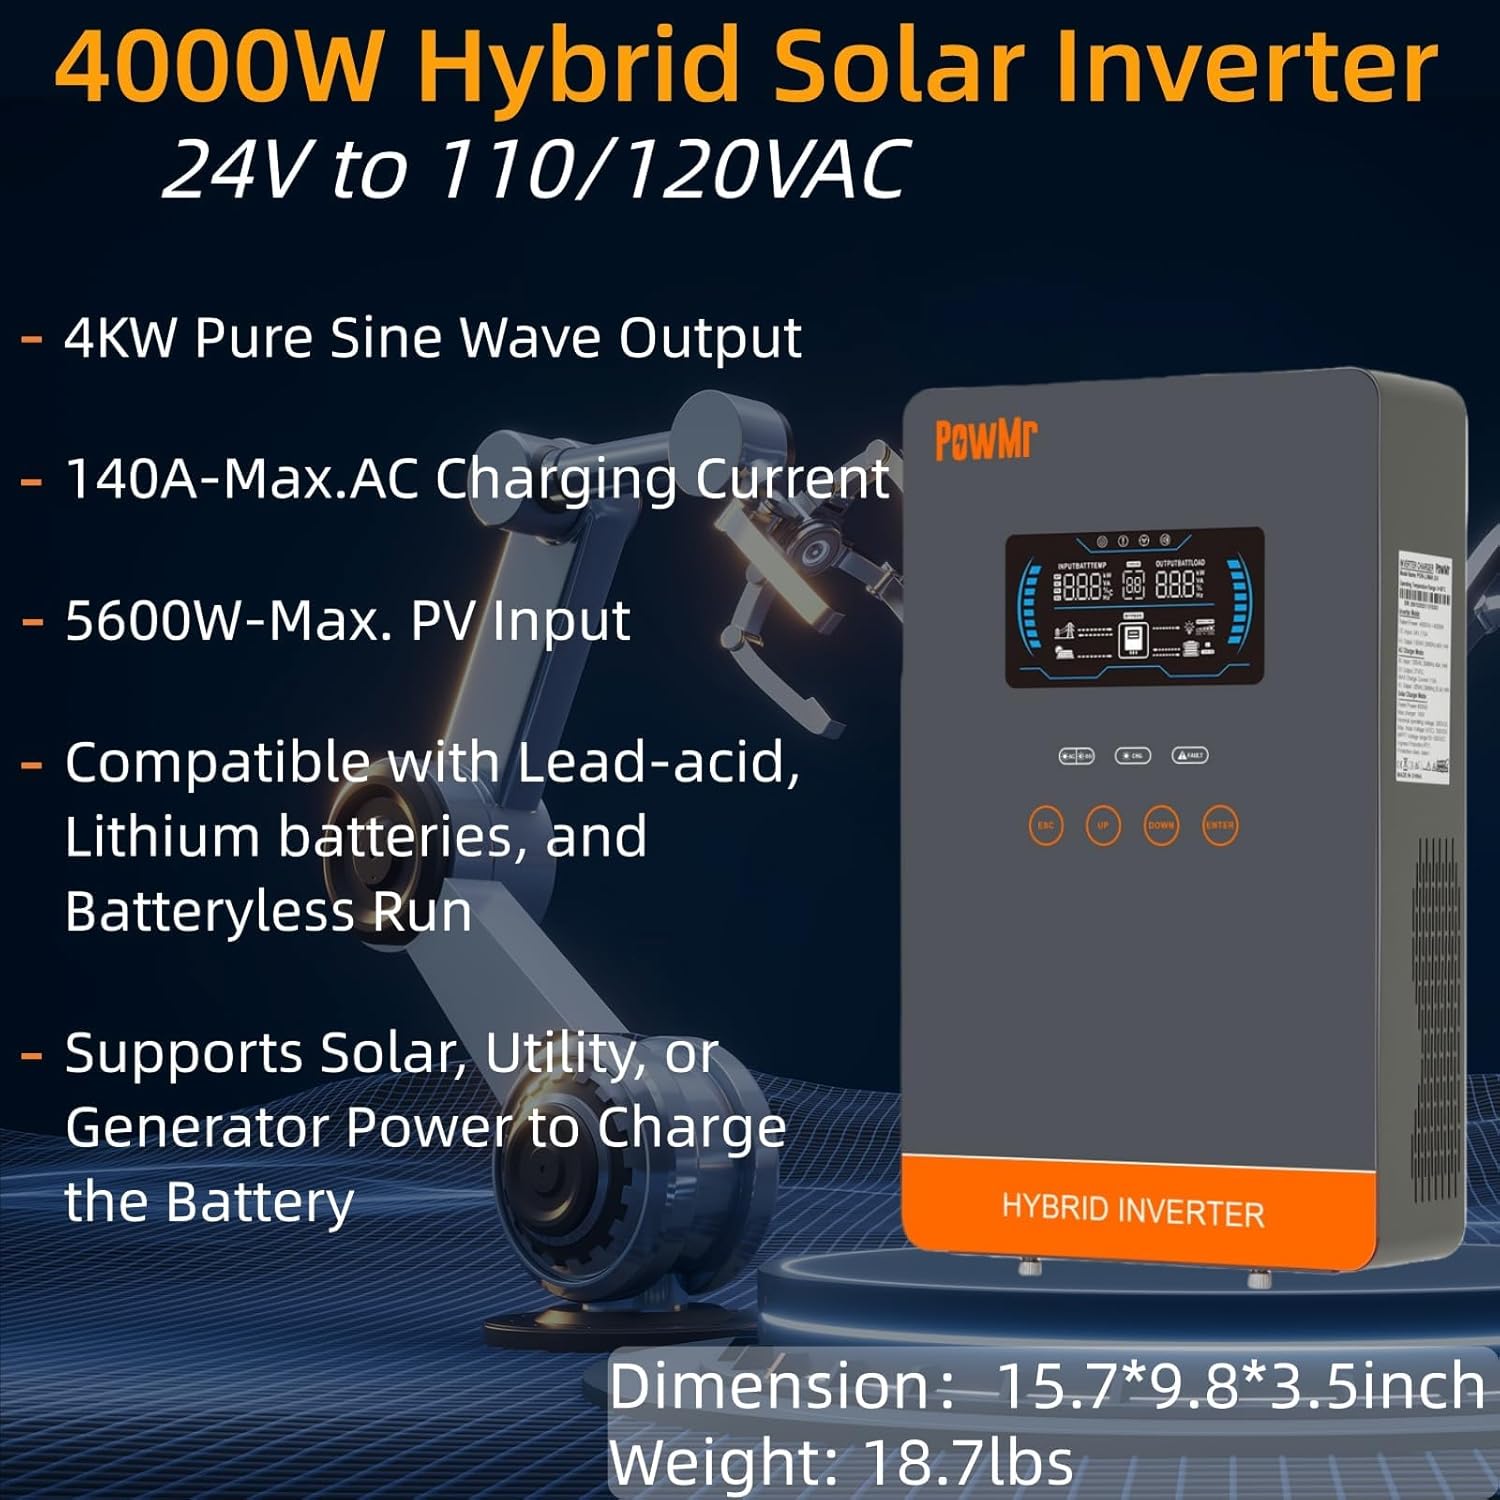
Image: The PowMr 4000W Hybrid Solar Inverter, highlighting its 4KW pure sine wave output, 140A max AC charging current, 5600W max PV input, compatibility with various batteries, and support for solar, utility, or generator power to charge the battery. Dimensions are 15.7"L x 9.8"W x 3.5"H and weight is 18.7lbs.
2. 安全に関する注意事項
感電、火災、または怪我のリスクを軽減するために、常に次の安全上の注意事項を守ってください。
- 設置は資格を持った人が行う必要があります。
- すべての配線のサイズが適切であり、適切に絶縁されていることを確認します。
- インバータを分解しないでください。内部にはユーザーが修理できる部品はありません。
- インバーターは可燃性物質、湿気、直射日光から遠ざけてください。
- 過熱を防ぐために、インバータの周囲に十分な換気を確保してください。
- メンテナンスや配線を行う前に、必ずすべての電源 (PV、バッテリー、AC 入力) を外してください。
- 設置およびメンテナンス中は適切な個人用保護具 (PPE) を着用してください。
3.製品オーバーview
3.1. 特徴
- 純正正弦波出力: 敏感な電子機器に適した安定したクリーンな電力を供給します。
- 統合型MPPT充電コントローラー: 140A MPPT for efficient solar charging.
- 幅広いバッテリー互換性: Supports AGM, Gel, Lead-acid, Lithium-ion, and LiFePO4 batteries.
- バッテリーレスモード: Can power loads directly from PV/AC grid without a connected battery.
- 複数の充電モード: Solar Only, Mains Only, Mains & Solar Hybrid.
- Multiple Load Output Modes: Utility Priority, Solar Priority, Solar and SBU Priority.
- 高度な保護: 短絡、vol以上tage、volの下tage, overload, reverse polarity, over-temperature, and backfill protection.
- ユーザーフレンドリーなインターフェース: 6.25-inch LCD screen with touch controls for real-time data display.
- 通信ポート RS485 and RS232 for monitoring and control.
3.2.コンポーネントの識別

Image: A detailed diagram of the PowMr Hybrid Solar Inverter, showing its front panel and connection ports. Key components labeled include: 1. LCD display, 2. Status indicator, 3. Charging indicator, 4. Fault indicator, 5. Function touch buttons, 6. On/off switch, 7. AC input, 8. AC output, 9. PV input, 10. Battery input, 11. RS485/RS232 communication port.
3.3. 保護機能

Image: An illustration detailing the comprehensive protection features of the inverter, including Short Circuit Protection, Over-Load Protection, Over Current Protection, Backfill Protection, Over Voltage Protection, Over-Temperature Protection, Under Voltage 保護、過充電保護を備えています。
4. パッケージ内容
開梱したら、すべての品目が揃っていて損傷がないことを確認してください。
- PowMr 4000W Hybrid Solar Inverter
- 取扱説明書(本書)
- Communication Cables (if applicable, check packaging)
- 取り付け用ハードウェア(該当する場合はパッケージを確認してください)
5. インストールとセットアップ
5.1. インバータの取り付け
インバーターを設置する適切な場所を選択してください。適切な場所は以下です。
- 屋内で直射日光、雨、ほこりから保護します。
- 通気性がよく、熱を放散できます。
- Close to the battery bank to minimize cable length and voltageドロップ。
- 固くて不燃性の表面に置きます。
5.2.配線図
Follow the wiring diagram carefully. Incorrect wiring can cause damage to the inverter, batteries, or connected loads, and may pose a safety hazard.

Image: A comprehensive wiring diagram illustrating connections for PV input, Mains/Generator input, AC output, and Battery input. It specifies voltage ranges, current ratings, and recommended wire gauges for each connection point.
5.3. バッテリーの接続
The inverter is compatible with various 24V battery types. Ensure your battery bank matches the inverter's voltag要件。

Image: An illustration showing the inverter's compatibility with various battery types including AGM, GEL, FLD (Flooded), LI (Lithium-ion), SLD (Sealed Lead-Acid), and USER-defined settings. It also indicates a maximum battery charging current of 140A (utility charging + solar charging).
- Connect the battery cables to the inverter's battery terminals, ensuring correct polarity (positive to positive, negative to negative).
- すべての接続をしっかりと締めます。
5.4. PVアレイの接続
- Connect the solar panel array to the PV input terminals, observing correct polarity.
- Ensure the PV array's open circuit voltage and power are within the inverter's specifications.
5.5. AC入力/出力接続
- AC 商用電源グリッドまたは発電機を AC 入力端子に接続します。
- AC 負荷を AC 出力端子に接続します。
- Ensure all AC connections are properly grounded.
6. 操作手順
6.1.電源のオン/オフ
- 電源を入れるには: Ensure all connections are secure. First, connect the battery, then the PV array, and finally the AC input. Press the On/Off switch.
- 電源を切るには: Disconnect the AC input, then the PV array, and finally the battery. Press the On/Off switch.
6.2. LCDディスプレイとコントロール
The LCD screen displays real-time system data. Use the touch buttons to navigate menus and adjust settings.
6.3. Setting Charging and Output Modes
インバーターは、さまざまなエネルギー管理ニーズに合わせて柔軟な充電および出力モードを提供します。

Image: An illustration detailing the three charging modes (1. Only Solar, 2. Only Utility, 3. Solar+Utility) and three output modes (1. Utility First, 2. Solar First (default), 3. SBU priority). Steps to set programs are also provided: 1. Long press and hold ENTER button for 3s, 2. Press UP and DOWN to select setting programs, 3. Press ENTER to confirm or ESC to exit.
6.3.1.充電モード
- 太陽光発電のみ: ソーラーパネルからのみバッテリーを充電します。
- メインのみ: Charges batteries exclusively from the AC utility grid or generator.
- 主電源と太陽光ハイブリッド: Prioritizes solar charging, supplementing with AC utility/generator if solar power is insufficient.
6.3.2. 負荷出力モード
- ユーティリティの優先度: Loads are primarily powered by the AC utility grid. Inverter switches to battery/solar if utility fails.
- 太陽光の優先順位: Loads are primarily powered by solar and battery. Inverter switches to utility if solar/battery power is insufficient.
- SBU Priority (Solar-Battery-Utility): Loads are primarily powered by solar, then battery, and finally by utility as a last resort.
7. メンテナンス
定期的なメンテナンスにより、インバーターの最適なパフォーマンスと寿命が確保されます。
- クリーニング: Periodically clean the inverter's exterior with a dry cloth. Do not use liquid cleaners.
- 換気: Ensure cooling fan vents are clear of dust and obstructions. The triple cooling fan design helps dissipate heat efficiently.
- 接続: すべての電気接続部の締め付け具合と腐食の兆候がないか毎年点検してください。
- 環境: Maintain a clean, dry, and well-ventilated environment around the inverter. The dust-proof design helps prevent dust ingress.
8。 トラブルシューティング
If you encounter issues, refer to the following common problems and solutions. For persistent issues, contact customer support.
| 問題 | 考えられる原因 | 解決 |
|---|---|---|
| インバータがオンにならない | バッテリー接続なし; バッテリー残量低下tage; On/Off switch off | Check battery connections; Charge battery; Turn on switch |
| AC出力なし | 過負荷、短絡、インバータ故障 | Reduce load; Check for short circuits; Restart inverter |
| PV充電が機能しない | PVアレイが切断されています。太陽光が不十分です。PVボリュームtag低すぎる/高すぎる | Check PV connections; Ensure adequate sunlight; Verify PV array specifications |
| 過負荷警告 | 接続された負荷がインバータの容量を超える | Disconnect some loads; Ensure total load is within 4000W |
| 高温注意報 | Poor ventilation; Ambient temperature too high | Clear vents; Improve airflow; Relocate inverter if necessary |
9. 仕様
Technical specifications for the PowMr 4000W Hybrid Solar Inverter:
| パラメータ | 価値 |
|---|---|
| モデル番号 | POW-LVM4K-24V-FBA2 |
| Rated Output Power | 4000W |
| 入力ボリュームtage(DC) | 24VDC |
| 出力巻tage(AC) | 110/120VAC |
| 出力波形 | 純粋な正弦波 |
| 最大。 PV開回路Voltage | 350VDC |
| PVアレイMPPTVoltage範囲 | 55~350VDC |
| 最大PV入力電力 | 5600W |
| 定格グリッド入力電圧tage | 110/120VAC |
| Max. Hybrid Charging Current (AC+PV) | 140A |
| コミュニケーション | RS485、RS232 |
| 表示タイプ | 液晶 |
| 寸法(長さ×幅×高さ) | 長さ15.7インチ x 幅9.8インチ x 高さ3.5インチ |
| 重さ | 18.7 lbs (approximate, derived from image) |
10. 保証とサポート
10.1. 保証情報
The PowMr 4000W Hybrid Solar Inverter comes with an 18ヶ月保証 from the date of purchase. This warranty covers defects in materials and workmanship under normal use. It does not cover damage caused by improper installation, misuse, accidents, unauthorized modifications, or natural disasters.
10.2. カスタマーサポート
For technical assistance, warranty claims, or any questions regarding your PowMr inverter, please contact PowMr customer support through the retailer's platform or the official PowMr website. Please have your model number (POW-LVM4K-24V-FBA2) and purchase date available when contacting support.