1. はじめに
Thank you for choosing the West Biking Electric Bike Pump. This compact and portable pump is designed for efficient and accurate inflation of bicycle tires, motorcycle tires, and various inflatables. Featuring a digital display, auto shut-off, and dual valve compatibility, it provides a convenient solution for maintaining optimal tire pressure. Please read this manual carefully before use to ensure proper operation and safety.
2. 箱の中身
- West Biking Electric Bike Pump
- 充電ケーブル
- トラベルポーチ
- Inflation Hose with Presta Valve Adapter
- ボールニードルアダプター
3. 仕様
| 特徴 | 仕様 |
|---|---|
| ブランド | ウェストバイキング |
| モデル | B0GLD9NTPC |
| 色 | 黒 |
| 材料 | プラスチック |
| 電源 | 電池式(充電式) |
| 最大圧力 | 130 PSI (ポンド/平方インチ) |
| バッテリー容量 | 900mAh(内蔵) |
| 重さ | 約169g |
| 寸法 | 7.9cm×5.2cm×3cm(約) |
| バルブの互換性 | Presta and Schrader |
4. 安全情報
- This device is for inflating air only. Do not use it for flammable gases or other liquids.
- 小児の手の届かない場所に保管。 これはおもちゃではありません。
- Do not expose the pump to extreme temperatures, direct sunlight, or moisture.
- Avoid over-inflating. Always check the recommended pressure for your item. The auto shut-off feature helps prevent over-inflation, but manual monitoring is advised.
- ポンプが損傷または故障している場合は操作しないでください。
- Ensure the inflation hose is securely connected to both the pump and the valve before starting inflation.
- The pump may become warm during prolonged use. Allow it to cool down if it feels excessively hot.
5. セットアップ
5.1 ポンプの充電
Before first use, fully charge the pump. Connect the provided charging cable to the pump's charging port and a suitable USB power source. The smart indicator light will show the charging status and extinguish when fully charged.
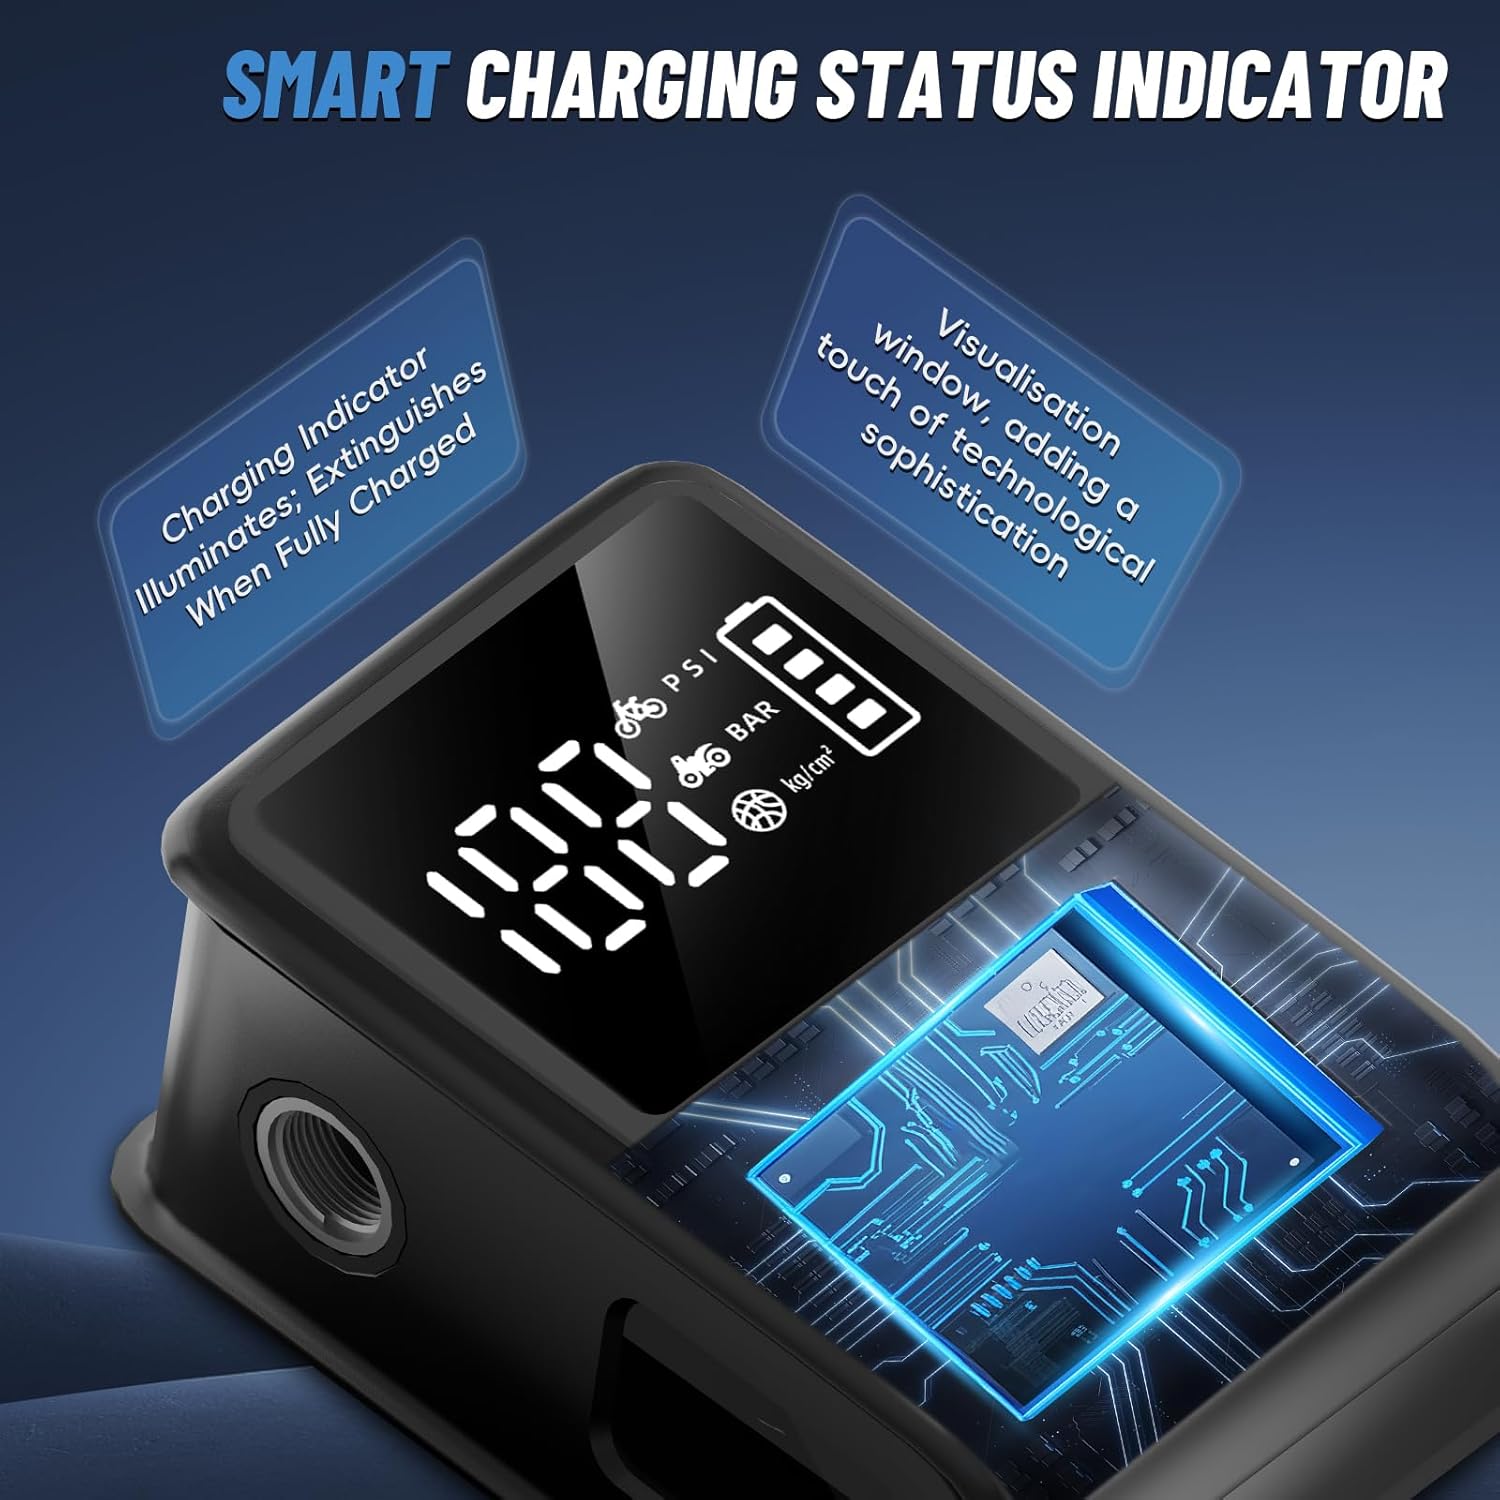
Image: The pump features a smart indicator light that shows charging status. The light extinguishes when fully charged.
5.2 ディスプレイとコントロールの理解
The pump features a clear digital display and intuitive buttons for operation.
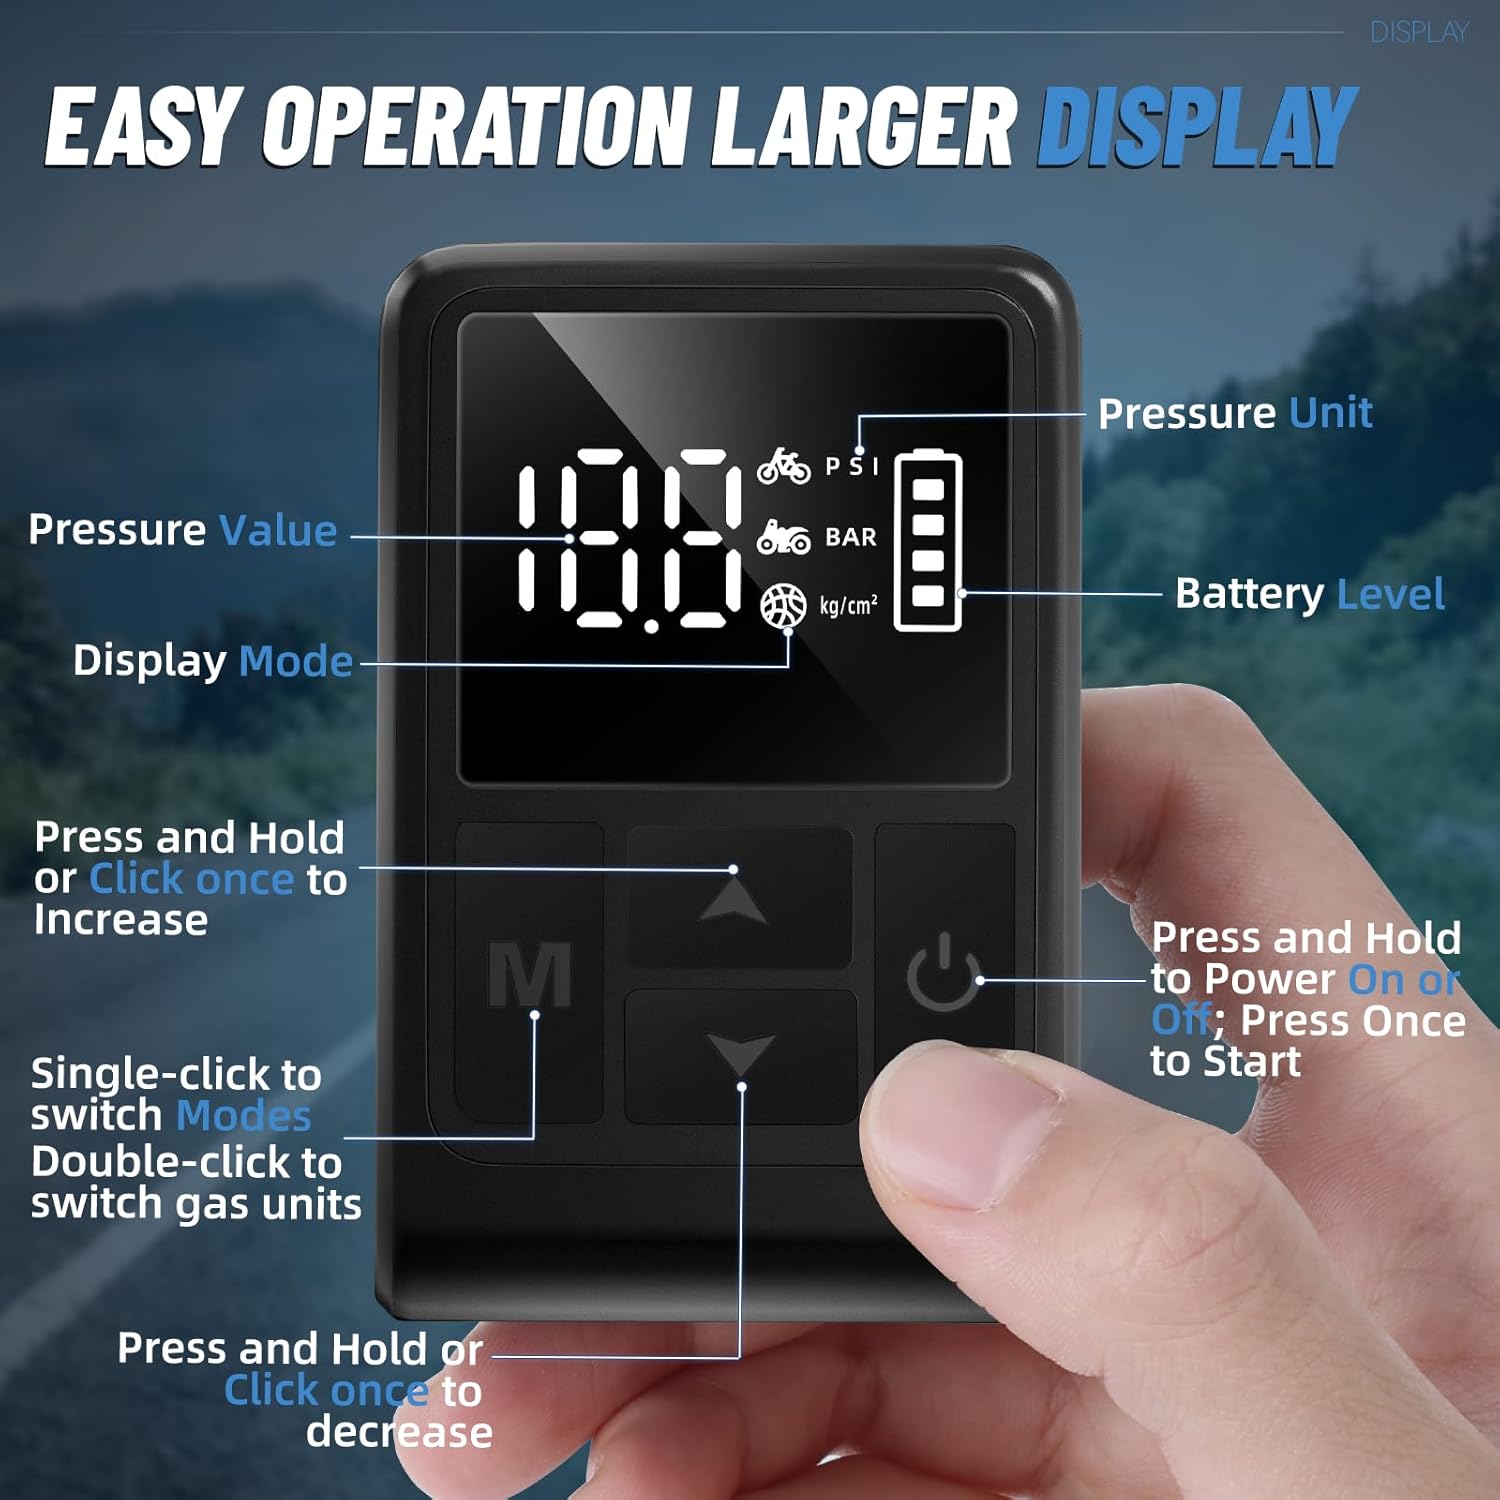
画像: 詳細 view of the pump's digital display showing pressure value, pressure unit, battery level, and control buttons for mode selection, increase/decrease, and power/start.
- 電源ボタン: Press and hold to power on/off. Press once to start/stop inflation.
- モードボタン(M): Single-click to switch between preset inflation modes (e.g., bicycle, motorcycle, ball). Double-click to switch gas units (PSI, BAR, kg/cm²).
- 上/下矢印: Press and hold or click once to increase/decrease the target pressure value.
6. 操作手順
6.1 電源投入と圧力設定
- Press and hold the Power button to turn on the pump. The digital display will illuminate.
- Single-click the Mode (M) button to cycle through preset inflation modes (e.g., bicycle, motorcycle, ball).
- Double-click the Mode (M) button to select your desired pressure unit (PSI, BAR, or kg/cm²).
- Use the Up/Down arrow buttons to set your target pressure.

Image: The digital display shows real-time pressure monitoring and allows for setting target pressure values.
6.2 Connecting to Valves
The pump supports both Presta and Schrader valves. Use the appropriate connection method:
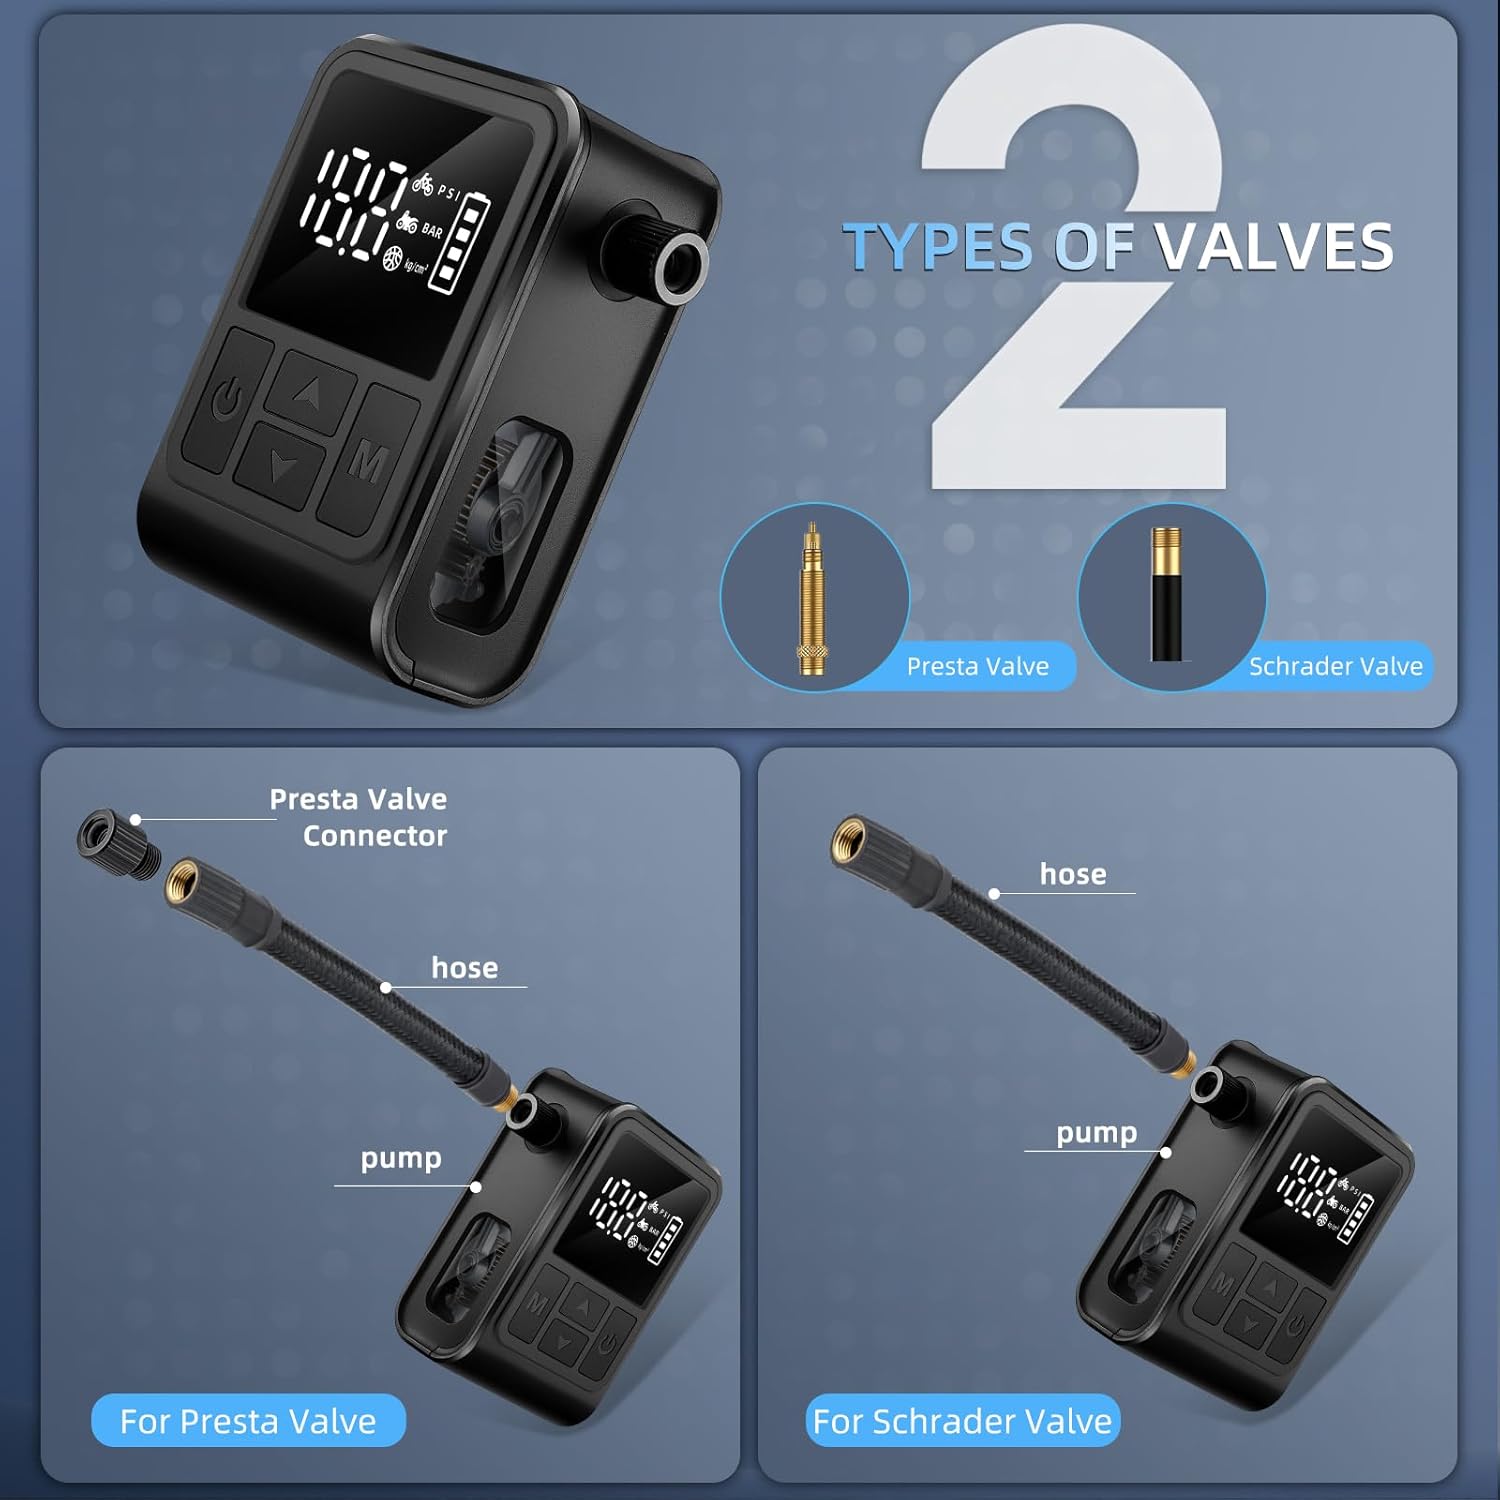
Image: Illustration showing how to connect the pump to both Presta and Schrader valves using the included adapter for Presta.
- シュレーダーバルブの場合: Directly screw the inflation hose onto the Schrader valve stem until secure.
- プレスタバルブの場合: First, loosen the tip of the Presta valve. Then, screw the small Presta valve adapter onto the Presta valve stem. Finally, screw the inflation hose onto the adapter until secure.
6.3 インフレ開始
- Once the target pressure is set and the hose is securely connected, press the Power button once to start inflation.
- The pump will begin inflating, and the digital display will show the real-time pressure.
- The pump features an auto shut-off function. It will automatically stop once the preset pressure is reached.
- いつでも手動で膨張を停止するには、電源ボタンをもう一度押します。

Image: The pump automatically stops inflation once the preset pressure is achieved, preventing over-inflation.
Video: This video demonstrates the operation of the West Biking Electric Bike Pump, including setting pressure and inflating a tire. It highlights the compact size and ease of use.
6.4 After Inflation
- Carefully unscrew the inflation hose from the valve. For Presta valves, remove the adapter first, then tighten the valve tip.
- Press and hold the Power button to turn off the pump.
- Store the pump and accessories in the provided travel pouch.
7. メンテナンス
- クリーニング: Wipe the pump with a soft, dry cloth. Do not use harsh chemicals or immerse the pump in water.
- ストレージ: ポンプは直射日光や極端な温度を避け、涼しく乾燥した場所に保管してください。バッテリーの寿命を延ばすため、長期保管の前に必ずフル充電してください。
- バッテリーのケア: Recharge the battery regularly, even if not in use, to maintain optimal performance. Avoid completely draining the battery frequently.
8。 トラブルシューティング
| 問題 | 考えられる原因 | 解決 |
|---|---|---|
| ポンプがオンにならない | バッテリー残量が少ない; 電源ボタンが正しく押されていない | Charge the pump fully; Press and hold the power button for 3 seconds |
| ポンプが膨らまない | Hose not securely connected; Target pressure not set; Valve issue | Ensure hose is tightly screwed onto valve; Set a target pressure; Check valve for damage or blockage |
| 不正確な圧力測定値 | 接続不良、センサーの故障 | Ensure hose is tightly connected; Contact customer support if issue persists |
| ポンプが予期せず停止する | Target pressure reached (auto shut-off); Low battery; Overheating | Check if target pressure is met; Recharge the pump; Allow pump to cool down |
9. 保証
This West Biking Electric Bike Pump comes with a 90日間の保証 ご購入日から1年間有効です。本保証は通常の使用における製造上の欠陥を対象としています。誤用、事故、不正な改造、または通常の摩耗や損耗による損傷は保証の対象外となります。保証請求の際は、購入証明書を保管してください。
10. サポート
For further assistance, technical support, or warranty inquiries, please contact West Biking customer service through the retailer where you purchased the product or visit the official West Biking store on Amazon: