1. はじめに
The LAUNCH X431 CRP919EBT is a professional automotive diagnostic scanner designed for comprehensive vehicle system analysis. This device features bi-directional control, advanced ECU coding capabilities, and over 35 special service functions. It supports a wide range of vehicle makes and models, offering both wireless Bluetooth and wired USB connectivity for the VCI (Vehicle Communication Interface) adapter.
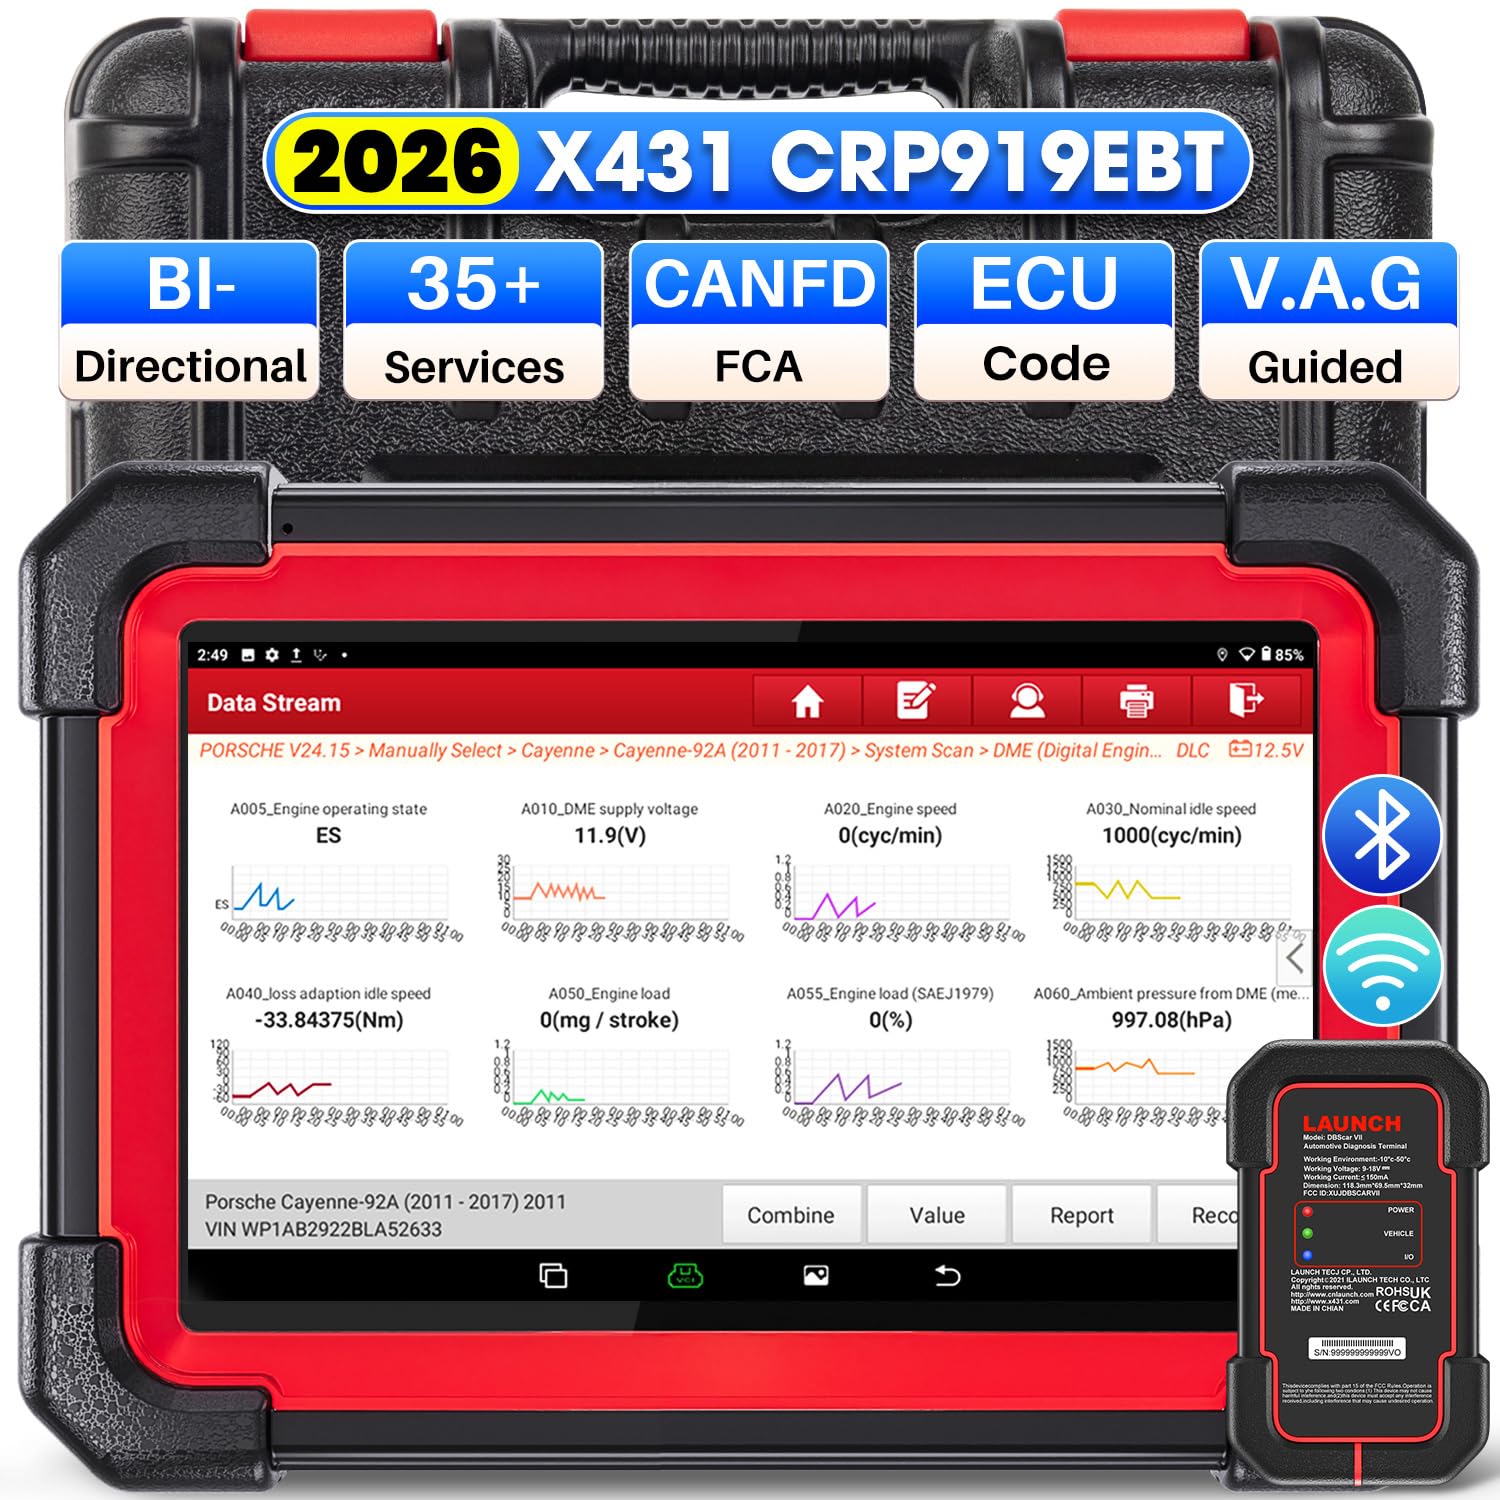
Image 1.1: LAUNCH X431 CRP919EBT Diagnostic Scanner main unit and VCI adapter.
2. 箱の中身
内容物を慎重に開梱し、すべてのアイテムが揃っていることを確認します。
- LAUNCH X431 CRP919EBT Main Unit (Tablet)
- DBSCAR VII VCI Connector
- Diagnostic Cable (OBD-II)
- 電源アダプター
- タイプA - タイプC USBケーブル
- ユーザーマニュアル / クイックスタートガイド
- 収納ケース

画像2.1: 以上view of the LAUNCH X431 CRP919EBT package contents, including the main unit, VCI, cables, and power adapter.
3. セットアップ
3.1 初期充電
Before first use, fully charge the CRP919EBT main unit using the provided power adapter. Connect the adapter to the device's charging port and plug it into a power outlet. The charging indicator will show the charging status.
3.2 VCI Connection to Vehicle
- Locate the vehicle's OBD-II diagnostic port, typically under the dashboard on the driver's side.
- Plug the DBSCAR VII VCI connector into the vehicle's OBD-II port. Ensure a secure connection.
- Once connected, the VCI's 力 indicator will illuminate solid red. The 車両 indicator will illuminate green and flash when communicating with the vehicle.
3.3 VCI Connection to Main Unit
The DBSCAR VII VCI adapter supports both wireless (Bluetooth) and wired (USB) connections to the CRP919EBT main unit.
- Bluetooth接続: The VCI will automatically attempt to pair with the main unit via Bluetooth. The 入出力 indicator on the VCI will illuminate blue when wirelessly communicating with the tablet. This allows for a diagnostic range of 33-67 feet (10-20 meters).
- USB接続: For a wired connection, use the provided Type-A to Type-C USB cable to connect the VCI to the main unit. The 入出力 indicator on the VCI will illuminate red when connected via USB cable.
Image 3.1: DBSCAR VII VCI Connector showing power, vehicle, and I/O indicators, along with USB and Bluetooth connectivity options.
4. 操作手順
4.1 Vehicle Selection and AutoVIN
- Turn on the CRP919EBT main unit.
- メインメニューから「診断」を選択します。
- Choose 'AutoVIN' to automatically identify the vehicle's make, model, and year. Alternatively, select 'Manual Choose Model & Year' if AutoVIN is not successful.
4.2 完全なシステム診断
This function allows for a comprehensive scan of all available electronic control modules (ECMs) in the vehicle, including Engine, ABS, SRS, Transmission, TPMS, and more.
- After vehicle identification, select 'Full System Scan'.
- このツールはすべてのシステムをスキャンし、検出された診断トラブル コード (DTC) を表示します。
- You can then select a specific system to view detailed information, read/clear fault codes, and access live data streams.
- The device supports 8-in-1 live data streams, allowing for simultaneous monitoring of multiple parameters.

Image 4.1: Display illustrating the full system diagnostic process and bi-directional control capabilities.
4.3 双方向制御(アクティブテスト)
Bi-directional control allows the diagnostic tool to send commands to vehicle ECUs to perform specific tests and functions, verifying component functionality without using the vehicle's controls. This includes activating components like fuel pumps, cycling ABS solenoids, or performing injector tests.
- From the diagnostic menu for a specific system, select 'Active Test' or 'Bi-directional Control'.
- テストするコンポーネントまたはシステムを選択します。
- Follow the on-screen prompts to execute the test and observe the component's response.
4.4 Special Functions (Service Resets)
The CRP919EBT offers over 35 special service functions for various maintenance and reset procedures. These functions are typically found under 'Special Functions' within a specific vehicle system.
- オイルリセット
- ブレーキリセット
- SAS(ステアリングアングルセンサー)のキャリブレーション
- ABS出血
- バッテリーリセット
- インジェクターコーディング
- スロットル適応
- TPMSリセット
- DPF再生
- ギアボックスマッチング
Note: The availability and specific procedures for these functions vary by vehicle make, model, and year. Always confirm compatibility before performing any service.

Image 4.2: Visual representation of various special service functions available on the diagnostic tool.
4.5 ECU Coding Functions
The device supports advanced ECU coding capabilities, allowing for customization and maintenance of electronic control units.
- オンラインコーディング: Supported for VW, Audi, Skoda, and Seat vehicles.
- オンラインキャリブレーション: 正確な調整のために。
- Online Account Service Login: For accessing manufacturer-specific functions.
- ECU Replacement/Recode/Matching: For adapting new or replacement ECUs.
- PMI機能: Allows transferring data from an original module to a new unit for module replacement (specific to Ford, Lincoln, Mazda).
- 隠し機能のロックを解除: Access and activate dormant features in certain vehicles.

Image 4.3: Illustration of various ECU coding and component matching functions.
4.6 Advanced Protocols and Features
- CANFD & DOIP: Compatible with newer vehicle communication protocols, including GM (2019+), Volvo (2018+), BMW (2017+), Land Rover (2017+), and Jaguar (2017+).
- FCA自動認証: Supports secure access to FCA (Fiat Chrysler Automobiles) vehicles from 2018-2026 (Fiat, Chrysler, Alfa Romeo, Dodge, Jeep, etc.) via registered AutoAuth.
- VAGガイド機能: Provides step-by-step instructions for performing complex functions on VW, Audi, Seat, and Skoda vehicles.

画像4.4: 以上view of advanced protocol support and guided functions for various car brands.
5. メンテナンス
5.1ソフトウェアアップデート
The CRP919EBT includes 2 years of free software updates. Regular updates ensure access to the latest vehicle coverage, bug fixes, and new features. Connect the device to a Wi-Fi network and navigate to the 'Software Update' section in the main menu to check for and install updates.
5.2 清掃と保管
- Clean the device screen and body with a soft, damp 布で拭いてください。研磨剤入りの洗剤や溶剤は使用しないでください。
- Keep the VCI connector clean and free of debris.
- Store the device and its accessories in the provided storage case in a cool, dry place when not in use.
5.3バッテリーケア
バッテリーの寿命を延ばすには、デバイスを頻繁に完全に放電することは避けてください。特に長期間保管する場合は、定期的に充電してください。
6。 トラブルシューティング
If you encounter issues with your CRP919EBT, refer to the following common troubleshooting tips:
- デバイスの電源が入らない: Ensure the device is fully charged. Connect it to the power adapter and try again.
- VCI が車両に接続されていません: Verify the VCI is securely plugged into the OBD-II port. Check the vehicle's ignition status (usually needs to be ON).
- VCI not connecting to main unit (Bluetooth): Ensure Bluetooth is enabled on the main unit. Try re-pairing the VCI in the device settings. Ensure the VCI is within the 33-67 feet range.
- 車両との通信なし: Check all connections. Ensure the vehicle's battery is adequately charged. Verify the vehicle's make, model, and year selection is correct.
- ソフトウェアの問題: ソフトウェアの更新を実行して、最新バージョンであることを確認します。
For persistent issues or advanced technical support, please contact LAUNCH customer service.
7. 仕様
The following table outlines the key specifications of the LAUNCH X431 CRP919EBT diagnostic scanner:

Image 7.1: Comparison chart highlighting the specifications of the CRP919EBT model.
| 特徴 | 仕様 |
|---|---|
| ブランド | 打ち上げ |
| モデル | CRP919EBT |
| オペレーティング·システム | アンドロイド10.0 |
| プロセッサ | 4-Core High-efficiency Processor |
| メモリ | 4GB RAM / 64GB ROM |
| 画面サイズ | 7インチ |
| バッテリー容量 | 6300mAh |
| 接続性 | Bluetooth (DBSCAR VII VCI), USB |
| Wi-Fi | 5G & 2.4 GHz Dual WiFi |
| カメラ | 8MPリアカメラ |
| 車両補償範囲 | 150+ Brands (1996-2026) |
| 特殊機能 | 35+ Service Resets |
| 更新期間 | 2年間無料アップデート |
| サポートされているプロトコル | CANFD, DOIP, OBDII/EOBD |
| 言語 | 23+ Languages |
8. 保証とサポート
8.1ソフトウェアアップデート
The LAUNCH X431 CRP919EBT includes 2 years of free software updates from the date of activation. After this period, updates may be available for purchase.
8.2 Optional Extension Modules
The CRP919EBT supports integration with various optional extension modules to expand its functionality:
- VSP600 Endoscope
- BST360 Battery Tester
- iTPMS/TSGUN TPMS Tool
- X-PROG3 Tool
8.3 テクニカルサポート
For technical assistance, product inquiries, or warranty claims, please refer to the contact information provided in your product packaging or visit the official LAUNCH webサポート リソースのサイト。