
1. はじめに
This manual provides detailed instructions for the installation, operation, and maintenance of your REPTITRIP Dual Reptile Light Fixture. This device is designed to manage two lamp sockets independently: one with a PID dimming thermostat for precise temperature control and another with a programmable timer for day/night heating and lighting cycles. Proper use ensures a stable and healthy environment for your reptiles.
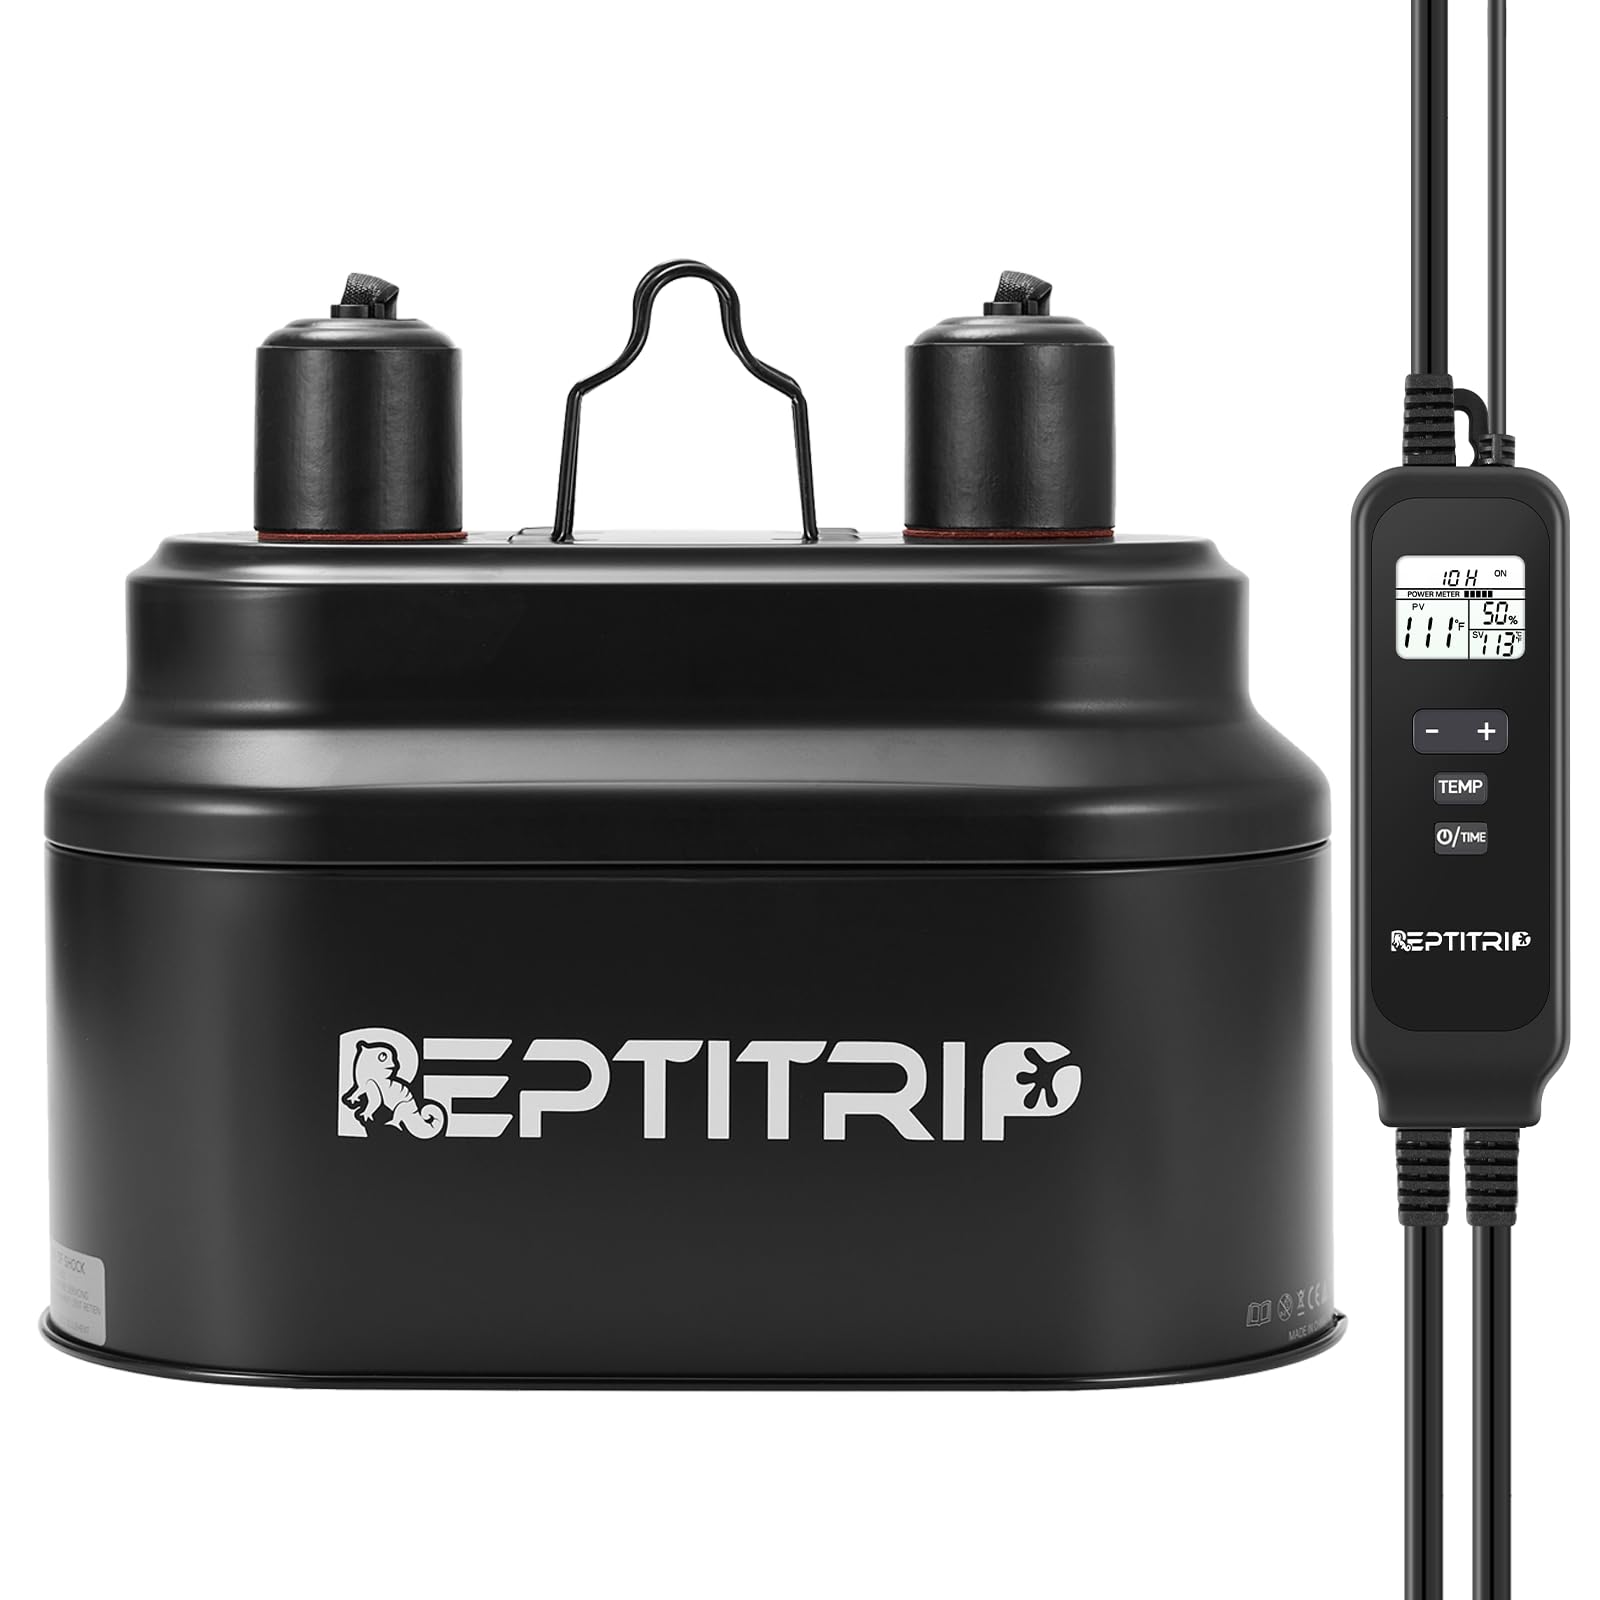
Image 1.1: REPTITRIP Dual Reptile Light Fixture with its integrated controller and temperature probe.
2. 安全情報
Please read all safety instructions before operating the device to prevent injury or damage.
- 電源のボリュームを確認してくださいtage matches the device's requirements (100-120V, 50Hz).
- 最大ワット数を超えないでくださいtagソケットあたり160W。
- Thermostat Socket Warning: Do NOT use full-spectrum sun lamps, UVB bulbs, LED lights, or energy-saving bulbs in the thermostat socket. This socket is designed for heat-emitting bulbs only (e.g., ceramic heat emitters, infrared lamps, basking spot bulbs).
- Keep the device and power cords away from water and excessive moisture.
- Always unplug the device from the power outlet before performing any maintenance, cleaning, or bulb replacement.
- The high-temperature warning label on the lamp will turn red if the surface temperature exceeds 113°F (45°C). This indicates high heat and can also confirm bulb functionality.
- 過熱を防ぐために、器具の周囲に適切な換気を確保してください。
3. パッケージ内容
パッケージにすべてのコンポーネントが含まれていることを確認します。
- Dual Reptile Light Fixture with integrated controller
- 温度プローブ
- 取扱説明書
4 製品の特徴
The REPTITRIP Dual Reptile Light Fixture offers advanced control for your terrarium environment:
- Dual Socket Control: Manages two lamp sockets independently for diverse environmental needs.
- PID Dimming Thermostat: One socket provides precise temperature regulation (50-140°F) by adjusting bulb brightness, ensuring stable heat without large fluctuations.
- プログラム可能なタイマー: The second socket features a timed on/off function with a selectable duration of 1-24 hours, ideal for simulating natural day/night cycles.
- LCDディスプレイ: A clear screen shows set temperature, current probe temperature, output power, and timer duration for easy monitoring.
- Enhanced Reflection: The polished interior surface of the fixture optimizes light and UVB reflection, improving bulb efficiency.
- 効率的な放熱: Multiple ventilation holes prevent bulb damage from overheating, extending bulb lifespan.

画像4.1: 以上view コントローラーのディスプレイとボタン。

Image 4.2: The aluminum dome interior designed for enhanced reflection.
5. セットアップ
Follow these steps to set up your REPTITRIP Dual Reptile Light Fixture:
- 器具を組み立てる: Place the fixture securely on top of your terrarium mesh lid or suspend it using appropriate hanging accessories (not included).
- 電球を挿入します: Screw the desired bulbs into each socket. Ensure bulbs are compatible with the respective socket's function (refer to Section 4).
- コントローラーを接続: Ensure the controller is securely connected to the fixture.
- 温度プローブの位置: Place the temperature probe inside the terrarium where you need to monitor and maintain the temperature. For accurate readings, position it directly under the heat source but out of direct contact with the bulb or animal.
- プラグイン: 電源プラグを適切な電源コンセントに接続します。

Image 5.1: Fixture installed over a terrarium with the controller in use.

Image 5.2: Visual guide for assembling the fixture components.

Image 5.3: Recommended temperature sensor placement.
6. 操作手順
6.1. Thermostat Socket Operation
The thermostat socket regulates temperature using PID dimming control. It is suitable for ceramic heat emitters, infrared lamps, and basking spot bulbs (max 160W).

Image 6.1.1: Compatible bulb types for the thermostat socket.
- 目標温度を設定: Press the 'TEMP' button on the controller. Use the '+' and '-' buttons to adjust the desired temperature between 50-140°F. The display will show the set temperature.
- モニター: The controller will automatically adjust the power output to the bulb to maintain the set temperature, displaying the current probe temperature and output power percentage.
- 重要な注意: If the target temperature is not reached, consider using a higher wattage bulb (up to 160W). Ensure the temperature probe is correctly placed.

Image 6.1.2: How to set the target temperature.
6.2. Timer Socket Operation
The timer socket provides timed on/off functionality for lighting or heating elements. It is compatible with a wider range of bulbs including full-spectrum sun lamps, UVB bulbs, LED lights, and energy-saving bulbs (max 160W).

Image 6.2.1: Compatible bulb types for the timer socket.
- タイマー時間の設定: Press the 'U/TIME' button on the controller. Use the '+' and '-' buttons to select the desired operating duration (1-24 hours). The cycle starts immediately after configuration.
- タイマーリセット: If the timer loses power and is re-energized, the on/off time points will reset based on the re-powering time as the new starting point. Reconfigure the timer if this occurs.

Image 6.2.2: How to set the timer.
6.3. Setting Example

図6.3.1: 例ample settings for a terrarium environment.
例えばample, to set a sun lamp for 8 hours daily and a ceramic heat emitter to maintain 85°F:
- Timer Socket (Sun Lamp): Set the timer to '8H'. The sun lamp will turn on for 8 hours from the moment the timer is set.
- Thermostat Socket (Ceramic Heat Emitter): Set the target temperature to '85°F'. The ceramic heat emitter will adjust its output to maintain this temperature continuously.
6.4. 指導ビデオ
Video 6.4.1: A detailed video guide on how to set up and operate the REPTITRIP Dual Reptile Light Fixture's functions.
7. メンテナンス
定期的なメンテナンスにより、器具の最適なパフォーマンスと寿命が確保されます。
- クリーニング: Disconnect power before cleaning. Wipe the exterior of the fixture and controller with a dry, soft cloth. Do not use abrasive cleaners or immerse any part in water.
- 電球の交換: Ensure the fixture is unplugged and bulbs are cool before replacing. Screw in new bulbs gently to avoid damage.
- プローブのお手入れ: Periodically check the temperature probe for any damage or debris. Clean gently if necessary.
8。 トラブルシューティング
問題が発生した場合は、次のトラブルシューティング ガイドを参照してください。
| 問題 | 考えられる原因 | 解決 |
|---|---|---|
| Thermostat socket not heating / temperature too low | Incorrect bulb type; Bulb wattage too low; Probe misplaced or faulty. | Ensure a compatible heat-emitting bulb is used. Increase bulb wattage (up to 160W). Reposition probe directly under heat source. Check probe connection. |
| Timer socket not turning on/off as scheduled | Timer reset due to power interruption; Incorrect timer setting. | Reconfigure the timer settings. Ensure continuous power supply. |
| LCDディスプレイが機能しない | No power; Loose connection; Device malfunction. | Check power outlet and connections. Unplug and re-plug the device. If issue persists, contact support. |
| High-temperature warning label is red | Normal operation for high heat; Bulb too close to surface; Insufficient ventilation. | This can indicate normal operation. Ensure adequate distance between bulb and terrarium surface. Check for proper ventilation. |
9. 仕様
| 特徴 | 仕様 |
|---|---|
| モデル名 | LFD02+PT02T |
| ブランド | レプティトリップ |
| 巻tage | 100-120V |
| 頻度 | 50Hz |
| 最大ワットtagソケットあたりe | 160W |
| 総ワットtage | 320W |
| 電球ベース | E26 |
| Thermostat Temp Range | 50~140°F |
| タイマー設定範囲 | 1~24時間 |
| 制御方法 | タッチボタン |
| 材料 | 金属 |
| 寸法(幅×高さ) | 5.5"W x 7.5"H (Fixture only) |
| アイテム重量 | 1.7ポンド |

Image 9.1: Physical dimensions of the fixture.
10. 保証とサポート
For warranty information, please refer to the manufacturer's warranty description provided with your purchase or visit the official REPTITRIP website. For technical support or further assistance, please contact REPTITRIP customer service through their official channels.