1. はじめに
Thank you for choosing the Dessiz Commercial Ice Maker Machine, Model DZB-45. This manual provides essential information for the safe and efficient operation, installation, and maintenance of your ice maker. Please read this manual thoroughly before initial use and retain it for future reference.
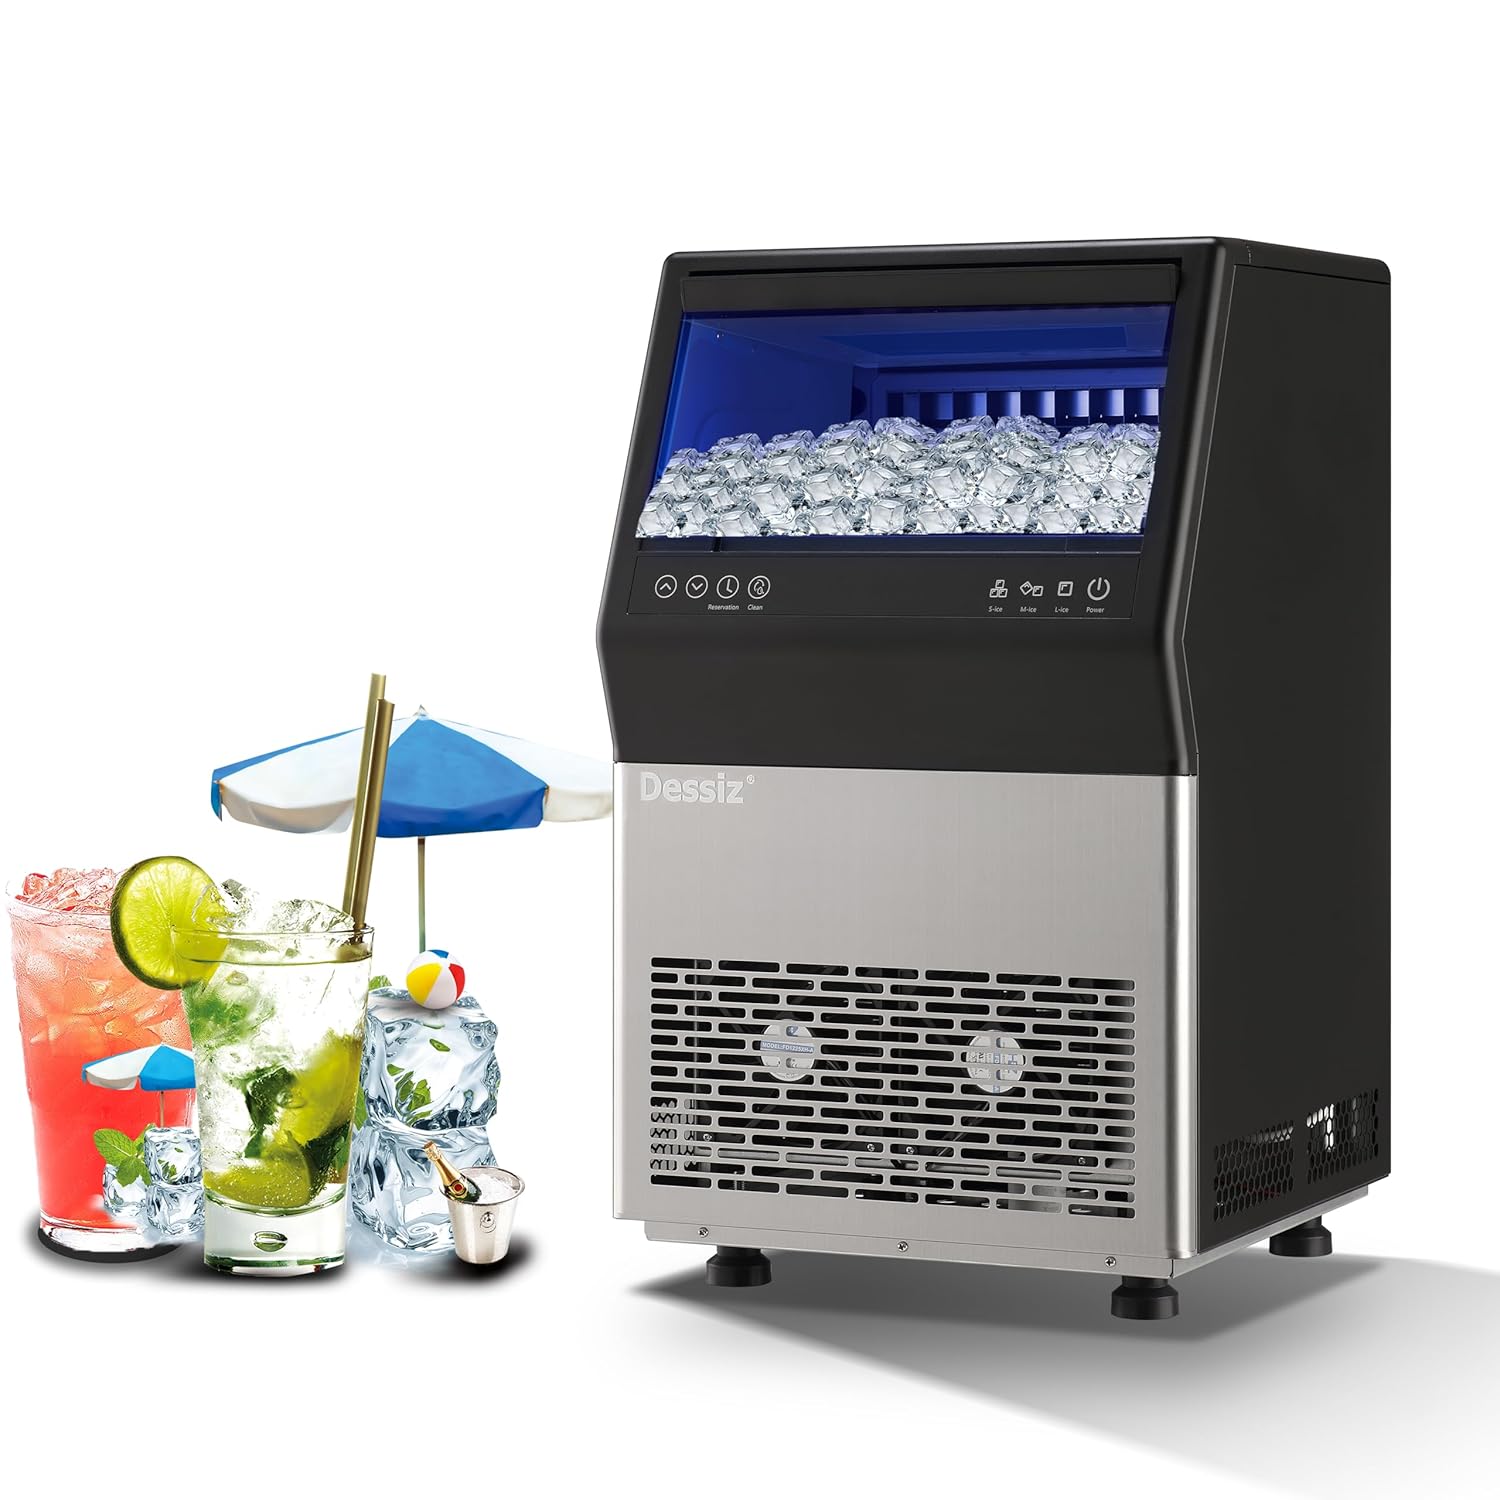
Figure 1: Dessiz Commercial Ice Maker Machine, Model DZB-45. This image shows the front view of the ice maker, featuring a black top section with a clear lid revealing ice cubes, a control panel, and a stainless steel lower section with ventilation grilles.
2. 安全に関する注意事項
To prevent injury to users or damage to the product, observe the following safety precautions:
- 製氷機が安定した水平な面に設置されていることを確認してください。
- 電源コードやプラグが破損した状態でアプライアンスを操作しないでください。
- 通気口に障害物がないようにしてください。
- 機器、電源コード、プラグを水やその他の液体に浸さないでください。
- 清掃やメンテナンスを行う前に、製氷機のプラグを抜いてください。
- Allow the unit to stand upright for at least 24 hours before initial use to allow refrigerants to settle.
- This appliance is designed for commercial and household use.
3.製品オーバーview およびコンポーネント
The Dessiz Commercial Ice Maker Machine is designed for efficient ice production with a large storage capacity. Key components include:
- コントロールパネル: For operating functions and settings.
- 氷保管容器: Holds up to 15 lbs of ice.
- 給水口: Supports both tap water and bottled water connections.
- 排水口: For water drainage during cleaning or defrosting.
- 調節可能な足: For leveling the unit.

図2:以上view of Dessiz Ice Maker components and dimensions. This image displays the ice maker with callouts for its dimensions (23.8"H x 15.74"W x 14.17"D) and a list of included accessories such as sewage pipe, connectors, buckles, water inlet pipes, ice shovel, and ice cube bags.
4. セットアップとインストール
4.1 開梱
- すべての梱包材を慎重に取り除きます。
- Inspect the ice maker for any shipping damage.
- Remove any protective films or stickers from the unit.
4.2 配置
- 製氷機を堅固で水平な場所に設置します。
- Ensure adequate ventilation around the unit. Maintain at least 5 inches of space from walls or other appliances.
- 直射日光や熱源を避けてください。
- 安定性を確保するために、水平調整脚を調整します。
4.3 水接続
The Dessiz ice maker supports two water input methods:
- Direct Tap Water Supply: Connect the provided water inlet pipe to a potable water source and the designated inlet on the ice maker. Ensure all connections are secure to prevent leaks.
- Self-Priming Bottled Water: Use the self-priming water pipe to draw water from a gallon-sized bottled water container.

Figure 3: Illustration of the two water input methods. This image shows diagrams for connecting an external tap water supply with a filter and using a self-priming pump for bottled water, highlighting the tap water inlet and self-absorbing water inlet ports on the back of the machine.
4.4 初期洗浄
Before first use, it is recommended to clean the ice maker. Refer to the 'Maintenance' section for detailed cleaning instructions.
5. 操作手順
5.1コントロールパネルオーバーview
The ice maker features an intuitive LED control panel for easy operation.

図4:詳細 view of the LCD control panel. This image highlights the various buttons and indicators on the panel, including Power, Ice Making Mode (S-ice, M-ice, L-ice), Water Intake Mode (Tap-water, Bottled water), Reservation, Clean, Ice Full, Add Water, Timeout, and HT-protection.
5.2 電源のオン/オフ
- To turn on the ice maker, press the 力 ボタン。
- To turn off the ice maker, press the 力 もう一度ボタンを押します。
5.3 Ice Making Modes
Select your desired ice cube thickness:
- S-ice (Small): Produces thinner ice cubes in approximately 8-10 minutes.
- M-ice (Medium): Produces medium-sized ice cubes in approximately 10-12 minutes.
- L-ice (Large): Produces thicker ice cubes in approximately 12-15 minutes.
The machine produces 45 ice cubes per cycle and up to 100 lbs of ice in 24 hours.

Figure 5: Visual representation of adjustable ice cube thickness. This image shows three ice cube sizes (S, M, L) with corresponding ice making times (8-10 mins, 10-12 mins, 12-15 mins) and examples of drinks suitable for each size.
5.4 予約機能
The reservation function allows you to schedule ice production up to 24 hours in advance.
- を押す 予約 ボタン。
- 使用 Up そして 下 arrows to set the desired time for ice production to begin.
- Confirm the setting. The machine will start making ice at the scheduled time.

Figure 6: Illustration of the 24-hour reservation feature. This image depicts a timeline from night closure to getting full ice, indicating the ability to set a timer for ice production.
6. メンテナンス
6.1 自動セルフクリーニング
The ice maker is equipped with an automatic self-cleaning function:
- 給水が接続されていることを確認してください。
- を押し続けます クリーン button for more than 5 seconds to initiate the automatic cleaning cycle.
- You can adjust the cleaning duration in 5-minute increments using the Up そして 下 ボタン。

Figure 7: Visual guide for activating the automatic cleaning function. This image shows the control panel with the 'Clean' button highlighted and instructions to press it for more than 5 seconds to start the cycle, along with options to adjust duration.
6.2定期的な清掃
For optimal performance and hygiene, regular manual cleaning is recommended:
- 製氷機の電源プラグをコンセントから抜きます。
- Clean the inner wall of the sink and ice storage bin with a neutral cleaner.
- きれいな水で十分に洗い流してください。
- 外側を柔らかくて乾いた布で拭き取ります。amp 布。
- Clean the water lines and drain periodically to prevent mineral buildup.
6.3 解凍
If ice accumulates excessively, the defrost function can be activated via the control panel. Ensure the drain is properly connected to allow melted water to escape.
7。 トラブルシューティング
一般的な問題とその解決策については、次の表を参照してください。
| 問題 | 考えられる原因 | 解決 |
|---|---|---|
| Ice production is slow or insufficient. | Insufficient water supply; high ambient temperature; dirty condenser. | Check water connection; ensure proper ventilation; clean condenser. |
| 氷が薄すぎたり厚すぎたりします。 | Incorrect ice making mode selected. | Adjust ice cube thickness setting (S-ice, M-ice, L-ice) on the control panel. |
| Ice gets stuck in the tray. | Water quality issues; machine needs defrosting or cleaning. | Perform a self-cleaning cycle; use filtered water; manually clean the ice tray. |