
導入
Thank you for choosing the NexiGo Wireless Controller NS32-A9. This controller is designed to enhance your gaming experience on Nintendo Switch and Switch 2 consoles, offering advanced features such as no deadzone thumbsticks, customizable RGB lighting, adjustable vibration, six-axis gyroscope, and a turbo function. Please read this manual carefully to ensure proper setup and operation.
製品の特徴
- No Deadzone Thumbsticks: Experience precise control with minimal input delay, ensuring accurate movements in games.
- Dual Motors and Six-Axis Gyroscope: Enjoy immersive haptic feedback and responsive motion controls for a dynamic gaming experience.
- LEDインジケーター: The thumbsticks feature LED activity indicator rings that light up and flash during use, providing visual feedback.
- 急速充電: The controller can be fully charged in 2-3 hours, providing up to 10 hours of gameplay.
- Bluetooth接続: Easily pairs wirelessly with your Nintendo Switch console. Initial pairing requires a wired connection.
- Comfortable Non-Slip Design: Constructed from durable ABS material with ergonomic, non-slip grips to reduce hand fatigue during extended play sessions.
- ターボ機能: Allows for partial and full automatic button mashing for repetitive actions in games.
- 調整可能な振動: Customize the intensity of the haptic feedback with four distinct levels.
- 幅広い互換性: Compatible with Nintendo Switch, Nintendo Switch OLED, Nintendo Switch Lite, and PC.
- Switch Wake-Up Function: Conveniently wake up your Nintendo Switch console directly from the controller.

Image: No Deadzone Precision

Image: Wide Compatibility Overview
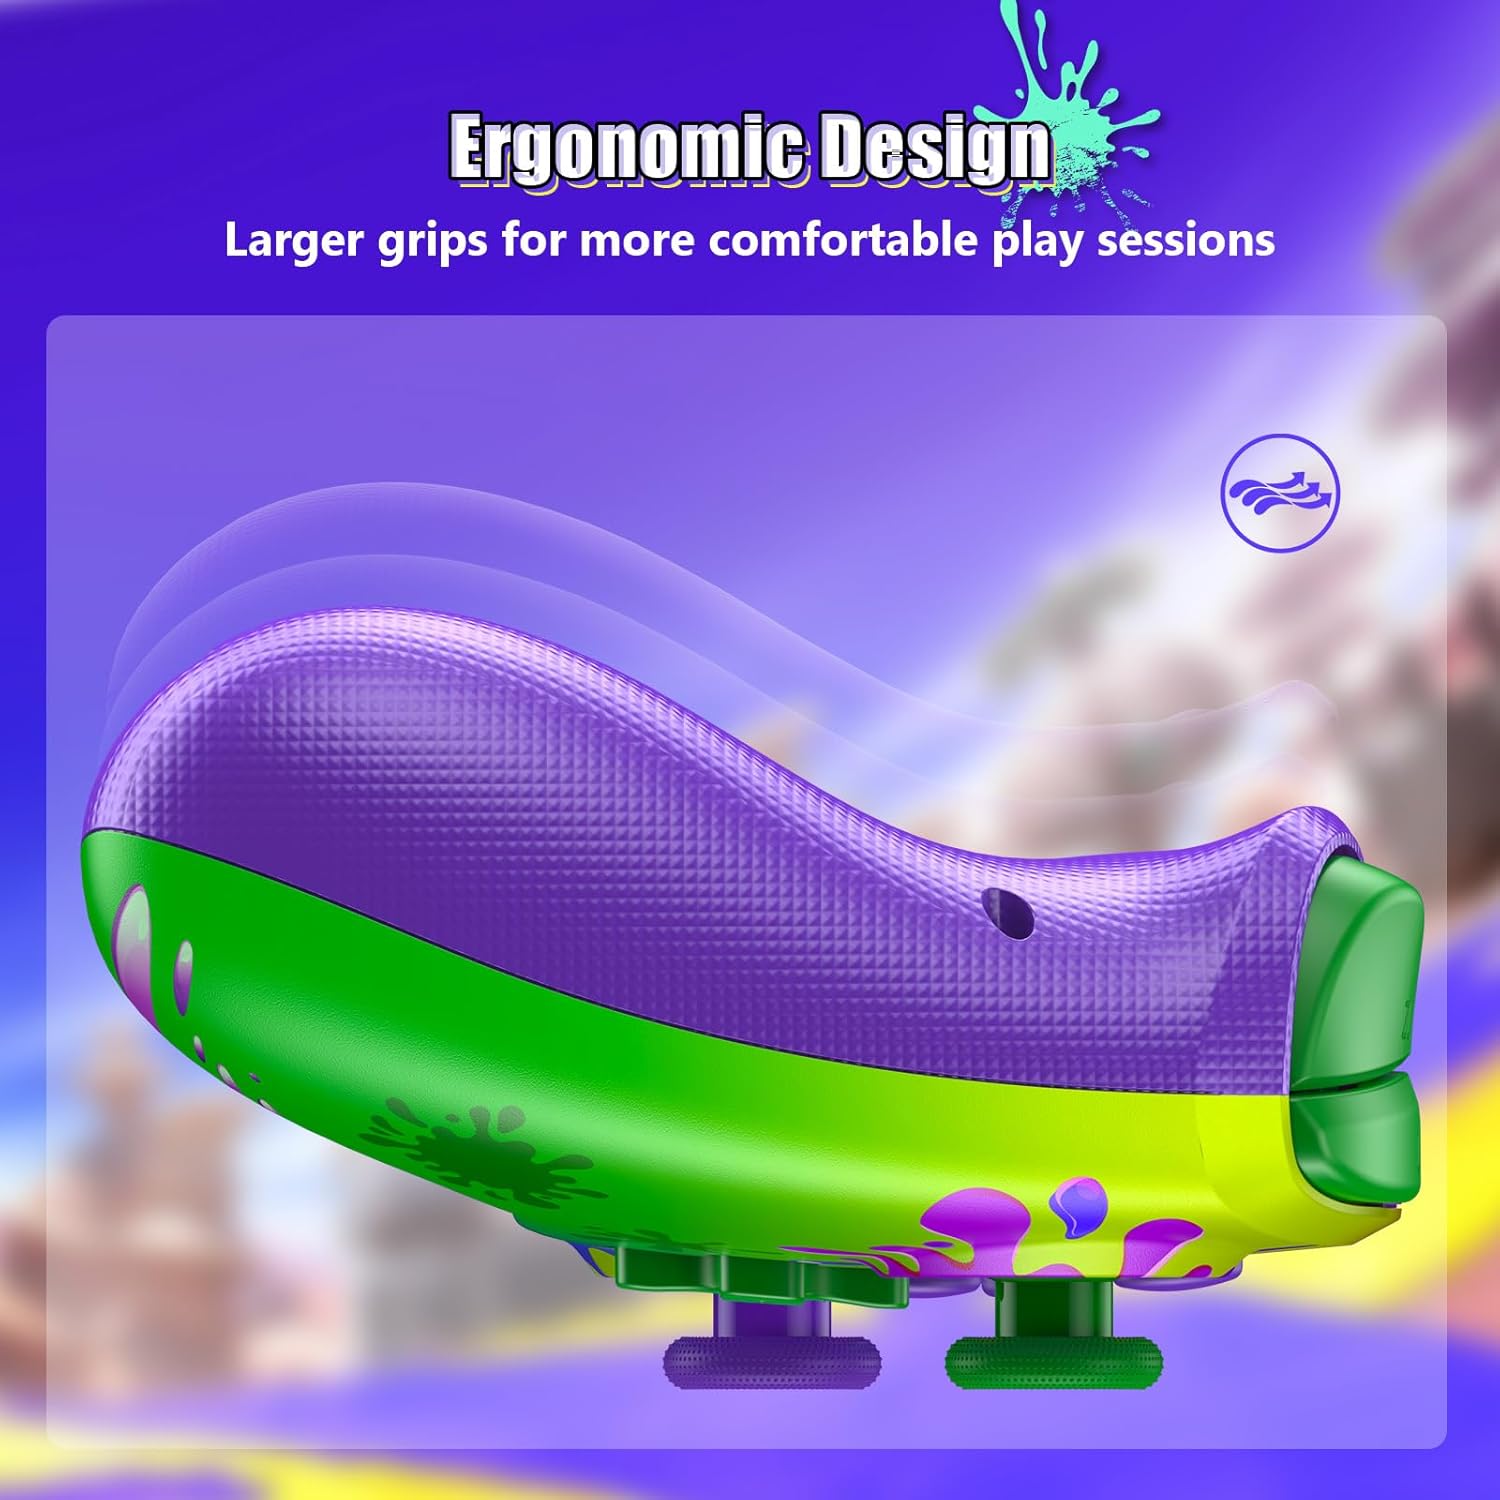
Image: Ergonomic Design for Comfort
Setup: Wireless Connection
Follow these steps to connect your NexiGo Wireless Controller to your Nintendo Switch console:
- ステップ1: Turn on your Nintendo Switch console and navigate to the "Controllers" menu from the HOME screen.
- ステップ2: Select "Change Grip/Order" from the list of options.
- ステップ3: Press and hold the Pairing button on the top of your controller for at least two seconds. The Pairing button is typically a small, circular button located near the charging port.
- ステップ4: The LEDs on your controller will flash during the pairing process and remain solid when the connection is successful.
注記: You can only connect your controller wirelessly after pairing it once via a USB cable for the initial setup.
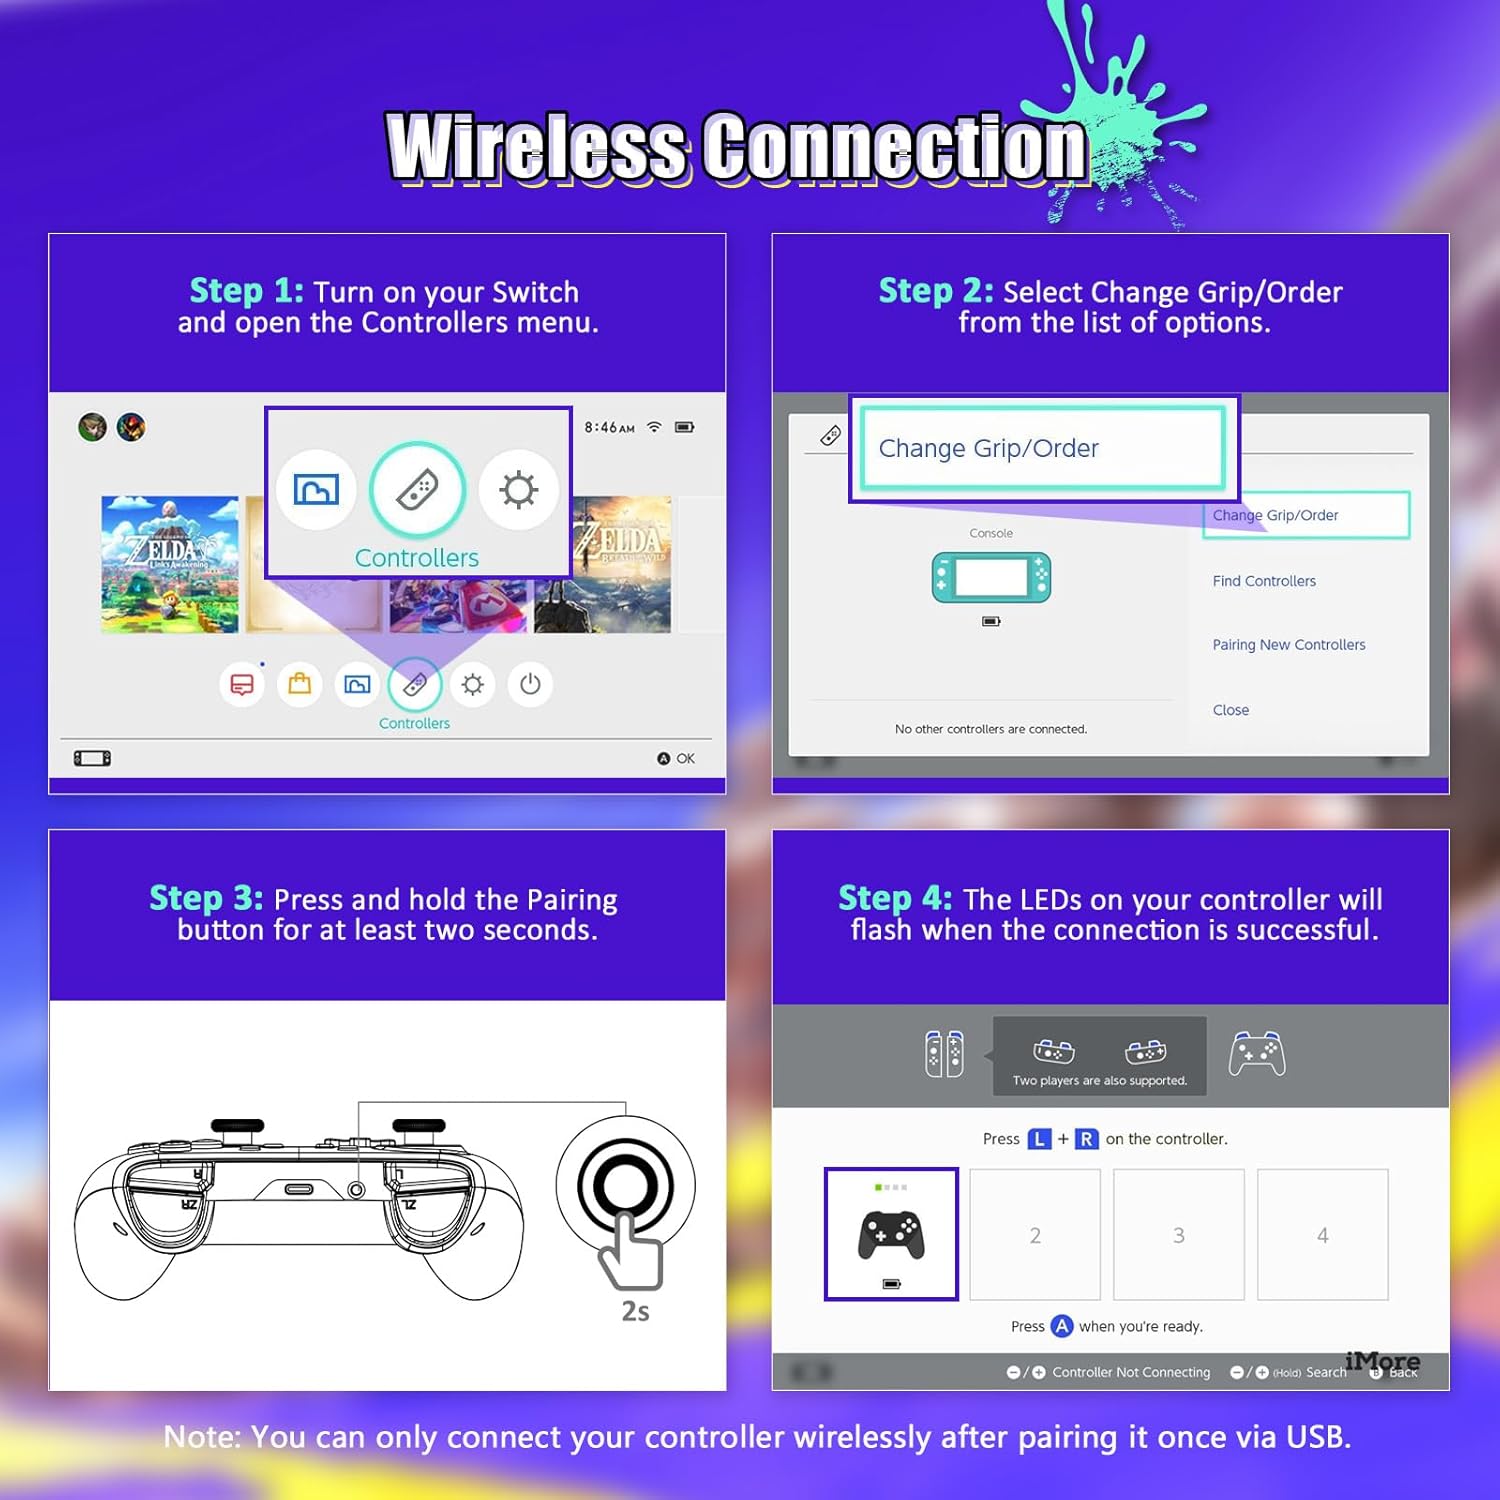
Image: Wireless Connection Setup Guide
操作手順
ターボ機能
The Turbo function allows you to assign rapid-fire capabilities to specific buttons. This is useful for games requiring quick, repeated button presses.
- ターボを有効にする: Press and hold the button you wish to assign Turbo to, then press the Turbo button (usually located on the back or bottom of the controller). The button will now rapidly input when held down.
- ターボを無効にする: Repeat the activation steps for the same button to turn off the Turbo function.
- ターボ速度の調整: (If applicable, consult specific controller documentation for speed adjustment methods, often involves Turbo button + D-pad up/down).

Image: Turbo Mode in action
調整可能な振動
The controller features four levels of vibration intensity. You can adjust this to suit your preference or the game you are playing.
- 振動の調整: Typically, this is done by holding a specific button (e.g., Turbo or Function button) and pressing the D-pad Up or Down. Refer to the quick start guide for your specific model's button combination.
- The four levels are usually 0% (off), 30%, 75%, and 100% intensity.

Image: Adjustable Vibration Levels
6軸ジャイロスコープ
The built-in six-axis gyroscope provides precise motion control for games that support it. This allows for intuitive tilt and motion-based gameplay.
- プレイしているゲームがモーション コントロールをサポートしていることを確認してください。
- Calibrate the gyroscope if you experience inaccurate motion sensing. This option is usually found in the Nintendo Switch system settings under "Controllers and Sensors."
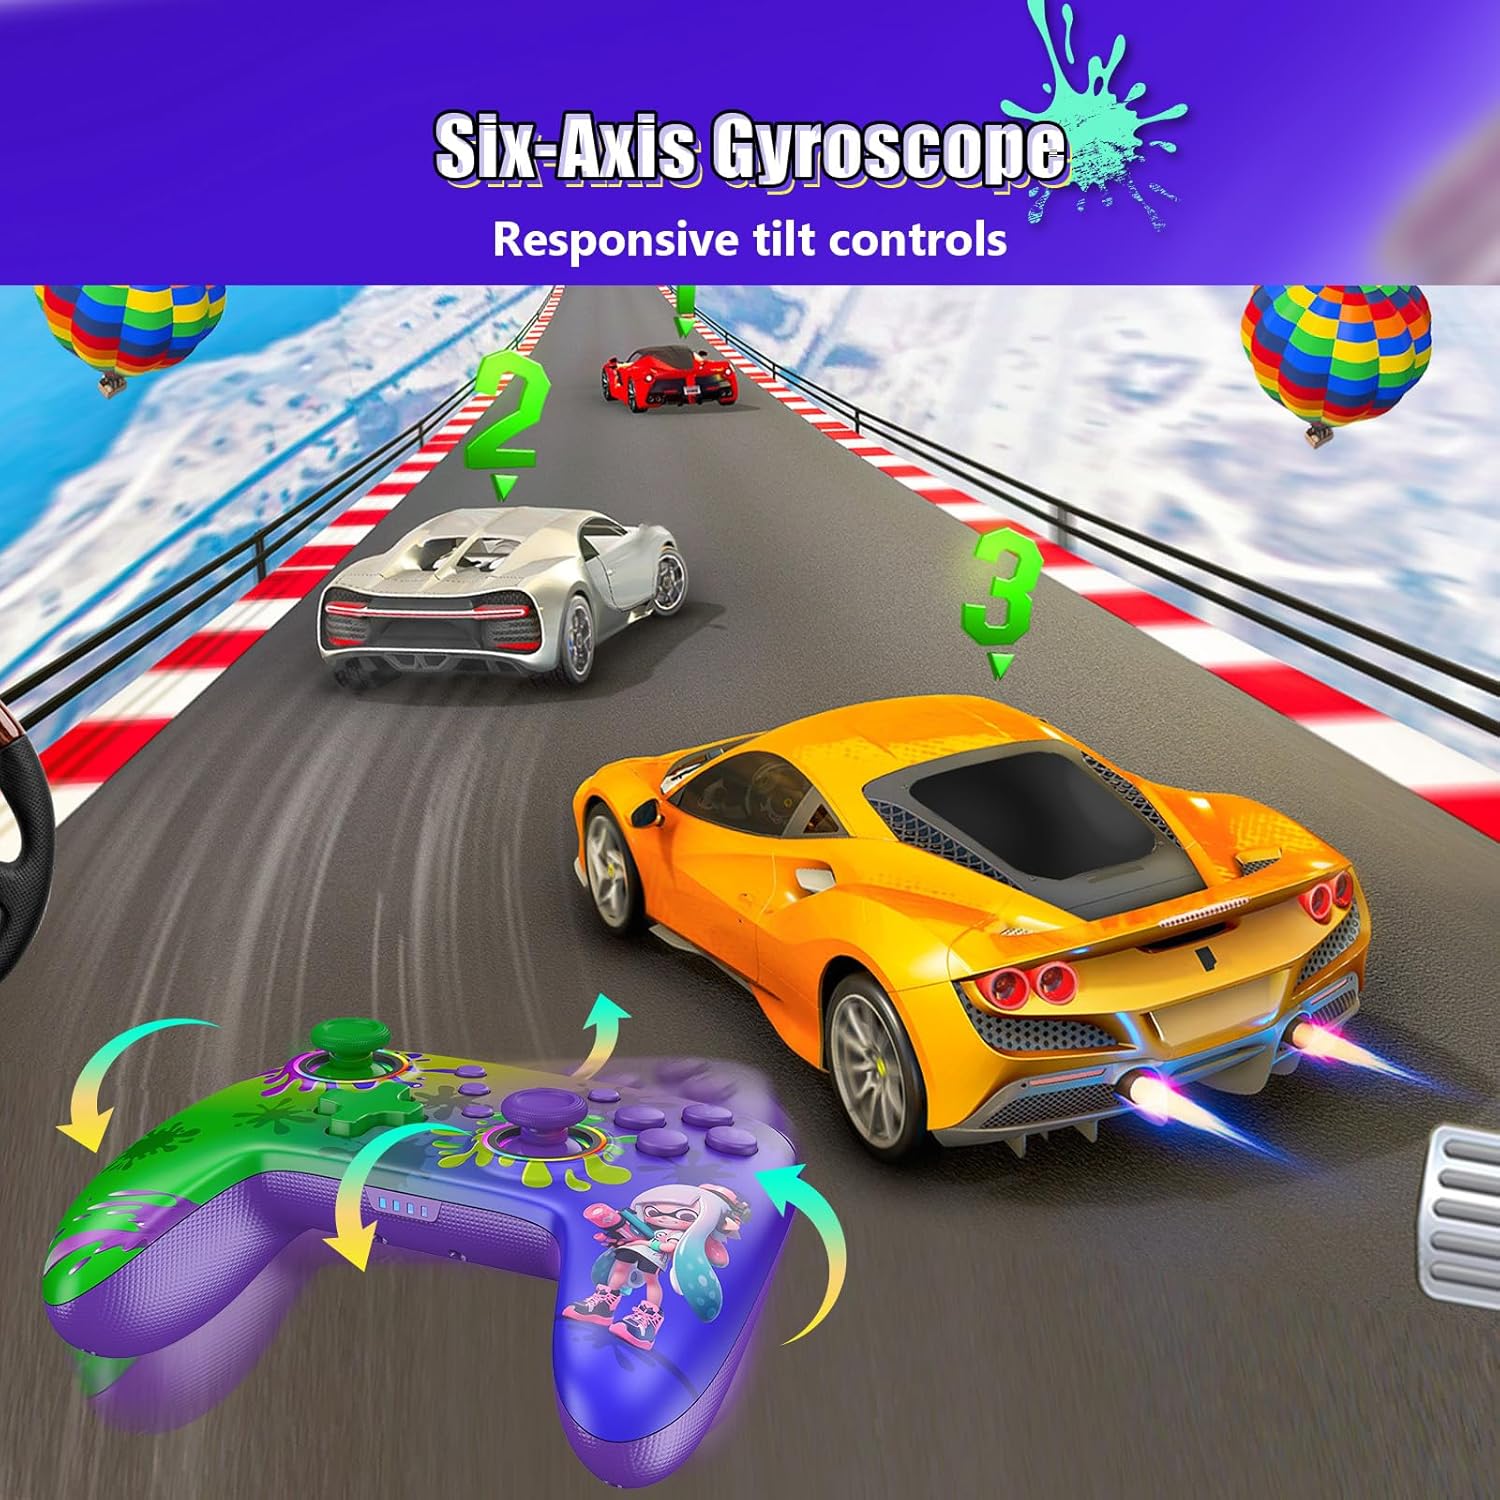
Image: Six-Axis Gyroscope in use
RGB Thumbsticks
The controller features customizable RGB lighting around the thumbsticks. These lights can be adjusted for color, brightness, and mode.
- 色/モードの変更: Refer to the controller's quick start guide for specific button combinations to cycle through seven colors, adjust brightness, and select from three lighting modes (e.g., breathing, cycling, static).
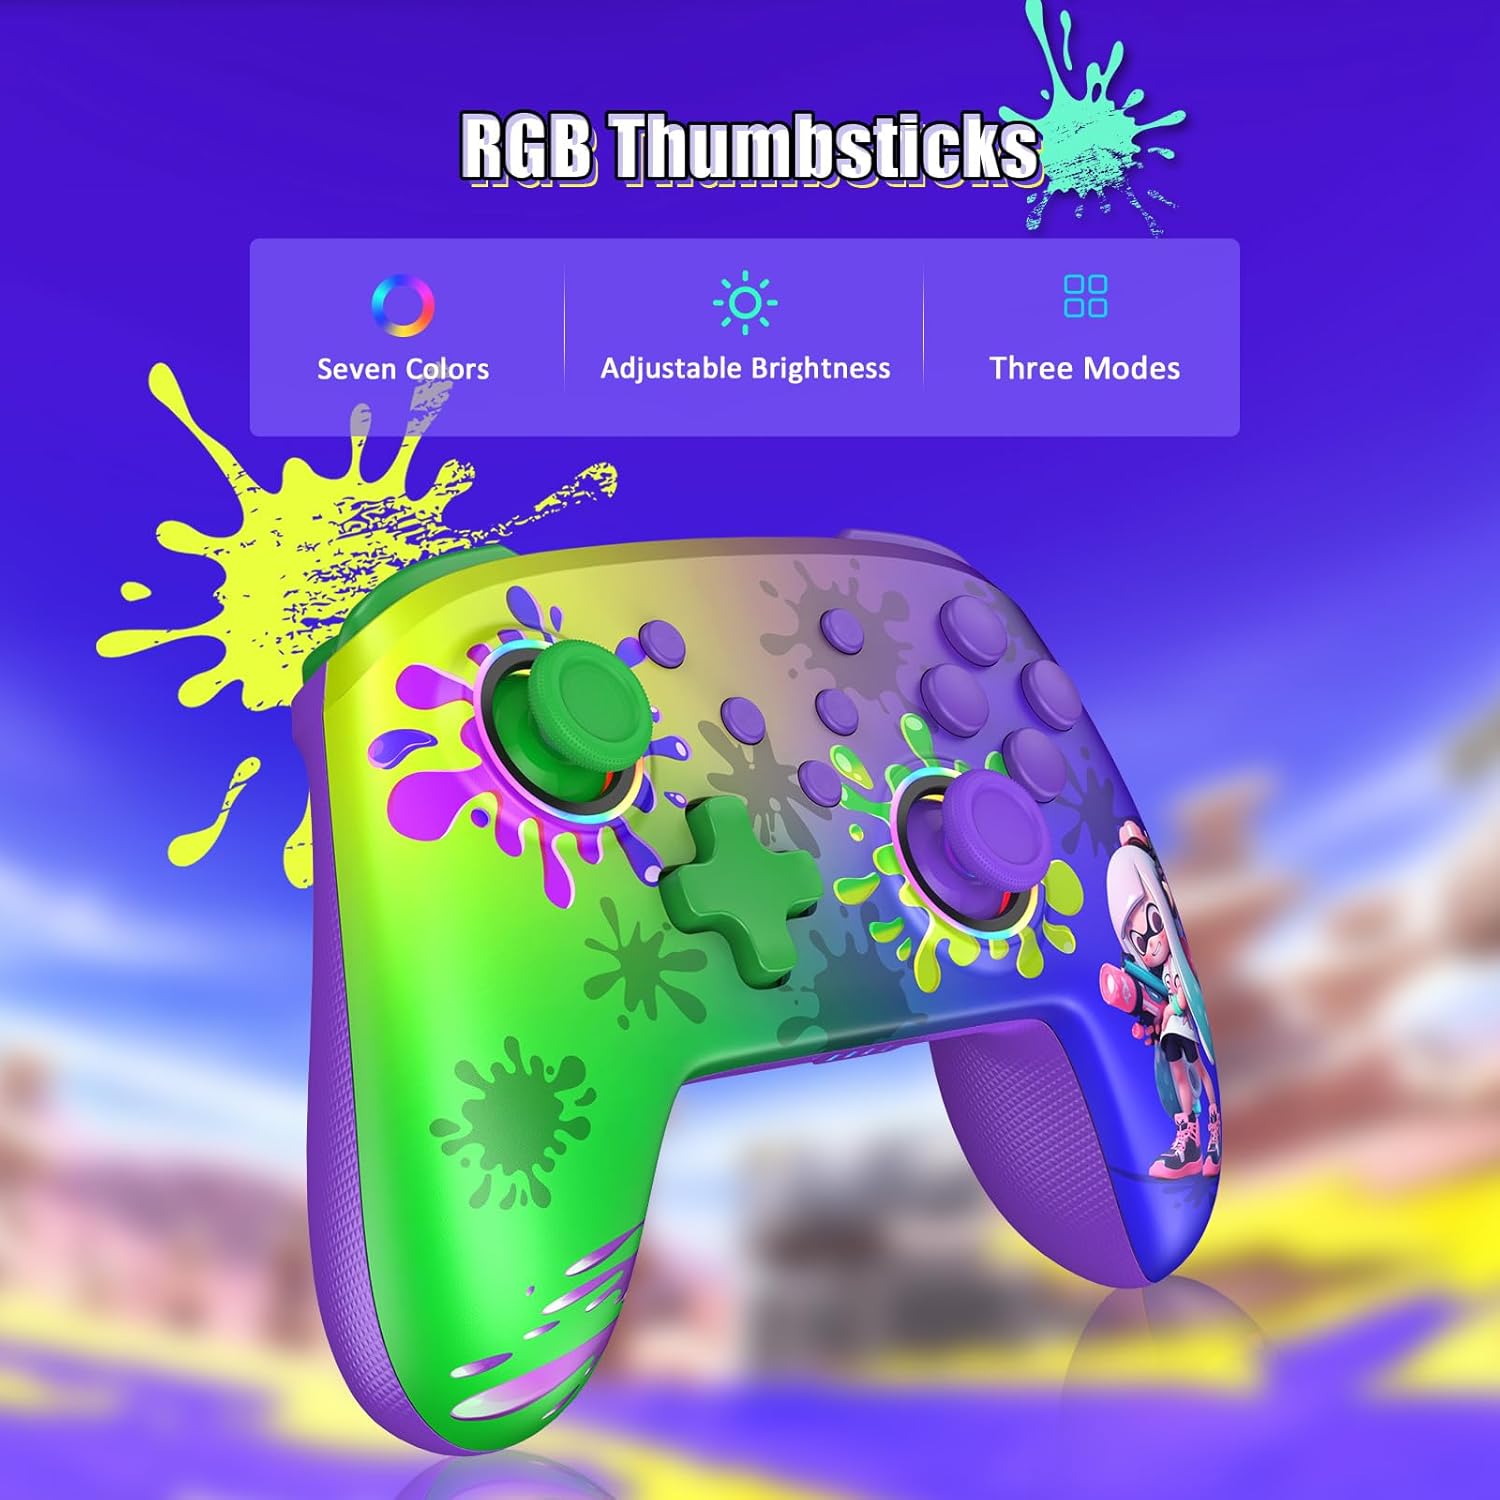
Image: RGB Thumbsticks Features
メンテナンス
- クリーニング: コントローラーの清掃には、柔らかく乾いた布をご使用ください。刺激の強い化学薬品や研磨剤の使用は避けてください。
- ストレージ: コントローラーは、直射日光や極端な温度を避け、涼しく乾燥した場所に保管してください。
- バッテリーのケア: バッテリーの寿命を延ばすには、コントローラーを頻繁に完全に放電させないでください。頻繁に使用しない場合でも、定期的に充電してください。
- ドロップを避ける: 内部コンポーネントを損傷する可能性のある落下や衝撃からコントローラーを保護します。
トラブルシューティング
- コントローラーが接続されていません:
- コントローラーが充電されていることを確認してください。
- Nintendo Switch で Bluetooth が有効になっていることを確認します。
- Attempt to re-pair the controller by following the "Wireless Connection" steps.
- Try connecting the controller via USB cable to confirm it powers on.
- 入力遅延またはボタンが反応しない:
- Ensure there are no obstructions between the controller and the console.
- 他のワイヤレス デバイスからの干渉がないか確認してください。
- Update the controller's firmware if an update is available (check the NexiGo official web地点)。
- 振動が機能しない:
- ゲーム内の設定をチェックして、振動が有効になっていることを確認してください。
- Adjust the vibration intensity using the controller's dedicated function.
- Motion Controls Inaccurate:
- Calibrate the gyroscope in the Nintendo Switch system settings.
- Ensure the controller is held steadily during calibration.
仕様
| モデル番号 | NS32-A9 |
| 製品寸法 | 6.14 x 4.02 x 2.56インチ |
| アイテム重量 | 10.6オンス |
| 接続性 | ブルートゥース |
| バッテリー寿命 | 最大10時間(約) |
| 充電時間 | 約2~3時間 |
| メーカー | 株式会社ネクサイト |
保証とサポート
NexiGo products are designed for reliability and performance. For any issues or questions, please refer to the following support information:
- カスタマーサポート: NexiGo offers quick response customer support, typically within 24 hours.
- 返品規則: Products can be returned within 30 days for an exchange or refund, subject to terms and conditions.
- テクニカルサポート: Lifetime technical customer support is provided for your NexiGo product.
- For detailed warranty information and to contact support, please visit the official NexiGo webサイトを参照するか、製品に付属の保証カードを参照してください。