
1.製品オーバーview
The Netzu Digital Alarm Clock is designed to provide clear time and temperature display with an innovative projection feature. It includes a 180° rotatable projector, an LED screen with adjustable brightness, and an alarm with a snooze function. This model (P338PB) also features RGB color options for the display.
主な特徴:
- 180° Rotatable Projection of Time and Temperature
- Adjustable Projection Brightness (3 levels)
- LED Display with 5 Brightness Levels
- Temperature Display (°C/°F switchable)
- 12/24時間形式
- Alarm with 3 Volume Levels
- 9分間のスヌーズ機能
- USB-C Power Supply with AAA Battery Backup (for settings)
- コンパクトなデザイン
パッケージ内容:
- 1x Netzu Digital Alarm Clock
- 1x USB-Cケーブル
- 電源アダプター(EUプラグ)×1
- ユーザーマニュアル x 1
2. セットアップ
2.1電源接続
Connect the provided USB-C cable to the alarm clock and the power adapter. Plug the adapter into a standard electrical outlet. The clock requires continuous AC power to function. For backup of settings during a power outage, insert two AAA batteries (not included) into the battery compartment. Note that batteries only maintain settings and do not power the display or projection.

画像: Power connection setup. The image shows the alarm clock connected to a wall outlet via a USB-C cable and adapter. Two AAA batteries are depicted next to the clock, indicating their use for memory backup.
2.2 Initial Time and Alarm Setting
Upon first power-up or after battery replacement, you may need to set the time and alarm. Refer to the "Operating Instructions" section for detailed steps on setting the time, alarm, and other preferences.
3. 操作手順
3.1 時刻と日付の設定
- を押し続けます セット ボタンを押すと時間設定モードに入ります。
- 使用 + or - 時間を調整するためのボタン。 セット 確認して議事録に進みます。
- 分数を調整する + or -。 プレス セット 確認します。
- 押し続ける セット 年、月、日の設定を切り替え、それぞれを調整します + or -.
- プレス セット 最後にもう一度押すと、時刻/日付設定モードが終了します。
3.2 12/24時間形式の変更
通常の時刻表示モードでは、 12/24時間 ボタン(多くの場合、 セット or モード) to switch between 12-hour (with AM/PM indicator) and 24-hour formats.

画像: Time and Temperature Display Options. The image illustrates the clock displaying time in both 24-hour and 12-hour formats, and temperature in both Celsius and Fahrenheit, highlighting the switchable options.
3.3アラームの設定
- を押す アラーム button (often indicated by a bell icon) to view 現在のアラーム時刻。
- を押し続けます アラーム ボタンを押してアラーム設定モードに入ります。
- 使用 + or - to set the alarm hour, then press アラーム 確認します。
- 使用 + or - to set the alarm minutes, then press アラーム 確認して終了します。
- アラームをオン/オフにするには、 アラーム アラームアイコンがディスプレイに表示/消えるまでボタンを繰り返し押します。
3.4 Adjusting Alarm Volume and Snooze
アラームが鳴ったら、を押します スヌーズ button (usually a large button on top) to activate the 9-minute snooze function. The alarm will sound again after 9 minutes. To stop the alarm completely, press any other button.
To adjust the alarm volume, locate the volume control button (often combined with + or - buttons, or a dedicated 巻 button). Cycle through the 3 available volume levels (L01, L02, L03).

画像: Alarm Volume and Snooze. The image displays the alarm clock with indicators for three volume levels (L01, L02, L03) and a visual representation of the 9-minute snooze function.
3.5 Adjusting Display Brightness and RGB Colors
を短く押す 輝度 button (often indicated by a sun icon) to cycle through the 5 levels of LED display brightness (OFF, L1, L2, L3, L4). Select the desired brightness for optimal visibility during the day and minimal disturbance at night.
For RGB models, there may be an additional button or a long press function on the brightness button to cycle through different RGB color modes or static colors for the display. Refer to the specific button layout on your device.
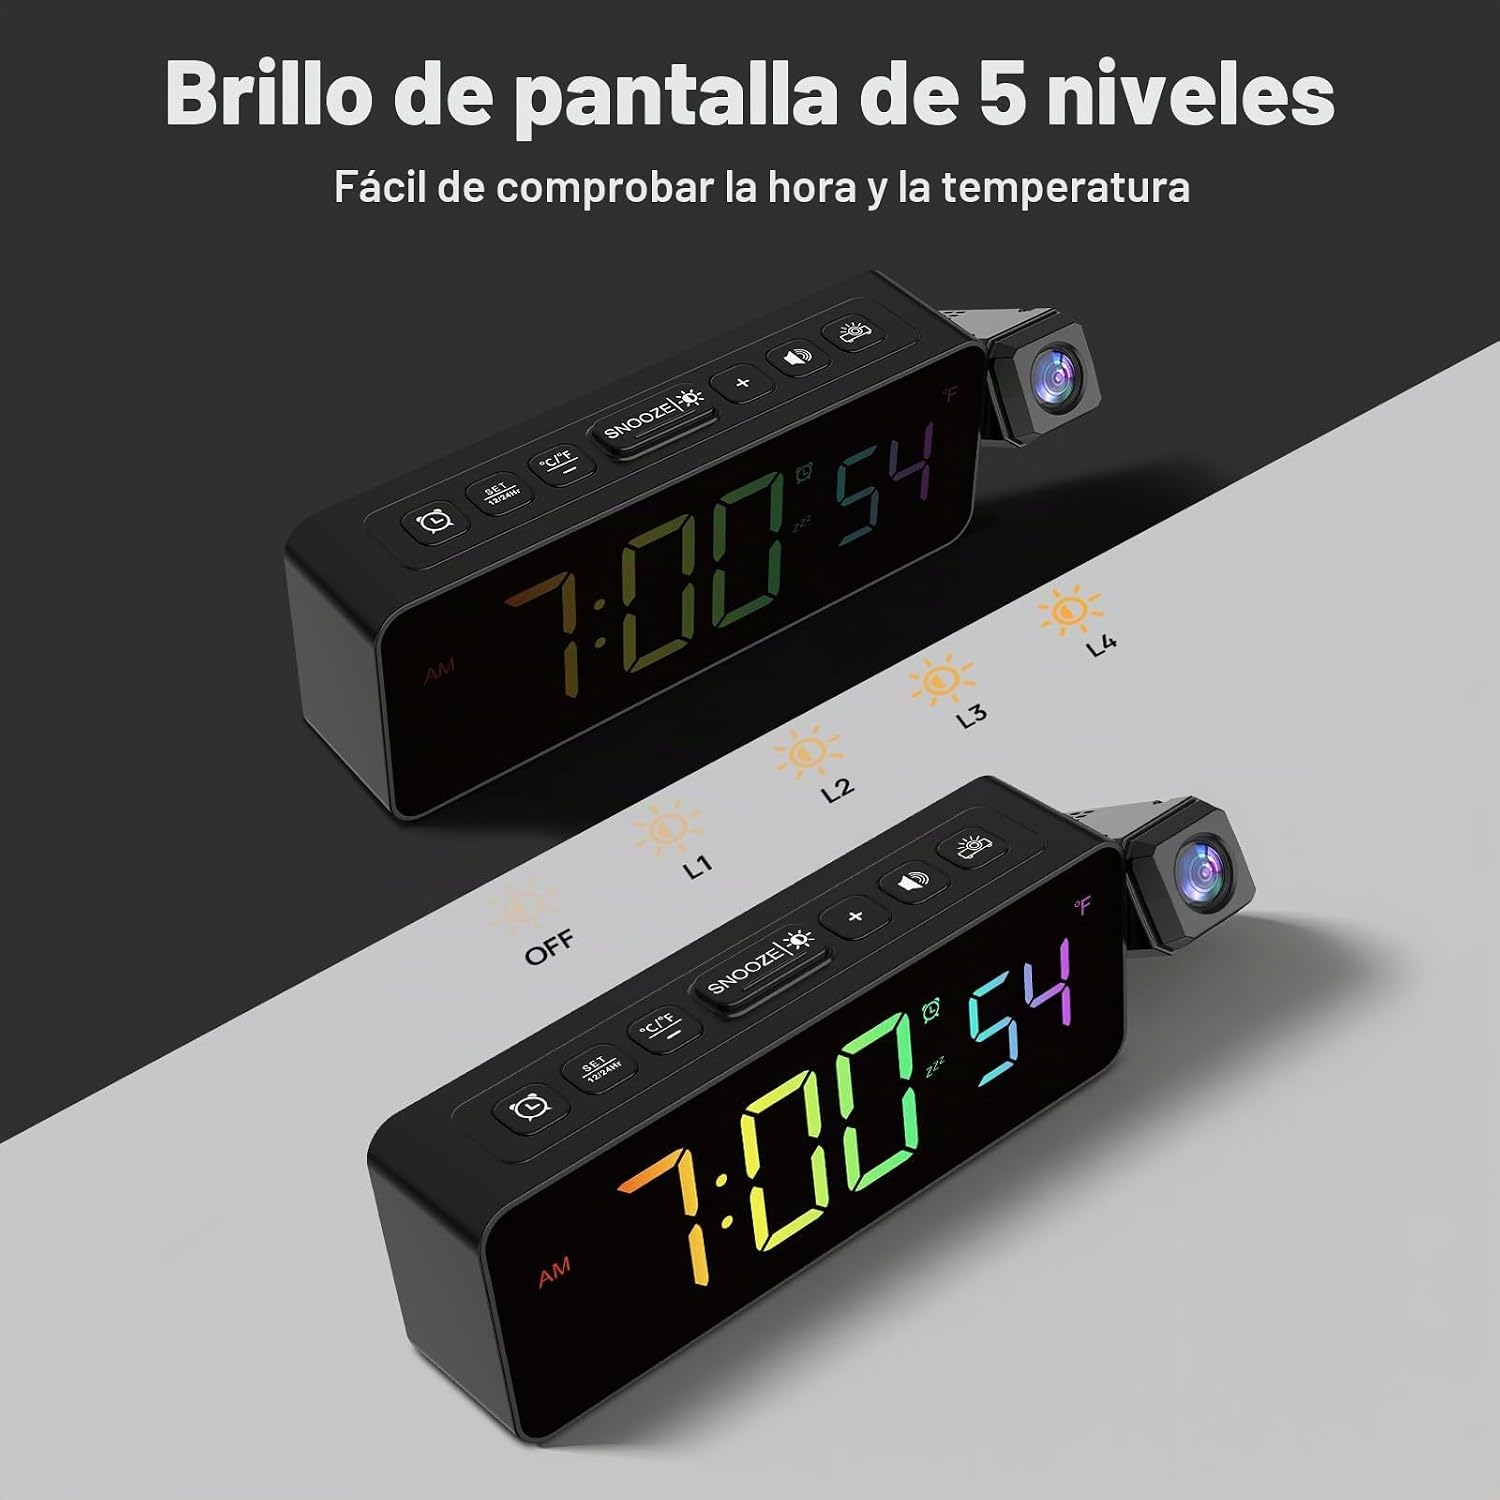
画像: 5-Level Display Brightness. The image shows two alarm clocks, one with a brighter display (L4) and another with a dimmer display (L1), illustrating the adjustable brightness levels.
3.6 Using the Projector
The projector arm can be rotated 180° to project the time and temperature onto a wall or ceiling. The optimal projection distance is between 0.5 and 3 meters (1.6 to 11.4 feet).
- 投影の明るさを調整する: を短く押す PROJECTION button (often indicated by a projector icon) to cycle through 3 brightness levels or turn the projection off.
- Reversing Projection: If the projected image is upside down, press and hold the PROJECTION button to reverse the image 180°.

画像: Ultra Clear Projector Function. This image demonstrates the 180° rotation and image reversal capabilities of the projector, along with its adjustable brightness levels (L1-L4) and effective projection distance.
3.7 温度単位の変更(°C/°F)
を短く押す °C /°F button (often located near the temperature display) to switch between Celsius and Fahrenheit temperature units.
4. メンテナンス
4.1 クリーニング
To clean the alarm clock, gently wipe the surface with a soft, dry cloth. Do not use abrasive cleaners, solvents, or chemical sprays, as these can damage the finish or internal components. Ensure the device is unplugged before cleaning.
4.2 電池の交換
停電中に時計の設定が失われた場合tage, the AAA backup batteries may need replacement. Open the battery compartment on the bottom of the unit, remove the old batteries, and insert two new AAA batteries, observing the correct polarity (+/-). Close the compartment securely.
5。 トラブルシューティング
| 問題 | 考えられる原因 | 解決 |
|---|---|---|
| 時計の表示が消えたり、ちらついたりします。 | No power, loose connection, display brightness set to OFF. | Check USB-C cable and adapter connection. Ensure power outlet is functional. Adjust display brightness (Section 3.5). |
| 投影が見えないか暗いです。 | Projection brightness set too low or OFF, incorrect distance, ambient light too bright. | Adjust projection brightness (Section 3.6). Ensure optimal projection distance (0.5-3m). Reduce ambient light. |
| Projected image is upside down. | 投影方向を調整する必要があります。 | を押し続けます PROJECTION button to reverse the image (Section 3.6). |
| アラームは鳴りません。 | Alarm not activated, alarm volume too low. | Ensure alarm is activated (alarm icon visible). Adjust alarm volume (Section 3.4). |
| 電源を切ると時計の時刻/設定が失われるtage. | バックアップ電池が切れているか、取り付けられていません。 | Install or replace 2 AAA backup batteries (Section 4.2). |
6. 仕様

画像: Compact Size with Clear Digits. The image highlights the compact dimensions of the alarm clock, showing its length (6.89 inches), height (2.17 inches), and depth (1.3 inches), along with the clear digital display.
| 特徴 | 詳細 |
|---|---|
| ブランド | ネツ |
| モデル番号 | P338PB |
| 色 | Negro-rgb (Black-RGB) |
| 表示タイプ | デジタルLED |
| 特集 | Projection Clock, Temperature Display, RGB Display |
| 製品寸法(幅×高さ) | 17.5 cm x 5.8 cm(6.89インチ x 2.28インチ) |
| 電源 | コード付き電気(USB-C) |
| バックアップバッテリー | 2x AAA (not included) - for settings memory only |
| 材料 | プラスチック |
| 投影範囲 | 0.5~3メートル(1.6~11.4フィート) |
| ディスプレイの明るさレベル | 5 levels (OFF, L1, L2, L3, L4) |
| Projection Brightness Levels | 3レベル |
| アラーム音量レベル | 3 levels (L01, L02, L03) |
| スヌーズ時間 | 9 minutes |
7. 保証とサポート
No specific warranty information is provided in the product details. For support or inquiries, please refer to the contact information provided with your purchase or visit the official Netzu webサイト。