1. はじめに
Welcome to the user manual for your WDYQJE R36MAX Retro Handheld Game Console. This guide provides essential information to help you set up, operate, maintain, and troubleshoot your device. Please read this manual thoroughly to ensure optimal performance and longevity of your console.
2.製品オーバーview
2.1 パッケージ内容
開梱したら、以下にリストされているすべてのアイテムが揃っていることを確認してください。
- Handheld Game Console (R36MAX)
- タイプC充電ケーブル
- 保護ケース
- スクリーンプロテクター
- ユーザーマニュアル(このドキュメント)
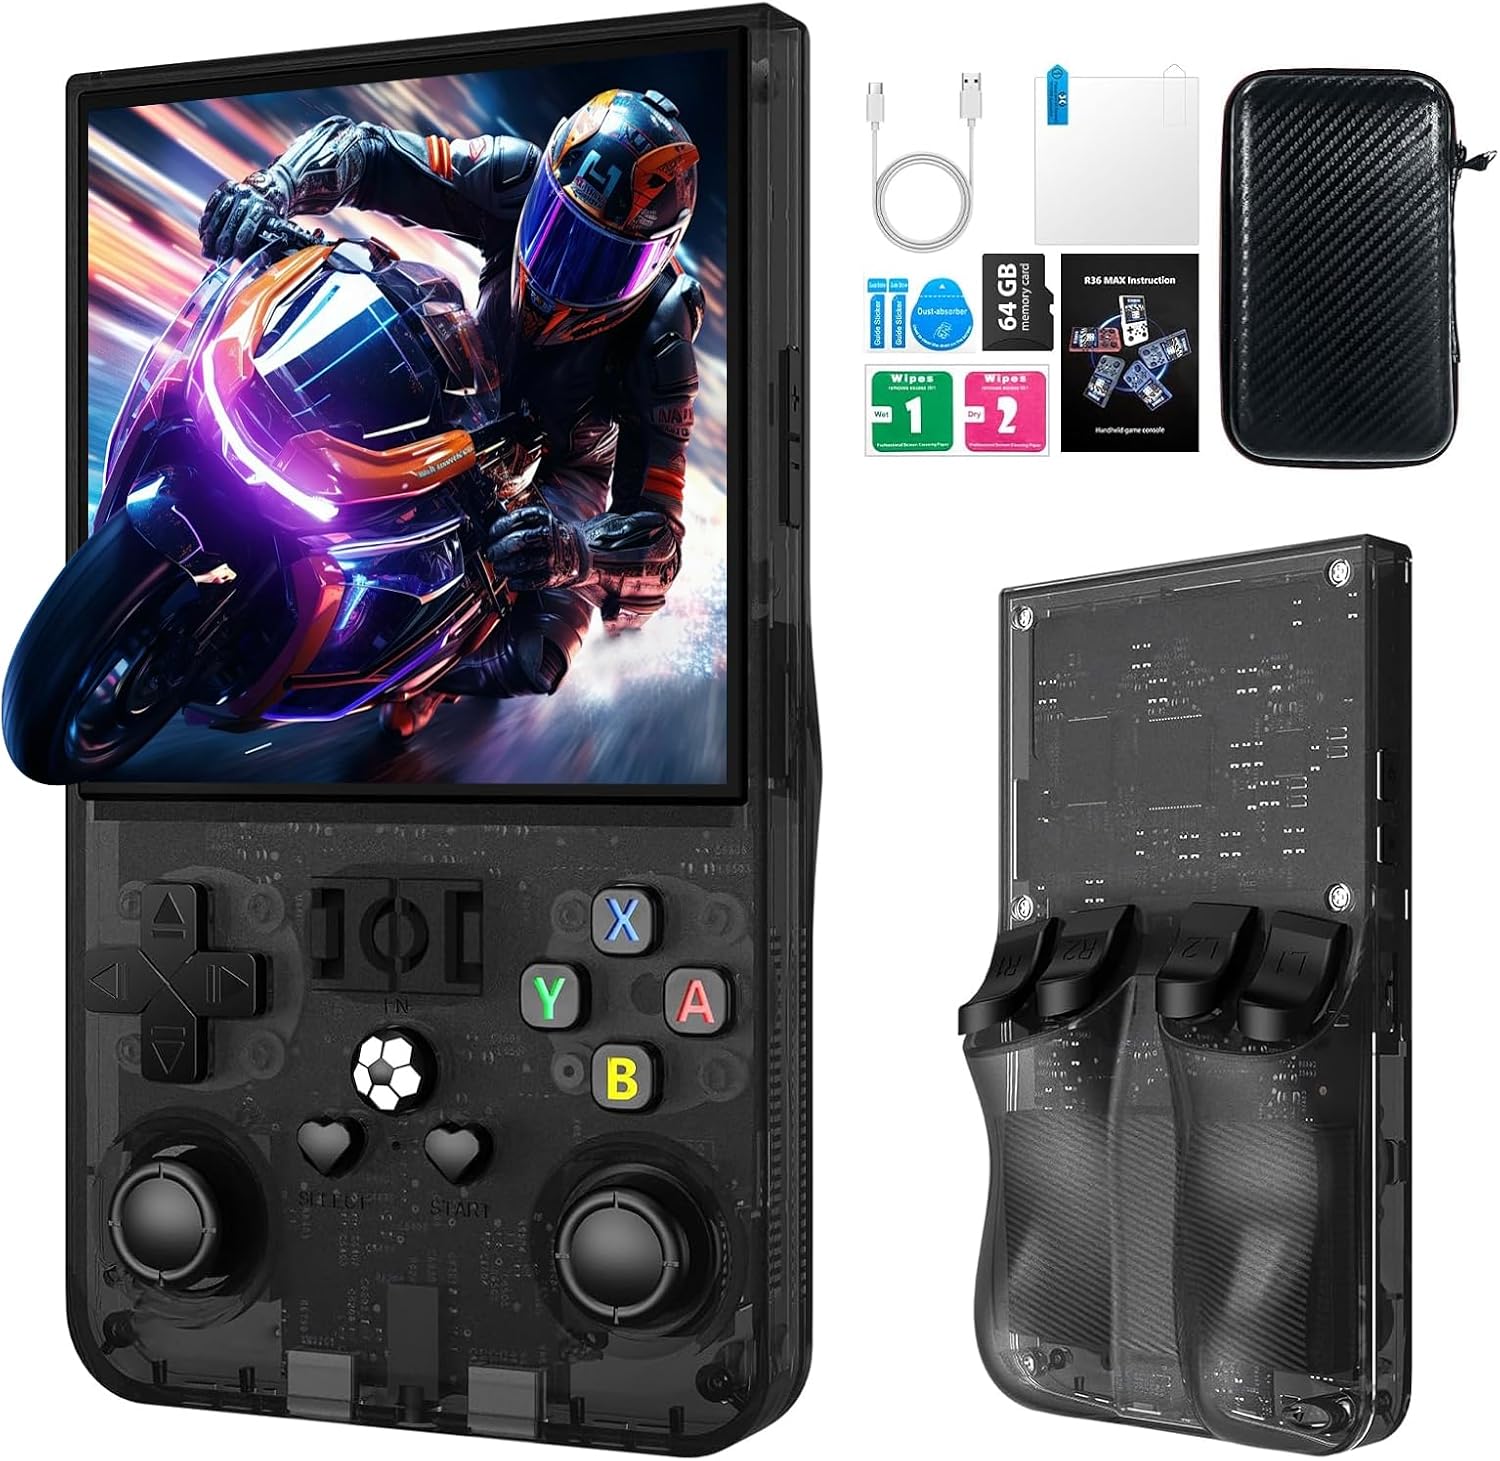
画像の説明: The R36MAX handheld game console displayed alongside its accessories, including a Type-C cable, screen protector, 64GB TF card, and a protective carrying case.
2.2 Console Features
- プロセッサ: 1.5GHz 64-bit RK3326 CPU with ARM64bit quad-core Cortex-A35 CPU.
- オペレーティング·システム: Linux-based system.
- 画面: 4.0-inch IPS HD screen with 720x720 pixel resolution, covered with tempered glass.
- ストレージ: Built-in 64GB TF card, expandable via additional TF card slot.
- バッテリー: 4000mAh rechargeable battery, providing up to 10 hours of playtime.
- オーディオ: Built-in speakers and 3.5mm headphone jack.
- 接続性: Type-C充電ポート。
2.3 デバイスのレイアウトとコントロール
コンソールのボタンとポートについて理解しておきましょう。

画像の説明: A detailed diagram of the R36MAX handheld game console, highlighting the location and function of each button and port.
フロント View: Features a 4.0-inch screen at the top. Below the screen, from left to right, are:
- Left Rocker (analog joystick)
- 方向パッド(Dパッド)
- 選択ボタン
- FN (Function) button
- スタートボタン
- Right Rocker (analog joystick)
- A, B, X, Y action buttons
- Volume keys (+ and -) on the right side.
- Power and Reset buttons on the left side.
- TF-game and TF1-OS card slots on the top edge.
トップ View: Shows R1, R2, L1, L2 shoulder buttons.
3. セットアップ
3.1 初期充電
- Connect the provided Type-C charging cable to the charging port at the bottom of the console.
- ケーブルのもう一方の端を互換性のある USB 電源アダプター (5V/1A または 5V/2A を推奨) に接続します。
- Allow the console to charge fully before first use. The charging indicator light will typically change color or turn off when charging is complete.
重要: Do not play games while the console is charging, as this may potentially damage the TF card or the device's internal components.
3.2 Inserting/Removing TF Cards
The console comes with a pre-installed 64GB TF card for games. You can also insert an additional TF card for expanded storage.
- Locate the TF card slots on the top edge of the console (TF-game and TF1-OS).
- To insert a card, gently push the TF card into the slot until it clicks into place. Ensure the card is oriented correctly.
- To remove a card, gently push it inward again until it springs out.
注意: Always power off the console before inserting or removing TF cards to prevent data corruption.
4. 操作手順
4.1 電源オン/オフ
- 電源オン: を押し続けます 力 button (located on the left side) for a few seconds until the screen illuminates.
- 電源を切る: を押し続けます 力 button until a power-off menu appears, then select "Shutdown" or "Power Off". Alternatively, a quick press of the power button may put the device into sleep mode.
- リセット: In case of a system freeze, use the リセット button (small pinhole next to Power button) with a thin object to restart the console.
4.2 基本的なナビゲーション
- 使用 方向パッド(Dパッド) or 左/右ロッカー to navigate through menus and game selections.
- を押す ボタン 選択を確認します。
- を押す Bボタン to go back or cancel.
- の 選択 そして 始める buttons are typically used for in-game functions or menu options.
4.3 ゲームをプレイする
The console supports various emulators. To play a game:
- メイン メニューから、目的のエミュレーターまたはゲーム リストに移動します。
- Select a game using the D-pad/rockers and press the ボタン それを起動します。
- During gameplay, use the console's buttons as per the original game's controls.
4.4 Adjusting Screen Rotation (RetroArch Menu)
For certain games or preferences, you may need to adjust the screen orientation:
- Enter any game.
- プレス 選択 + X simultaneously to open the RetroArch Quick Menu.
- を押す Bボタン to return to the main RetroArch menu.
- 移動 設定 を押して A.
- 選択 ビデオ を押して A.
- 選択 出力 を押して A.
- 選択 ビデオローテーション を押して A.
- 選ぶ 普通 or other desired rotation options and press A 確認します。
- Exit the RetroArch menu to apply changes.
4.5 ボリュームコントロール
使用 Volume keys (+ and -) located on the right side of the console to adjust the audio output level.
4.6 ヘッドホン接続
標準の3.5mmヘッドフォンを接続します OTC Headset port at the bottom of the console for private listening.
5. メンテナンス
5.1 コンソールのクリーニング
- Use a soft, dry, lint-free cloth to wipe the screen and body of the console.
- 頑固な汚れには、軽くamp布に水または中性洗剤を含ませてください。刺激の強い化学薬品は使用しないでください。
- Do not spray liquids directly onto the console.
5.2バッテリーケア
- バッテリーの寿命を延ばすには、バッテリーを頻繁に完全に放電しないようにしてください。
- 長期間使用しない場合は、コンソールを涼しく乾燥した場所に保管してください。
- 長期間保管する場合は、バッテリーを約50%容量まで充電してください。
5.3ソフトウェアアップデート
定期的にメーカーの公式 website or community forums for potential software or firmware updates. Follow instructions carefully when performing updates to avoid system damage.
6。 トラブルシューティング
If you encounter issues with your R36MAX console, refer to the following common problems and solutions:
| 問題 | 考えられる原因 | 解決 |
|---|---|---|
| コンソールの電源が入りません。 | バッテリー残量が少なくなり、システムがクラッシュしました。 | Charge the console for at least 30 minutes. If still unresponsive, use the Reset button. |
| ゲームが読み込まれないかクラッシュします。 | 破損したゲーム file; TF card issue; Emulator error. | Ensure TF card is properly inserted. Try restarting the console. Verify game file integrity if possible. |
| Buttons are unresponsive or incorrect. | Software glitch; Button mapping issue. | Restart the console. Check in-game or emulator settings for button remapping options. |
| 画面が空白またはちらつきます。 | System error; Display connection issue. | Restart the console. If the problem persists, contact customer support. |
これらの解決策を試しても問題が解決しない場合は、保証とサポートのセクションを参照してさらにサポートを受けてください。
7. 仕様
| 特徴 | 詳細 |
|---|---|
| モデル | R36MAX |
| プロセッサ | 1.5GHz 64-bit RK3326 CPU, ARM64bit quad-core Cortex-A35 |
| オペレーティング·システム | リナックス |
| 画面 | 4.0-inch IPS HD, 720x720 pixels, Tempered Glass |
| メモリストレージ容量 | 64 GB (expandable via TF card) |
| バッテリー | 4000mAh(単一電池1個付属) |
| バッテリー寿命 | 最大10時間 |
| 充電ポート | タイプC |
| オーディオ出力 | Built-in speakers, 3.5mm headphone jack |
| 製品寸法 | 5.7 x 3.2 x 1.8インチ |
| アイテム重量 | 12.6オンス |
| 材料 | プラスチック |
| メーカー | WDYQJE |
| 推奨年齢 | 12ヶ月以上 |

画像の説明: An image illustrating the R36MAX console's battery features, including "More than 6-8 hours of playback", "4000mAh High Capacity", "USB C charge cable", and "Maximum 5V 1.5A or 2A Charging". A close-up of the USB-C charging port is also visible.
8. 保証とサポート
For warranty information and customer support, please refer to the documentation included with your purchase or visit the official WDYQJE webサイトでご確認ください。保証請求に備えて購入証明書を保管してください。
返品規則: 製品には通常30日間の返品・交換ポリシーが適用されます。具体的な条件については、購入情報をご確認ください。
For additional assistance, you may contact WDYQJE customer service through their official channels.