
1.製品オーバーview
The Dpofirs Small Portable Video Projector is a compact and versatile device designed for various entertainment and presentation needs. With its small footprint, it is easy to transport and set up, offering a projection size ranging from 14 to 100 inches. It supports a resolution of 1920 x 1080p and features 100Ansi 6000lm brightness, manual focus, and built-in stereo speakers.
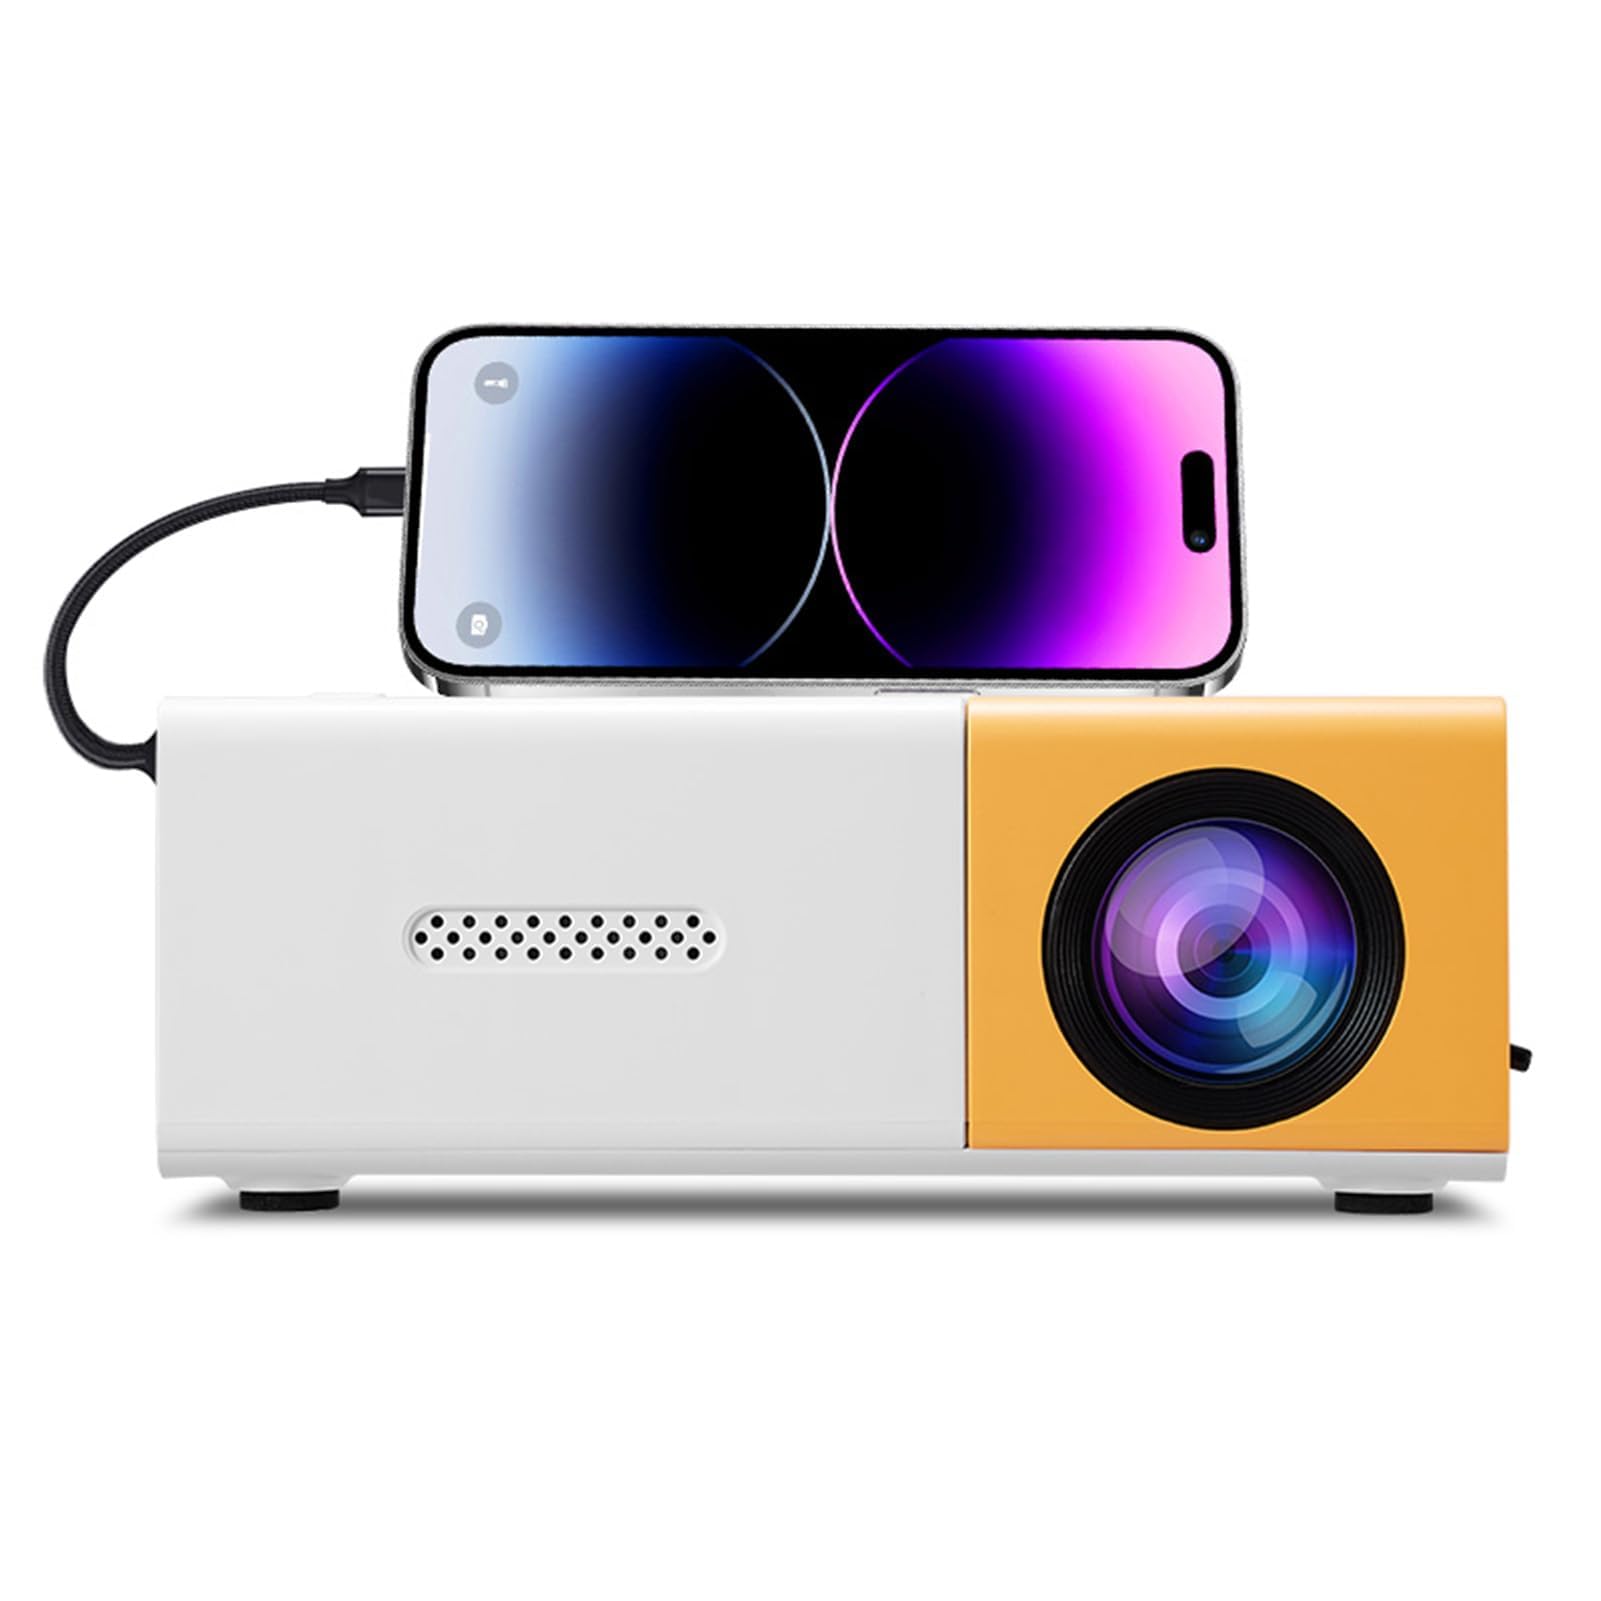
Image 1.1: The Dpofirs Small Portable Video Projector, showcasinコンパクトなデザイン。

Image 1.2: The projector held in a hand, illustrating its compact and portable dimensions (5 x 3.4 x 1.9 inches).
2. 安全情報
- プロジェクターを使用する前にすべての指示をお読みください。
- プロジェクターレンズを直接見ないでください。amp オンです。
- プロジェクターを水やその他の液体から遠ざけてください。
- 過熱を防ぐために適切な換気を確保してください。通気口を塞がないでください。
- Use only the power adapter specified for this device (Type C, 5V 2A).
- プロジェクターをご自身で分解したり修理したりしないでください。資格のあるサービス担当者にご相談ください。
- お子様の手の届かない場所に保管してください。
3. パッケージ内容
開梱後、パッケージの内容をご確認ください。不足品や破損品がございましたら、販売店までご連絡ください。
- Dpofirs Small Portable Video Projector
- リモートコントロール
- 電源ケーブル(USB Type-C)
- ユーザーマニュアル
4. Product Display and Controls
4.1 Projector Ports and Buttons

画像4.1: 前面と背面 view of the projector with labeled ports and control buttons.
- 電源オン/オフボタン: 上部パネルにあります。
- Left Click / Right Click / OK Buttons: Navigation buttons on the top panel.
- Signal Source Button: 入力ソースを選択します。
- 戻るボタン: メニューに戻ります。
- AVインターフェース: For analog audio/video input.
- Micro USB (5V 2A) Power Interface: 電源ケーブルを接続します。
- USBインターフェース: USB デバイス (フラッシュ ドライブなど) を接続します。
- DC電源: (Note: Description mentions Type C, image shows DC. Use Type C as per description).
- High Definition Interface (HDMI): For connecting devices via HDMI.
4.2リモコン機能

Image 4.2: Layout of the remote control with labeled buttons.
- Open Key (Power): プロジェクターの電源をオンまたはオフにします。
- Source Key: 入力ソースを選択します。
- ミュート: 音声をミュートまたはミュート解除します。
- Directional Keys (Up, Down, Left, Right): メニューを移動します。
- OKボタン: 選択を確定します。
- Volume Down / Volume Increase: オーディオの音量を調整します。
- 設定キー: Accesses the projector settings menu.
- リターンキー: 前のメニューに戻ります。
- メニューキー: メインメニューを開きます。
5.セットアップガイド
5.1電源接続
- Connect the provided USB Type-C power cable to the Micro USB (5V 2A) Power Interface on the projector.
- Connect the other end of the cable to a compatible 5V 2A power adapter (not always included) or a power bank.

Image 5.1: The projector can be powered by a power bank (5V 2A minimum) for portable use.
5.2 配置と投影サイズ
Position the projector on a stable, flat surface. The projection distance determines the screen size. The projector can project images from 14 to 100 inches diagonally.
- 最適な viewing experience, a playback size of 20-60 inches is recommended.
- This corresponds to a projection distance of approximately 0.8m to 1.6m.

Image 5.2: Recommended projection distances for various screen sizes (e.g., 0.8m for 24 inches, 1.6m for 47 inches).

Image 5.3: The projector can achieve large screen sizes up to 100 inches, with examples shown for 24, 35, 47, and 152 inches (note: 152 inches may exceed stated maximum of 100 inches).
5.3 フォーカス調整
The projector features manual focus. Before turning on the projector or if the image appears blurry:
- Locate the focus ring or knob near the lens.
- Rotate the focus ring until the projected image becomes clear and sharp.
5.4 台形補正
The projector supports automatic vertical keystone correction. If the image appears trapezoidal (wider at the top or bottom):
- The projector automatically corrects vertical distortion (up and down).
- For side projection or horizontal correction, access the settings menu to make manual adjustments.
6. 操作手順
6.1 電源オン/オフ
- 電源を入れるには: Press the Power On/Off button on the projector or the 'Open Key' on the remote control.
- 電源を切るには: Press the Power On/Off button on the projector or the 'Open Key' on the remote control again.
6.2 入力ソースの選択
プロジェクターは複数の入力ソースをサポートしています:
- HDMI: Connect laptops, gaming consoles, streaming sticks, etc., via the High Definition Interface.
- USB: Connect USB flash drives to play media file直接。
- AV: Connect older devices using the AV interface.
- スクリーンミラーリング: Supports wired and wireless screen mirroring for Android devices.
To select an input source, press the 'Signal Source' button on the projector or the 'Source Key' on the remote control and navigate to your desired input.
6.3 ナビゲーションと設定
- Use the directional keys (Up, Down, Left, Right) on the projector or remote to navigate through menus.
- 「OK」ボタンを押して選択を確定します。
- Press the 'Return' button to go back to the previous screen or menu.
- Press the 'Settings Key' on the remote to access advanced projector settings, including picture, sound, and system options.
6.4 ボリュームコントロール
Adjust the audio volume using the 'Volume Down' and 'Volume Increase' buttons on the remote control.
6.5アプリケーションシナリオ
The projector is suitable for a variety of uses:
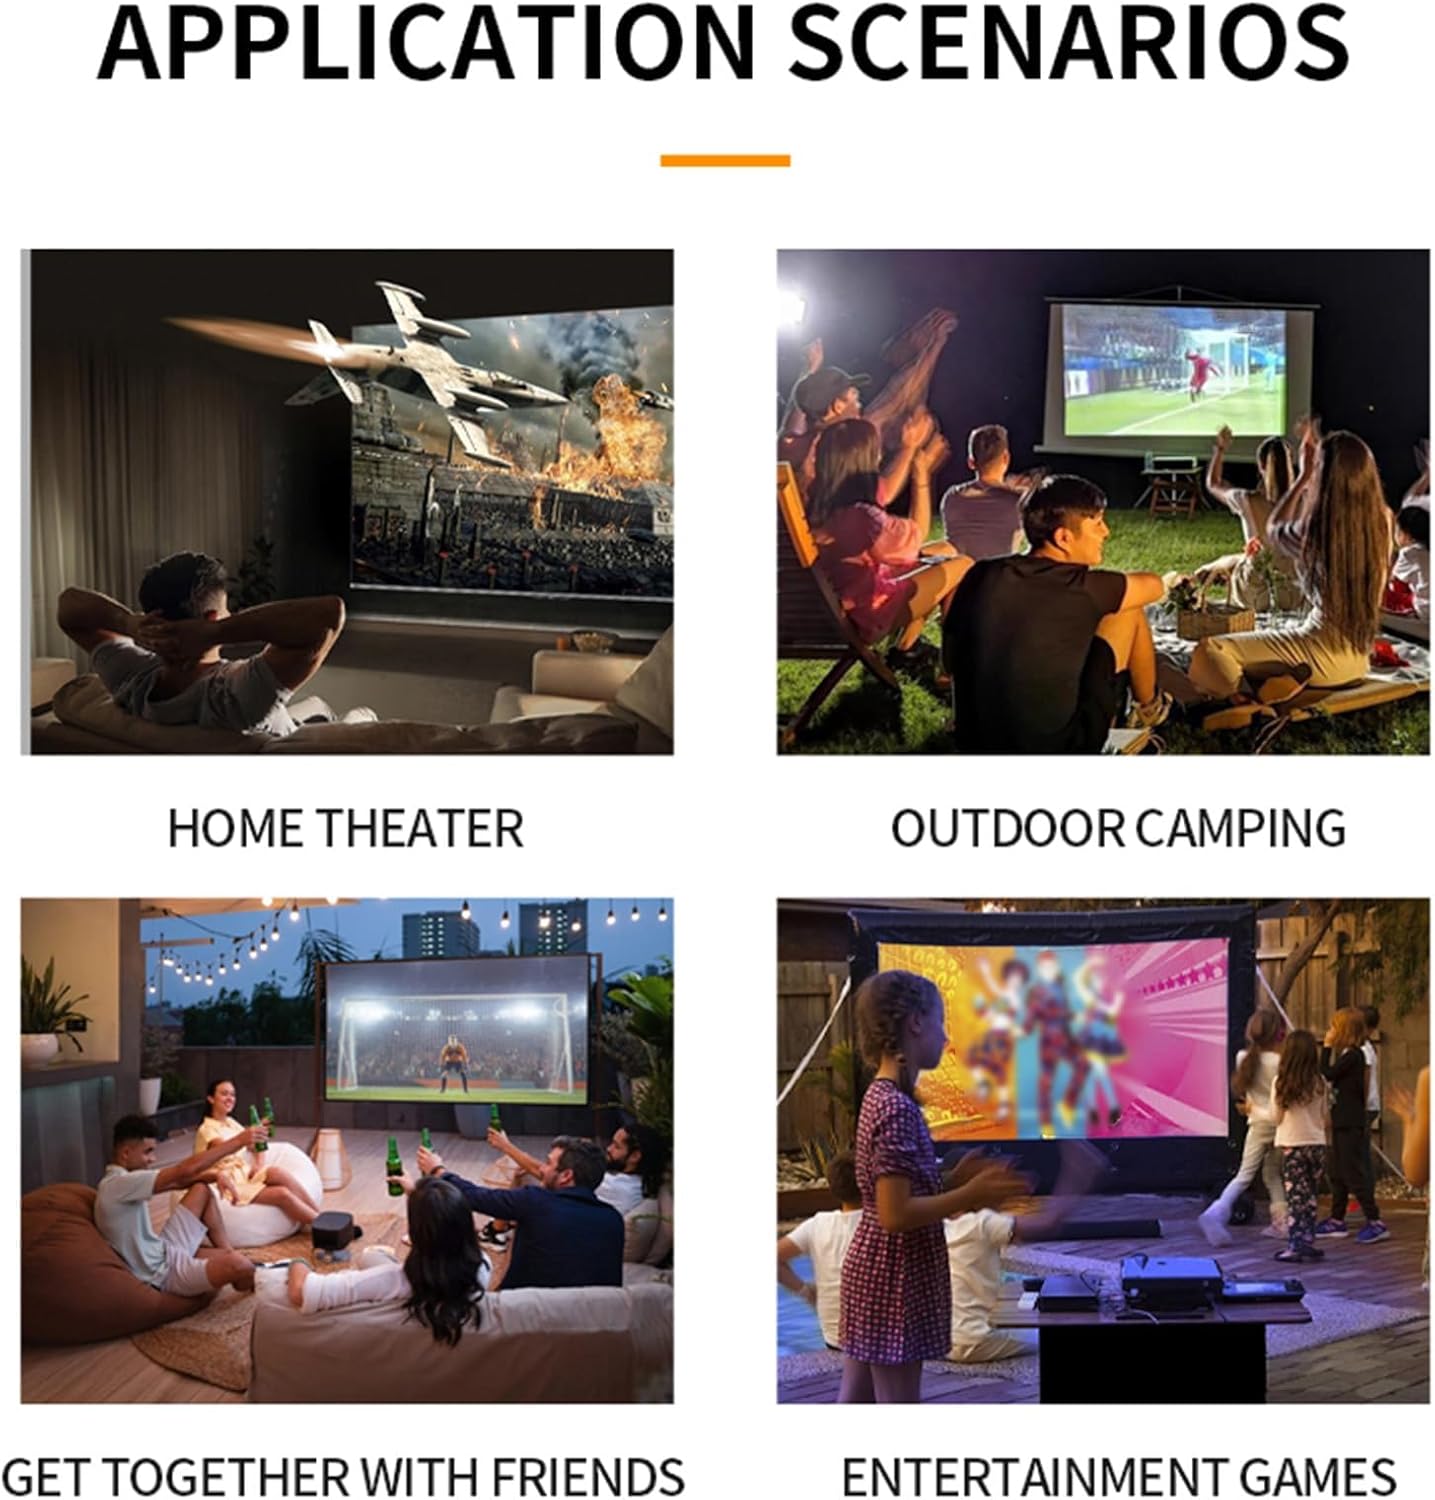
図6.1: 例amples of projector use in various settings including home theater, outdoor camping, social gatherings, and gaming.
- ホームシアター: 大画面で映画やテレビ番組をお楽しみください。
- アウトドアCamping: Portable design allows for outdoor entertainment.
- Get-togethers with Friends: Share content or play games with a group.
- Entertainment Games: ゲームコンソールを接続して没入感のある体験を。
7. メンテナンス
- レンズの掃除: 光学レンズ専用の柔らかく糸くずの出ない布を使用してください。研磨剤入りのクリーナーや布は使用しないでください。
- Cのクリーニングasing: プロジェクターの外側は、柔らかく乾いた布で拭いてください。頑固な汚れには、軽く湿らせた布を使用してください。amp 布で拭いてから完全に乾かしてください。
- 換気: Ensure the ventilation openings are clear of dust and debris to maintain optimal cooling. Use a soft brush or compressed air to gently clean them.
- ストレージ: 長期間使用しない場合は、プロジェクターを直射日光や極端な温度を避け、涼しく乾燥した場所に保管してください。
8。 トラブルシューティング
8.1 画像が表示されない、または画質が悪い
- 電力を確認します: プロジェクターが電源に正しく接続され、電源がオンになっていることを確認します。
- 入力ソース: Verify that the correct input source (HDMI, USB, AV) is selected.
- フォーカス調整: Manually adjust the focus ring until the image is clear.
- キーストーン補正: Adjust keystone settings if the image is distorted.
- ケーブル接続: Ensure all video cables are securely connected. Try a different cable if possible.
- デバイス出力: Check the output settings of your connected device (laptop, smartphone) to ensure it's sending a signal to the projector.
8.2 音が出ない
- 音量レベル: プロジェクターと接続されているソースデバイスの両方の音量を上げます。
- ミュート機能: Ensure the projector is not muted (check remote control).
- オーディオ出力: If using an external audio system, ensure it is properly connected and selected as the output.
- ソースオーディオ: Verify that the source device is playing audio.
8.3 リモコンが動作しない
- 電池: リモコンの電池を交換してください。
- 視線: リモコンとプロジェクターの IR 受信機の間に障害物のない見通し線があることを確認します。
9. 仕様
| 特徴 | 仕様 |
|---|---|
| モデル番号 | Dpofirseikmp1t75y |
| アイテムタイプ | LED Film Projector |
| ネイティブ解像度 | 320 x 240 ピクセル |
| サポート解決 | Up to 1920 x 1080 (1080p) 60Hz |
| 輝度 | 100 Ansi / 6000 Lumens |
| コントラスト比 | 10000:1 |
| 集中 | マニュアル |
| 修正 | Trapezoid Correction (Auto vertical, manual side via settings) |
| スピーカー | Built-in box speaker 4Ω 2W |
| 電源インターフェース | タイプC (5V 2A) |
| 入力ポート | 1x HD Multimedia Interface, 1x USB Port, 1x AV Interface |
| 出力ポート | 3.5mmヘッドフォンジャック |
| 投影サイズ | 14~100インチ |
| Optimal Playback Size | 20~60インチ |
| Optimal Playback Distance | 0.8m~1.6m |
| 寸法 | 5 x 3.4 x 1.9 インチ (12.6 x 8.58 x 4.77 cm) |
| アイテム重量 | 12.9オンス(約365g) |
| 冷却システム | Innovative cooling fan system (80% noise reduction) |
10. 保証とサポート
For warranty information, please refer to the warranty card included with your purchase or contact your retailer. Dpofirs is committed to providing quality products and customer support.
If you encounter any issues or have questions regarding your Dpofirs Small Portable Video Projector, please contact Dpofirs customer support through the retailer's platform or the official Dpofirs webサポートサイト。