1. はじめに
This manual provides essential information for the installation, operation, and maintenance of your Hikvision IDS-7208HQHI-M1/XT 8-Channel 5MP Turbo HD DVR. Please read this manual thoroughly before using the product to ensure correct and safe operation. Keep this manual for future reference.
The Hikvision IDS-7208HQHI-M1/XT is an advanced 8-channel Digital Video Recorder designed for high-definition surveillance systems. It supports various video input formats, including Turbo HD, AHD, CVI, CVBS, and IP cameras, offering versatile compatibility. Key features include 5MP recording capability, H.265+ video compression for efficient storage, AcuSense technology for intelligent motion detection, and remote access via the Hik-Connect app.
2. パッケージ内容
開梱時に、すべての品目が揃っていて良好な状態であることを確認してください。品物が不足または破損している場合は、直ちにサプライヤーにご連絡ください。
- DVR main unit
- 電源アダプター
- USBマウス
3 製品の特徴
The Hikvision IDS-7208HQHI-M1/XT DVR offers a range of features designed for effective surveillance:
- 8-Channel DVR with 5MP HD Support: Supports multiple analog HD camera formats and up to 8 channels of real-time video monitoring and recording.
- Two-Way Audio Support: Enables audio communication through compatible cameras.
- Built-In AcuSense Technology: Smart analysis minimizes false alarms by focusing on human and vehicle-based motion detection.
- Remote Access via Hik-Connect App: View live video, playback recordings, and receive alerts anytime on your smartphone.
- Efficient Storage with H.265+ Compression: Saves bandwidth and hard disk space while maintaining clear video quality.

画像: 上view of key features including AcuSense, H.265+ compression, and 5MP resolution support.
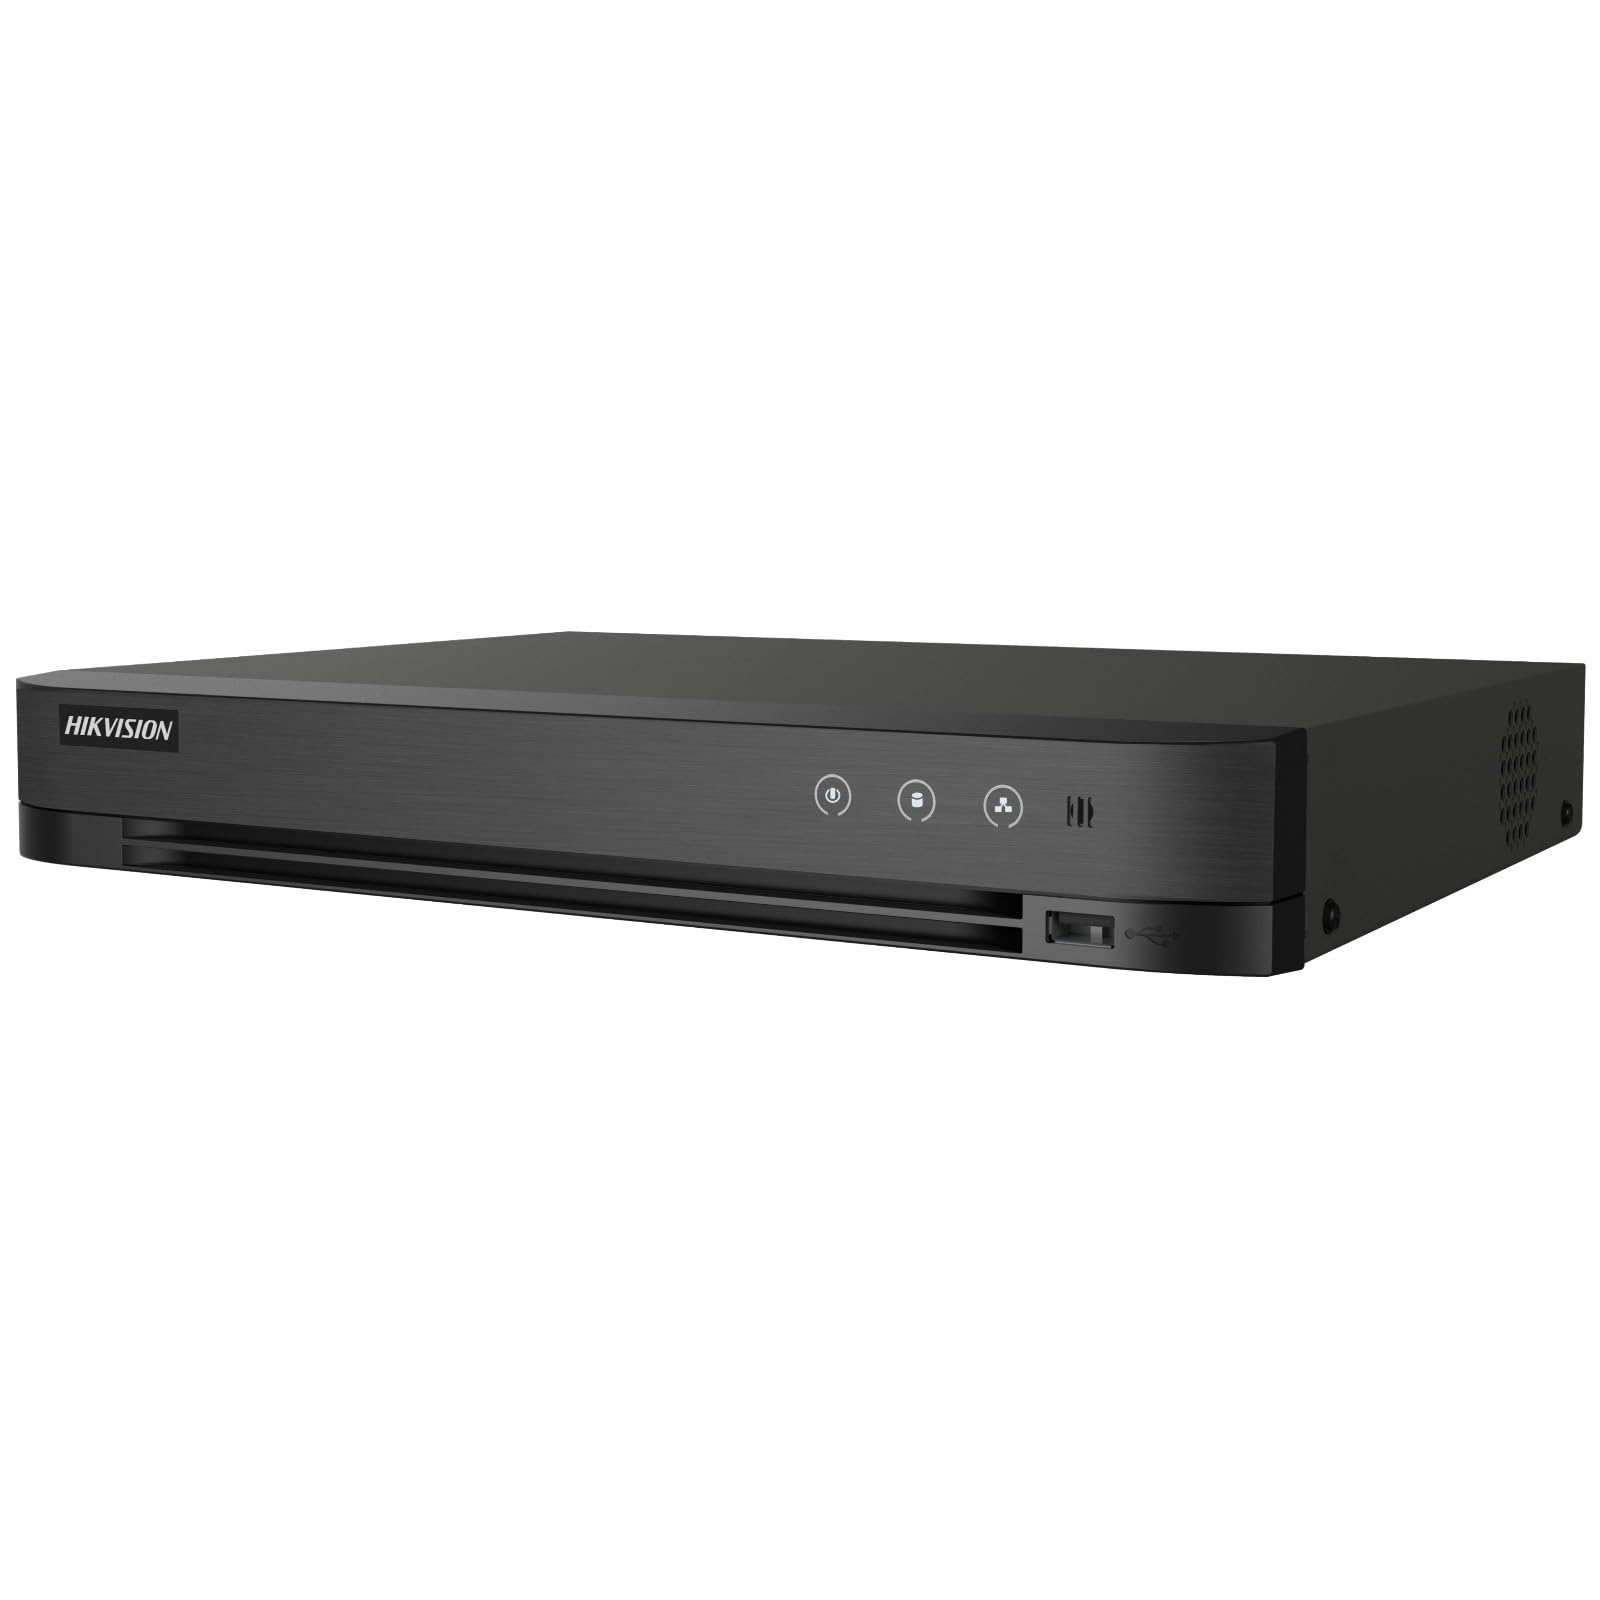
Image: The Hikvision Turbo HD DVR highlighting its support for two-way audio cameras, enabling interactive communication.
4. 物理インターフェース
Familiarize yourself with the ports and indicators on the DVR unit. The following diagram illustrates the rear panel of the Hikvision IDS-7208HQHI-M1/XT DVR:

Image: Rear panel connections of the DVR, showing video inputs, audio ports, network, and power.
- ビデオ入力(BNC): Connect analog HD cameras (Turbo HD, AHD, CVI, CVBS).
- Video Out (BNC): Connect to a monitor for local display.
- オーディオ入力(RCA): Connect external audio input devices.
- HDMI出力: HDMI 対応モニターまたはテレビに接続して、高解像度のビデオを出力します。
- VGA出力: VGA 対応モニターに接続します。
- オーディオ出力(RCA): Connect to external audio output devices.
- USB ポート: Connect a USB mouse, USB flash drive for backup, or external storage.
- LANポート(RJ45): リモート アクセスと IP カメラの統合のためにネットワークに接続します。
- RS-485: For PTZ camera control (if supported).
- 12V DC電源入力: 付属の電源アダプターを接続します。
- 地上ターミナル: デバイスの接地用。
5. セットアップ
DVR システムの初期セットアップを行うには、次の手順に従ってください。
5.1 ハードドライブのインストール(プリインストールされていない場合)
- DVR の上部カバーをネジを外して取り外します。
- SATA データ ケーブルと電源ケーブルをハード ドライブに接続します。
- 付属のネジを使用してハードドライブを DVR シャーシに固定します。
- 上部カバーを取り付けて、ネジで固定します。
5.2 周辺機器の接続
- Connect your cameras to the ビデオで (BNC) ports.
- モニターを接続する HDMI or アナログ 出力ポート。
- Connect the USB mouse to a USBポート.
- Connect the DVR to your network router using an Ethernet cable plugged into the LANポート.
- 電源アダプタをに接続します 12VDC電源入力 and then plug it into a power outlet.
5.3初期構成
- Upon first boot, the DVR will guide you through a setup wizard.
- Set a strong password for the administrator account.
- ネットワーク設定を構成します (通常、ほとんどのホーム ネットワークでは DHCP で十分です)。
- Initialize the hard drive if prompted. This will format the drive for recording.
- Adjust date, time, and other system preferences as needed.
6.運用
Once the DVR is set up, you can begin monitoring and recording.
6.1 ライブ View
ログイン後、DVRはライブ映像を表示します。 view from connected cameras on the monitor. You can switch between single-camera view マルチカメラグリッド view 画面上のコントロールまたはマウスを使用します。
6.2 録音
The DVR is typically configured to record continuously or based on motion detection. You can adjust recording schedules and settings through the DVR's menu system (設定 > 録画 > スケジュール).
6.3 再生
再するためにview 記録されたfootage、 再生 menu. Select the date, time, and camera channel to view 録音。再生コントロール(再生、一時停止、早送り、巻き戻し)を使用して、録音をナビゲートします。tage.
6.4 Remote Access (Hik-Connect App)
The Hik-Connect app allows you to access your DVR remotely from a smartphone or tablet.
- デバイスのアプリ ストアから Hik-Connect アプリをダウンロードします。
- Hik-Connect アカウントを作成してログインします。
- Add your DVR by scanning the QR code on the DVR's label or by manually entering its serial number.
- Follow the in-app instructions to complete the device addition.
- 追加したら、 view live feeds, play back recordings, and receive push notifications for events.

Image: Illustration of the Hik-Connect mobile application interface, demonstrating remote access to live video and recordings.
7. メンテナンス
定期的なメンテナンスにより、DVR システムの最適なパフォーマンスと寿命が確保されます。
- Clean the DVR: Periodically clean the exterior of the DVR with a soft, dry cloth. Ensure ventilation openings are free from dust to prevent overheating.
- ファームウェアの更新: Hikvisionの公式をチェック webファームウェアのアップデートについては、こちらのサイトをご覧ください。ファームウェアをアップデートすると、パフォーマンスの向上、機能の追加、バグの修正などが可能になります。アップデート手順をよく読んでください。
- ハードドライブの健全性: Monitor the health of your hard drive through the DVR's system menu (HDD管理). Replace the hard drive if it shows signs of failure.
- 重要なFooのバックアップtage: 重要なビデオファイルを定期的にバックアップするtag外部 USB ドライブまたはネットワーク ストレージに保存します。
- パスワードのセキュリティ: Change your DVR and Hik-Connect passwords periodically to maintain security.
8。 トラブルシューティング
このセクションでは、発生する可能性のある一般的な問題について説明します。
8.1 モニターにビデオ出力がない
- Check if the monitor is powered on and correctly connected to the DVR's HDMI or VGA port.
- モニターで正しい入力ソースが選択されていることを確認してください。
- 別のモニターに接続するか、別のケーブルを使用してみてください。
8.2 カメラが表示されない
- Verify that cameras are powered on and properly connected to the DVR's BNC inputs.
- Check camera power supplies.
- Ensure the camera type (TVI, AHD, CVI, CVBS) is compatible with the DVR and configured correctly in the DVR settings.
8.3 リモートアクセスが機能しない
- DVR が LAN ポート経由でインターネットに接続されていることを確認します。
- DVRのネットワーク設定を確認してください(設定 > ネットワーク).
- Verify that the Hik-Connect service is enabled on the DVR.
- スマートフォンのインターネット接続が有効になっていることを確認してください。
- Re-add the device to the Hik-Connect app if necessary.
8.4 録音禁止
- Check if a hard drive is installed and properly initialized (Configuration > HDD).
- Verify recording schedules are set correctly (設定 > 録画 > スケジュール).
- Ensure there is sufficient free space on the hard drive.
9. 仕様
Detailed technical specifications for the Hikvision IDS-7208HQHI-M1/XT DVR:
| 特徴 | 仕様 |
|---|---|
| モデル番号 | IDS-7208HQHI-M1/XT |
| ビデオ入力 | 8-Channel (Turbo HD/AHD/CVI/CVBS/IP) |
| ビデオ圧縮 | H.265 + / H.265 / H.264 + / H.264 |
| 録画解像度 | 最大5MP |
| ビデオ出力 | HDMI, VGA, BNC |
| オーディオ入力/出力 | 2-Way Audio Support |
| ネットワーク·インタフェース | 1 RJ45 10M/100M Ethernet Interface |
| USBインターフェース | USB 2 x 2.0 |
| HDDサポート | 1 つの SATA インターフェイス (HDD あたり最大 10 TB の容量) |
| 電源 | 12V直流 |
| 寸法(長さ×幅×高さ) | 19.7 x 19.2 x 4.1 cm |
| 重さ | 1.5キロ |
| メーカー | HIKVISION, Prama Hikvision India Pvt. Ltd. |
10. 保証とサポート
For warranty information and technical support, please refer to the warranty card included with your product or visit the official Hikvision webサイトでご確認ください。保証請求の際は購入証明として領収書を保管してください。
For further assistance, contact Hikvision customer support or your authorized dealer.


