
1. はじめに
This manual provides detailed instructions for the setup, operation, and maintenance of your SOVMIKU Vicohome 2K AI Solar Security Camera. Please read this manual thoroughly before using the product to ensure proper functionality and safety.
The SOVMIKU Vicohome 2K AI Solar Security Camera offers advanced surveillance features including 2K ultra-high-definition video, AI human detection, color night vision, two-way audio, and solar power capabilities for continuous operation. It integrates seamlessly with the Vicohome app for remote monitoring and control.
2. パッケージ内容
下記のすべての品目がパッケージに含まれていることをご確認ください。不足または破損している品目がある場合は、カスタマーサポートまでご連絡ください。
- カメラ本体
- 取り付けブラケット
- ソーラーパネル
- USBケーブル
- ユーザーマニュアル
- ネジと壁プラグ
- SIM Card & SD Card (if included in specific model variant)

Image: Contents of the SOVMIKU Vicohome Solar Security Camera package.
3. セットアップ
3.1 初期充電
Before first use, fully charge the camera using the provided USB cable. Connect the USB cable to the camera's USB-C port and a standard 5V/2A USB power adapter (not included).

Image: USB-C charging port and reset button on the camera.
3.2 Vicohome App Installation
Download the free "Vicohome" app from the Google Play Store or Apple App Store. Follow the in-app instructions to create an account and add your camera. The app allows for real-time monitoring, playback, and alert management.
3.3 MicroSDカードの取り付け(オプション)
The camera supports a built-in microSD slot for local storage, up to 128GB. Insert a compatible microSD card into the designated slot. Ensure the camera is powered off before inserting or removing the card.

画像: カメラに microSD カードを挿入します。
4. インストール
4.1カメラの取り付け
カメラを設置する場所を適切に選び、 view of the area you wish to monitor and is within Wi-Fi range. Use the provided mounting bracket and screws to securely attach the camera to a wall or other stable surface.

Image: Installation steps for the camera and solar panel.
4.2 ソーラーパネルの配置
For optimal performance, install the solar panel in a location that receives direct sunlight for several hours each day. The panel should be angled to maximize sun exposure, especially during midday. The 9.8ft cable allows for flexible placement.

Image: Guide for optimal solar panel placement.
Ensure the "Auto-on After Charging" function is enabled in the app settings. This feature automatically powers on the device after charging if the battery was depleted.

Image: Vicohome app setting for 'Auto-on After Charging'.
5. 操作手順
5.1 Vicohome App Compatibility
The camera is designed for seamless integration with the Vicohome app, allowing you to manage multiple Vicohome-enabled devices from a single interface. You can view 最大 4 台のカメラを同時に使用できます。

Image: Vicohome app interface showing multiple camera views.
5.2 モーション検出
The camera features a Passive Infrared (PIR) sensor for accurate motion detection. When a human or animal body passes, the PIR sensor triggers the camera and can activate a spotlight at night. You can enable push notifications in the Vicohome app to receive alerts on your smartphone or smartwatch.

画像: スマートフォンのモーション検出アラート。
5.3 双方向オーディオ
Utilize the built-in microphone and speaker for two-way communication. This allows you to speak with visitors or deter intruders directly through the Vicohome app.
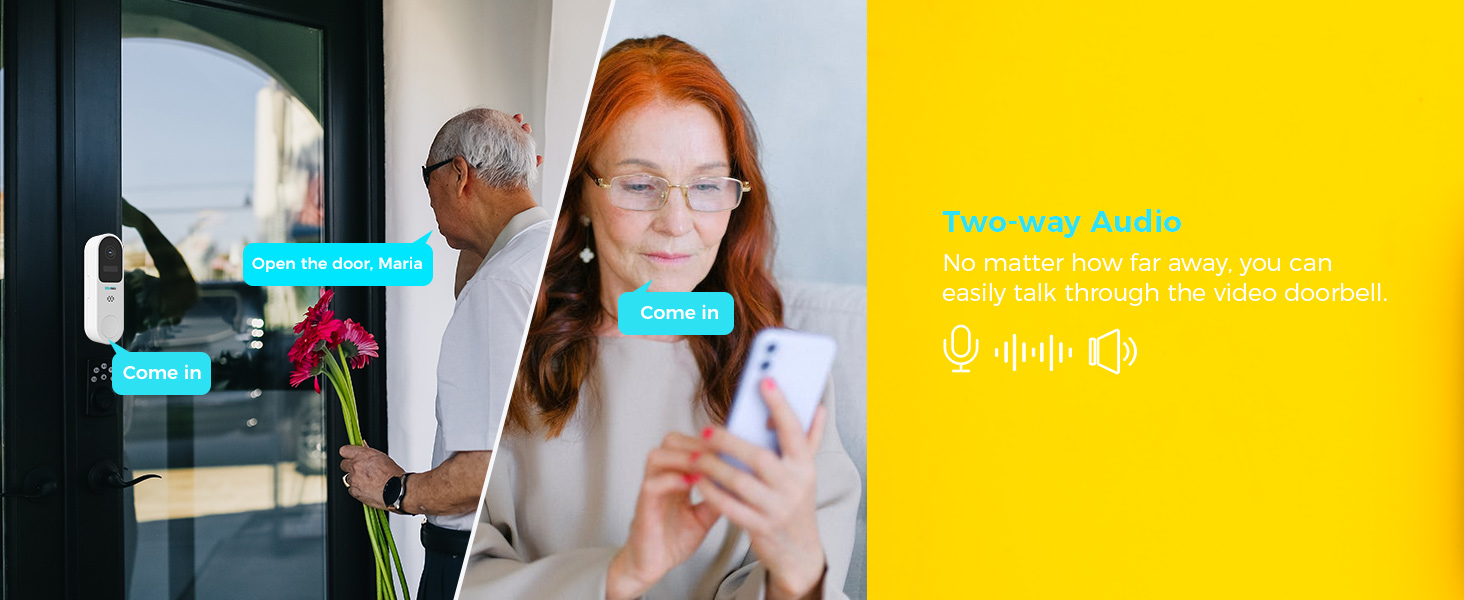
Image: Two-way audio communication via the camera and app.
5.4 Night Vision and Audible Flashlight Siren
The camera provides color night vision for clear images in low-light conditions. It also features an audible flashlight siren. If the alarm flash feature is enabled, the device will automatically flash when motion is detected. If the audible alarm is turned on, the camera will sound a siren.

Image: Camera demonstrating color night vision and flashlight siren at night.
5.5 ストレージオプション
The camera supports both local storage via a microSD card (up to 128GB) and encrypted cloud storage. Cloud storage ensures your recordings are safe even if the camera is physically compromised.

画像: ローカルおよびクラウド ストレージ オプション。
6. メンテナンス
6.1 ソーラーパネルのケア
Regularly wipe the solar panels to remove dust, dirt, and debris. This ensures optimal energy conversion and charging efficiency. In temperatures below 0°C, the solar panel's power output may be reduced.

Image: Solar panel maintenance reminder.
6.2一般的なクリーニング
カメラのレンズと本体は、柔らかく乾いた布で拭いてください。デバイスを損傷する可能性のある、刺激の強い化学薬品や研磨剤の使用は避けてください。
7. 仕様
- 解決: 2K (3MP) Ultra-High Definition
- センサー: High tolerance CMOS and PIR Sensor
- ナイトビジョン: カラーナイトビジョン
- オーディオ: 双方向オーディオ
- ストレージ: MicroSDカード(最大128GB)、クラウドストレージ
- 接続性: Wi-Fi
- 耐候性: IP65(防滴、防水、防塵)
- 動作温度: -10°C ~ 45°C (14°F ~ 113°F)
- バッテリー: Built-in high-capacity 21700 batteries (up to 9000mAh)
- ビデオ圧縮: H.265+ Efficient Encoding
8。 トラブルシューティング
8.1 カメラがWi-Fiに接続できない
- Wi-Fiネットワークが2.4GHzであることを確認してください。カメラは5GHzネットワークをサポートしていない可能性があります。
- カメラが Wi-Fi ルーターの範囲内にあることを確認してください。
- Verify your Wi-Fi password is entered correctly in the Vicohome app.
- Try resetting the camera by pressing the reset button for 5 seconds.
8.2 画像品質が悪い
- カメラのレンズは柔らかい布で拭いてください。
- レンズの前に障害物がないことを確認してください。
- Check your internet connection speed. A stable connection is required for optimal streaming.
8.3 ソーラーパネルが充電されない
- Ensure the solar panel is placed in direct sunlight and is free from obstructions.
- Clean the surface of the solar panel regularly.
- Verify the cable connection between the solar panel and the camera is secure.
- Note that charging efficiency decreases in cold weather (below 0°C).
9. 保証とサポート
SOVMIKU offers a 180-day exchange policy. If you are not satisfied with the product, you can submit a request for a solution within 24 hours. For technical support or warranty claims, please contact SOVMIKU customer service via telephone or email. We aim to respond to all inquiries within 12 hours.
Your feedback is valuable for product improvement. We may offer new cameras or extra cameras as gifts for valuable suggestions.

Image: SOVMIKU 180-day exchange policy details.