1. はじめに
This manual provides detailed instructions for the setup, operation, maintenance, and troubleshooting of your ATTACK SHARK G3PRO Wireless Gaming Mouse. Please read this manual thoroughly to ensure proper use and to maximize your gaming experience.

画像: オーバーview of the ATTACK SHARK G3PRO mouse and its features, including magnetic fast charging, PAW3311 sensor, web cloud drive, RGB rapid charging dock, and lightweight design.
2. パッケージ内容
パッケージにすべてのアイテムが含まれていることを確認します。
- ATTACK SHARK G3PRO Wireless Gaming Mouse
- RGB磁気充電ドック
- 2.4G USBレシーバー
- USB-C - USB-A 充電/データ ケーブル
- ユーザーマニュアル
3. セットアップ
3.1 初期充電
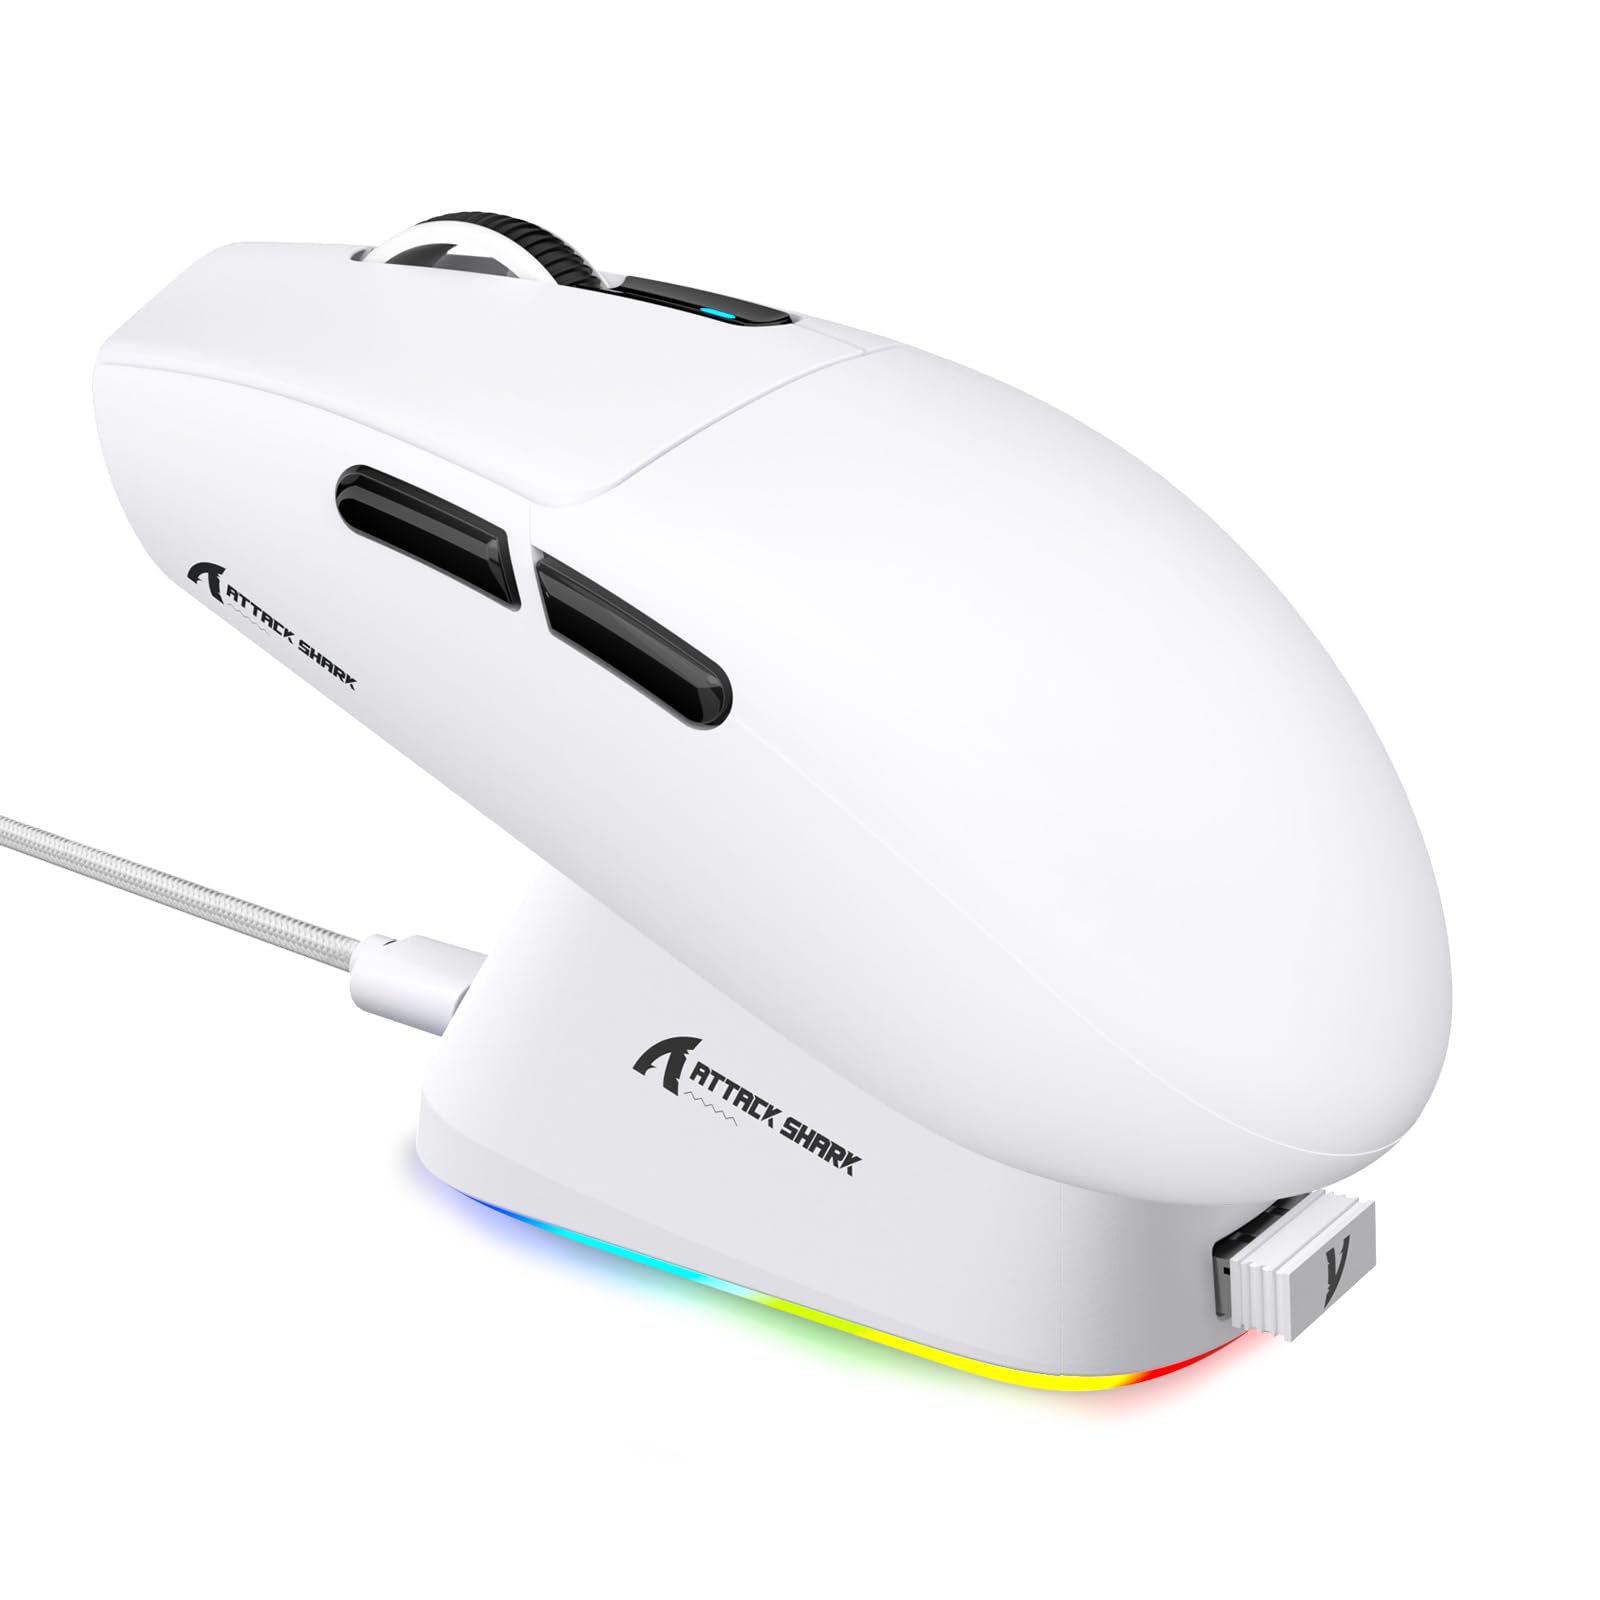
Before first use, it is recommended to fully charge the mouse. Connect the USB-C cable to the charging dock and a power source. Place the mouse onto the magnetic charging dock. The RGB lighting on the dock will indicate charging status.
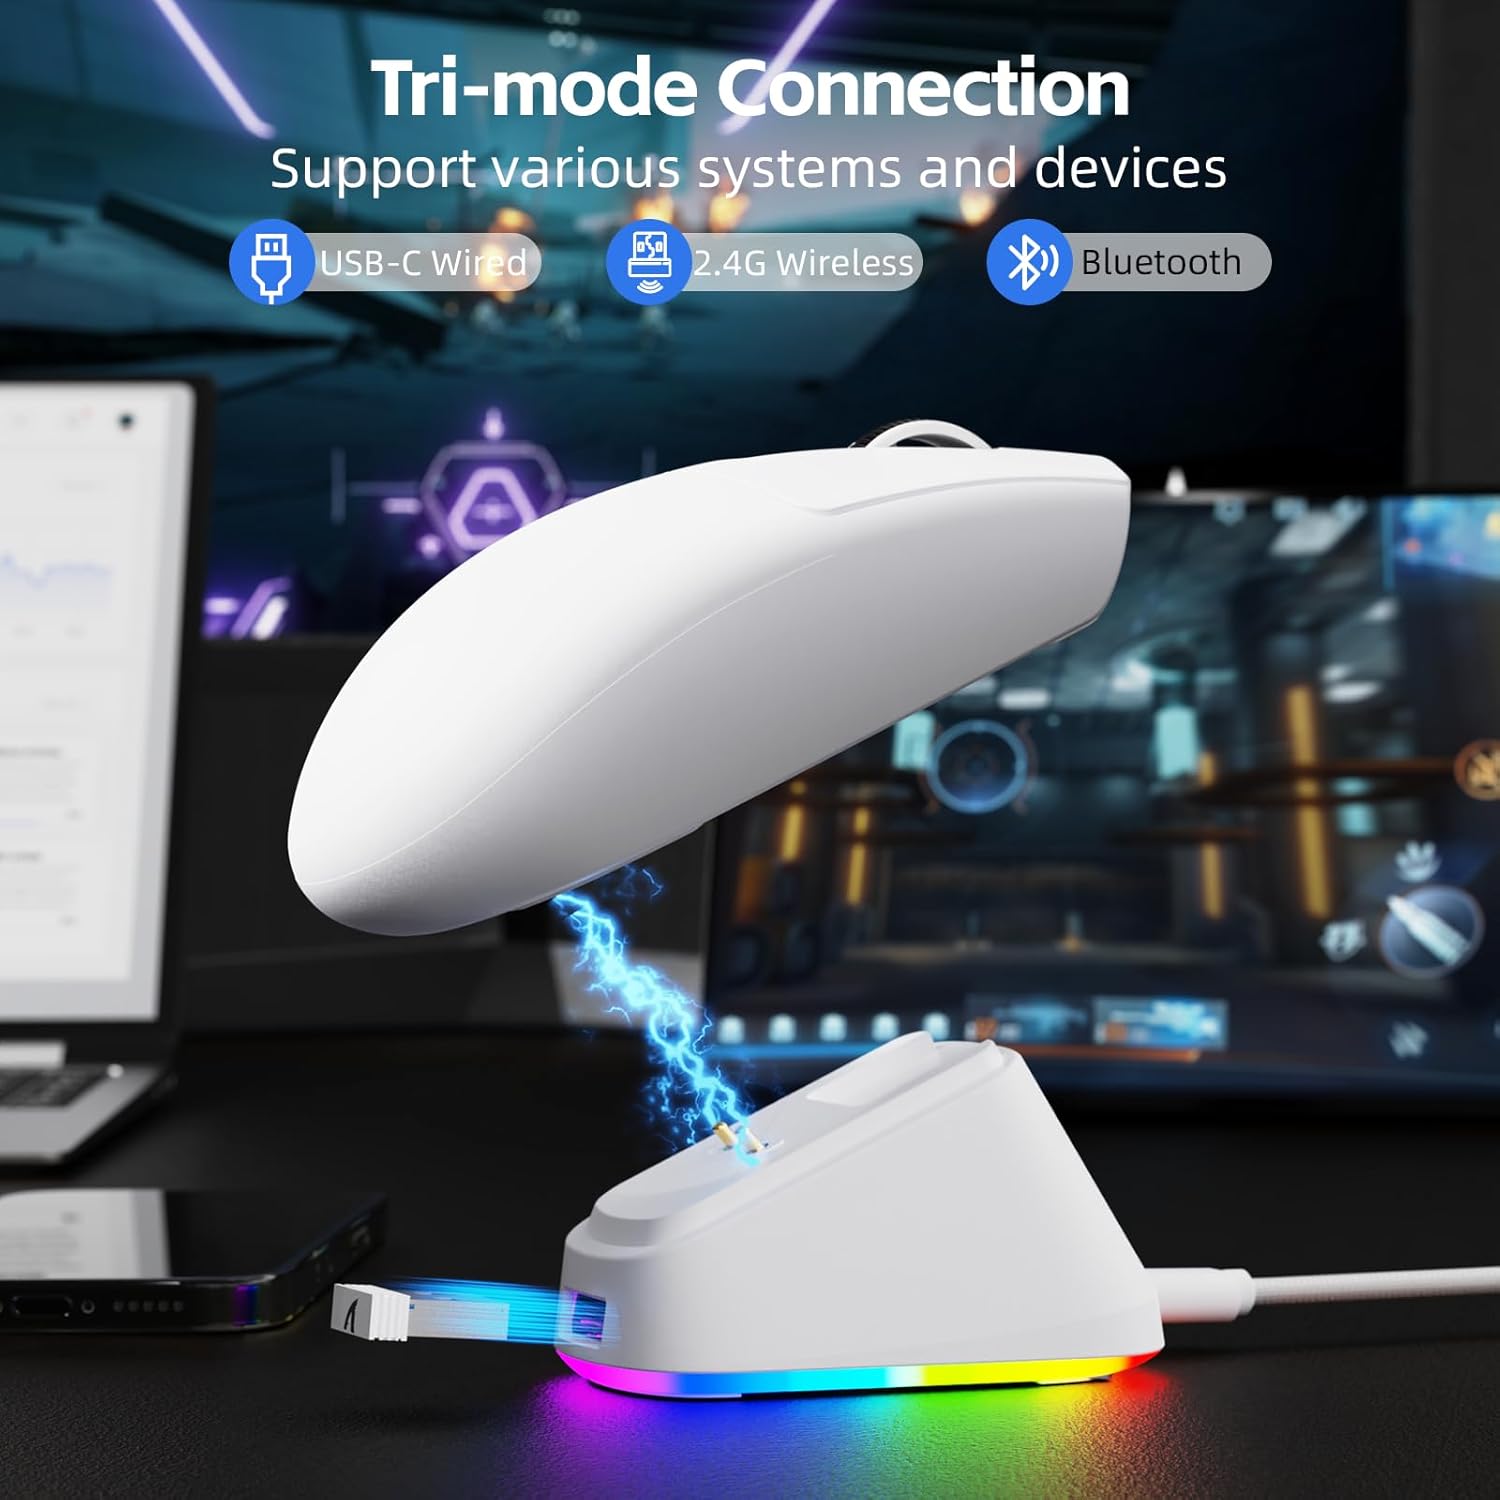
Image: The ATTACK SHARK G3PRO mouse magnetically attached to its RGB charging dock, showing the charging thimbles and USB-C port.
For a visual guide on charging, please watch the following video:
Video: This video demonstrates the magnetic charging dock and its features for the ATTACK SHARK G3PRO Wireless Gaming Mouse.
3.2 マウスの接続
The G3PRO supports three connection modes: 2.4GHz Wireless, Bluetooth, and USB-C Wired. A switch on the bottom of the mouse allows you to select the desired mode.

Image: The ATTACK SHARK G3PRO mouse with visual indicators for Wired, 2.4G, and Bluetooth connectivity modes.
2.4GHzワイヤレスモード:
- Locate the 2.4G USB receiver, typically stored within the charging dock or the mouse itself.
- USBレシーバーをコンピューターの使用可能なUSBポートに接続します。
- Set the switch on the bottom of the mouse to "2.4G".
- マウスは自動的に接続されるはずです。
Bluetoothモード:
- Set the switch on the bottom of the mouse to "BT".
- コンピューターまたはデバイスで、Bluetooth 設定に移動し、Bluetooth を有効にします。
- 検索する new devices and select "ATTACK SHARK G3PRO" to pair.
USB-C有線モード:
- Connect the USB-C cable directly from the mouse to your computer.
- マウスは有線マウスとして機能し、同時に充電されます。
For a visual guide on product features and connectivity, please watch the following video:
Video: This video demonstrates the various color options and the magnetic charging feature of the ATTACK SHARK G3PRO Wireless Gaming Mouse, showcasinデザインと機能性に優れています。
4. マウスの操作
4.1 ボタンの機能
The ATTACK SHARK G3PRO features 5 programmable buttons:
- 左クリック: 主なアクション。
- 右クリック: セカンダリアクション/コンテキストメニュー。
- 中クリック/スクロールホイール: 上下にスクロールし、中クリックでユニバーサルスクロールまたはその他の機能を実行します。
- 進むボタン: 前方への移動のデフォルト web ブラウザ/フォルダ。
- 戻るボタン: 後方への移動のデフォルト web ブラウザ/フォルダ。
- DPI スイッチ: 事前設定された DPI レベルを切り替えます。

Image: A detailed diagram illustrating the location and default functions of the multi-functional buttons on the ATTACK SHARK G3PRO mouse.

画像: 爆発した view and labeled diagram of the G3PRO mouse components, including buttons, switches, charging points, and the 2.4G/OFF/BT mode switch.
4.2 DPI調整
The mouse features a dedicated DPI switch to cycle through various sensitivity levels, ranging from 800 to 25,000 DPI. The current DPI setting is indicated by an LED light.

Image: A visual representation of the 25,000 DPI optical sensor's precision and how mouse movement trajectory sensitivity scales with DPI settings.
4.3 ポーリングレート
The G3PRO supports a 1000Hz polling rate in both wired and 2.4GHz wireless modes, ensuring rapid response times for competitive gaming.

Image: A diagram illustrating the 1000Hz polling rate capability in both wired and wireless modes, highlighting millisecond response times.
5. ソフトウェアとカスタマイズ
Customize your G3PRO mouse settings using the intuitive web driver or downloadable software from ATTACK SHARK. This allows for personalization of DPI, polling rate, macros, and more.
- Web ドライバ: アクセス web-based configuration tool for quick adjustments without installation.
- Downloadable Software: For advanced customization and profile management, download the dedicated software.

Image: A screenshot of the ATTACK SHARK Hub software interface, showing options for mouse settings, DPI settings, parameter settings, macro editing, and personal center.

Image: The cloud-driven programming interface for the G3PRO mouse, displaying options for button settings, DPI adjustments, polling rate settings, and power management.
6. メンテナンス
6.1 クリーニング
最適なパフォーマンスを維持するために、マウスを定期的に掃除してください。表面は柔らかく乾いた布で拭いてください。頑固な汚れには、軽く湿らせた布で拭いてください。amp 布などを使用することで、内部部品に水分が入り込むのを防ぐことができます。刺激の強い化学薬品や研磨剤は使用しないでください。
6.2 ストレージ
When not in use for extended periods, store the mouse and charging dock in a cool, dry place. Ensure the USB receiver is securely stored, ideally within the charging dock's designated slot, to prevent loss.
7。 トラブルシューティング
| 問題 | 考えられる原因 | 解決 |
|---|---|---|
| マウスが反応しない (2.4G) | Low battery; Receiver not plugged in; Incorrect mode selected; Driver issue. | Charge the mouse; Ensure receiver is firmly plugged in; Set mouse to "2.4G" mode; Reinstall mouse drivers. |
| マウスが反応しない(Bluetooth) | Low battery; Bluetooth not enabled on device; Not paired; Incorrect mode selected. | Charge the mouse; Enable Bluetooth on your device; Re-pair the mouse in Bluetooth settings; Set mouse to "BT" mode. |
| 充電ドックのRGBが点灯しない | Cable not connected; Power source issue. | Ensure USB-C cable is securely connected to dock and power source; Try a different USB port or power adapter. |
| 一貫性のない追跡 | Dirty sensor; Uneven surface; Interference (wireless). | Clean the optical sensor; Use a clean, even mouse pad; Reduce wireless interference by moving other devices or using wired mode. |
| ボタンが反応しない | ソフトウェアの競合、物理的な損傷。 | Check software settings for button remapping; Test on another computer; Contact support if physical damage is suspected. |
8. 仕様
| 特徴 | 詳細 |
|---|---|
| ブランド | 攻撃サメ |
| モデル | G3PRO |
| 色 | 白 |
| 接続技術 | 2.4GHzワイヤレス、Bluetooth、USB-C有線 |
| 動き検出技術 | 光学式(PAW3311センサー) |
| 最大DPI | 25,000DPI |
| ポーリングレート | 1000Hz |
| 加速度 | 40G |
| 追跡速度 | 400 IPS |
| スイッチ | Mechanical (100 Million Clicks) |
| バッテリー容量 | 500mAh |
| バッテリー寿命 | 最大200時間 |
| 重さ | 59g±3g |
| ボタン | 5 |
| 手の向き | 両利き |
| 対応デバイス | ノートパソコン、パソコン、スマートフォン、タブレット |
| オペレーティング·システム | Windows、macOS |
For a comparison of G3 and G3PRO models, refer to the image below:

Image: A table comparing the specifications of the ATTACK SHARK G3 and G3PRO models, highlighting differences in components and features.
9. 安全情報
- デバイスを極端な温度や湿度にさらさないでください。
- 落としたり、強い衝撃を与えないでください。
- お子様の手の届かない場所に保管してください。
- デバイスを分解または改造しないでください。保証が無効になり、損傷が発生する可能性があります。
- 付属の充電ケーブルとドックのみを使用してください。
10. 保証とサポート
The ATTACK SHARK G3PRO Wireless Gaming Mouse comes with a standard manufacturer's warranty. For detailed warranty information, please refer to the warranty card included in your package or visit the official ATTACK SHARK webサイト。
For technical support, troubleshooting assistance, or to inquire about replacement parts, please contact ATTACK SHARK customer service through their official webサイトまたは製品パッケージに記載されている連絡先情報を参照してください。
正式 Webサイト: ATTACK SHARK Amazonストア