1. はじめに
This manual provides comprehensive instructions for the safe and efficient installation, operation, and maintenance of your MOUNT PRO Dual Monitor Desk Mount. Please read this manual thoroughly before installation and retain it for future reference.
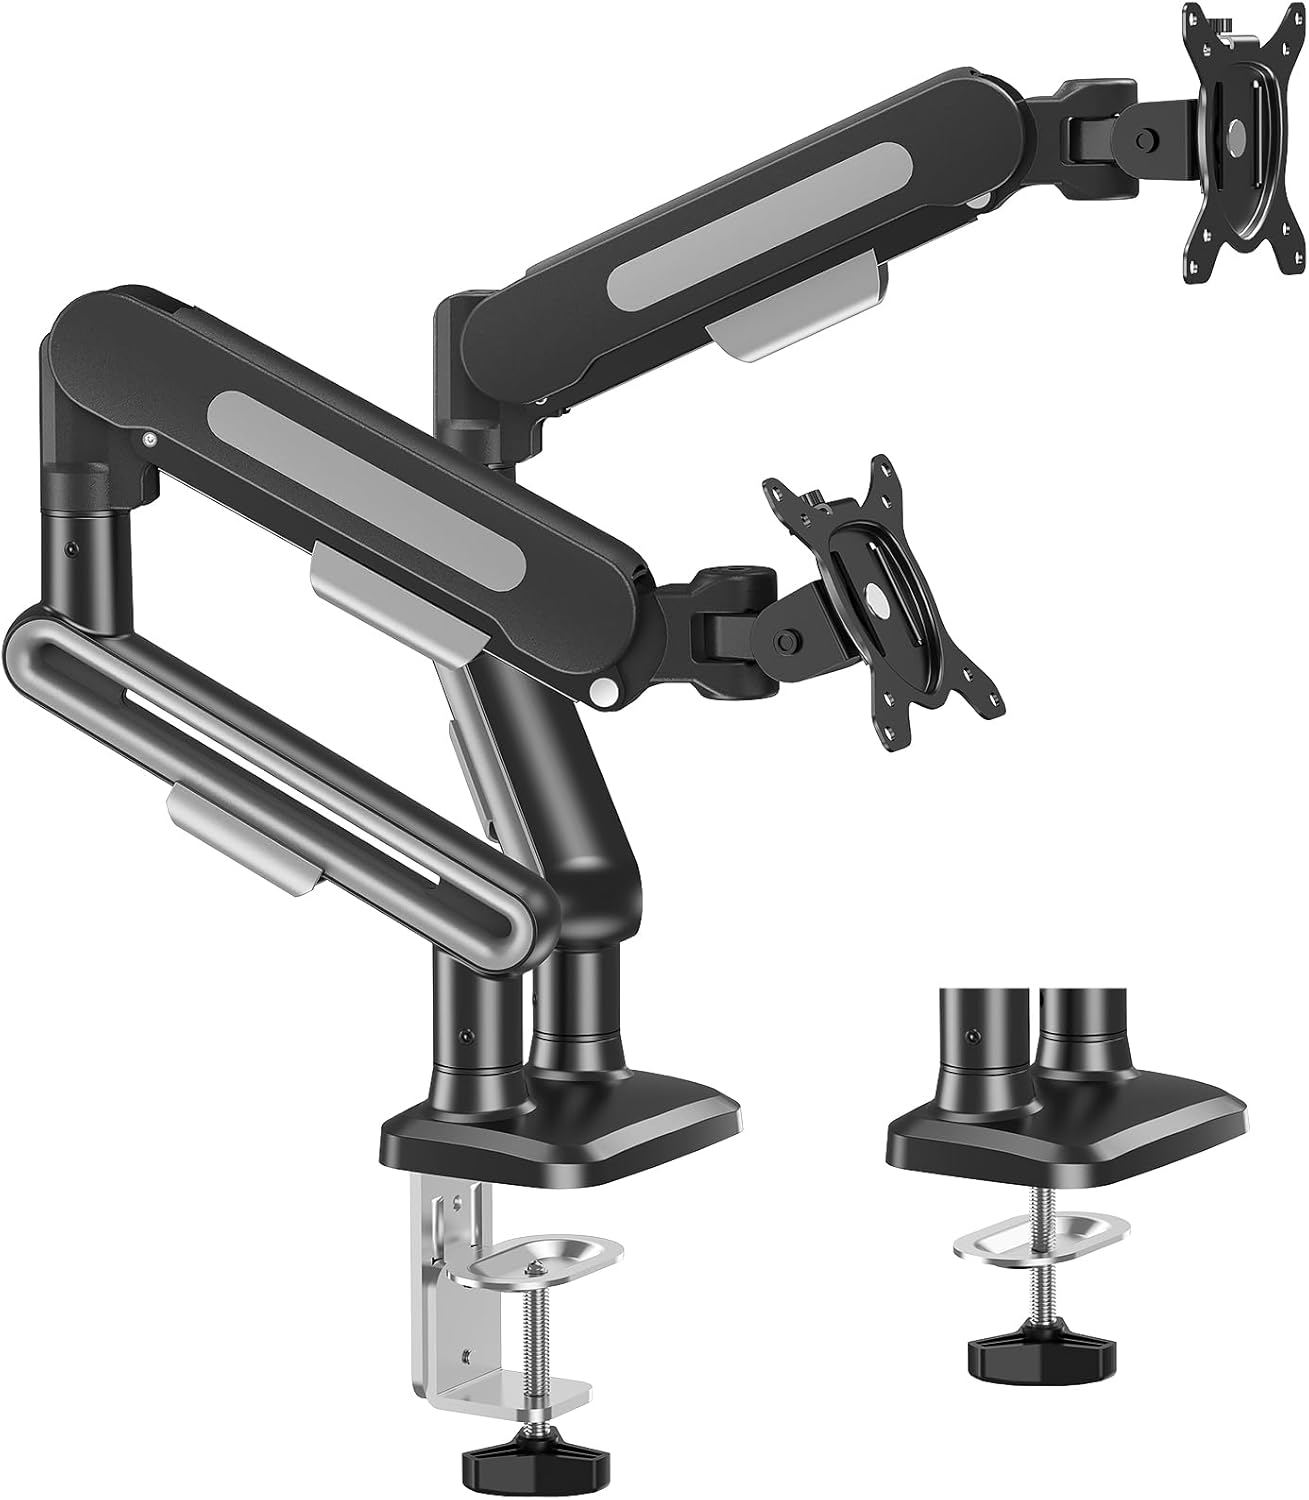
Image 1.1: MOUNT PRO Dual Monitor Desk Mount showing both C-clamp グロメットベースのオプションもあります。
2. 安全情報
Always ensure the mounting surface can support the combined weight of the mount and monitors. Do not exceed the maximum weight capacity. Use appropriate tools and follow all installation steps carefully. Keep children and pets away during installation.
3. パッケージ内容
インストールを開始する前に、すべてのコンポーネントが揃っていることを確認してください。
- Dual Monitor Arms (2)
- Desk Mount Base (1)
- C-Clamp 取り付け金具
- グロメット取り付け金具
- VESAプレート (2)
- Assembly Tools (Allen wrenches, etc.)
- 取扱説明書
4. 製品仕様
| 特徴 | 仕様 |
|---|---|
| ブランド | マウントプロ |
| モデル | B0FCM83HFV |
| モニターサイズの互換性 | 22" to 39" (flat or curved LCD/LED/OLED screens) |
| 耐荷重(片腕あたり) | 4.4 - 26.5ポンド |
| VESA互換性 | 75x75mm、100x100mm |
| 移動タイプ | Swivel, Tilt, Rotation |
| 最大傾斜角度 | +75°/-45° |
| 回転 | 360° |
| スイベル | 180° (at arm joints) |
| 最大延長 | 22インチ |
| 最高の高さ | 18.5インチ |
| C-Clamp 机の厚さ | 0.39インチから3.35インチ |
| グロメットデスクの厚さ | 0.39インチから2.76インチ |
| グロメット穴径 | 0.39インチから2.36インチ |
| 材料 | 金属 |
| 色 | 黒 |

Image 4.1: Key specifications including VESA patterns, screen size, and weight capacity.

Image 4.2: Visual representation of monitor size and weight compatibility.
5. セットアップ手順
5.1取り付けオプション
The MOUNT PRO Dual Monitor Desk Mount offers two installation methods: C-clamp グロメットベースとグロメットベース。デスクに合った方法をお選びください。
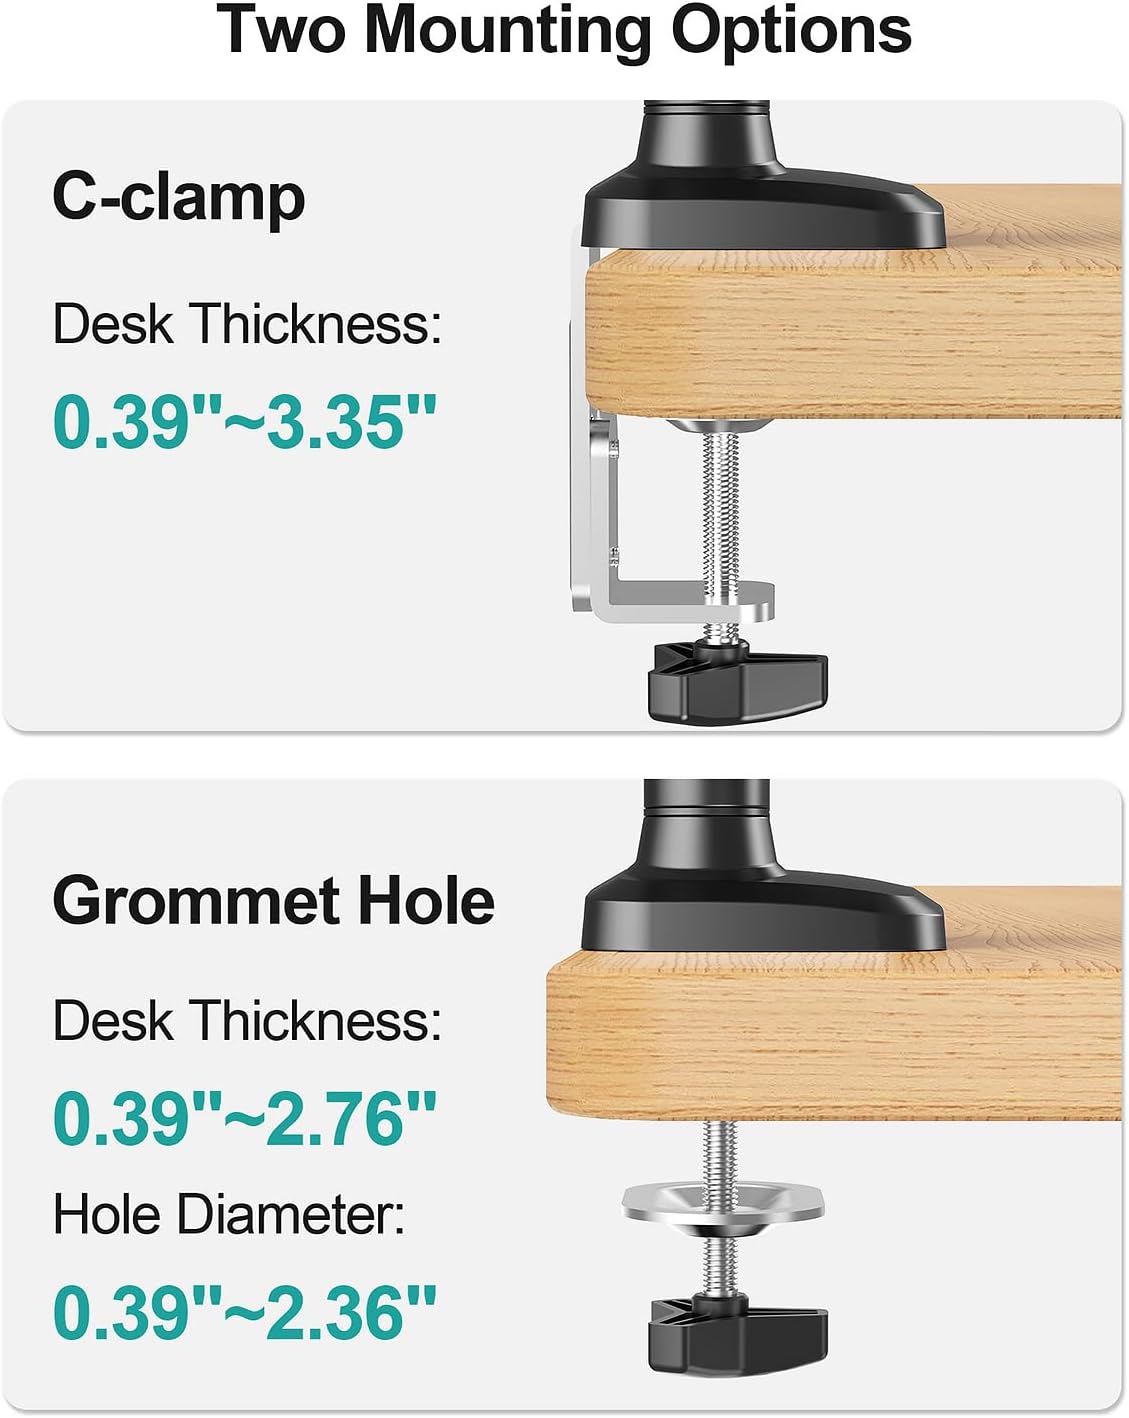
図5.1: C-clのビジュアルガイドamp and Grommet mounting, including desk thickness specifications.

画像5.2: 詳細 view of C-clamp and Grommet Base installation requirements.

Image 5.3: Desk compatibility guidelines for C-clamp インストール。 Do not install on tempered glass table tops.
5.2 Attaching Monitors (VESA Compatibility)
Ensure your monitors are VESA compatible (75x75mm or 100x100mm). Attach the VESA plates to the back of your monitors using the provided screws.

Image 5.4: Guide to checking VESA compatibility for different monitor types.
5.3 ケーブル管理
Utilize the integrated cable management covers on the arms to route and conceal monitor cables for a tidy workspace.

図5.5: 例ample of effective cable management using the monitor arm features.
6. 操作手順
6.1 モニターの位置を調整する
The pneumatic arms allow for flexible adjustment of your monitors to achieve optimal ergonomic positioning.
- 高さ調整: Gently push or pull the monitor up or down to your desired height. The gas spring mechanism will hold it in place. Max height is 18.5 inches.
- 拡大: Extend or retract the arms to bring the monitors closer or further away. Max extension is 22 inches.
- Adjust the monitor tilt (+75°/-45°) for the ideal view角度。
- スイベル: Swivel the monitors up to 180° at the arm joints to share your display or change orientation.
- 回転: Rotate the monitor 360° for landscape or portrait orientation.
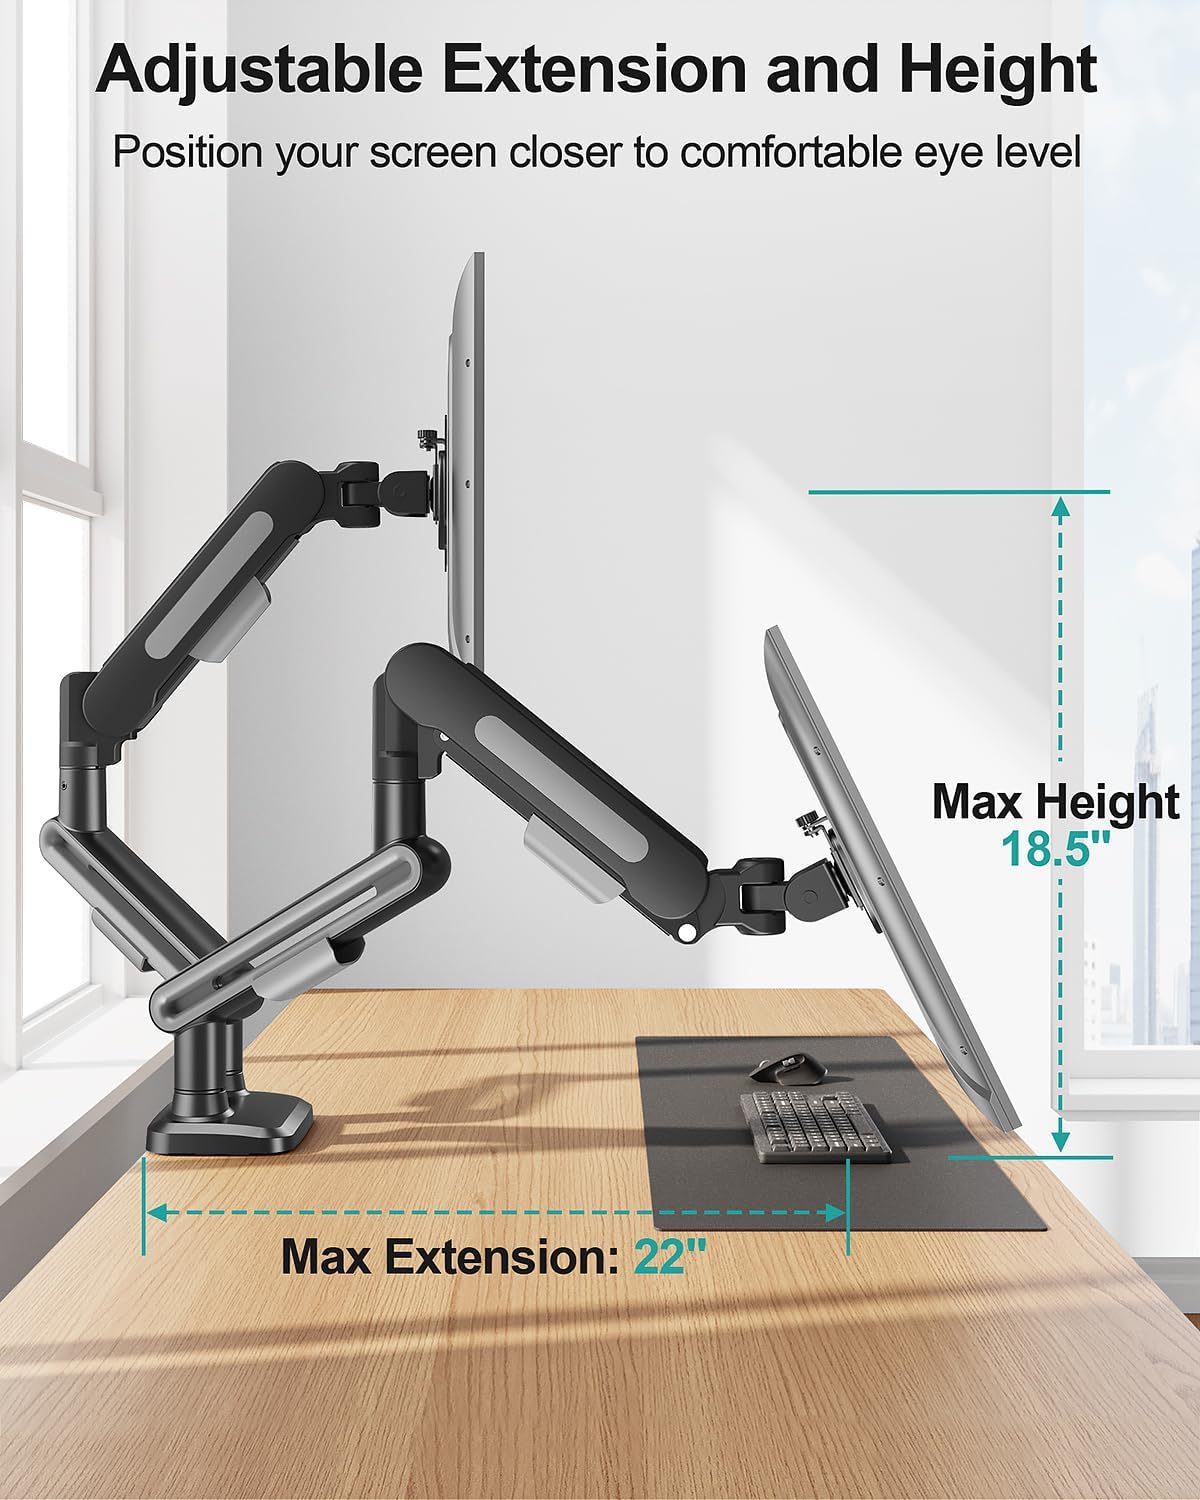
Image 6.1: Illustration of maximum extension and height adjustments.

画像6.2: 詳細 view of swivel, tilt, and rotation capabilities.

図6.3: 例amples of supported monitor configurations.
6.2 ガススプリングの張力調整
Adjust the gas spring tension to match the weight of your monitors for smooth and stable movement. Keep the arm in a horizontal position during adjustment.
- Monitor Raise Up (Lighter Monitor): Turn the adjustment screw clockwise ("-") to reduce tension.
- Monitor Drop Down (Heavier Monitor): Turn the adjustment screw counter-clockwise ("+") to increase tension.
Note: When adjusting gas spring tension, the number of turns depends on the display's weight. It may take up to 17 turns.
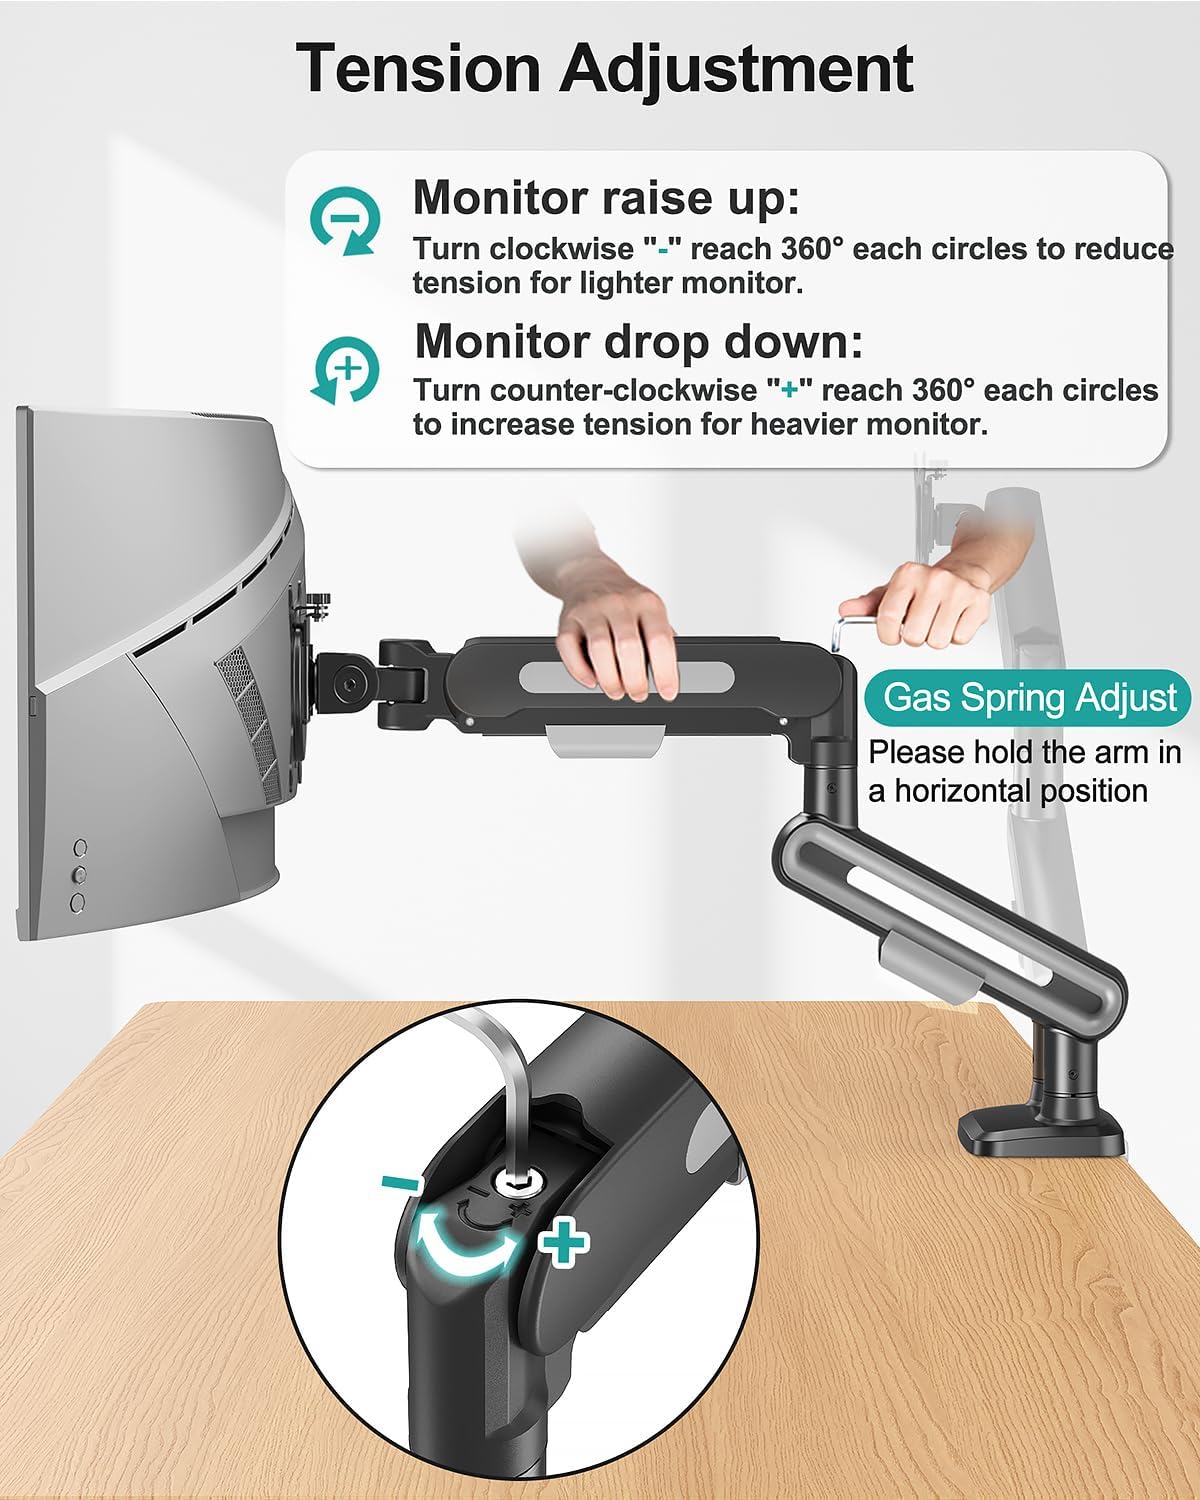
Image 6.4: Instructions for gas spring tension adjustment.

Image 6.5: Steps for adjusting monitor tilt.
7. メンテナンス
- すべてのネジと接続部がしっかりと固定されているか定期的に確認してください。
- マウントを柔らかくてきれいな布で拭いてくださいamp 布。 研磨剤入りクリーナーは避けてください。
- Periodically re-adjust gas spring tension if monitor movement becomes too stiff or too loose.
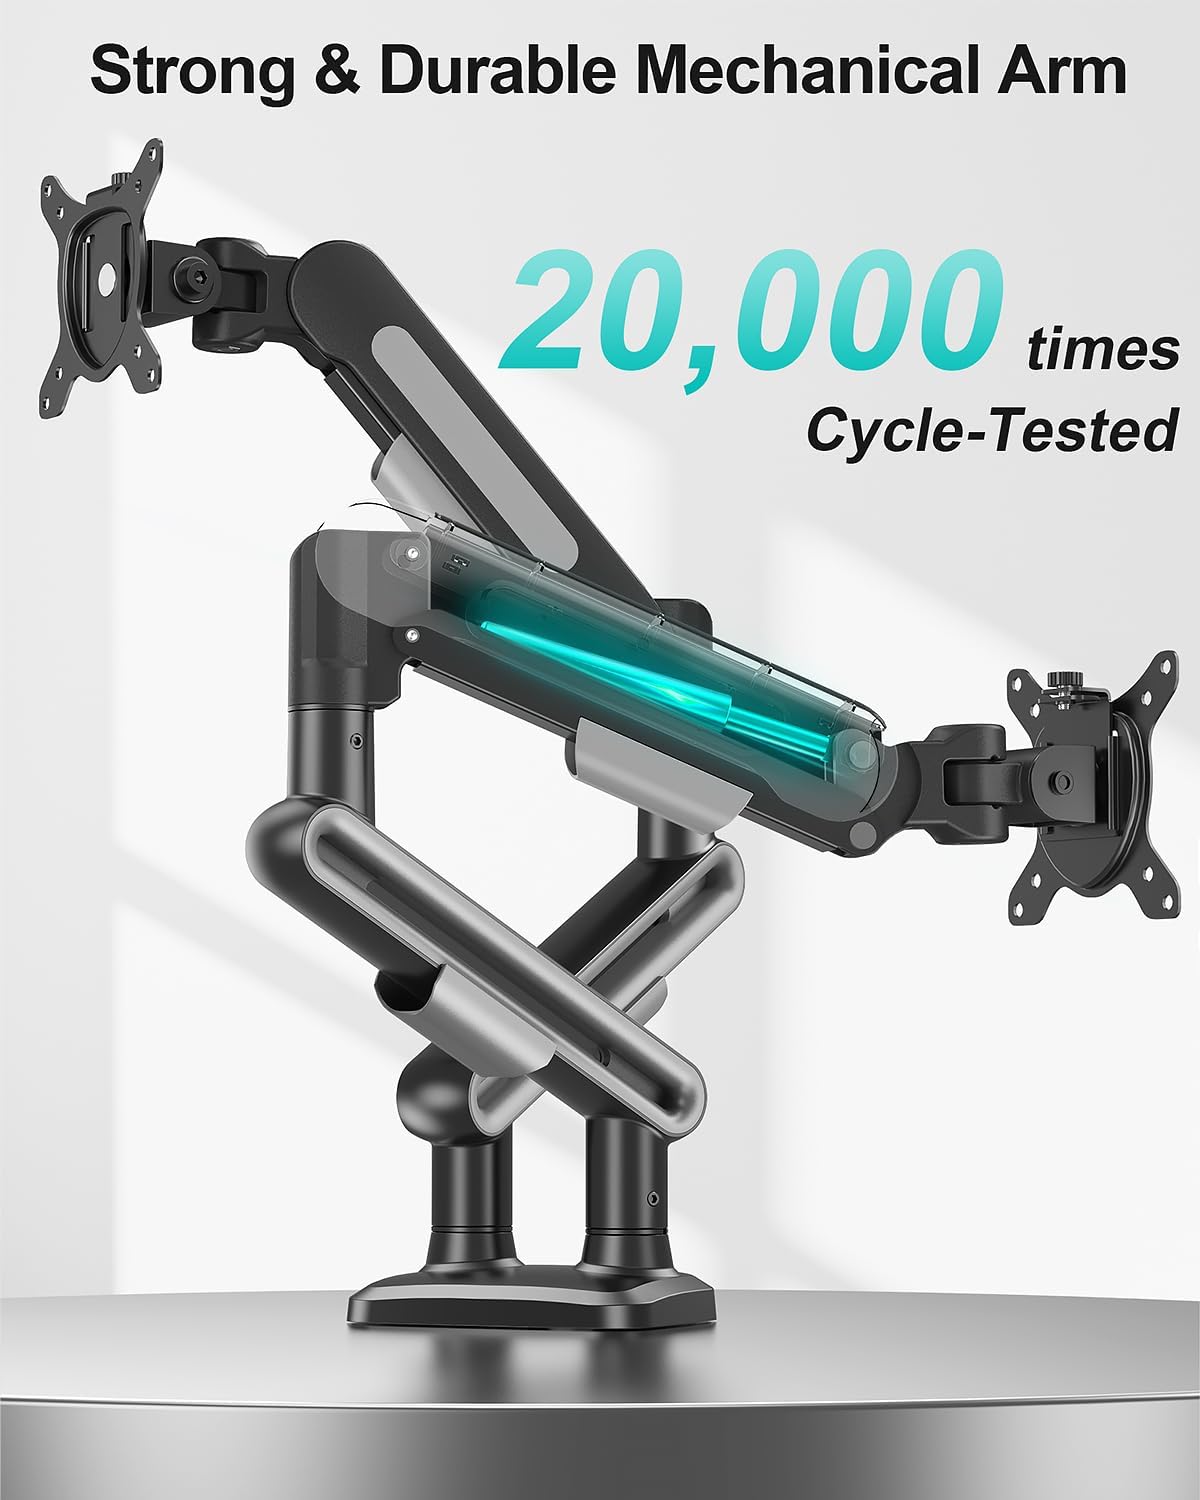
Image 7.1: The durable mechanical arm is designed for long-term use.
8。 トラブルシューティング
- モニターのたるみ/低下: Increase gas spring tension by turning the adjustment screw counter-clockwise ("+").
- Monitor Too Stiff to Move: Decrease gas spring tension by turning the adjustment screw clockwise ("-").
- マウントは不安定に感じる: Ensure all mounting hardware (C-clamp or grommet base) is securely tightened to the desk. Verify VESA plate screws are tight on the monitor.
9. 保証とサポート
For warranty information or technical assistance, please refer to the contact details provided with your product packaging or visit the MOUNT PRO official website. Feel free to contact us if you encounter any problems during the installation and use of the product.