
1. はじめに
This manual provides essential information for the safe and effective operation of your GooDee 4K UHD Smart Projector GD500PLUS. Please read it thoroughly before using the product and retain it for future reference. This projector integrates Google TV, AI voice control, WiFi, Bluetooth, and Dolby Sound for a comprehensive home entertainment experience.
2. 箱の中身
開梱時にすべてのアイテムが揃っていることを確認します。
- プロジェクター
- 電源コード
- HDMIケーブル
- プロジェクターレンズカバー
- リモートコントロール
- ユーザーマニュアル
3. 主な特徴
- Google TV 内蔵: Access popular streaming applications like Netflix, YouTube, and Prime Video directly.
- AIスマート音声アシスタント: Control the projector and search for content using voice commands via the remote.
- 4K UHD サポート: Supports 4K resolution input for high-definition viewing。
- デュアルバンドWiFi 6: Provides stable and low-latency wireless connectivity.
- Bluetooth 5.2: For connecting external audio devices wirelessly.
- ドルビーオーディオ: Enhanced audio experience for immersive sound.
- AIオートフォーカスとキーストーン補正: Automatic image adjustment for optimal clarity and geometry.
- AI Auto Obstacle Avoidance & Screen Fit: Automatically adjusts the projection to avoid obstacles and fit the screen.
- 複数の接続オプション: HDMI, USB, AV, Headset ports.
4.セットアップガイド
4.1 配置
Position the projector on a stable, flat surface or mount it securely. Ensure there are no obstructions in front of the lens. For optimal viewing, project onto a smooth, light-colored wall or a dedicated projector screen. Maintain adequate ventilation around the projector.
4.2電源接続
- 電源コードをプロジェクターの電源入力に接続します。
- 電源コードのもう一方の端を電源コンセントに差し込みます。
- プロジェクターまたはリモコンの電源ボタンを押して電源を入れます。
4.3 初期設定(Google TV)
Upon first use, the projector will guide you through the Google TV setup process. Follow the on-screen instructions to:
- 言語を選択します。
- Wi-Fi ネットワークに接続します。
- Sign in with your Google account to access streaming services and apps.
- Install desired applications like Netflix, Prime Video, and YouTube.

Image: The GooDee 4K UHD Smart Projector projecting the Google TV home screen, showing various streaming application icons such as Hulu, Prime Video, and YouTube.
5. 操作手順
5.1 ナビゲーションとインターフェース
Use the provided remote control to navigate the Google TV interface. The directional pad and select button are used for menu navigation and selection. Dedicated buttons for popular streaming services may be available for quick access.
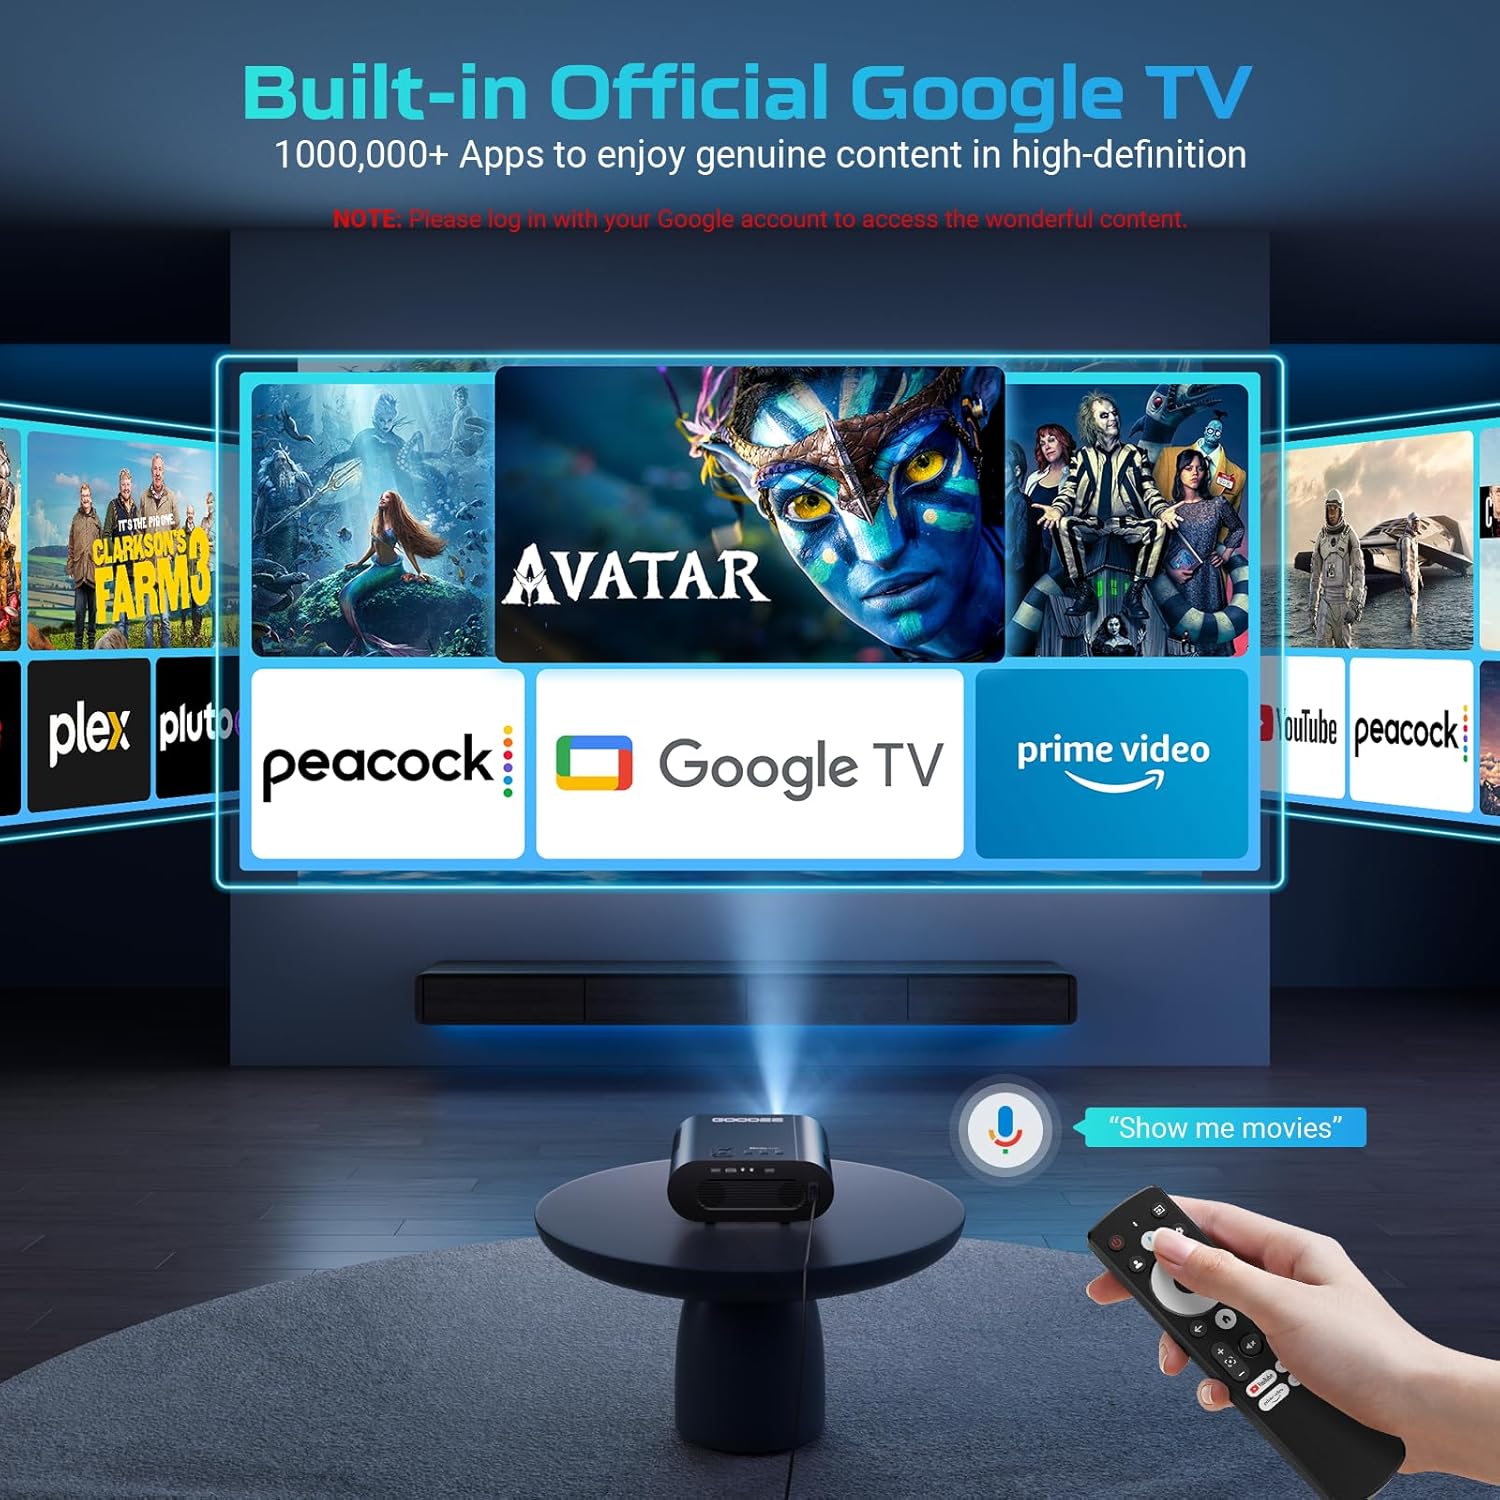
Image: The GooDee projector displaying the Google TV interface with multiple streaming apps. A hand holds the remote control, demonstrating voice command functionality.
5.2 AI Smart Voice Assistant
The AI Smart Voice Assistant allows for hands-free control. Press and hold the voice control button on the remote and speak your command. Examp含まれるもの:
- 「Netflixを開く」
- "検索する アクション映画
- "Adjust volume to 50"
- 「天気はどうですか?」

Image: A woman on a couch speaking into the projector's remote control, with voice commands like "Open Netflix" and "Play Avatar" displayed on the projected screen, illustrating the AI smart voice assistant feature.
5.3 接続性
5.3.1 Wi-Fi Connection (Dual-Band WiFi 6)
Ensure your projector is connected to a stable Wi-Fi network for streaming content and system updates. Navigate to 設定>ネットワークとインターネット to manage your Wi-Fi connection.

Image: The GooDee projector displaying a high-speed car race, with a smartphone mirroring content and a Wi-Fi 6 icon indicating advanced wireless connectivity.
5.3.2 Bluetooth接続(Bluetooth 5.2)
Connect external Bluetooth speakers, headphones, or other audio devices for an enhanced sound experience. Go to Settings > Remotes & Accessories > Pair remote or accessory 新しいデバイスをペアリングします。

Image: The GooDee projector projecting a concert scene, with sound waves emanating from the projector to two external Bluetooth speakers, highlighting Bluetooth 5.2 and Dolby Audio features.
5.3.3 HDMI and USB Inputs
Use the HDMI port to connect external devices such as gaming consoles, laptops, or Blu-ray players. The USB port can be used for media playback from USB drives or for connecting compatible accessories.

Image: The GooDee projector surrounded by various compatible devices including headphones, an AV receiver, a USB drive, an HDMI cable, a game controller, a laptop, and a smartphone, illustrating its versatile connectivity.
5.4 画像調整
5.4.1 AI Auto Focus & Keystone Correction
The projector features automatic focus and keystone correction. This system automatically adjusts the image for clarity and corrects trapezoidal distortion, ensuring a perfectly rectangular picture even if the projector is not perfectly aligned with the screen.

Image: The GooDee projector displaying a football game, with overlays showing AI Auto Keystone, AI Auto Focus, AI Auto Obstacle Avoidance, AI Auto Screen Fit, and 50-100% Zoom features, indicating automatic image adjustments.
5.4.2 AI Auto Obstacle Avoidance & Screen Fit
The projector can detect obstacles in the projection path and automatically adjust the image to avoid them. It also features an auto screen fit function to optimize the image size and position for your screen.
5.5 メディア再生
Utilize the built-in Google TV apps for streaming. For local media, insert a USB drive into the USB port and use a file manager app (downloadable from the Google Play Store) to browse and play content.
Video: An official GooDee video showcasing the 4K projector's features, including Google TV integration, AI voice control, automatic adjustments, and various entertainment scenarios.
6. メンテナンス
6.1 レンズケア
To maintain optimal image quality, keep the projector lens clean. Use a soft, lint-free cloth specifically designed for optical lenses. Avoid using abrasive cleaners or excessive force.
6.2 プロジェクターのクリーニング
Wipe the exterior of the projector with a soft, dry cloth. Do not use liquid or aerosol cleaners directly on the unit. Ensure ventilation ports are clear of dust and debris to prevent overheating.
6.3 ストレージ
When not in use for extended periods, store the projector in a cool, dry place, away from direct sunlight and extreme temperatures. Use the lens cover to protect the lens from dust and scratches.
7。 トラブルシューティング
- 電源なし: 電源コードがプロジェクターと電源コンセントの両方にしっかりと接続されていることを確認してください。電源コンセントが正常に機能しているかどうかも確認してください。
- 写真なし: Verify that the correct input source is selected. Check HDMI cable connections if using an external device. Ensure the lens cover is removed.
- ぼやけた画像: The projector features AI auto-focus. If the image remains blurry, try repositioning the projector or manually adjusting focus if an option is available in settings.
- 音が出ない: プロジェクターと接続された外部オーディオ機器の両方の音量設定を確認してください。Bluetoothデバイスが正しくペアリングされていることを確認してください。
- Wi-Fi 接続の問題: Restart your router and the projector. Ensure the projector is within range of your Wi-Fi network. Re-enter Wi-Fi password if necessary.
- リモコンが応答しない: リモコンの電池を交換してください。リモコンとプロジェクターの間に障害物がないことを確認してください。
8. 仕様
| 特徴 | 仕様 |
|---|---|
| 製品寸法 | 20.8 x 13 x 10.6インチ |
| アイテム重量 | 4.2ポンド |
| 商品型番 | GD500PLUS |
| ディスプレイ解像度 | 1920 x 1080(ネイティブ) |
| 接続技術 | Wi-Fi、ブルートゥース |
| 特集 | 内蔵Wi-Fi |
| 推奨用途 | ビジネス、教育、ゲーム、ホームシアター |
9. 保証とサポート
GooDee products are designed for reliability and performance. For warranty information, please refer to the warranty card included with your product or visit the official GooDee website. For technical support, troubleshooting assistance, or service inquiries, please contact GooDee customer support through the contact information provided on the official webサイトまたは製品パッケージに記載されています。