1. はじめに
This manual provides detailed instructions for the installation, operation, and maintenance of your ELUSH 60Amp MPPT Solar Charge Controller. This device is designed to efficiently manage power from your solar panels to charge various battery types, including LiFePO4, AGM, and Gel batteries, in 12V, 24V, and 48V systems.
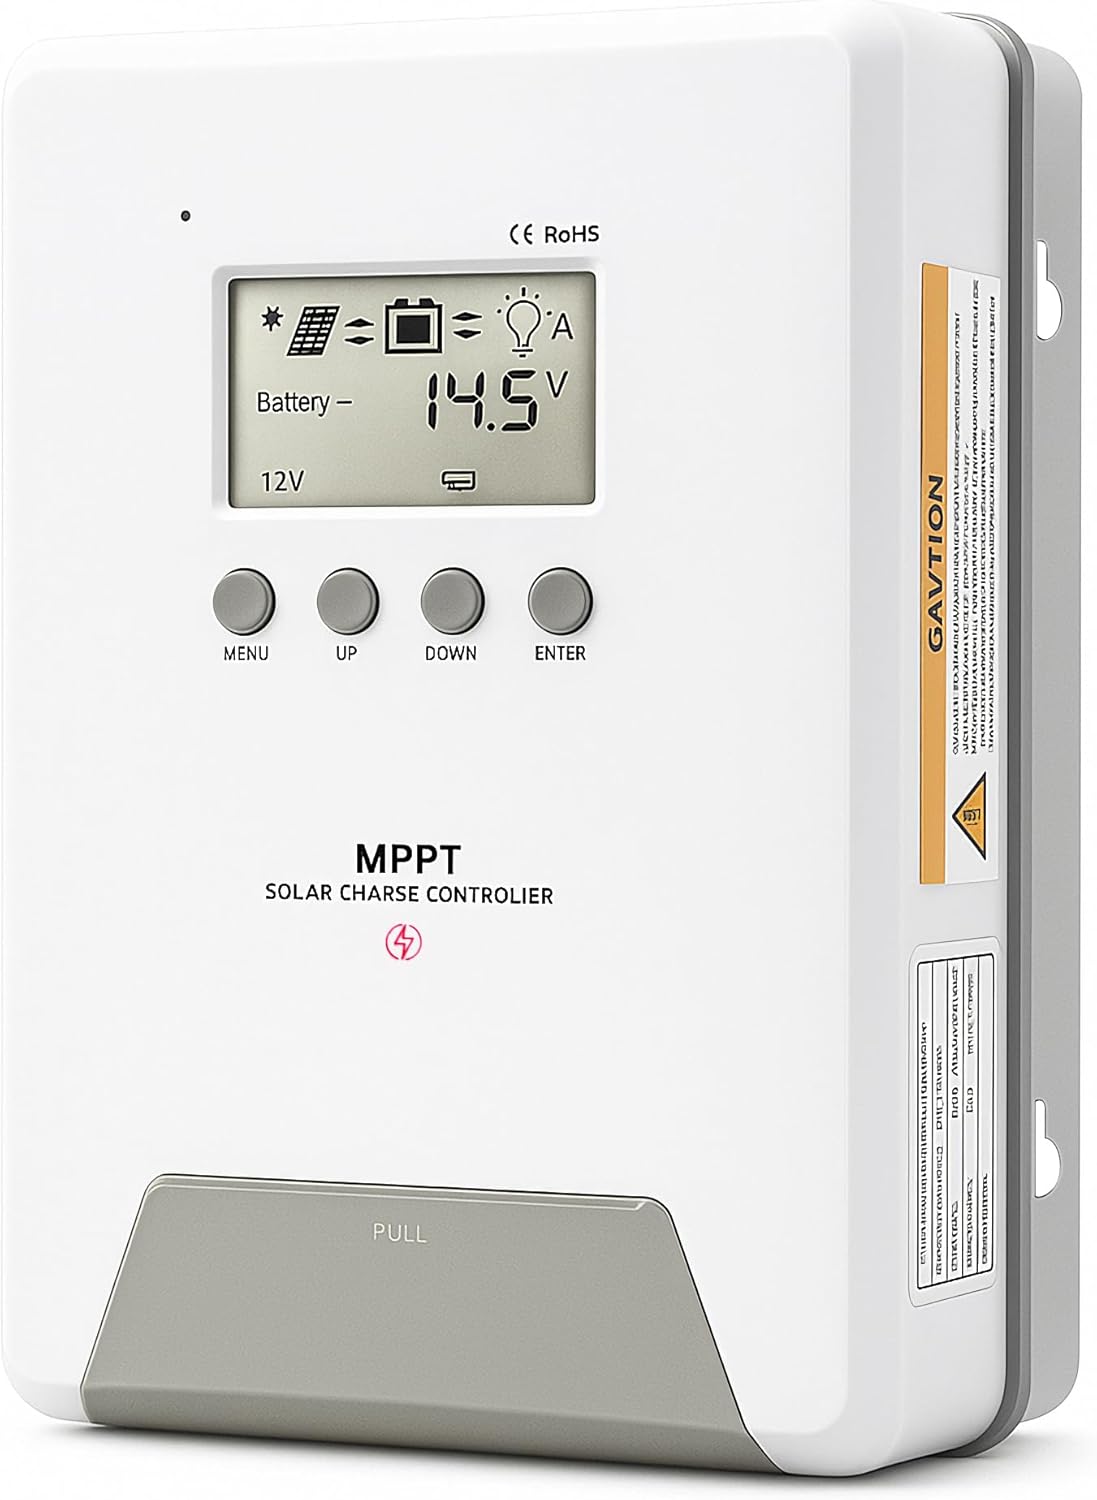
Image 1.1: ELUSH 60Amp MPPT Solar Charge Controller.
2. 主な特徴
- 高度なMPPTテクノロジー: Maximizes energy harvest from solar panels with tracking efficiency no less than 99% and peak conversion efficiency up to 98%.
- System Auto-Detection: Automatically detects 12V, 24V, and 48V DC system voltages upon startup.
- 幅広いバッテリー互換性: Supports Sealed (AGM), Gel, Flooded lead-acid batteries, and Lithium batteries (LiFePO4, Ternary Lithium/Li-ion).
- クリアなLCDディスプレイ: PVボリュームのリアルタイム監視を提供tage、バッテリーvoltage/current, charging power, accumulated energy generation, and load status.
- Essential Built-in Protections: Includes safeguards against overvoltage、過電流、低電圧tage、そして高温。
- 効率的な放熱: Features a high-quality aluminum heatsink for stable operation and optimal performance.

Image 2.1: MPPT Technology highlighting 99% tracking efficiency and 98% peak conversion efficiency.
3. Safety Information and System Protection
The ELUSH MPPT Solar Charge Controller is equipped with multiple protection features to ensure safe and reliable operation of your solar power system. Always adhere to local electrical codes and safety guidelines during installation and operation.
- 過放電保護: Prevents batteries from being discharged below a safe voltageレベル。
- 過負荷保護: Safeguards against excessive current draw from the load terminals.
- Short-circuiting Protection: Protects against short circuits in the solar panel, battery, or load circuits.
- 逆極性保護: Prevents damage from incorrect battery or solar panel connections.
- 過充電保護: Ensures batteries are not overcharged, extending their lifespan.
- 温度補正: Adjusts charging parameters based on battery temperature for optimal charging.
- 逆電流保護: 夜間にバッテリーからソーラーパネルへの電流の逆流を防ぎます。

Image 3.1: Visual representation of the controller's system protection features.
4.設置と配線
ソーラー充電コントローラーを安全かつ効率的に動作させるには、適切な設置が不可欠です。以下の手順を慎重に実行してください。
4.1 接続シーケンス
Always connect components in the following order to prevent damage:
- バッテリーを接続します。 Connect the battery to the controller's battery terminals. Ensure correct polarity (+ to + and - to -). The battery terminals should be installed with safety fuses. Ensure the distance does not exceed 150mm.
- 負荷を接続します: DC 負荷をコントローラーの負荷端子に接続します。
- Connect the solar panel: Connect the solar panel to the controller's solar energy terminals. Ensure correct polarity.
- コントローラーの電源をオンにします。 The controller will automatically power on once all connections are secure.
注記: If you want to connect an inverter, connect it directly to the battery, not to the load terminal of the controller.

Image 4.1: Diagram showing the connection points for solar energy, battery, and load.

Image 4.2: Step-by-step visual guide for connecting the system components.
4.2 Hidden Installation Wiring
For a clean and secure installation, the wiring can be routed and hidden. After all connections are properly made and tested, tighten the screws on the terminals and close the bottom cover of the controller to complete the installation. This protects the wiring and provides a neat appearance.
5. 操作手順
The controller features an intuitive LCD display and buttons for monitoring and configuration.
5.1 LCDディスプレイとボタン
The LCD screen provides real-time information about your system. The buttons allow you to navigate menus and adjust settings.
- 温度センサー: Located on the controller, it measures ambient temperature for accurate charging compensation.
- LCDディスプレイ: Shows PV voltage、バッテリーvoltage, charging current, load status, and other system parameters.
- メニューボタン: Used to enter and exit menu settings.
- 上ボタン: メニュー オプションを上へ移動したり、値を増やしたりします。
- 下ボタン: メニュー オプションを下に移動するか、値を減らします。
- ENTERボタン: 選択を確定するか、サブメニューに入ります。
Image 5.1: The controller's LCD display and button layout for user interaction.
5.2自動巻tage Recognition and Battery Compatibility
The controller automatically detects the system voltage (12V, 24V, or 48V) upon startup. It is compatible with a wide range of battery types, ensuring efficient and safe charging for your specific setup.
- Lithium-ion batteries (Li): For standard lithium-ion chemistries.
- Lithium Iron Phosphate batteries (LiFePO4): Specifically designed for LiFePO4 batteries.
- Lead-acid batteries (BAT): Includes Sealed (AGM), Gel, and Flooded types.

Image 5.2: Illustration of automatic voltagさまざまなバッテリータイプを認識し、互換性があります。
6. 仕様
| ブランド | ELUSH |
| モデル番号 | DM60A |
| 現在の評価 | 60A |
| システム巻tage | 12V/24V/48V Auto Detection |
| 最大PV入力ボリュームtage | 150V |
| 材料 | アルミニウム |
| 表示タイプ | 液晶 |
| 色 | 黒 |
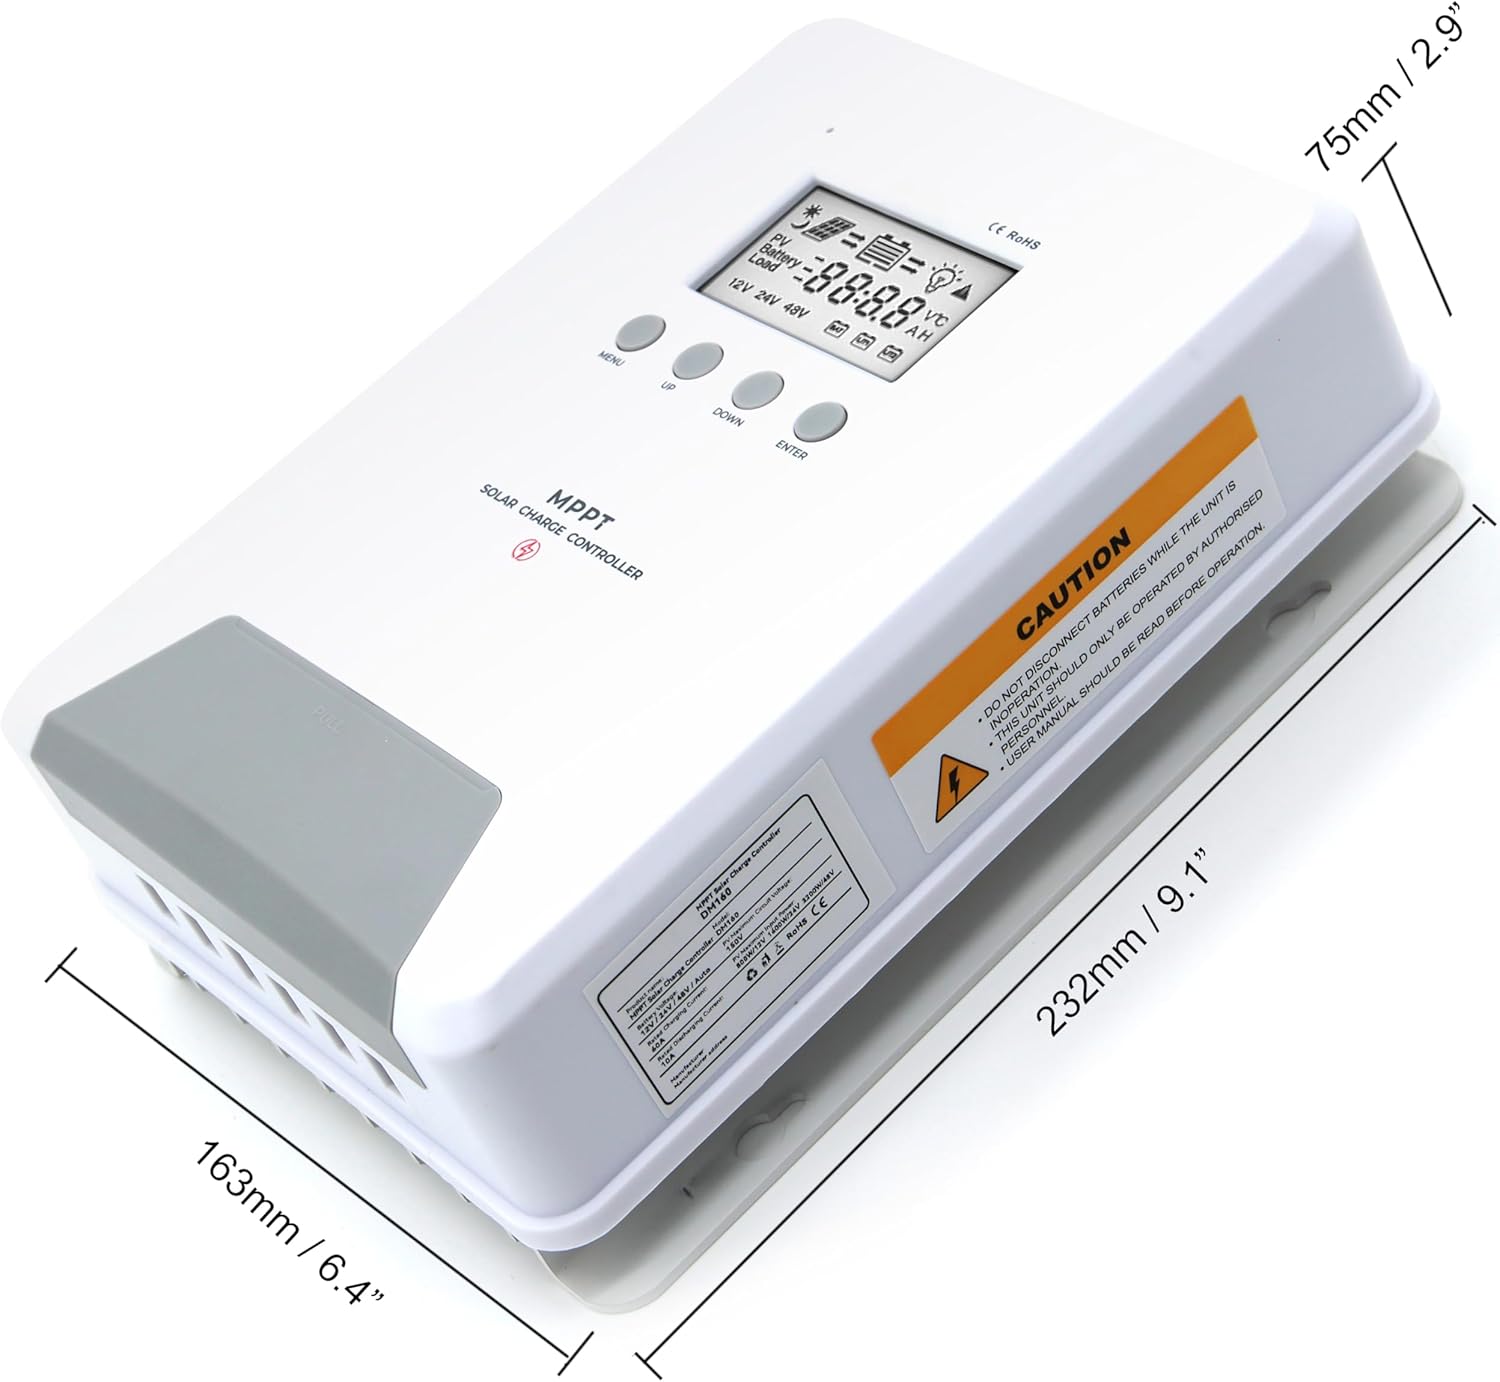
Image 6.1: Physical dimensions of the ELUSH 60Amp MPPT Solar Charge Controller.
7. メンテナンス
ソーラー充電コントローラーの最適なパフォーマンスと寿命を確保するには、定期的なメンテナンスをお勧めします。
- 接続を検査する: すべての配線接続部の締め付け具合や腐食がないか定期的に点検してください。接続が緩んでいると過熱や損傷の原因となる可能性があります。
- コントローラーをクリーニングします。 コントローラーは清潔に保ち、ほこりやゴミが付着しないようにしてください。表面は乾いた布で拭いてください。通気口が塞がれていないことを確認してください。
- パフォーマンスを監視: Regularly check the LCD display for normal operating parameters. Note any unusual readings or error codes.
- バッテリーの状態: バッテリーが製造元のガイドラインに従って適切にメンテナンスされていることを確認してください。
8。 トラブルシューティング
If you encounter issues with your ELUSH MPPT Solar Charge Controller, refer to the following basic troubleshooting steps:
- ディスプレイなし/電源なし: バッテリーの接続を確認し、バッテリーの容量を確認してくださいtagコントローラの動作範囲内です。ヒューズが破損していないことを確認してください。
- バッテリーが充電されていません: Confirm solar panel connections and polarity. Check for sufficient sunlight and ensure solar panel voltageはバッテリーの電圧を超えていますtage. Verify battery type settings are correct.
- ロードが機能しない: Check load connections and ensure the load current does not exceed the controller's rating. Verify load output settings on the controller.
- エラーコード: If the LCD displays an error code, consult the full product manual (if available) or contact technical support for specific guidance.
- 過熱: Ensure the controller is installed in a well-ventilated area, away from direct sunlight or heat sources. Check for any obstructions to the heatsink.
9. 保証とサポート
ELUSH provides professional technical support for its products. If you have any questions, require assistance with installation, operation, or troubleshooting, please feel free to contact us. Refer to your purchase documentation for specific warranty terms and contact information.