
1. 重要な安全上の注意事項
Please read these instructions carefully before using the Audizio Canzo DAB+ Internet Radio. Keep this manual for future reference.
- 火災や感電を防ぐため、装置を雨や湿気にさらさないでください。
- cを開けないでくださいasing. 内部にはユーザーが修理できる部品はありません。修理はすべて資格のある担当者にご依頼ください。
- デバイスに付属の電源アダプターのみを使用してください。
- ユニット周囲の換気を良好に保ち、通気口を塞がないようにしてください。
- ユニットを熱源の近くや直射日光の当たる場所に置かないでください。
- Clean the unit only with a dry, soft cloth. Do not use liquid cleaners.
2.製品オーバーview
The Audizio Canzo is a versatile DAB+ Internet Radio designed for high-quality audio reception and playback. It features multiple connectivity options including Wi-Fi, Bluetooth 5.3, AUX, and USB, along with a remote control for convenient operation. The elegant wooden finish and clear display make it suitable for various home environments.
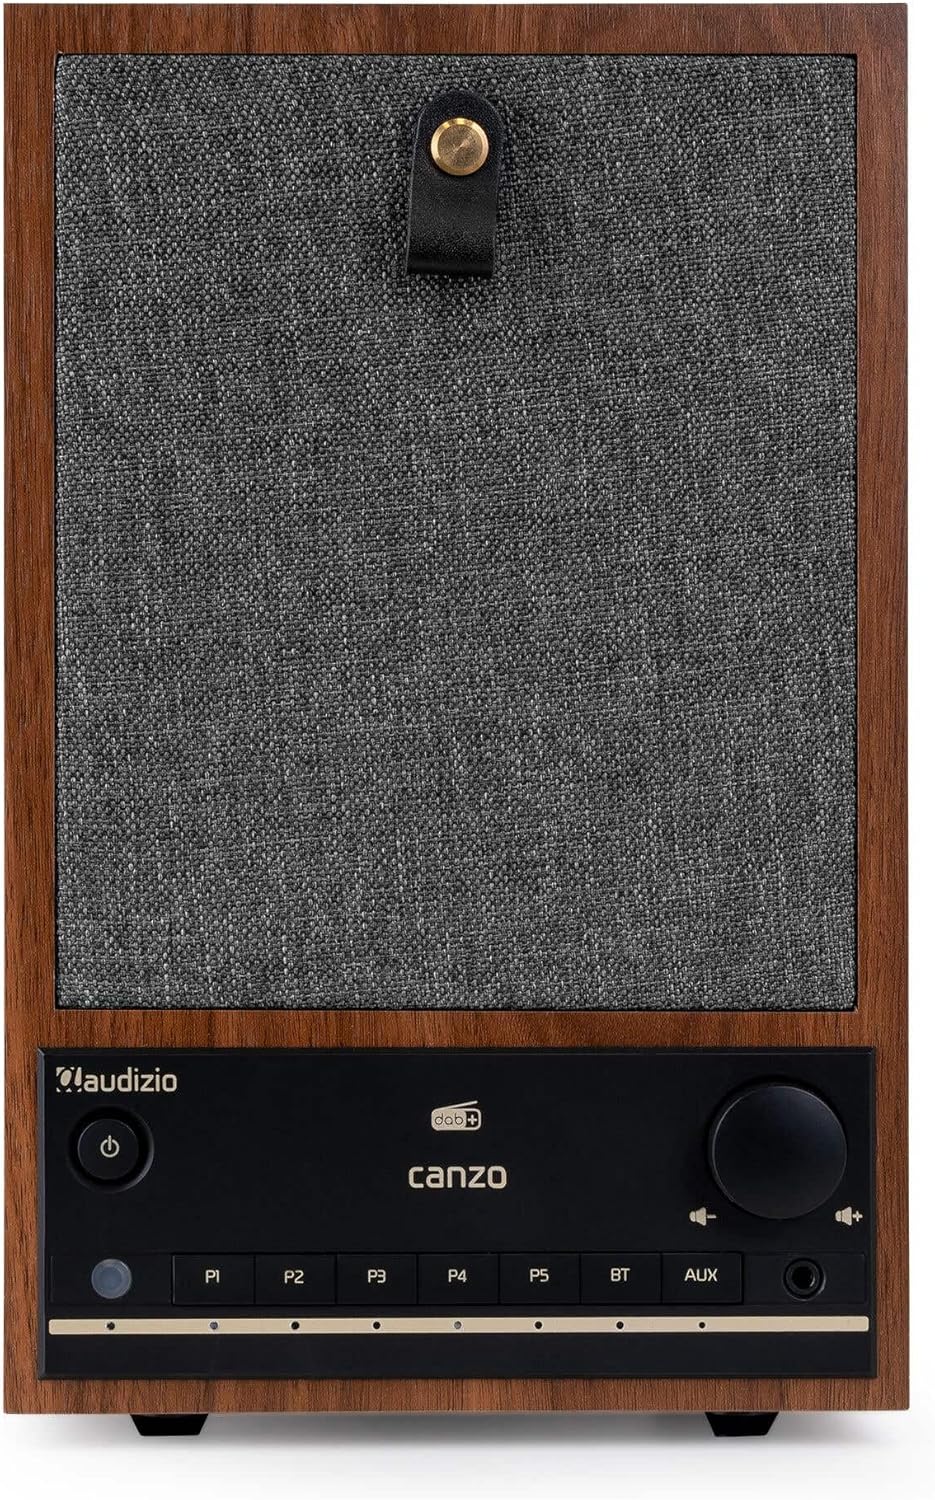
図2.1: 前面 view of the Audizio Canzo DAB+ Internet Radio in walnut finish.

図2.2: 前面 view with speaker grille removed, highlighting the speaker, display, and control panel.
3. 箱の中身
箱を慎重に開梱し、すべてのアイテムが揃っていることを確認します。
- Audizio Canzo DAB+ Internet Radio
- 電源アダプター
- リモートコントロール
- クイックスタートガイド
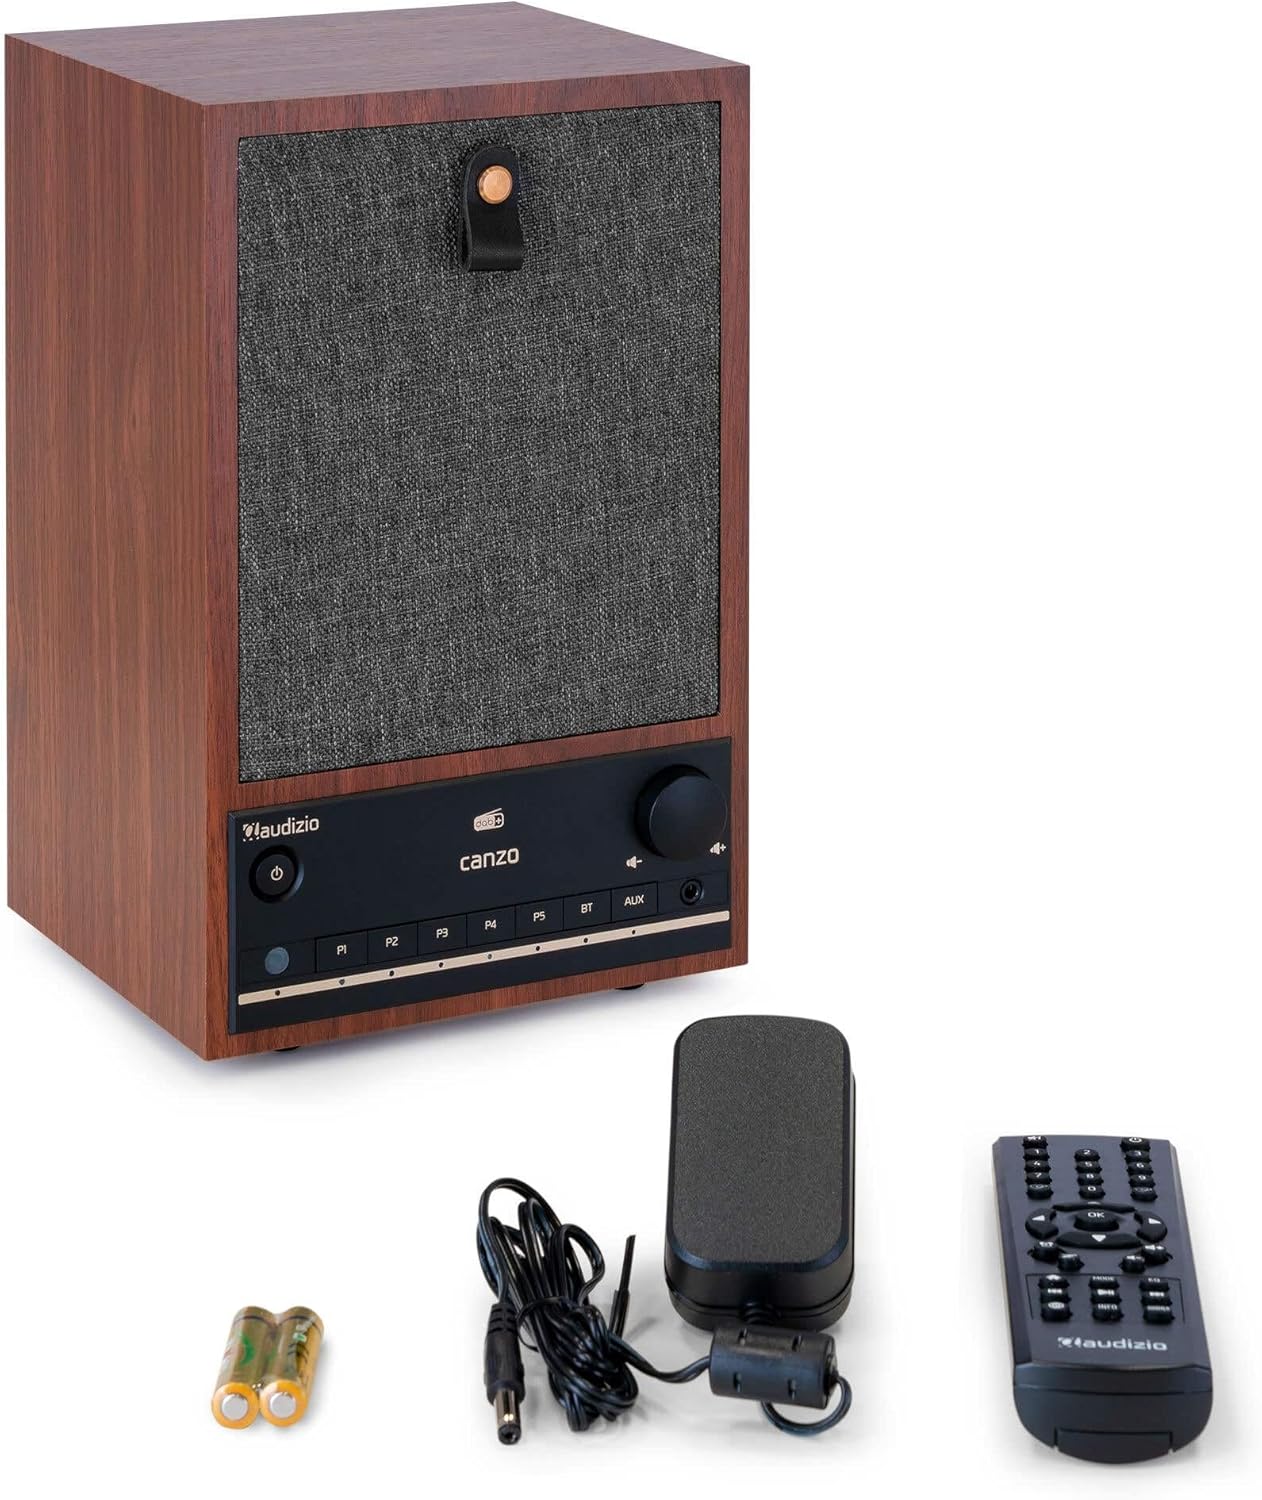
Figure 3.1: Audizio Canzo radio with its accessories.
4. セットアップ
4.1 電源の接続
- Insert the DC plug of the power adapter into the DC入力 port on the back of the radio.
- Plug the power adapter into a standard wall outlet (220V).
- 裏返す オン/オフ switch on the back of the unit to the ON 位置。
4.2 アンテナ接続
For optimal DAB+ and FM reception, extend the telescopic antenna located on the back of the unit. Adjust its position for the best signal.

Figure 4.1: Rear panel with power input, audio ports, USB, LAN, and antenna.
4.3 初期電源投入とネットワーク設定
- を押す 力 button on the front panel or remote control to turn on the radio.
- The display will show the Audizio logo and then guide you through the initial setup wizard.
- ご希望の言語を選択します。
- The radio will prompt you to connect to a network. Choose Wi-Fi or 無線LAN.
- Wi-Fiの場合: Select your Wi-Fi network from the list and enter the password using the navigation buttons and OK ボタン。
- For LAN: ルータからイーサネットケーブルを 無線LAN port on the back of the radio. The connection should be established automatically.
- Once connected, the radio will update the time and date automatically.
5. 操作手順
5.1 基本的な制御
The front panel features a power button, preset buttons (P1-P5), Bluetooth (BT) and AUX input buttons, a volume knob, and navigation controls. The remote control provides full access to all functions.
5.2 モード選択
を押す モード button on the radio or remote control to cycle through available modes: Internet Radio, DAB+, FM, Bluetooth, AUX, and USB Playback.
5.3 インターネットラジオ
- 選択 インターネットラジオ モード。
- Use the navigation buttons to browse stations by location, genre, or search.
- プレス OK ステーションを選択します。
- 放送局をプリセットとして保存するには、 P1-P5 buttons until the display confirms.
5.4 DAB+ラジオ
- 選択 ダブプラス モード。
- ラジオは利用可能な DAB+ 局を自動的にスキャンします。
- Use the navigation buttons to scroll through the list of found stations.
- プレス OK ステーションを選択します。
- 放送局をプリセットとして保存するには、 P1-P5 ボタン。
5.5FMラジオ
- 選択 FM モード。
- を押し続けます スキャン button (usually on the remote or via menu) to auto-scan for FM stations.
- Use the navigation buttons to tune manually or select from scanned stations.
- 放送局をプリセットとして保存するには、 P1-P5 ボタン。
5.6 Bluetooth再生
- 選択 ブルートゥース mode. The radio will enter pairing mode, indicated on the display.
- スマートフォンまたはタブレットで Bluetooth を有効にし、利用可能なデバイスを検索します。
- Select "Audizio Canzo" from the list to pair.
- ペアリングすると、デバイスからのオーディオをラジオで再生できるようになります。
5.7 AUX入力
- 外部オーディオデバイス(例:MP3プレーヤー)を AUX IN port on the back of the radio using a 3.5mm audio cable.
- 選択 補助 モード。
- Audio from the connected device will now play through the radio.
5.8 USB再生
- オーディオを含む USB フラッシュ ドライブを挿入します fileに USB再生 port on the back of the radio.
- 選択 USB モード。
- Use the navigation buttons to browse and select audio files再生用。
5.9 目覚まし時計とスリープタイマー
- アラーム: Access the Alarm settings via the menu. Set up to two alarms with desired time, source (buzzer, radio), and volume.
- 目覚まし時計: Access the Sleep Timer settings via the menu. Set a duration (e.g., 15, 30, 60 minutes) after which the radio will automatically turn off.
- スヌーズ: アラームが鳴ったら、 スヌーズ button on the remote or radio to temporarily silence it.
6. メンテナンス
6.1 クリーニング
To clean the radio, use a soft, dry, lint-free cloth. Do not use abrasive cleaners, waxes, or solvents as they may damage the finish or internal components.
6.2 ストレージ
ユニットを長期間保管する場合は、電源コンセントから外し、直射日光や極端な温度を避けて、涼しく乾燥した場所に保管してください。
7。 トラブルシューティング
| 問題 | 考えられる原因 | 解決 |
|---|---|---|
| 電源なし | Power adapter not connected; ON/OFF switch is OFF. | Ensure power adapter is securely connected and ON/OFF switch is ON. |
| 音が出ない | 音量が低すぎる、ソースが正しく選択されていない、ヘッドホンが接続されています。 | 音量を上げ、正しい入力モードを選択し、ヘッドフォンを外します。 |
| Wi-Fiに接続できません | Incorrect password; router too far; network issue. | Wi-Fi パスワードを確認し、無線をルーターに近づけ、ルーターを再起動します。 |
| DAB+/FMの受信状態が悪い | アンテナが伸びていない、信号が弱いエリアです。 | Fully extend and adjust the telescopic antenna; try repositioning the radio. |
| リモコンが動作しない | Batteries depleted; obstruction between remote and radio. | Replace remote control batteries; ensure clear line of sight to the radio's sensor. |
8. 仕様
| 特徴 | 仕様 |
|---|---|
| モデル番号 | Canzo |
| 製品寸法 | 22.5 x 20.5 x 34 cm |
| アイテム重量 | 2.9キログラム |
| 色 | クルミ |
| 画面サイズ | 2.4インチ |
| 接続技術 | Aux, Bluetooth, Wi-Fi, LAN |
| Bluetoothバージョン | 5.3 |
| サポートされている無線バンド | DAB+、FM、インターネットラジオ |
| 電源 | コード式電気(220ボルト) |
| 特集 | Integrated Clock, Sleep Timer, Alarm, Remote Control, Preset Stations |
| 対応デバイス | Smartphone, Tablet, Headphones, MP3 Player, USB Storage Device |
9. 保証とサポート
保証情報およびテクニカルサポートについては、製品に付属の保証書をご参照いただくか、販売店にお問い合わせください。保証請求の際に必要となる購入証明書を保管してください。


