1. はじめに
This manual provides essential information for the safe and correct replacement of the Generic Oven Bake Element, part number bakepart#350569. This element is designed as a compatible replacement for specific oven models. Please read all instructions carefully before proceeding with installation.
The bake element is a critical component in your oven, responsible for generating heat from the bottom of the oven cavity. Proper installation ensures safe and efficient operation of your appliance.
2. 安全情報
警告: Electrical shock hazard. Disconnect power before servicing. Failure to do so can result in serious injury or death.
- Always disconnect the oven's power supply at the circuit breaker or fuse box before attempting any repairs or replacements.
- Wear appropriate personal protective equipment, such as gloves, to prevent cuts or scrapes.
- Ensure the oven cavity is cool before beginning work.
- いずれかの手順について不明な点がある場合は、資格のある家電修理技術者にご相談ください。
- Do not operate the oven with a damaged or improperly installed bake element.
3. パッケージ内容
パッケージには次のアイテムが含まれています:
- 1 x Generic Oven Bake Element (Part #350569)
Note: Please inspect the element for any visible damage upon receipt.
4. 互換性
This replacement bake element (Part #350569) is compatible with the following oven models:
- BEC317ES1
- BEC317ES2
- BEC318ES1
- BEC318ES2
Before installation, verify that your oven's model number matches one of the listed compatible models. The model number is typically found on a label inside the oven door frame or on the back of the appliance.
5. セットアップとインストール
The following steps outline the general procedure for replacing an oven bake element. Specific oven designs may vary slightly.
必要なツール:
- プラスドライバー
- Nut driver or socket wrench (size may vary)
- ペンチ(オプション、頑固な接続の場合)
- 作業用手袋
インストール手順:
- 電源を切る: Locate your oven's circuit breaker in your home's electrical panel and switch it to the OFF position. Alternatively, unplug the oven from the wall outlet if accessible. Verify power is off by attempting to turn on the oven light or controls.
- オーブンの準備: Open the oven door and remove all oven racks. Allow the oven to cool completely if it was recently used.
- Locate Old Element: The bake element is typically located at the bottom of the oven cavity. It is usually held in place by two screws at the back of the oven.
- 古い要素を削除:
- Using a screwdriver or nut driver, remove the screws securing the old bake element to the back wall of the oven.
- Carefully pull the element forward a few inches. This will expose the electrical terminals.
- 重要: Do not let the wires retract into the back wall of the oven. You may need to use pliers or tape to hold them in place.
- Disconnect the two electrical wires from the terminals of the old element. Note which wire connects to which terminal if they are not identical.
- Remove the old bake element from the oven.
- 新しい要素をインストール:
- Carefully slide the new bake element into the oven cavity, ensuring the terminals align with the exposed wires.
- Connect the electrical wires to the terminals of the new element. Ensure connections are secure.
- Push the element fully into place, aligning the mounting holes with the screw holes at the back of the oven.
- Secure the new element with the screws removed earlier. Do not overtighten.
- 最終チェック: Ensure all connections are secure and the element is firmly mounted. Replace oven racks.
- 電力を回復する: Return to your electrical panel and switch the oven's circuit breaker back to the ON position.
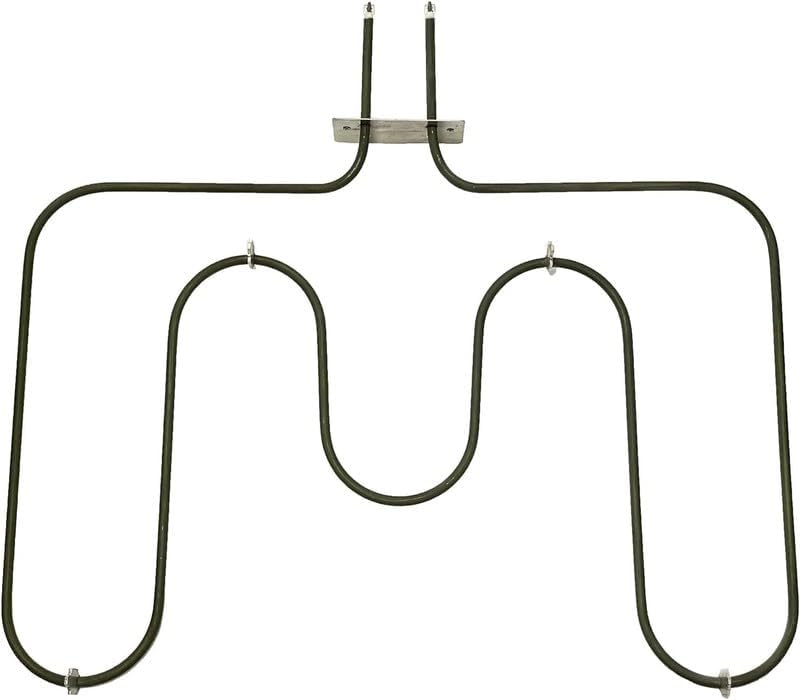
図1: 前面 view of the Generic Oven Bake Element (Part #350569). This image shows the overall shape and terminal connections of the replacement part.
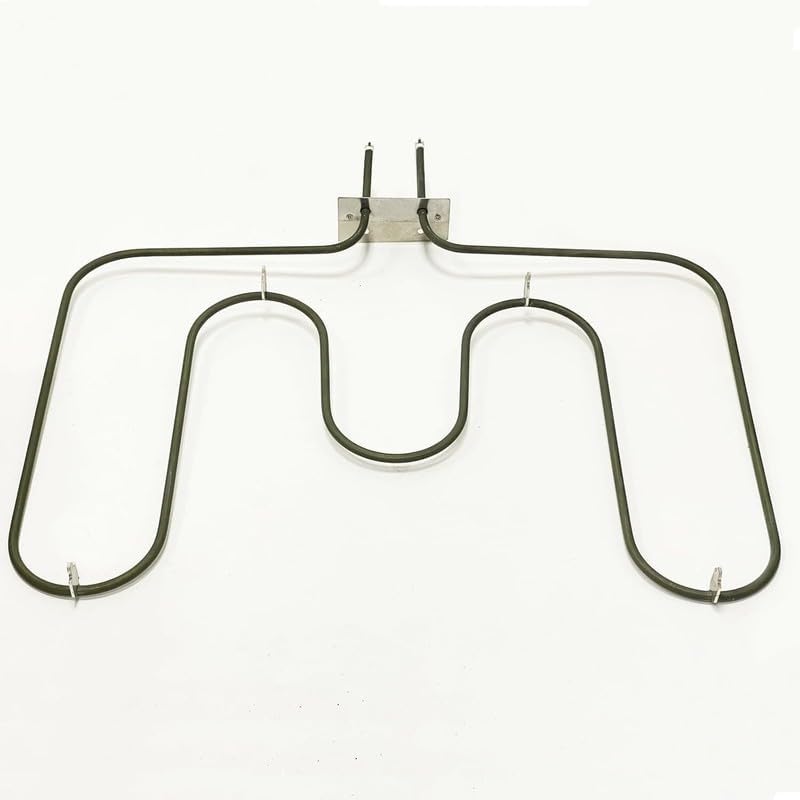
図2: 角度付き view of the Generic Oven Bake Element (Part #350569). This perspective highlights the mounting bracket and the U-shaped heating coils.
6. 動作および初期テスト
After installation and restoring power, perform an initial test:
- オーブンのドアを閉めてください。
- Set the oven to a bake cycle at a moderate temperature (e.g., 350°F or 175°C).
- Observe the bake element. It should begin to glow red within a few minutes, indicating it is heating properly.
- Allow the oven to preheat fully and then turn it off.
- If the element does not heat or if you notice any unusual smells or sounds, immediately disconnect power and refer to the Troubleshooting section.
7. メンテナンス
The bake element itself requires minimal maintenance. However, regular inspection can help prolong its life and ensure safe operation:
- 目視検査: Periodically, with the oven cool and power disconnected, visually inspect the element for any signs of damage, cracks, or blistering.
- クリーニング: Avoid direct contact with cleaning agents. If food spills occur on the element, allow the oven to cool, then gently wipe away debris. Do not use abrasive cleaners or sharp objects on the element.
- 衝撃を避ける: Be careful when placing or removing oven racks and bakeware to avoid striking the element, which can cause damage.
8。 トラブルシューティング
If your oven is not heating correctly after replacing the bake element, consider the following common issues:
| 問題 | 考えられる原因 | 解決 |
|---|---|---|
| Element does not glow or heat. | オーブンに電源が入っていません。 電気接続が緩んでいます。 Defective new element (rare). |
Check circuit breaker. Ensure oven is plugged in. Disconnect power and re-check wire connections to the element. Contact seller for replacement if all other checks fail. |
| Oven heats unevenly. | Other heating elements (broil, convection fan) may be faulty. Oven thermostat issue. |
This replacement part only addresses the bake element. Investigate other components or consult a technician. |
| 初めて使用するときに焦げた臭いがしました。 | New element burning off manufacturing oils/residue. | This is normal for the first few uses. Run the oven empty at a high temperature for 30-60 minutes with good ventilation. If smell persists, disconnect power and inspect. |
トラブルシューティング手順を実行しても問題が解決しない場合は、資格のある家電修理技術者に連絡することをお勧めします。
9. 仕様
- メーカー: ジェネリック
- 部品番号: bakepart#350569
- 商品パッケージ数量: 1
- ASIN: B0F5WMPVQ4
- 発売日: 22年2025月XNUMX日
- 対応オーブンモデル: BEC317ES1, BEC317ES2, BEC318ES1, BEC318ES2
10. 保証とサポート
For information regarding warranty coverage or technical support for this replacement part, please refer to the original purchase documentation or contact the seller directly. Keep your proof of purchase for any warranty claims.