
1.製品オーバーview
The Anykit Portable Tire Inflator D55002 is a versatile and efficient air pump designed for various inflation needs. It features a powerful dual-cylinder motor, a large 12000mAh rechargeable battery, and a digital pressure gauge with automatic shut-off functionality. This device is suitable for inflating tires on cars, motorcycles, bicycles, as well as sports balls and other inflatables. Its compact design and multiple power options make it ideal for both everyday use and emergency situations.
主な特徴:
- 長いバッテリー寿命: 長時間使用を可能にする12,000mAhリチウム電池を搭載。
- Powerful Dual Cylinder Inflation: Delivers 50% more power with a maximum pressure of 150 PSI and an airflow speed of 44L/min.
- 自動シャットオフ: あらかじめ設定された圧力に達すると、自動的に膨張が停止します。
- 多彩なモード: Four pressure units (PSI, KPA, BAR, KG/CM²) and five preset inflation modes (car, motorcycle, bike, balls, custom).
- デュアル電源オプション: Can operate on its built-in battery or via a 12V DC power cord connected to a vehicle's cigarette lighter.
- 多機能: Includes 5V/3A USB output ports to function as a portable power bank and an emergency LED light.

Image: The Anykit Portable Tire Inflator, showcasing its compact design and compatibility with various vehicles including vans, trucks, and cars.
2. 安全に関する注意事項
Please read and understand all safety instructions before operating the Anykit Portable Tire Inflator. Failure to follow these instructions may result in electric shock, fire, or serious injury.
- デバイスを子供やペットの手の届かない場所に保管してください。
- 濡れた状態や可燃性の液体やガスの近くでインフレータを操作しないでください。
- Ensure the inflation hose is securely connected to the tire valve before starting inflation.
- Do not overinflate tires. Always refer to the recommended pressure for your specific item (vehicle, bike, ball).
- Monitor the inflation process closely. The device features an automatic shut-off, but manual monitoring is always recommended.
- Allow the device to cool down after prolonged use to prevent overheating.
- 付属の充電ケーブルと付属品のみを使用してください。
- ご自身でデバイスを分解したり修理したりしないでください。サポートが必要な場合はカスタマー サポートにお問い合わせください。
- 使用していないときは、インフレータを涼しく乾燥した場所に保管してください。
3. パッケージ内容
パッケージにすべてのアイテムが含まれていることを確認します。
- Anykit Portable Tire Inflator (Main Unit)
- インフレポンプ
- ロングノズル
- ショートノズル
- French Adapter
- ヒューズ
- 収納バッグ
- 梱包箱
- 取扱説明書(本書)
4. 製品の特徴と構成
Familiarize yourself with the various parts and functions of your Anykit Portable Tire Inflator.

Image: Detailed diagram illustrating the components of the Anykit Portable Air Compressor, including LED/SOS light, USB-A port, DC port, USB Type-C port, working mode, inflation buttons, unit/light switch, and display.
- ホースコネクタ: 膨張ホースを取り付けるポイント。
- バッテリーステータスインジケーター: 現在のバッテリー充電レベルを表示します。
- Real-Time Pressure Value Display: 現在の圧力の測定値を表示します。
- ユニット表示: Indicates the selected pressure unit (PSI, BAR, KPA, kg/cm²).
- モードインジケーター: Shows the selected inflation mode (car, motorcycle, bike, ball, custom).
- Preset Pressure Value Display: Shows the target pressure set by the user.
- Preset Minus Button (-): プリセット圧力値を下げます。
- Unit/Light Switch Button: Toggles between pressure units and controls the LED light.
- Preset Plus Button (+): プリセット圧力値を増加させます。
- Inflation On/Off Button: Starts or stops the inflation process.
- 電源オン/オフボタン: デバイスの電源をオンまたはオフにします。
- Working Mode Button: あらかじめ設定された膨張モードを切り替えます。
- USB Type-Cポート: インフレータの充電用。
- DCポート: For 12V DC power input from a vehicle.
- USB-A ポート: 外部機器の充電用(パワーバンク機能)。
- LED/SOS Light: Provides illumination or emergency signal.
Battery Capacity and Performance:
The inflator is equipped with a 12000mAh extended battery, providing ample power for multiple inflation tasks.
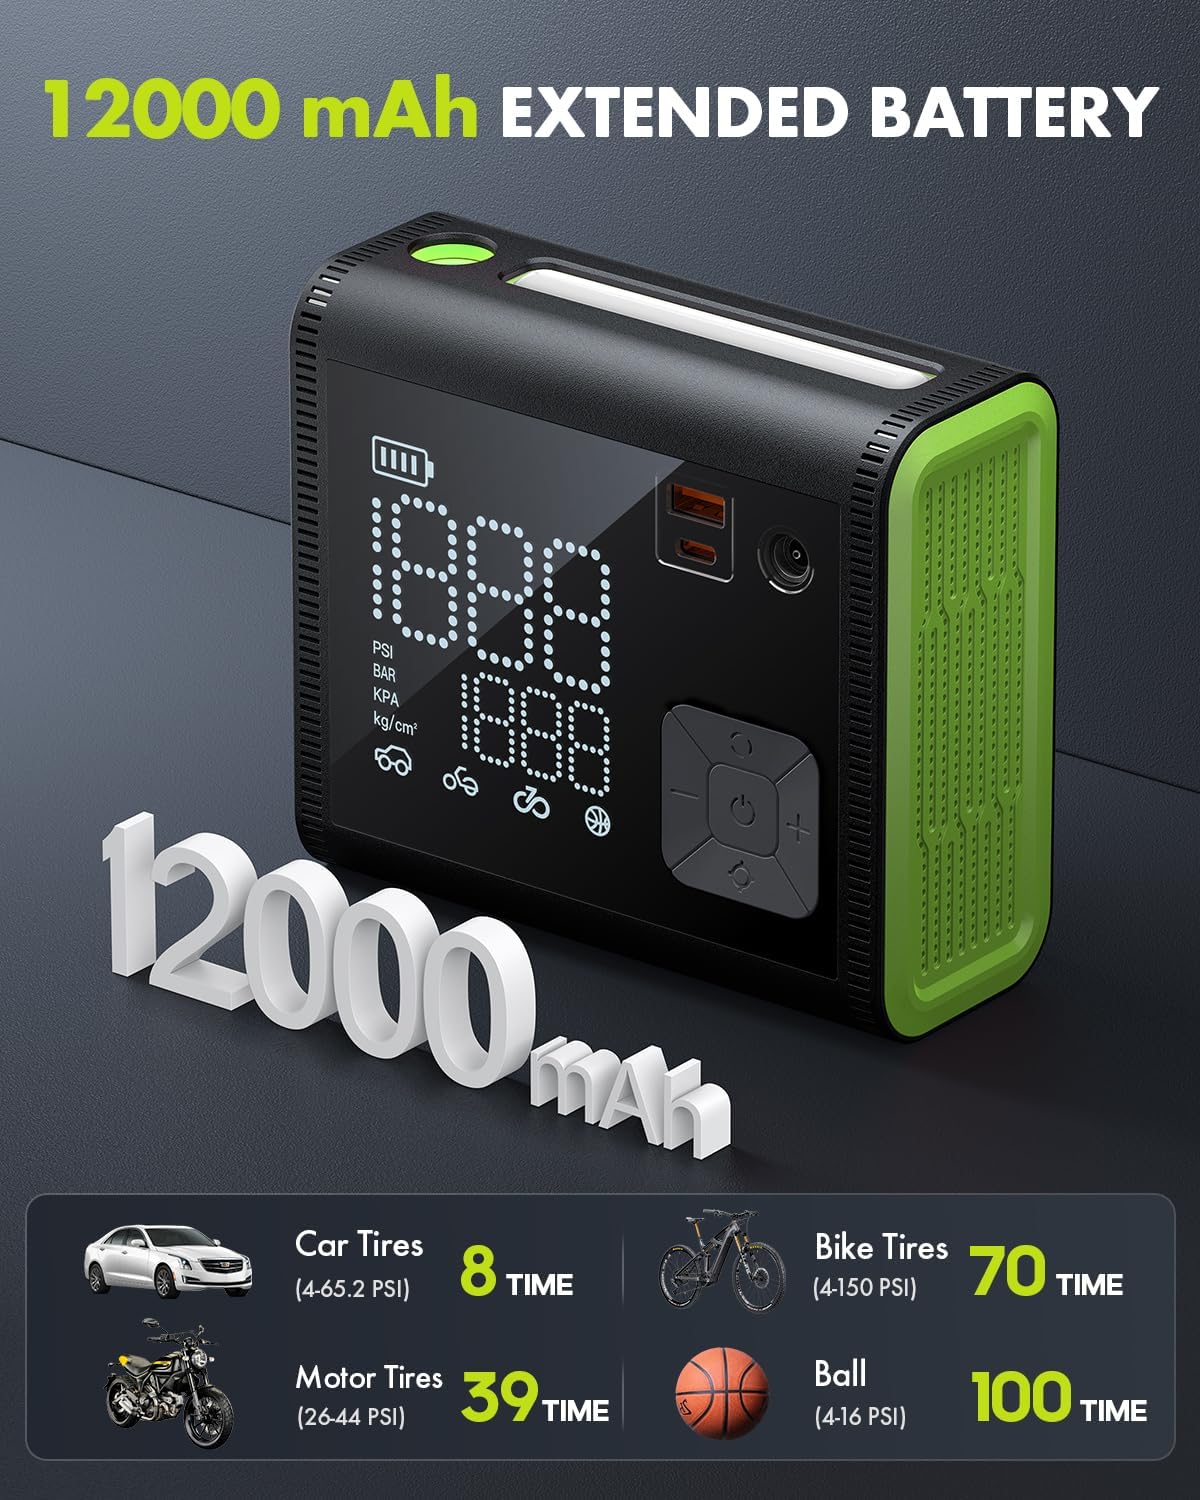
Image: Illustration of the 12000 mAh extended battery, detailing approximate inflation times for various items: Car Tires (8 times), Motor Tires (39 times), Bike Tires (70 times), and Balls (100 times).
Dual Cylinder Technology:
The dual-cylinder design significantly enhances inflation efficiency, making the process faster and more powerful.
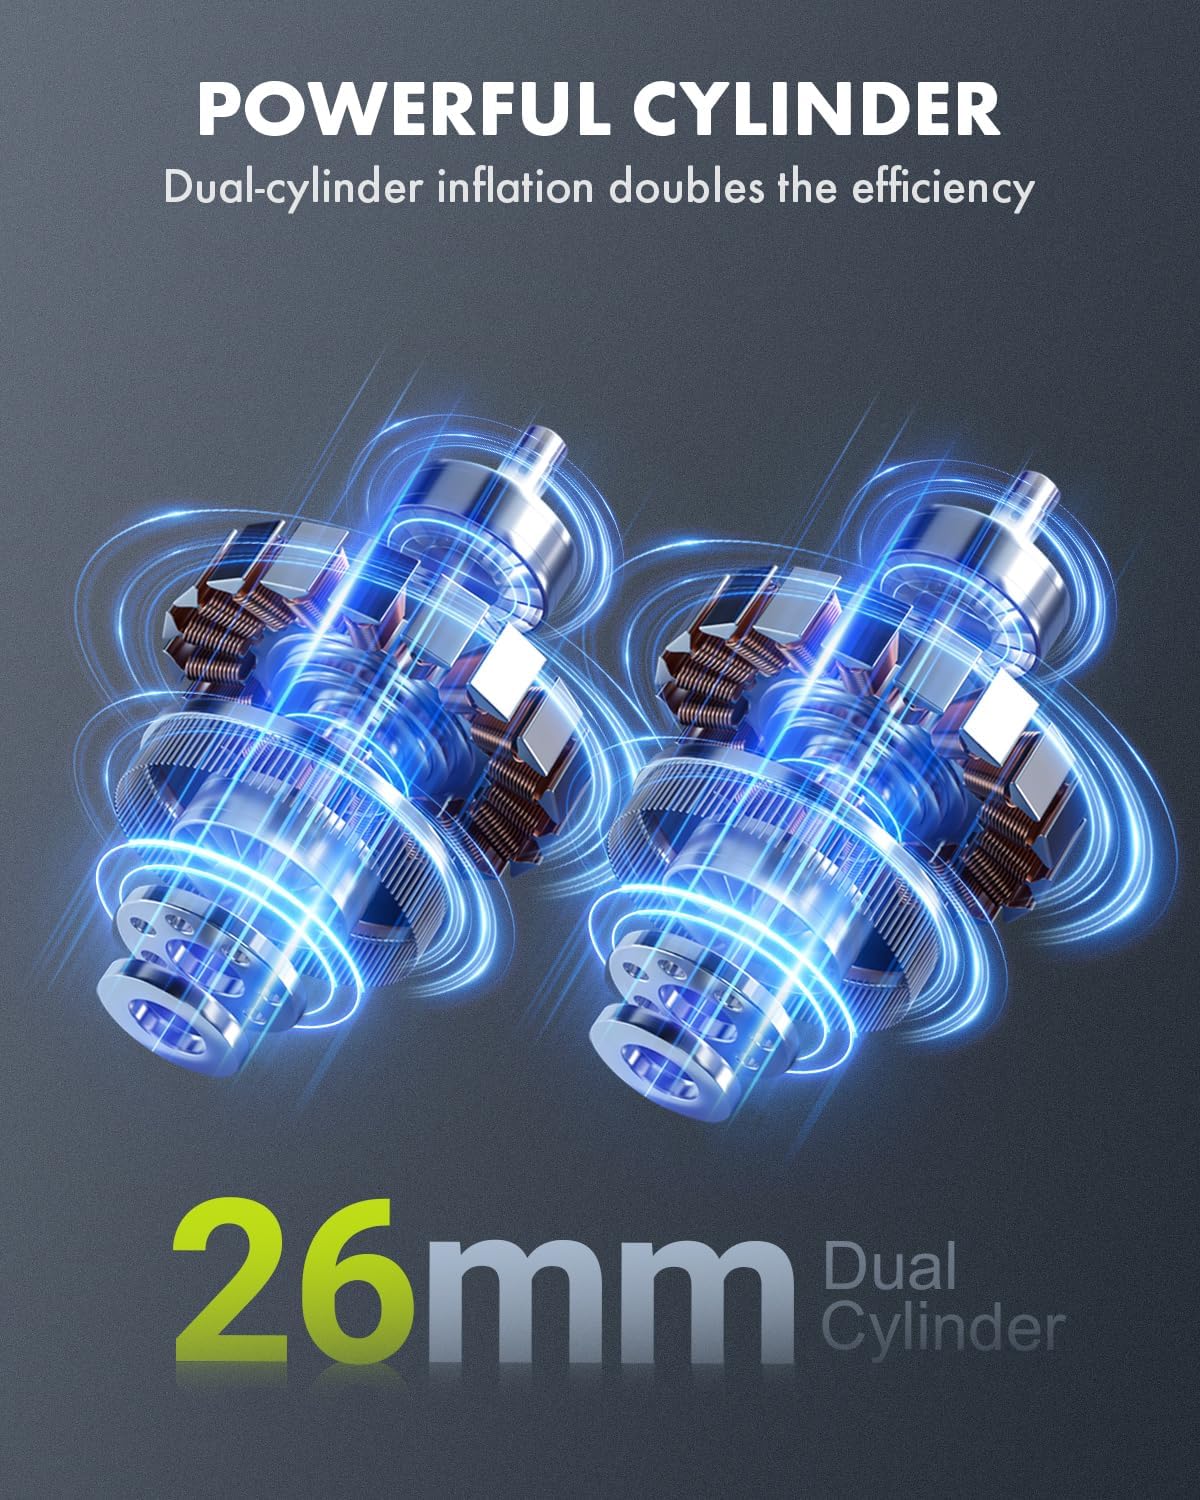
Image: Visual representation of the powerful 26mm dual-cylinder mechanism, highlighting its efficiency in inflation.
Versatile Inflation Needs:
The Anykit inflator is designed to meet a wide range of inflation requirements with specialized adapters.

Image: Displaying the versatility of the Anykit inflator for various items such as cars, motorcycles, bikes, balls, swimming rings, and air cushions, along with their respective nozzle types.
コンパクトでポータブルなデザイン:
The inflator's compact size ensures easy storage and portability, making it convenient for travel and emergencies.

Image: The compact and portable size of the Anykit inflator, showing its dimensions as approximately 5.98 inches (length) x 5.51 inches (height) x 2.56 inches (width).
5. セットアップ
5.1 初期充電
Before first use, fully charge the Anykit Portable Tire Inflator. Connect the provided USB Type-C cable to the inflator's USB Type-C port and the other end to a suitable USB power adapter (not included) or a computer USB port. The battery status indicator will show charging progress. A full charge typically takes less than 4 hours.
5.2 Connecting the Inflation Hose
- Screw the inflation hose securely onto the hose connector on the inflator.
- Select the appropriate nozzle adapter for the item you wish to inflate (e.g., Schrader valve for car tires, Presta adapter for some bike tires, needle for balls).
- 選択したノズル アダプタを膨張ホースの自由端に取り付けます。
6. 操作
6.1 電源のオン/オフ
Press and hold the Power On/Off button to turn the inflator on or off.
6.2 Inflation Process (4 Simple Steps)

Image: A four-panel guide demonstrating the simple steps for inflation: 1. Connect the inflation hose to the air inlet of the car tire. 2. Select the appropriate inflation mode and pressure unit. 3. Adjust the desired inflation value using the +/- buttons. 4. Begin inflation until it stops automatically.
- ホースを接続します: Connect the inflation hose to the air inlet of the item you wish to inflate. Ensure a secure connection to prevent air leakage.
- Select Mode & Unit: Turn on the inflator. Press the Working Mode button to cycle through preset modes (car, motorcycle, bike, ball, custom). Press the Unit/Light Switch button to select your desired pressure unit (PSI, KPA, BAR, KG/CM²). The real-time pressure value will be displayed.
- 設定圧力: Use the Preset Plus (+) and Preset Minus (-) buttons to adjust the desired target pressure.
- インフレを開始します: Press the Inflation On/Off button to begin inflation. The inflator will automatically stop once the preset pressure is reached.
6.3 パワーバンクとして使用する
To charge external devices, connect your device's USB charging cable to the USB-A port on the inflator. The inflator will provide 5V/3A output.
6.4 Using the LED/SOS Light
Press and hold the Unit/Light Switch button to turn on the LED light. Press again to cycle through different light modes (e.g., steady light, SOS flashing). Press and hold again to turn off.
6.5 Using 12V DC Power
In emergencies or when the internal battery is low, you can power the inflator directly from your vehicle's 12V cigarette lighter. Connect the provided 12V DC power cord to the inflator's DC port and then to your vehicle's cigarette lighter socket.
7. メンテナンス
7.1 クリーニング
インフレータの外側を柔らかくて乾いた布で拭いてください。amp 布で拭いてください。刺激の強い化学薬品や研磨剤入りの洗剤は使用しないでください。清掃する前に、必ずデバイスの電源を切り、電源プラグをコンセントから抜いてください。
7.2 ストレージ
Store the inflator in its storage bag in a cool, dry place, away from direct sunlight and extreme temperatures. Ensure the battery is partially charged (around 50-70%) if storing for extended periods to prolong battery life.
7.3バッテリーケア
To maintain optimal battery performance, avoid fully discharging the battery frequently. Recharge the device regularly, even if not in constant use.
8。 トラブルシューティング
| 問題 | 考えられる原因 | 解決 |
|---|---|---|
| インフレータが作動しません。 | 電池が消耗しています。 | Charge the inflator using the USB Type-C cable or connect to 12V DC power. |
| インフレータが膨らみません。 | Hose not securely connected; Nozzle blocked; Preset pressure not set; Device overheated. | Ensure hose and nozzle are tightly connected. Check for obstructions. Set a target pressure. Allow device to cool down if used continuously. |
| 圧力の読み取りが不正確です。 | Hose not properly connected; Sensor issue. | Ensure hose is securely attached. If problem persists, contact customer support. |
| 使用中にデバイスが過熱します。 | 長時間の連続運転。 | Turn off the inflator and allow it to cool down for at least 15-20 minutes before resuming use. |
| USB-A port not charging external devices. | Inflator battery low; Device not compatible. | Ensure inflator has sufficient battery charge. Check compatibility of the external device. |
9. 仕様
| 特徴 | 詳細 |
|---|---|
| ブランド | エニキット |
| モデル名 | D55-GR (Item model number: D55002) |
| 電源 | Battery Powered (12000mAh Lithium Battery) / 12V DC Car Cigarette Lighter |
| 最大動作圧力 | 150 PSI(10.34バール) |
| 風量 | 毎分44リットル |
| AC Adapter Current (Charging) | 3 Amps |
| ホース長さ | 1.97フィート |
| 製品寸法 | 33.5L x 10.9W x 38.1H センチメートル |
| アイテム重量 | 1kg 420グラム |
| 材料 | アブソリュート |
| 色 | 緑 |
| 特集 | Easy to install, Portable, Rechargeable Battery, Variable speed, Digital Pressure Gauge, Auto Shut-off, LED Light, Power Bank Function |
| 推奨用途 | Outdoor, Car, Motorcycle, Bike, Balls, Inflatables |
10. 保証と顧客サポート
Anykit products are designed for reliability and performance. For specific warranty details, please refer to the warranty card included with your product or visit the official Anykit website. If you encounter any issues or have questions regarding your Anykit Portable Tire Inflator D55002, please contact Anykit customer support for assistance. Our team is dedicated to providing prompt and friendly support to ensure your satisfaction.
連絡先: Please refer to the contact details provided on the product packaging or the official Anykit webサイト。