1. はじめに
This manual provides detailed instructions for the installation, operation, and maintenance of your WILAWELS 200W Low Voltage Landscape Transformer, model D11LT06. This device is designed to safely convert 120V AC household current to 12V or 14V AC low voltage, suitable for outdoor LED and halogen landscape lighting systems. Please read this manual thoroughly before installation and use to ensure proper function and safety.
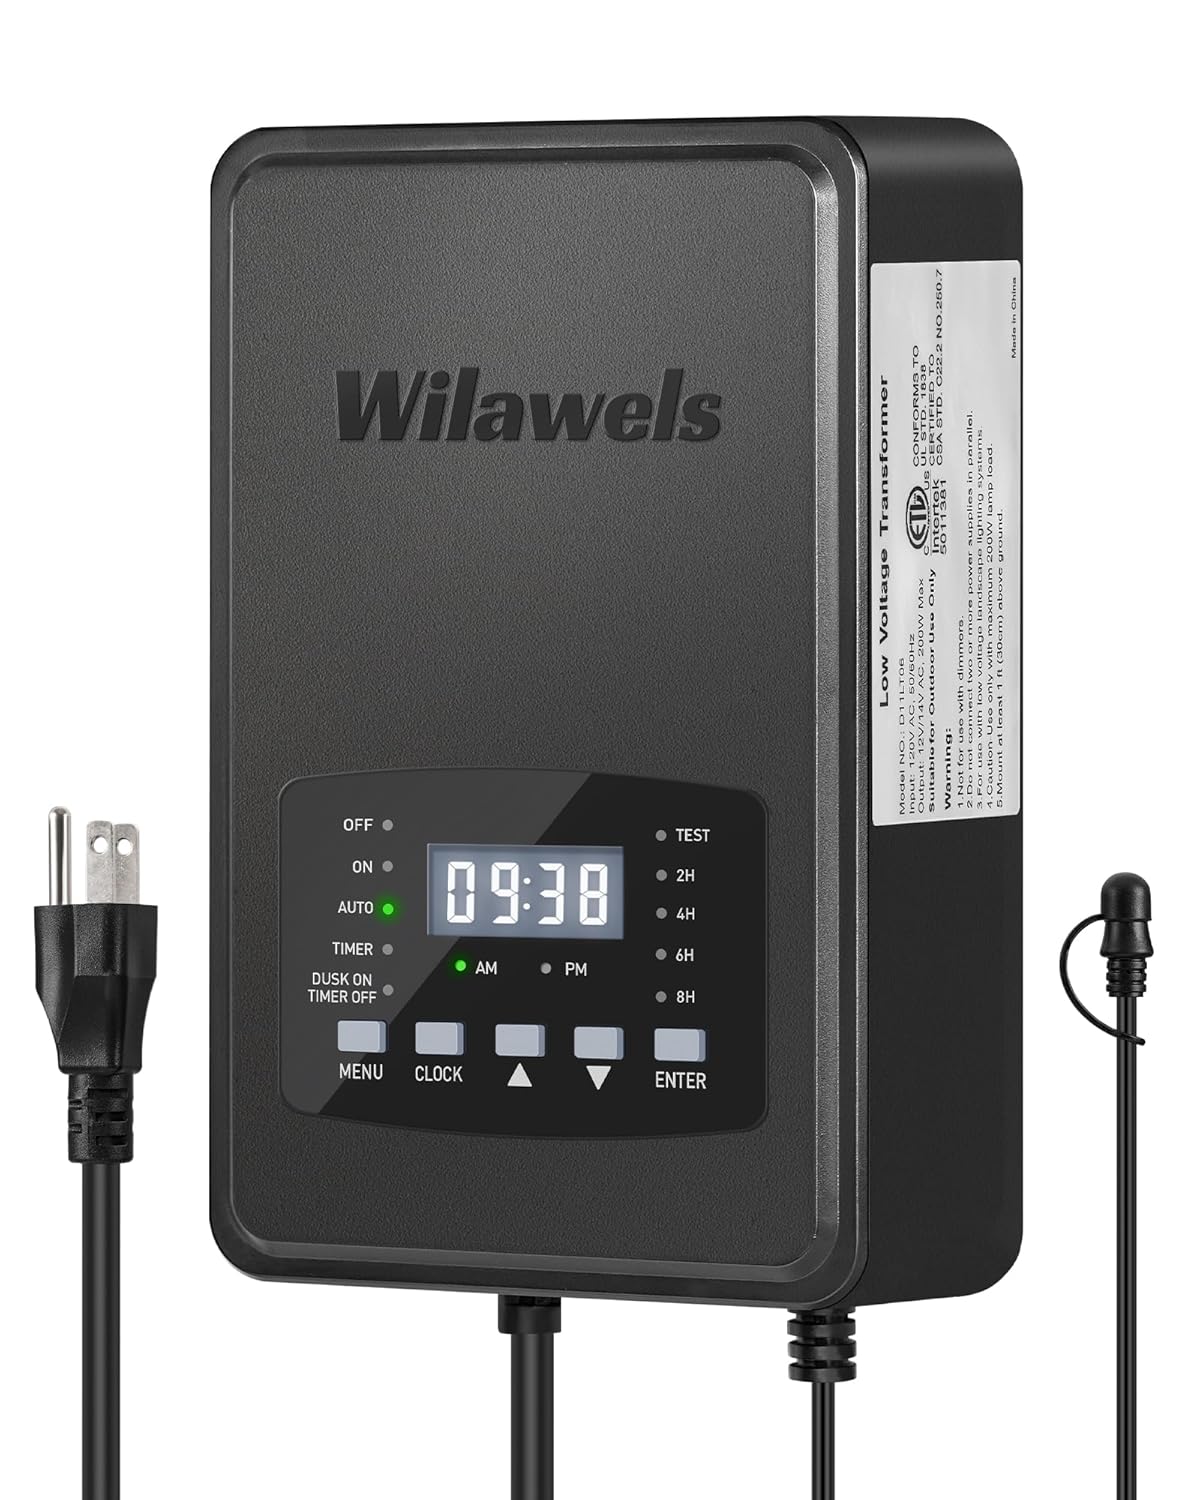
画像1.1:正面 view of the WILAWELS 200W Low Voltage Landscape Transformer D11LT06, showing the digital display and control buttons.
安全情報
- Ensure the transformer is installed by a qualified electrician or in accordance with local electrical codes.
- Do not immerse the transformer in water. It is designed for outdoor use and is weatherproof, but not submersible.
- インストール、メンテナンス、トラブルシューティングを実行する前に、必ず電源を切ってください。
- 変圧器に過負荷をかけないでください。総ワット数はtage of connected lights must not exceed 200W.
- Keep children away from the transformer during operation.
2. パッケージ内容
パッケージにすべてのアイテムが揃っていることを確認します。
- WILAWELS 200W Low Voltage Landscape Transformer (Model D11LT06)
- Detachable Photocell Sensor with 6ft cord
- ユーザーマニュアル
3 製品の特徴
The WILAWELS D11LT06 transformer offers advanced features for reliable and efficient landscape lighting:
- ETL 認定: 安全性と品質基準が満たされていることを確認します。
- 電力変換: Safely converts 120V AC to 12V AC or 14V AC for stable power delivery.
- Detachable Photocell Sensor: 夕暮れ時に自動的にライトが点灯し、夜明けに自動的に消灯します。
- Six Operating Modes: Includes Manual On/Off, Auto On/Off (Dusk to Dawn), Countdown (2/4/6/8 hours), Timer (customizable on/off times), DUSK ON TIMER OFF, and TEST mode.
- Built-in Circuit Protection: Automatically disconnects power in case of overload or short circuit, protecting connected equipment.
- メモリ機能: Retains programmed settings after a power interruption.
- 耐候性構造: Designed to withstand rain, snow, dust, and corrosive environments.

Image 3.1: Diagram illustrating the transformer's function, converting 120V AC input to 12V/14V AC output.

Image 3.2: Illustration of the memory function, showing the transformer retaining settings after power recovery.
4. 仕様
| 仕様 | 価値 |
|---|---|
| モデル番号 | D11LT06 |
| 出力 | 最大200W |
| 入力ボリュームtage | 120V 交流 |
| 出力巻tage | 12V AC / 14V AC |
| 製品寸法 | 奥行き3.2インチ x 幅5.7インチ x 高さ8.9インチ (奥行き8.2cm x 幅14.5cm x 高さ22.7cm) |
| 重さ | 9.92 ポンド |
| 電源 | コード式電気 |
| 取り付けタイプ | 壁掛け |
| 認定資格 | ETL 登録済み |
| 電源コードの長さ | 3.3 ft (ETL Certified SJTW 18AWG/3C) |
| センサーコードの長さ | 6 ft (ETL Certified 20AWG/2C) |

画像4.1: 詳細 view of the transformer showing its dimensions and specifications for the power and sensor cords.
5. セットアップとインストール
5.1 トランスの取り付け
- Choose a suitable outdoor location for wall mounting. The location should be protected from direct heavy rain and easily accessible.
- Ensure the mounting surface is sturdy enough to support the transformer's weight.
- Use appropriate screws and anchors (not included) to securely mount the transformer to the wall.
5.2 Connecting Low-Voltage配線
The transformer features dual terminal outputs (12V and 14V) to accommodate different lighting needs and cable lengths.
- Turn off the main power supply before making any connections.
- Strip approximately 1/2 inch of insulation from the ends of your low-voltage landscape lighting cables.
- Loosen the terminal screws on the transformer's output block.
- Insert the bare wire ends into the desired 12V or 14V terminals. Ensure a secure connection by tightening the screws.
- Connect your landscape lights to the low-voltage cables according to their individual instructions.
5.3 Connecting the Photocell Sensor
The detachable photocell sensor allows for automatic dusk-to-dawn operation.
- Plug the photocell sensor's connector into the designated port on the transformer.
- Position the photocell sensor in a location that receives natural ambient light, free from obstruction or artificial light sources (e.g., porch lights) that could interfere with its operation.

画像5.1:リア view of the transformer showing the dual terminal outputs, circuit breaker, and photocell sensor connection port.
6. 操作手順
The transformer features a digital display and control buttons for easy programming. The control panel includes MENU, CLOCK, Up/Down arrows, and ENTER buttons.

Image 6.1: Visual representation of the six available operating modes for the transformer.
6.1時計の設定
- を押す クロック ボタンを押します。時間表示が点滅します。
- 使用 上/下矢印 時間を調整します。 押す 入力 確認します。
- The minute display will flash. Use the 上/下矢印 分を調整します。 押す 入力 確認します。
- Adjust AM/PM as needed and press 入力.
6.2 動作モードの選択
を押す メニュー button to cycle through the available modes. Press 入力 to select a mode and then use the Up/Down arrows to adjust settings.
- オフモード: ライトは消えたままです。
- オンモード: Lights remain on continuously.
- AUTO Mode (Dusk to Dawn): Lights turn on automatically at dusk and turn off at dawn, controlled by the photocell sensor.

Image 6.2: Illustration of the transformer activating lights at dusk and deactivating them at dawn.

Image 6.3: Conceptual image showing smart auto-on at dusk and auto-off at dawn for energy savings.
- COUNTDOWN Mode (2/4/6/8 Hours): Lights turn on at dusk and automatically turn off after a set duration (2, 4, 6, or 8 hours). Use the Up/Down arrows to select the desired duration.

図6.4: 例ample of programmable timers, showing lights turning on at dusk and off after 6 hours.
- タイマーモード: Allows you to set specific ON and OFF times for your lights. Press 入力 to set the ON time, then repeat for the OFF time using the Up/Down arrows.

Image 6.5: Illustration of setting a custom lighting schedule with specific start and closing times.
- DUSK ON TIMER OFF Mode: Lights turn on at dusk and turn off at a specific programmed time. Set the desired OFF time using the Up/Down arrows.

図6.6: 例ample of lights activating at dusk and shutting down at a customizable time.
- テストモード: Activates the lights for a short period (e.g., 30 seconds) to verify connections and light functionality. This mode is useful during installation to check wiring without waiting for dusk.

Image 6.7: Illustration of Test Mode, showing lights turning on briefly to confirm functionality and aid in sensor placement.
7. メンテナンス
定期的なメンテナンスにより、変圧器の最適なパフォーマンスと寿命が確保されます。
- クリーニング: Periodically wipe the transformer's exterior with a soft, damp 布で埃やゴミを拭き取ってください。研磨剤入りの洗剤や溶剤は使用しないでください。
- フォトセルセンサー: Ensure the photocell sensor remains clean and free from obstructions (e.g., leaves, dirt) that could affect its light detection.
- 接続: Annually inspect all low-voltage wiring connections for corrosion or looseness. Tighten as necessary.
- 環境保護: While weatherproof, avoid prolonged exposure to extreme conditions if possible. Ensure the unit is securely mounted to prevent damage from strong winds.

Image 7.1: The transformer demonstrating its weather-resistant properties against rain, snow, dust, and temperature variations.
8。 トラブルシューティング
If you encounter issues with your transformer, refer to the following troubleshooting guide:
| 問題 | 考えられる原因 | 解決 |
|---|---|---|
| ライトが点灯しない。 | No power to transformer, circuit breaker tripped, incorrect mode selected, faulty wiring, photocell obstructed. | Check power outlet. Reset circuit breaker. Verify mode setting. Inspect low-voltage wiring for breaks or loose connections. Ensure photocell is clear and receiving light. |
| ライトは継続的に点灯します。 | ON mode selected, photocell not functioning or receiving too much light. | Change to desired automatic mode. Relocate photocell to a darker area or ensure it's not covered. |
| Lights turn on/off at incorrect times. | Incorrect clock setting, photocell interference, incorrect mode programming. | Adjust the clock. Ensure photocell is not affected by artificial light. Re-program the selected mode (Timer, Countdown, Dusk On Timer Off). |
| Circuit breaker trips repeatedly. | Overload (too many lights), short circuit in wiring or lights. | 総ワット数を削減tage of connected lights. Inspect all low-voltage wiring and light fixtures for short circuits. Disconnect lights one by one to identify the faulty component. Reset the circuit breaker after troubleshooting. |
If issues persist after following these steps, please contact WILAWELS customer support.
9. 保証とサポート
WILAWELS provides a standard manufacturer's warranty for this product. Please refer to the warranty card included in your package or visit the official WILAWELS web詳細な保証条件については、サイトをご覧ください。
For technical support, troubleshooting assistance, or warranty claims, please contact WILAWELS customer service through the contact information provided on the product packaging or their official website. When contacting support, please have your model number (D11LT06) and purchase date available.