1. はじめに
Thank you for choosing the Sunster 8KW All-in-One Portable Diesel Heater. This manual provides essential information for the safe and efficient operation, installation, and maintenance of your heater. Designed for versatility, this unit offers reliable heating for various applications including vans, RVs, trucks, boats, campers, and garages. Please read this manual thoroughly before use and retain it for future reference.
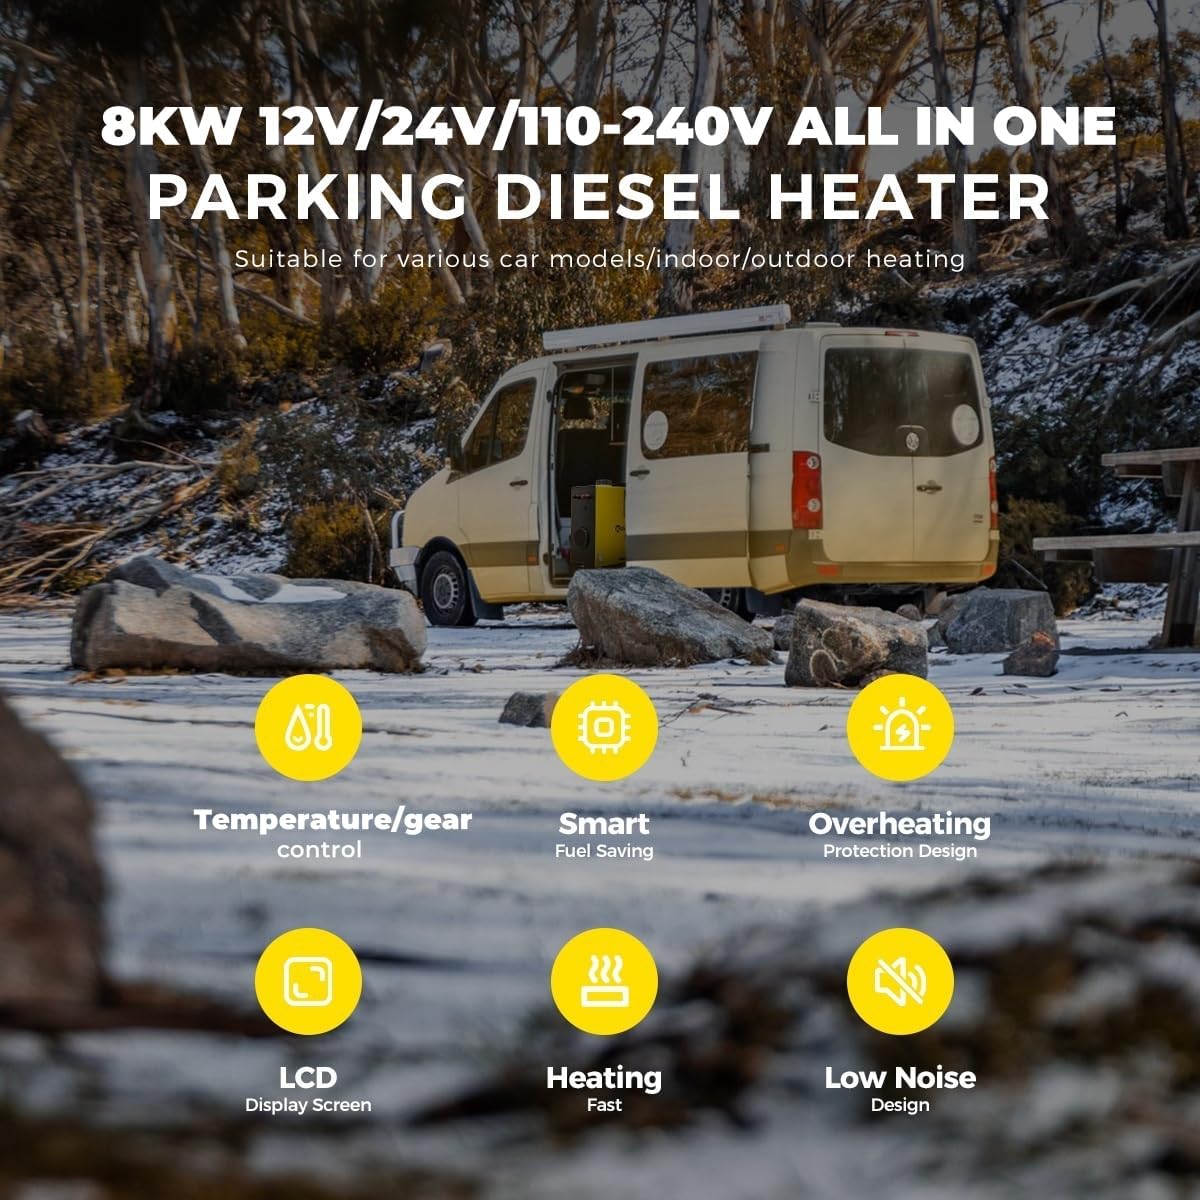
Image 1.1: Sunster 8KW Diesel Heater in an outdoor application.
2. 安全情報
WARNING: Failure to follow these safety instructions may result in fire, explosion, electric shock, or serious injury.
- Exhaust Gas: Always ensure exhaust gases are vented externally and away from occupied spaces. Carbon monoxide is a colorless, odorless gas that can be fatal.
- 専門家による設置: It is recommended to have the heater professionally installed, especially for permanent vehicle or marine applications, to ensure proper ventilation and safety.
- 換気: Ensure adequate ventilation in the area where the heater is operating to prevent oxygen depletion.
- 燃料の取り扱い: ディーゼル燃料のみを使用してください。ガソリンやその他の揮発性燃料は使用しないでください。給油は、発火源から離れた換気の良い場所で行ってください。
- 過熱保護: The heater is equipped with overheating protection (≥ 270 °C). Do not obstruct air inlets or outlets.
- 電気安全: 正しいボリュームを確認するtage (12V/24V DC or 110-240V AC) before connecting. Protect against short circuits, overvoltage、および逆接続。
- 配置: ヒーターは安定した不燃性の表面に設置してください。可燃性物質から安全な距離を保ってください。
- 子供とペット: 作動中のヒーターに子供やペットを近づけないでください。
- 現地の規制: Always check and comply with local regulations and requirements regarding the use of oil-fueled appliances in your specific location.
3. パッケージ内容
Carefully unpack the box and ensure all items listed below are present and undamaged. If any parts are missing or damaged, please contact customer support.
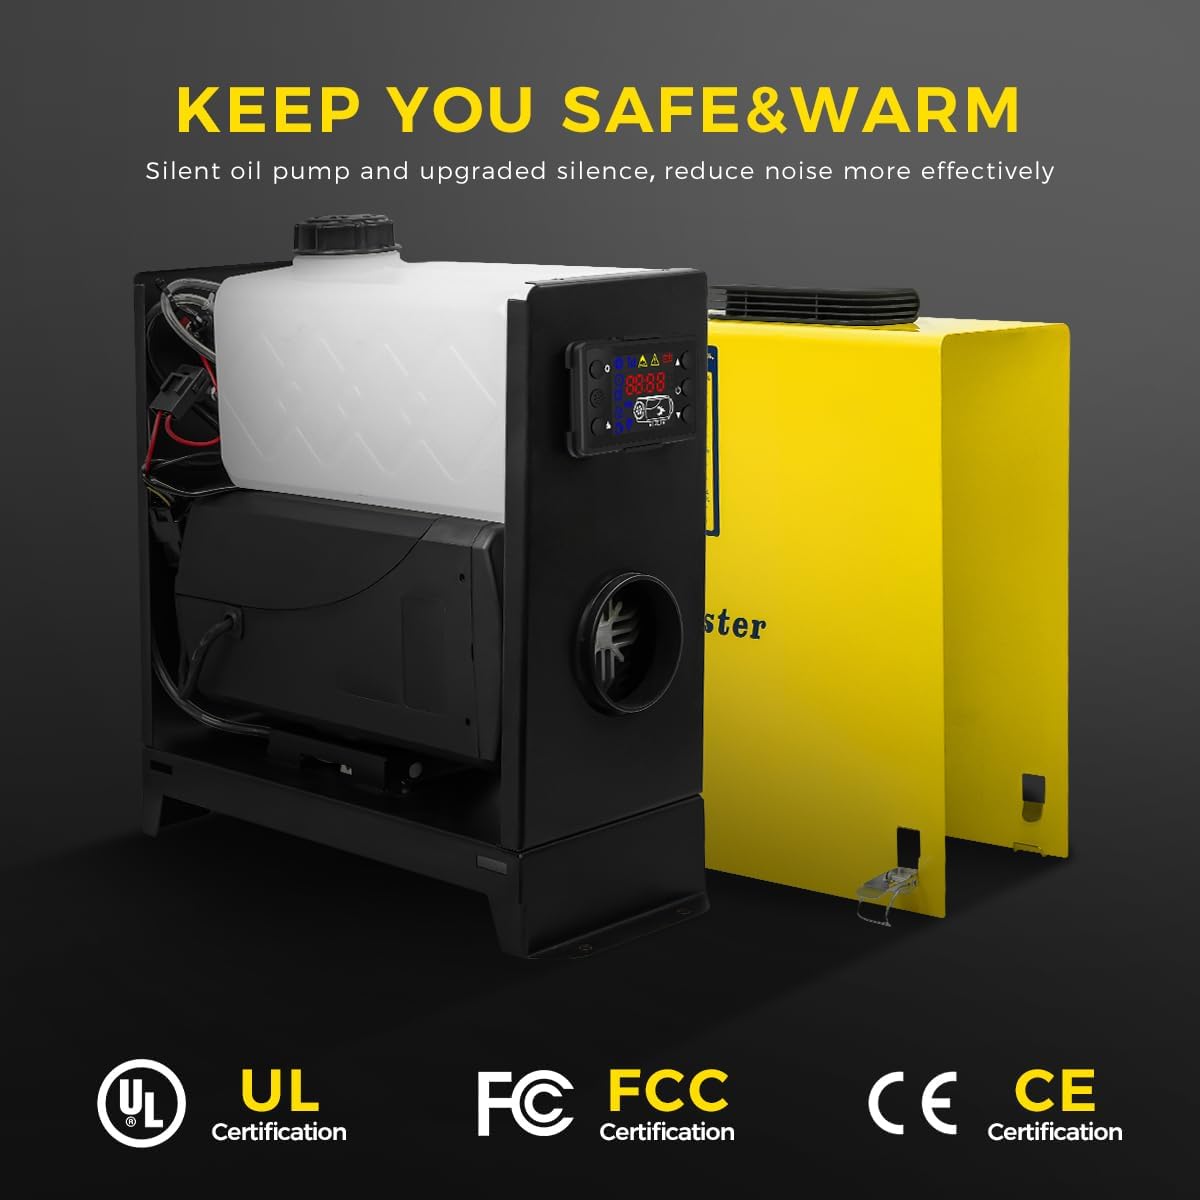
Image 3.1: Included components of the Sunster 8KW Diesel Heater.
- Sunster 8KW All-in-One Portable Diesel Heater Unit
- リモートコントロール
- LCD Monitor/Control Panel (integrated)
- エアフィルター
- Fixed Plate (Mounting Bracket)
- エアアウトレットパイプ
- 吸気管
- 排気管
- ユーザーマニュアル
- Battery Power Cable (for DC connection)
- フィクスチャアクセサリセット(clamp(ネジなど)
- AC-DC Power Adapter (for 110-240V AC connection)
- サイレンサー
4.製品オーバーview
The Sunster 8KW Diesel Heater is an integrated heating solution featuring a compact design and robust construction. It includes a fuel tank, combustion chamber, and control system within a single unit, making it highly portable and easy to deploy.

Image 4.1: Main unit of the Sunster 8KW Diesel Heater.
主要コンポーネント:
- 本体: Houses the combustion system, heat exchanger, fuel pump, and control board.
- 一体型燃料タンク: Visible fuel level indicator for easy monitoring.
- LCDコントロールパネル: Provides real-time status, temperature control, timing functions, and language settings.
- リモートコントロール: 離れた場所からでも操作が便利に行えます。
- 空気入口/出口: For drawing in cold air and expelling heated air.
- 排気ポート: For safe expulsion of combustion gases.

Image 4.2: Internal components diagram.
5. セットアップ
Proper setup is crucial for the safe and effective operation of your diesel heater.
5.1 配置
- Place the heater on a flat, stable, and non-combustible surface.
- Ensure there is sufficient clearance around the heater for air circulation and to prevent fire hazards.
- Do not place the heater directly on carpet or other flammable materials.
5.2 排気システムの取り付け
IMPORTANT: The exhaust pipe must always be routed outside and away from any occupied space to prevent carbon monoxide poisoning.
- 付属のクランプを使用して、排気管をヒーターの排気口に接続します。amps.
- Route the exhaust pipe securely to the exterior, ensuring it is not obstructed and is positioned where exhaust gases will disperse safely.
- Install the silencer (if desired) onto the exhaust pipe to reduce noise.
5.3 Air Intake and Outlet Pipes
- Connect the intake pipe to the heater's air intake port. This pipe draws in fresh air for combustion.
- Connect the air outlet pipe to the heater's hot air outlet. This pipe directs the heated air into the desired space.
- Ensure both pipes are securely fastened and free from kinks or obstructions.
5.4燃料補給
- 燃料タンクのキャップを開けます。
- Fill the tank with clean diesel fuel. Do not overfill.
- 燃料タンクのキャップをしっかり閉めてください。
5.5電源接続
The heater supports dual power supply options: 12V/24V DC and 110-240V AC.

Image 5.1: Dual power supply options (AC and DC).
- For DC (12V/24V) Operation: Connect the provided battery power cable to the heater's DC input terminals (red to positive, black to negative) and then to your vehicle's battery. The heater automatically switches between 12V and 24V.
- For AC (110-240V) Operation: Connect the provided AC-DC power adapter to the heater's AC input port, then plug the adapter into a standard wall outlet.
6. 操作手順
The heater can be controlled via the integrated LCD panel or the remote control.

Image 6.1: LCD Control Panel and Remote Control.
6.1 ヒーターの始動
- Ensure all connections (power, fuel, exhaust) are secure.
- Press the power button on the LCD panel or remote control. The display will illuminate.
- The heater will initiate a startup sequence, including pre-heating the glow plug and starting the fuel pump. This may take a few minutes.
- Once combustion is stable, hot air will begin to flow from the air outlet.
6.2 Adjusting Temperature and Power
- Use the 'Up' and 'Down' arrows on the control panel or remote to adjust the desired temperature or heating power (gear regulation).
- The heater will automatically adjust its output to maintain the set temperature.
6.3 タイミング機能
The 24-hour timing function allows you to set a specific time for the heater to turn on or off.
- Access the timing settings via the menu on the LCD panel.
- Set the desired ON/OFF times according to the on-screen instructions.
6.4 言語の切り替え
The LCD control panel supports multiple languages (e.g., German, English, Russian).
- Navigate to the language settings in the LCD menu.
- ご希望の言語を選択します。
6.5 ヒーターのシャットダウン
- Press the power button on the LCD panel or remote control.
- The heater will enter a cool-down cycle to prevent carbon buildup and damage. Do not disconnect power during this cycle.
- Once the cool-down cycle is complete, the heater will power off.
7. メンテナンス
定期的なメンテナンスにより、最適なパフォーマンスが確保され、ヒーターの寿命が延びます。
- 一般的な清掃: Keep the exterior of the heater clean. Use a soft, damp 布で拭いてください。研磨剤や溶剤は使用しないでください。
- エアフィルター: Periodically inspect and clean the air filter. A clogged filter can reduce efficiency and lead to overheating. Replace if damaged.
- 燃料システム: Check fuel lines and connections for leaks or damage. Ensure the fuel tank is free of contaminants.
- 排気システム: Inspect the exhaust pipe for blockages, corrosion, or damage. Ensure it remains securely fastened and properly vented.
- 電気接続: すべての電気接続がしっかりと固定されており、腐食がないことを確認します。
- ストレージ: If storing the heater for an extended period, drain the fuel tank and clean the unit thoroughly. Store in a dry, protected area.
8。 トラブルシューティング
このセクションでは、発生する可能性のある一般的な問題について説明します。ここに記載されていない問題については、カスタマーサポートにお問い合わせください。
| 問題 | 考えられる原因 | 解決 |
|---|---|---|
| ヒーターが始動しない | 電力がない、燃料が少ない、燃料ラインが詰まっている、グロープラグが故障している。 | Check power connection, refuel, inspect fuel lines, consult professional for glow plug. |
| 低熱出力 | Clogged air filter, insufficient fuel, exhaust blockage. | Clean/replace air filter, check fuel level, clear exhaust. |
| 過度の煙 | Poor combustion, incorrect fuel-air mixture, faulty fuel pump. | Ensure proper ventilation, check fuel quality, contact support. |
| 異常なノイズ | 緩んだコンポーネント、ファンの障害、燃料ポンプの問題。 | Inspect for loose parts, clear obstructions, contact support. |
| LCDに表示されるエラーコード | 特定のシステム障害。 | Refer to the heater's internal error code list (if available) or contact customer support with the code. |
9. 仕様
| 特徴 | 詳細 |
|---|---|
| モデル | 8KW Diesel Heater (L01) |
| 火力 | 8KW |
| 巻tage | 12V/24V DC, 110-240V AC (Auto-switching) |
| 燃料の種類 | ディーゼル |
| 燃費 | 0.11-0.48 リットル/時 |
| 動作温度範囲 | 8~36℃(46.4~96.8℉) |
| 騒音レベル | ≤75dB |
| 材料 | アルミニウム合金ボディ |
| アイテム重量 | 20.3ポンド(約9.2kg) |
| パッケージ寸法 | 20.72 x 18.52 x 8.23インチ(約52.6 x 47.0 x 20.9 cm) |
| 認定資格 | CE, WEE, FCC, EAC, UKCA (as per brand information) |
10. 保証とサポート
Sunster products are manufactured with quality and reliability in mind. This product comes with a standard manufacturer's warranty against defects in materials and workmanship under normal use. Please refer to the warranty card included in your package for specific terms and conditions, including the warranty period and claim procedures.
カスタマーサポート:
For technical assistance, troubleshooting, or warranty claims, please contact Sunster customer support. Our dedicated team is available to help you with any questions or concerns regarding your diesel heater.
- Webサイト: Visit the official Sunster webFAQ とサポート リソースのサイト。
- メールアドレス: カスタマー サービス メールについては、製品のパッケージまたは保証書を参照してください。
- 電話: カスタマー サービスの電話番号については、製品のパッケージまたは保証書を参照してください。
Please have your model number (L01) and purchase date ready when contacting support.