
導入
Welcome to the ULTRICS Digital Multimeter D2 user manual. This device is designed for precise and reliable electrical measurements, suitable for professionals and DIY enthusiasts. It accurately measures AC/DC voltage, DC current, resistance, continuity, and diodes. This manual provides essential information for safe and effective operation, helping you to maximize the utility of your new multimeter.
安全情報
警告: Always exercise extreme caution when working with electrical circuits. Improper use of this multimeter can result in electric shock, personal injury, or damage to the device.
- どの範囲でも最大入力値を超えないようにしてください。
- Do not use the multimeter if it or the test leads appear damaged. Inspect them before each use.
- Ensure the function switch is in the correct position before making measurements. Changing ranges while connected to a live circuit can cause damage.
- Disconnect power to the circuit before measuring resistance, continuity, or diodes.
- ボリュームを扱うときは注意してくださいtag30V AC RMS、42Vピーク、または60V DCを超える電圧。これらの電圧はtag重大な感電の危険があります。
- Always connect the common (COM) test lead first, then the live lead. Disconnect the live lead first, then the common lead.
- Replace the battery when the low battery indicator appears to ensure accurate readings and proper device function.
This multimeter is rated CAT II 600V, indicating its suitability for measurements on circuits directly connected to the low-voltageインストール。
パッケージ内容
パッケージにすべてのアイテムが揃っていることを確認します。
- 1 x ULTRICS Digital Multimeter D2
- テストリード 2 本 (赤と黒)
- 1 x 9Vバッテリー
- ユーザーマニュアル (本書) x 1
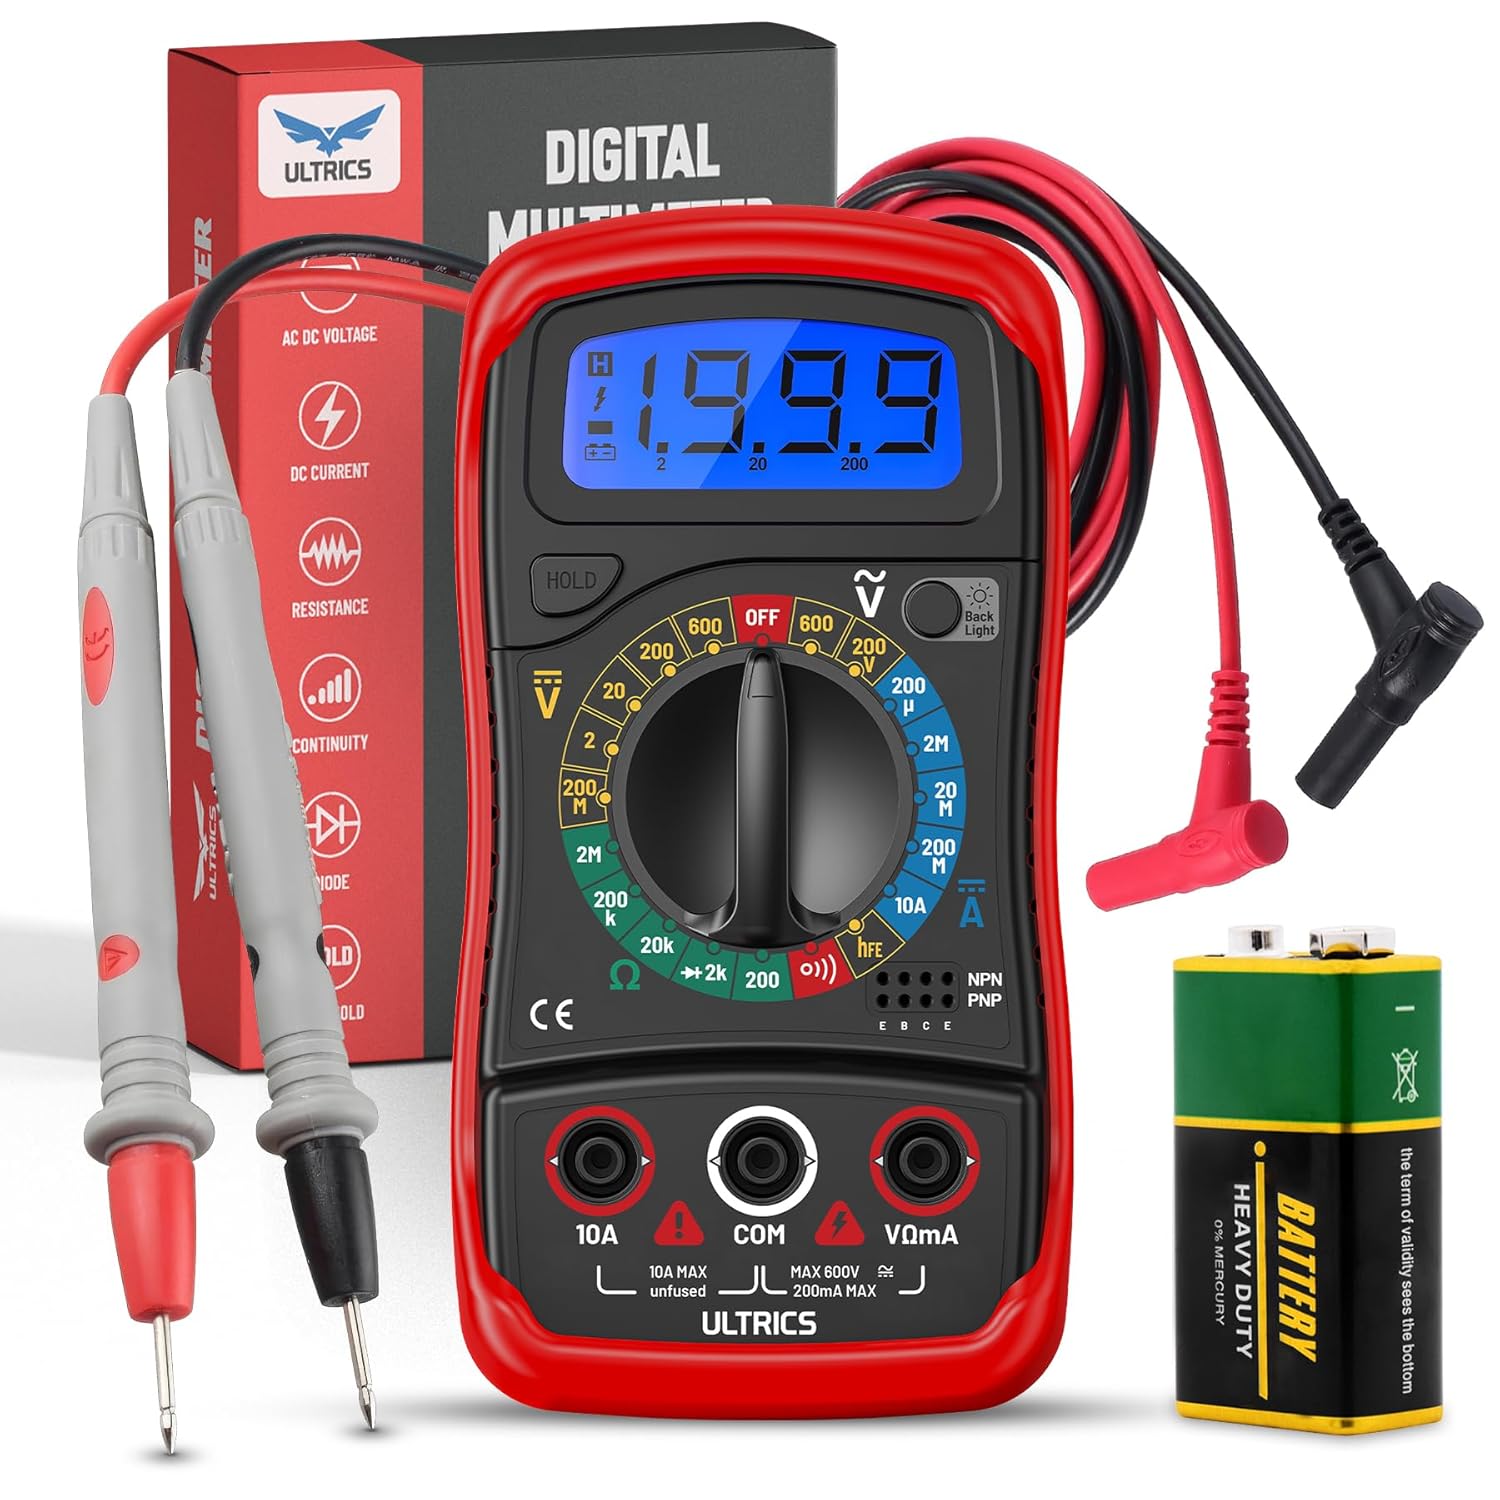
Image: Contents of the ULTRICS Digital Multimeter D2 package, including the multimeter, red and black test leads, and a 9V battery.
製品終了view
Familiarize yourself with the components of your ULTRICS Digital Multimeter D2.

Image: Detailed diagram of the ULTRICS Digital Multimeter D2, highlighting its key components such as the LCD display, data hold button, backlight button, function switch, test lead jacks, and protective rubber shell.
- LCDディスプレイ: Shows measurement readings, units, and polarity. Features a bright backlight for low-light conditions.
- データ保持ボタン: Freezes the current reading on the display for easier recording.
- バックライトボタン: ディスプレイのバックライトを有効または無効にします。
- Function Switch (Rotary Dial): 希望する測定機能と範囲を選択します。
- 10A入力ジャック: Used for measuring DC current up to 10 Ampそうです。
- COM (Common) Input Jack: The negative (-) input for all measurements. Always connect the black test lead here.
- VΩmA入力ジャック: The positive (+) input for voltage、抵抗、ミリampere current measurements. Connect the red test lead here.
- Transistor Test Jacks (hFE): Used for testing NPN and PNP transistors.
- Protective Rubber Shell: Provides durability and protection against minor impacts and splashes.
- 折りたたみ式キックスタンド: ハンズフリー操作が可能で、 view角度。
設定
バッテリーの取り付け
The ULTRICS Digital Multimeter D2 requires one 9V battery (included).
- マルチメーターの背面にある電池ボックスを見つけます。
- ドライバーを使用して、バッテリーカバーを固定しているネジを取り外します。
- 電池カバーをゆっくりと取り外します。
- 9V バッテリーをバッテリー クリップに接続し、正しい極性 (+ と +、- と -) を確認します。
- バッテリーをコンパートメント内に配置します。
- バッテリーカバーを元に戻し、ネジで固定します。
テストリードの接続
測定を行う前に、必ずテスト リードがしっかりと接続されていることを確認してください。
- Insert the black test lead's banana plug into the コム (共通)入力ジャック。
- ほとんどの測定(体積tage, resistance, continuity, diode, small current), insert the red test lead's banana plug into the VΩmA 入力ジャック。
- For high current measurements (up to 10A DC), insert the red test lead's banana plug into the 10A 入力ジャック。
操作手順
This section details how to perform various measurements using your multimeter.
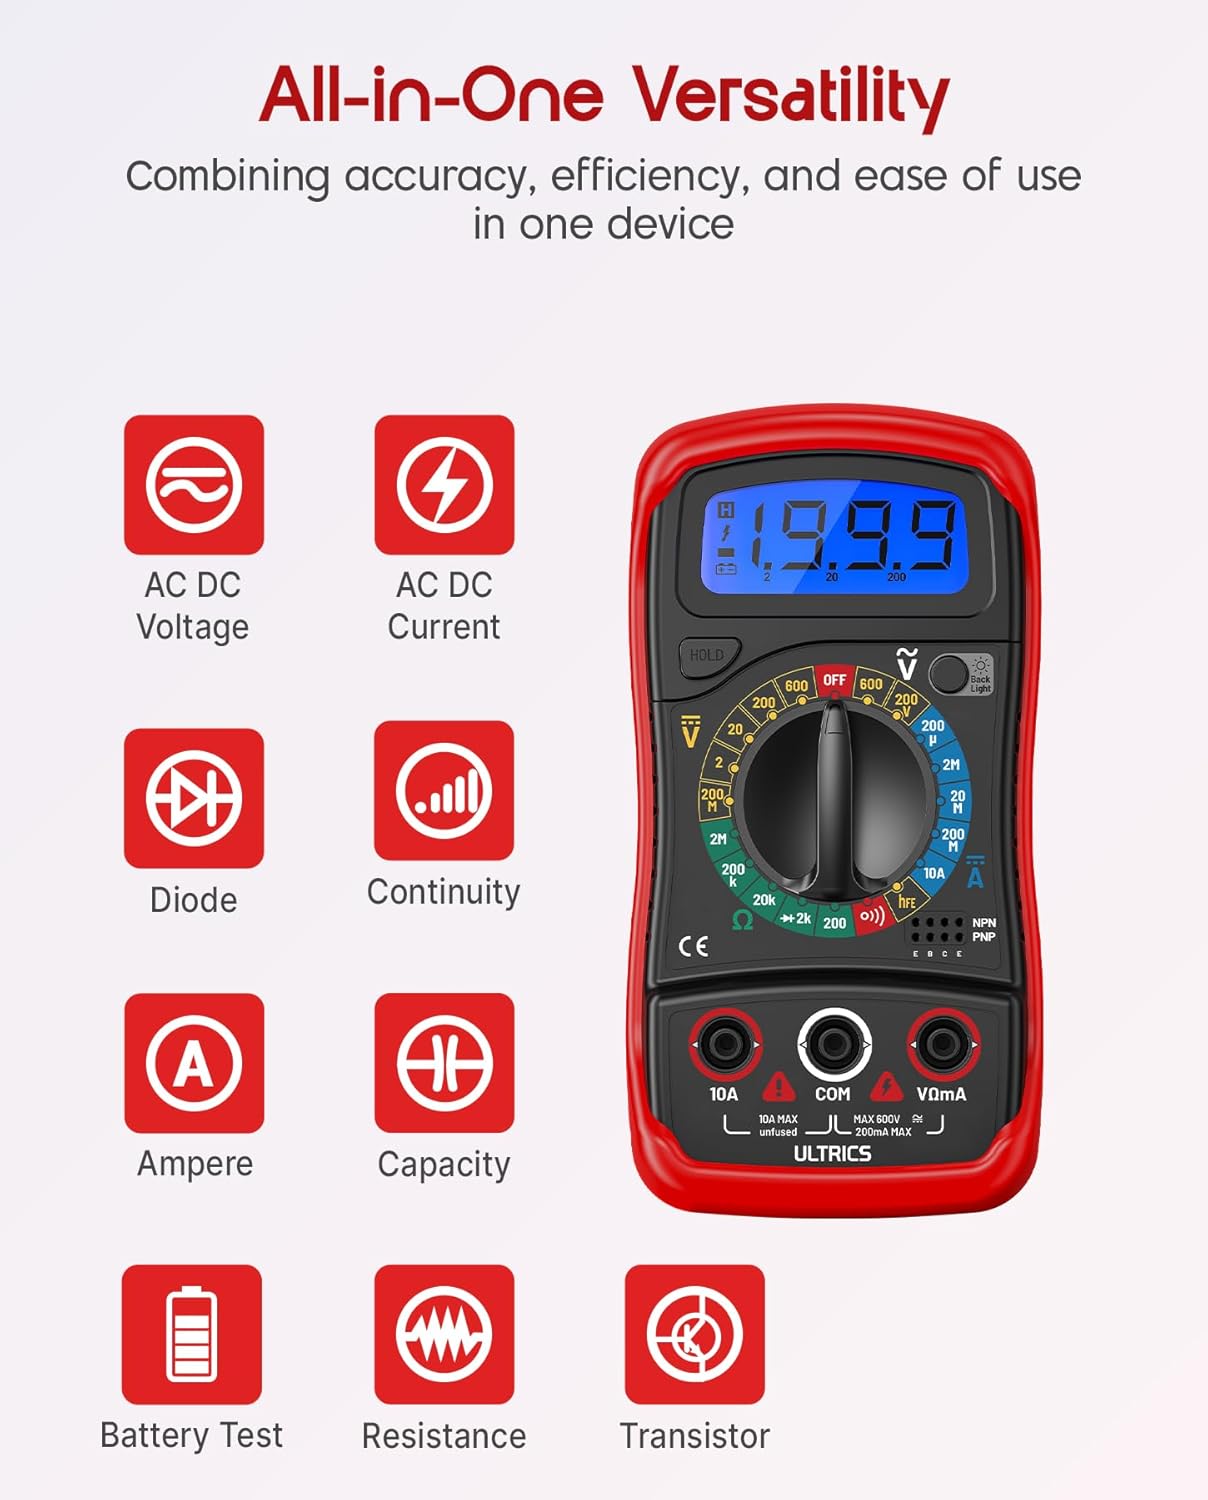
Image: Visual representation of the multimeter's versatile functions, including AC/DC Voltage, AC/DC Current, Diode, Continuity, Ampere, Capacity, Battery Test, Resistance, and Transistor measurements.
DC電圧の測定tage(VDC)
- 黒のテストリードをに接続します コム ジャックと赤いテストリードは VΩmA ジャック。
- Turn the function switch to the desired VDC range (e.g., 200mV, 2V, 20V, 200V, 600V). If unsure, start with the highest range and decrease as needed.
- 測定対象のコンポーネントまたは回路にテスト リード線を並列に接続します。
- 巻を読むtagLCDディスプレイのe値。
AC容量の測定tage(VAC)
- 黒のテストリードをに接続します コム ジャックと赤いテストリードは VΩmA ジャック。
- Turn the function switch to the desired VA range (e.g., 200V, 600V).
- テストリード線をAC電圧に並列に接続しますtag電子ソース。
- 巻を読むtagLCDディスプレイのe値。
Measuring DC Current (ADC)
注意: Never connect the multimeter in parallel when measuring current. Always connect it in series with the circuit. Improper connection can damage the multimeter or the circuit.
- 回路への電源をオフにします。
- For currents up to 200mA, connect the black test lead to the コム ジャックと赤いテストリードは VΩmA ジャック。
- For currents up to 10A, connect the black test lead to the コム ジャックと赤いテストリードは 10A ジャック。
- Turn the function switch to the desired アドバンスト range (e.g., 200µA, 2mA, 20mA, 200mA, 10A).
- Break the circuit and connect the multimeter in series with the circuit.
- 回路の電源をオンにします。
- LCDディスプレイで現在の値を読み取ります。
- Turn off power to the circuit before disconnecting the multimeter.
Measuring Resistance (Ω)
注意: Ensure the circuit is completely de-energized before measuring resistance. Measuring resistance on a live circuit can damage the multimeter.
- 黒のテストリードをに接続します コム ジャックと赤いテストリードは VΩmA ジャック。
- Turn the function switch to the desired Ω range (e.g., 200Ω, 2kΩ, 20kΩ, 200kΩ, 2MΩ, 20MΩ).
- 抵抗を測定するコンポーネントにテスト リード線を接続します。
- LCD ディスプレイで抵抗値を読み取ります。
導通テスト
The continuity test checks for a complete circuit path. An audible buzzer will sound if continuity is detected.
- 黒のテストリードをに接続します コム ジャックと赤いテストリードは VΩmA ジャック。
- 機能スイッチを 連続 (buzzer) position.
- テスト リード線を回路またはコンポーネントに接続します。
- 抵抗が約 50Ω 未満の場合はブザーが鳴り、導通を示します。
ダイオード試験
ダイオードテストは順方向電圧を測定するtagダイオードの電圧降下。
- 黒のテストリードをに接続します コム ジャックと赤いテストリードは VΩmA ジャック。
- 機能スイッチを ダイオード 位置。
- Connect the red test lead to the anode (+) and the black test lead to the cathode (-) of the diode.
- 前巻を読むtage drop on the LCD display. Reverse the leads; the display should show "OL" (Overload) for a good diode.
トランジスタhFEテスト
This function tests the DC current gain (hFE) of NPN and PNP transistors.
- 機能スイッチを hFE 位置。
- Identify the Emitter (E), Base (B), and Collector (C) leads of the transistor.
- Insert the transistor leads into the corresponding holes in the hFE socket on the multimeter, ensuring correct NPN or PNP type.
- LCD ディスプレイで hFE 値を読み取ります。
データホールド機能
を押す 所有 ボタンを押すと、ディスプレイ上の現在の測定値が固定されます。もう一度押すと、ホールドが解除され、測定値の表示が再開されます。
バックライト機能
を押す バックライト button to turn the LCD backlight on or off, improving visibility in dim environments.

画像: クローズアップ view of the multimeter's LCD display, demonstrating its bright backlight feature for enhanced readability in various lighting conditions.
メンテナンス
クリーニング
マルチメーターを掃除するには、ケースを水で拭いてください。amp cloth and a mild detergent. Do not use abrasives or solvents, as these may damage the casing またはディスプレイ。
バッテリー交換
When the low battery indicator appears on the display, replace the 9V battery as described in the "Installing the Battery" section to ensure continued accurate readings.
ヒューズの交換
If the current measurement function stops working, the fuse may need replacement. This multimeter is equipped with internal fuses for protection.
- Ensure the multimeter is OFF and all test leads are disconnected.
- 電池カバーと電池を取り外します。
- Carefully open the main casing (this may require removing additional screws, typically located under the rubber shell).
- Locate the fuse(s) on the circuit board. This model typically uses a 200mA/250V fuse for the mA range and a 10A/250V fuse for the 10A range.
- Replace the blown fuse with a fuse of the same type and rating. Never use a fuse with a different rating.
- Reassemble the multimeter, ensuring all screws are tightened and the casing is properly sealed.
ストレージ
If the multimeter is not used for a long period, remove the battery to prevent leakage and store the device in a cool, dry place, away from direct sunlight and extreme temperatures.
トラブルシューティング
| 問題 | 考えられる原因 | 解決 |
|---|---|---|
| 画面が表示されない、または画面が暗い | バッテリー切れまたはバッテリー残量不足 | 9V電池を交換してください。 |
| 「OL」(オーバーロード)表示 | Input value exceeds selected range; open circuit (for resistance/continuity) | Select a higher range; check for breaks in the circuit or component. |
| 誤った測定値 | Incorrect function/range selected; poor test lead connection; low battery | Verify function switch position and range; ensure leads are firmly connected; replace battery. |
| 電流測定が機能しない | ヒューズが切れた | 適切なヒューズを交換してください(メンテナンスのセクションを参照)。 |
| 導通ブザーなし | Open circuit; resistance too high | Ensure circuit is closed; check resistance value (buzzer typically activates below 50Ω). |
仕様
| 特徴 | 詳細 |
|---|---|
| モデル | Digital Multimeter D2 |
| 画面 | 3 ½ digit LCD, 1999 counts, with backlight |
| DCVol。tage | 200mV / 2V / 20V / 200V / 600V |
| ACVol。tage | 200V / 600V |
| 直流電流 | 200µA / 2mA / 20mA / 200mA / 10A |
| 抵抗 | 200Ω / 2kΩ / 20kΩ / 200kΩ / 2MΩ / 20MΩ |
| ダイオード試験 | はい |
| 連続ブザー | はい |
| トランジスタhFEテスト | はい |
| データ保持 | はい |
| 電源 | 9Vバッテリー |
| 安全性評価 | IEC CAT II 600V, CE, RoHS compliant |
| 寸法(長さ×幅×高さ) | 14.6 x 10 x 5 cm(5.75 x 3.94 x 1.97インチ) |
| 重さ | 240 グラム (0.53 ポンド) |
保証とサポート
ULTRICS provides a 12-month warranty for this product, covering manufacturing defects from the date of purchase. Please retain your proof of purchase for warranty claims.
For technical support, warranty claims, or any questions regarding your ULTRICS Digital Multimeter D2, please contact ULTRICS customer service through the retailer's platform or the official ULTRICS webサイトをご覧ください。サポートにお問い合わせの際は、購入の詳細とモデル番号をご用意ください。
メーカー: ウルトリックス
モデル番号: Digital Multimeter D2
ASIN: B0DYP62MW7