
導入
This manual provides detailed instructions for the safe and efficient use of your Canon PIXMA MegaTank G4780 All-in-One Printer. This device is designed for home and office use, offering print, scan, copy, and fax functionalities with high-yield ink tanks and wireless connectivity. Please read this manual thoroughly before using the printer and keep it for future reference.
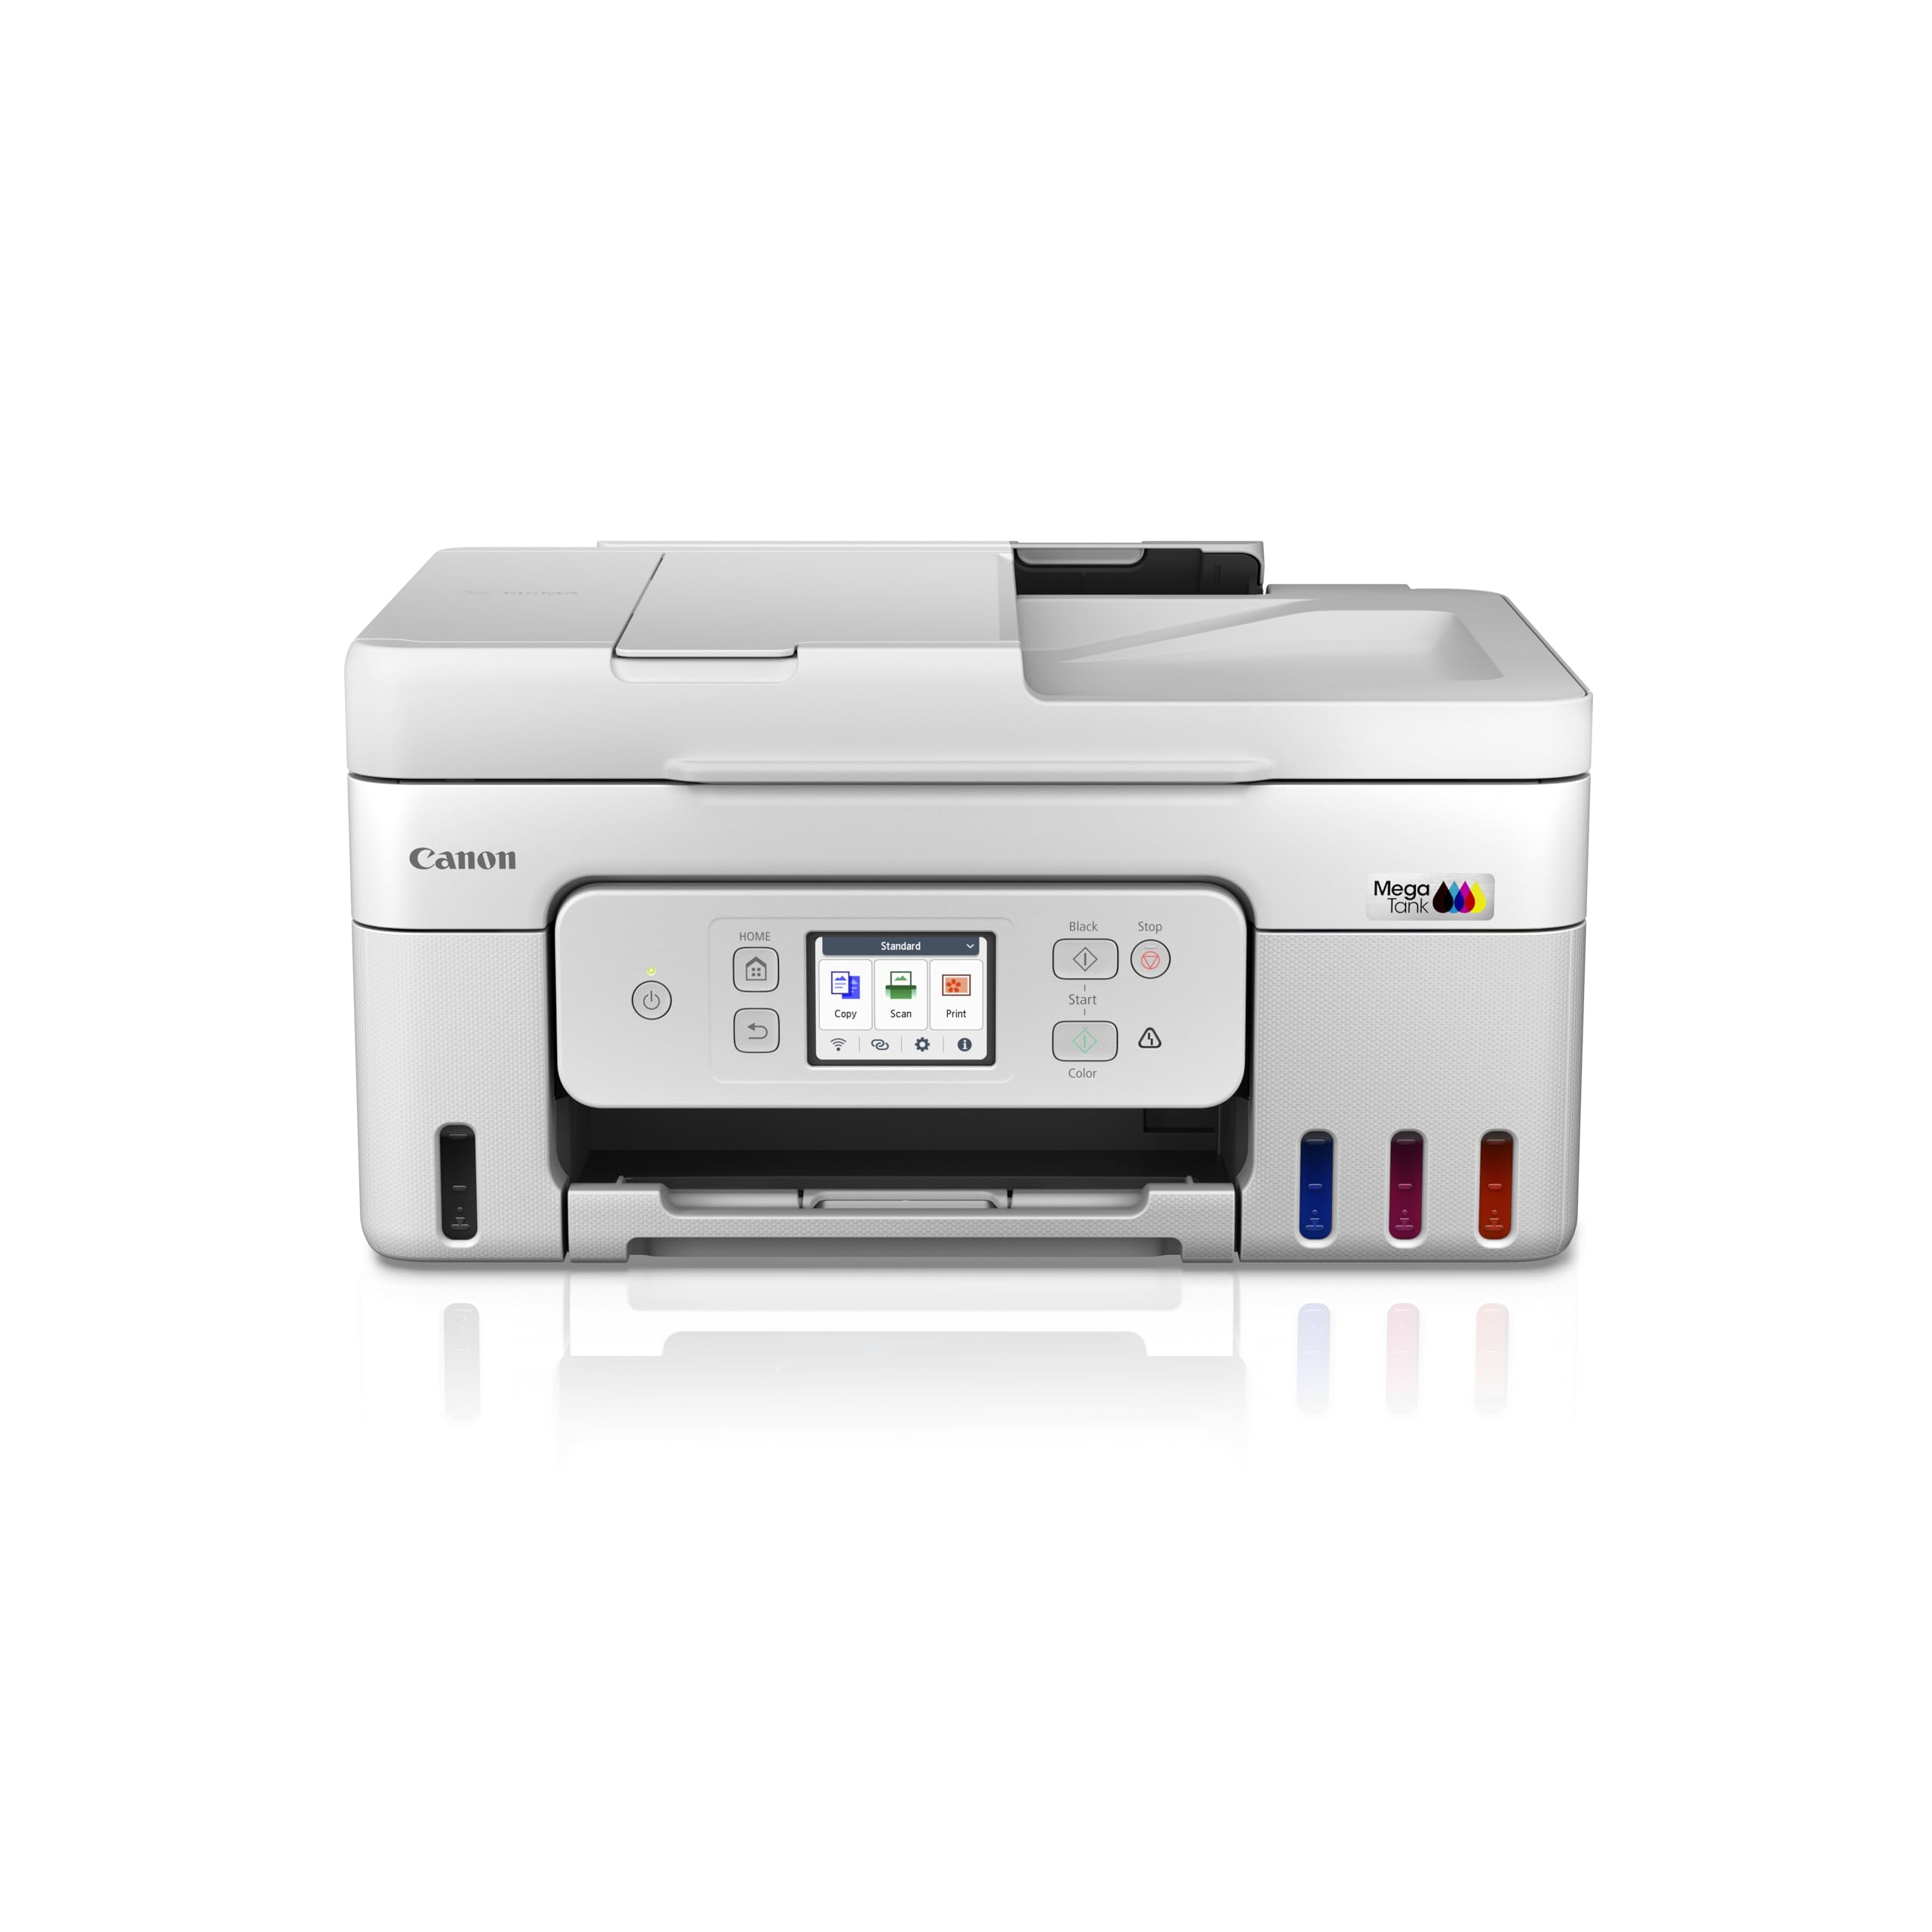
画像: 正面 view of the Canon PIXMA MegaTank G4780 All-in-One Printer, showing its compact design and front control panel.
1. セットアップ
1.1 開梱と初期準備
Carefully remove the printer and all accessories from the packaging. Ensure all protective tapes and packing materials are removed from the printer's exterior and interior. Refer to the quick start guide for visual instructions on tape removal.
1.2 インク充填
The PIXMA G4780 uses high-yield ink bottles. Follow these steps to fill the ink tanks:
- プリンターの前面にあるインクタンクのカバーを開きます。
- 対応するカラーインクボトル(ブラック、シアン、マゼンタ、イエロー)のキャップを外します。
- Align the bottle nozzle with the inlet of the correct ink tank and gently insert it. The ink will flow automatically. Do not squeeze the bottle.
- Once the tank is full, remove the bottle and recap it. Close the ink tank cover securely.
- すべての色について繰り返します。

Image: The Canon PIXMA G4780 printer displayed with its four high-yield ink bottles (Black, Cyan, Magenta, Yellow) ready for filling.
1.3 電源オンと初期設定
Connect the power cord to the printer and a wall outlet. Press the power button. Follow the on-screen instructions on the printer's display for initial setup, including language selection and date/time settings.
1.4 ソフトウェアとドライバーのインストール
Insert the provided installation CD into your computer or download the latest drivers and software from the official Canon website. Follow the on-screen prompts to install the necessary software for printing, scanning, and faxing functions.
1.5ワイヤレス接続
プリンターを Wi-Fi ネットワークに接続するには:
- プリンターのコントロール パネルで、Wi-Fi セットアップ メニューに移動します。
- リストからワイヤレス ネットワーク (SSID) を選択します。
- Enter the network password (WPA/WPA2 key).
- Confirm the connection. The Wi-Fi indicator on the printer will illuminate when connected.
The printer supports various wireless printing options including AirPrint, Mopria, Canon Print Service (Android), and Direct Wireless.

Image: A graphic illustrating three simple steps to get the printer ready: Establish Connection, Install Driver, and Ready To Print.
2. プリンターの操作
2.1 ドキュメントの印刷
Load paper into the rear tray or front cassette. From your computer or mobile device, select the Canon G4780 printer. Adjust print settings such as paper size, type, and quality. For double-sided printing, enable the 自動両面印刷 option in your printer settings to save paper and time.
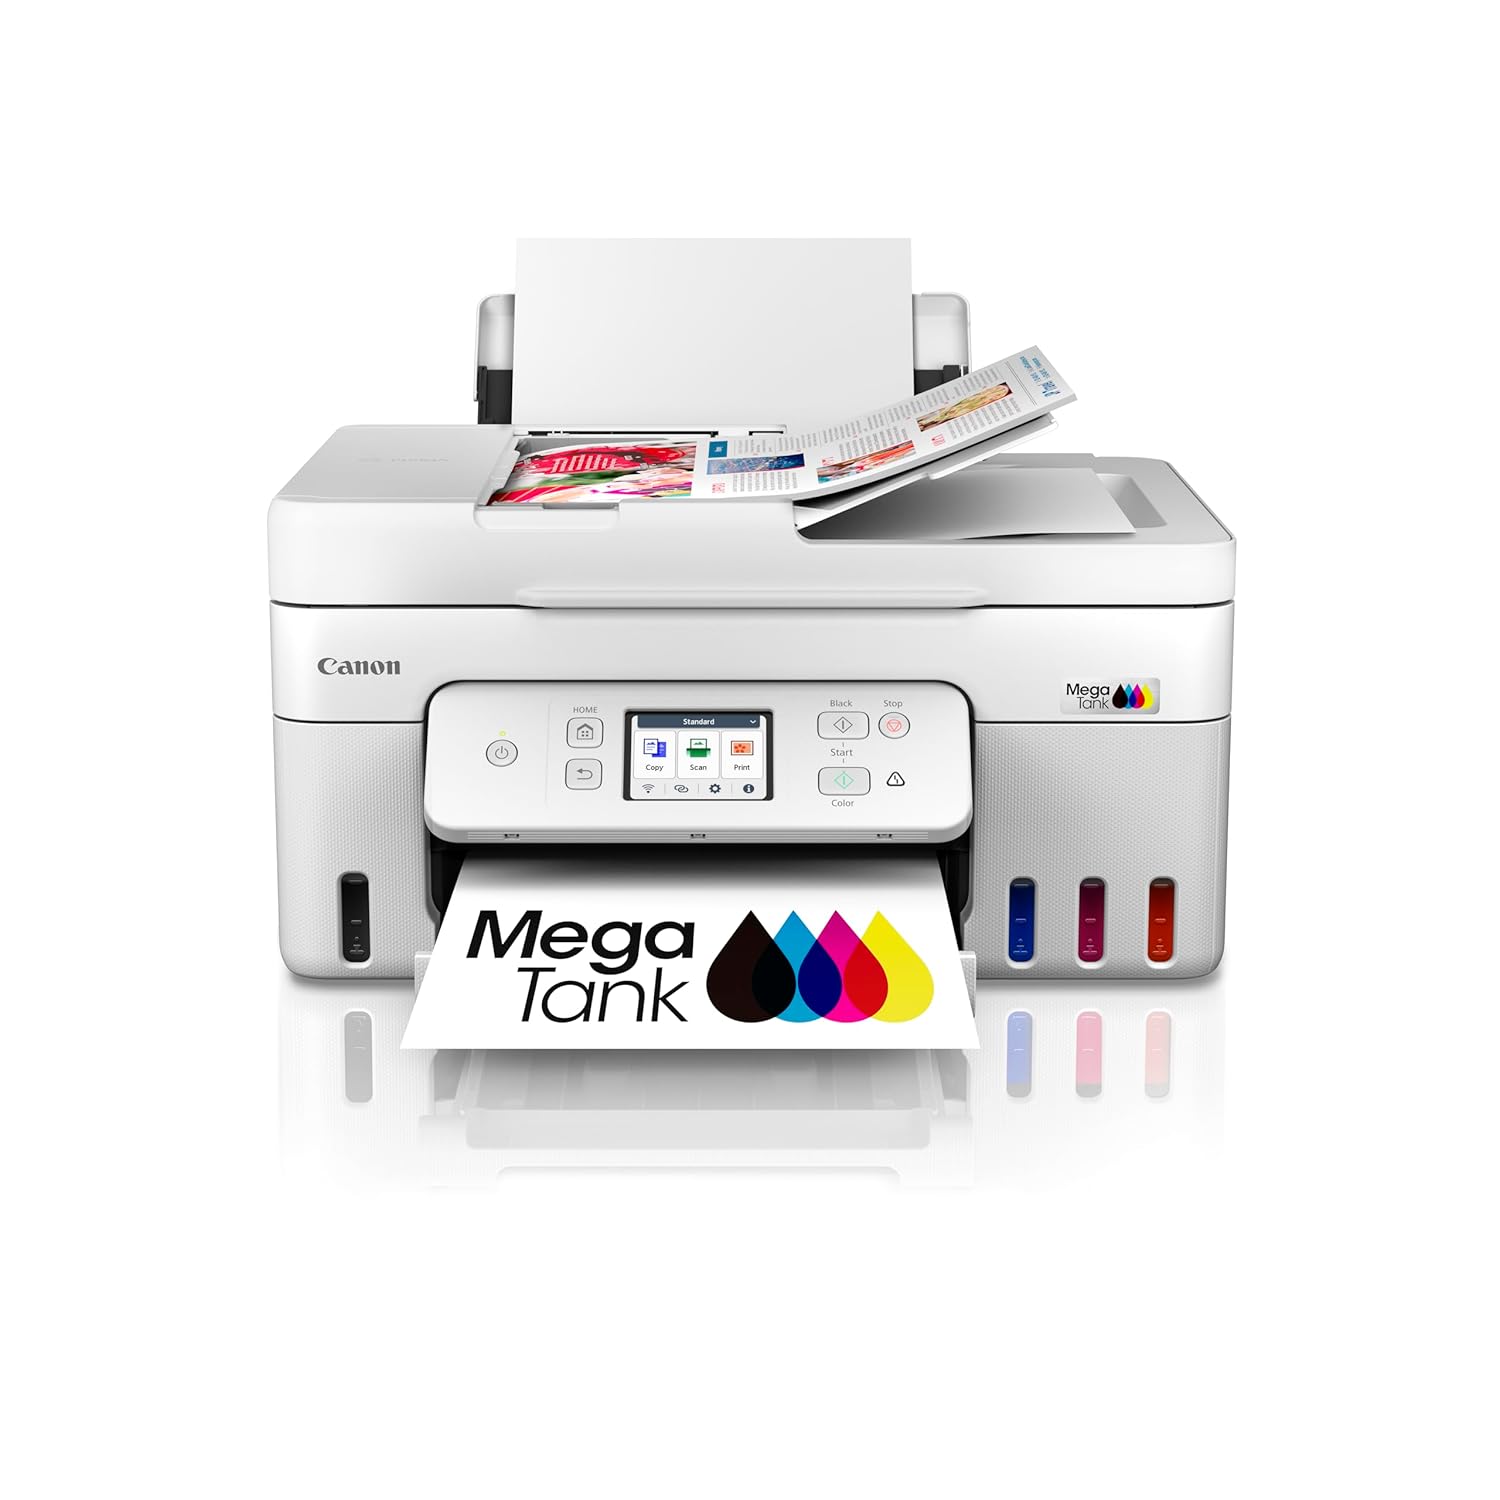
Image: The Canon PIXMA G4780 printer with paper loaded in the rear tray and a printed document emerging from the front output tray.
2.2 ドキュメントのスキャン
The printer features both a flatbed scanner and an Automatic Document Feeder (ADF).
- フラットベッドスキャン: Place the document face-down on the scanner glass. Use the Canon IJ Scan Utility software on your computer or the printer's control panel to initiate a scan.
- ADFスキャン: For multiple pages, load up to 35 sheets into the ADF tray. The ADF allows for quick batch scanning, copying, or faxing without manual page turning.
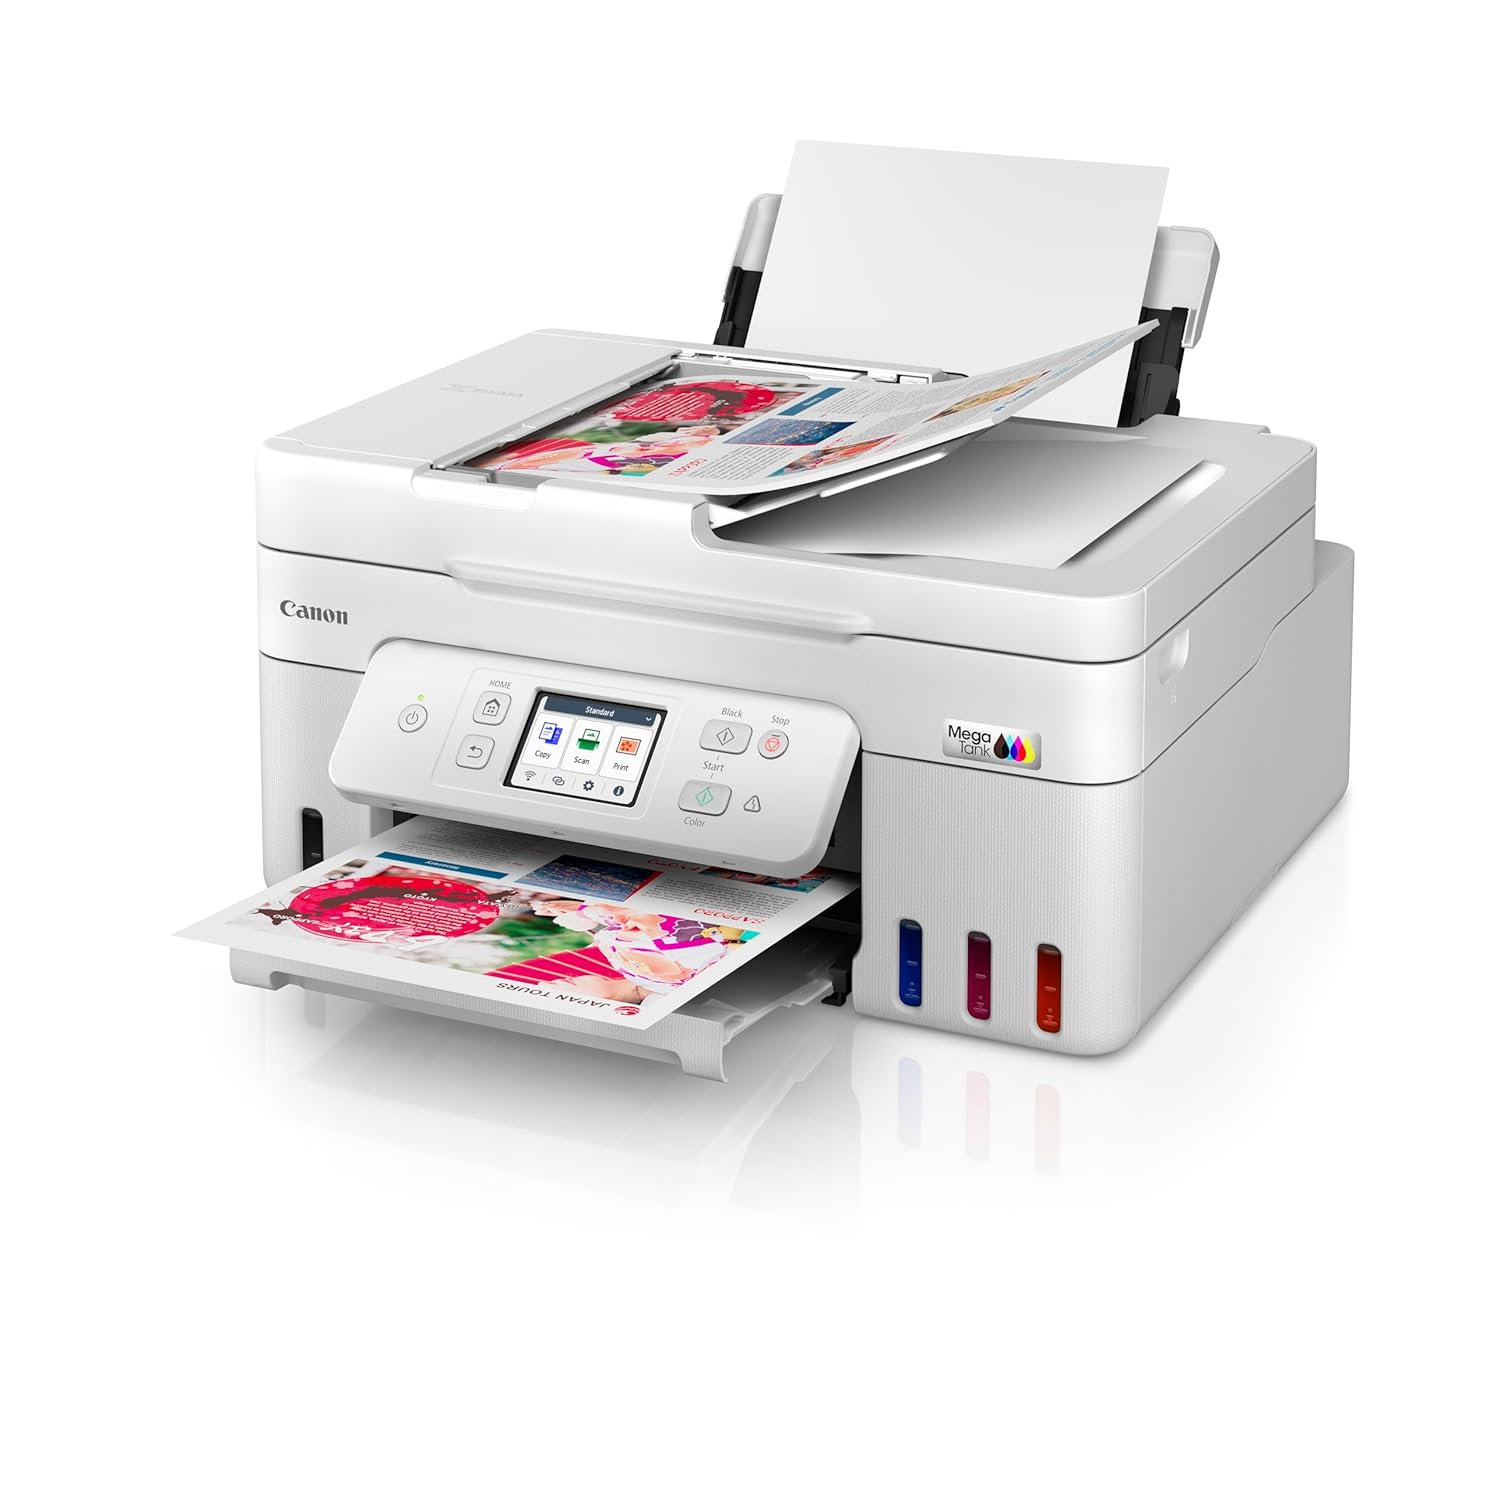
Image: The Canon PIXMA G4780 printer with multiple sheets of paper loaded into the Automatic Document Feeder (ADF) for scanning or copying.

Image: A graphic highlighting the Auto Document Feeder (ADF) for batch scanning and Auto Duplex Printing for automatic double-sided printing.
2.3 文書のコピー
Place your document on the scanner glass or in the ADF. On the printer's control panel, select the "Copy" function. Adjust settings such as number of copies, paper size, and copy quality. Press the Start button to begin copying.
2.4 文書のファックス送信
Load the document into the ADF or place it on the scanner glass. On the printer's control panel, select the "Fax" function. Enter the recipient's fax number and press the Start button. Ensure your printer is connected to a telephone line for fax functionality.
2.5 モバイル印刷とクラウド印刷
Utilize the Canon PRINT Inkjet/SELPHY app for seamless printing and scanning from your smartphone or tablet. The printer also supports cloud services, allowing you to print directly from various online platforms.

Image: A graphic illustrating the mobile and cloud printing capabilities, showing a smartphone connected wirelessly to the printer.
3. メンテナンス
3.1 インク残量の確認
Regularly check the ink levels through the printer's display panel or the Canon PRINT app. Refill ink tanks promptly when levels are low to prevent air from entering the ink tubes, which can affect print quality.

画像: グラフィックショーasing the high page yield ink bottles and stacks of printed pages, emphasizing cost-effective printing.
3.2 プリントヘッドのクリーニング
If print quality declines (e.g., streaks, faded colors), perform a print head cleaning. This can be done from the printer's maintenance menu or through the printer driver on your computer. A deep cleaning may be required for more stubborn clogs.
3.3 紙詰まりの解決
If a paper jam occurs, the printer's display will show an error message. Carefully open the printer covers and remove any jammed paper following the instructions on the screen or in the online manual. Avoid tearing the paper to prevent small pieces from remaining inside.
3.4一般的なクリーニング
プリンタの外側を柔らかくて乾いた布で拭いてください。amp 布で拭いてください。鮮明なスキャンとコピーを得るために、スキャナーのガラス面を定期的に清掃してください。研磨剤入りの洗剤や溶剤の使用は避けてください。
4。 トラブルシューティング
このセクションでは、Canon PIXMA G4780 プリンターで発生する可能性のある一般的な問題について説明します。
4.1 プリンターが応答しない
- プリンタの電源がオンになっており、コンピューターまたはネットワークに接続されていることを確認します。
- Check all cable connections (USB, power, network).
- プリンターとコンピューター/ルーターの両方を再起動します。
- アプリケーションの印刷ダイアログで正しいプリンターが選択されていることを確認します。
4.2 印刷品質が悪い
- インクレベルを確認し、必要に応じて補充してください。
- プリンターのメンテナンス メニューからプリント ヘッドのクリーニングとノズル チェックを実行します。
- 印刷ジョブに適切な用紙タイプと品質設定を使用していることを確認してください。
- If lines or streaks persist, a print head alignment may be required.
4.3 用紙送りの問題
- Ensure paper is loaded correctly and not exceeding the maximum capacity of the tray.
- 用紙がくっつかないように、セットする前に用紙の束をよくさばいてください。
- Check for any foreign objects or small paper scraps in the paper path.
4.4 Network Connection Problems
- Wi-Fi ルーターが正しく機能していることを確認します。
- プリンターが Wi-Fi ルーターの範囲内にあることを確認してください。
- プリンターのWi-Fiパスワードを再度入力します。
- Try connecting via USB temporarily to ensure the printer itself is functional.
5. 仕様
| 特徴 | 詳細 |
|---|---|
| モデル名 | ピクサス G4780 |
| 機能 | 印刷、スキャン、コピー、ファックス |
| 接続技術 | USB、Wi-Fi |
| 印刷技術 | インクジェット |
| プリンタ出力 | 色 |
| 最大印刷解像度(カラー) | 4800 x 1200 dpi |
| 最大印刷速度(モノクロ) | 11ppm |
| 最大印刷速度(カラー) | 6ppm |
| 両面印刷 | 自動 |
| 自動原稿送り装置(ADF) | はい |
| スキャナタイプ | シートフィード |
| アイテム重量 | 7500グラム |
| 商品の寸法(奥行き x 幅 x 高さ) | 奥行き36.3cm x 幅41.6cm x 高さ21.2cm |
| 箱の内容 | インクボトル |
6. 保証とサポート
6.1 保証情報
Your Canon PIXMA MegaTank G4780 printer comes with a 2-year or 30,000 prints (whichever is earlier) onsite warranty from the date of purchase. This warranty covers manufacturing defects only and includes print heads. Please retain your purchase receipt for warranty claims.
For warranty service, contact Canon India Pvt Limited. Their contact information is: 214-218, 2nd floor, Narain Manzil, Barakhamba Road, Connaught Place, New Delhi-110001, India.
6.2 カスタマーサポート
For technical assistance, troubleshooting, or service requests, please visit the official Canon support website or contact their customer service. Online resources often include FAQs, driver downloads, and detailed digital manuals.