
1.製品オーバーview
The QRD Junior E5 Wireless Controller is a compact and versatile gaming controller designed for a wide range of platforms, including Nintendo Switch, Switch Lite, Switch OLED, PC (Windows), Mac, iOS, and Android devices. Its ergonomic design and advanced features provide an enhanced gaming experience.

画像1.1:正面 view of two QRD Junior E5 Wireless Controllers.

Image 1.2: Back and front views of the QRD Junior E5 Wireless Controller, highlighting its design.
2. パッケージ内容
- QRD Junior E5 Wireless Controller (2 units for this package)
- USB-C充電ケーブル
- ユーザーマニュアル(このドキュメント)
3. セットアップと接続
3.1 コントローラの充電
初めて使用する前に、コントローラーを完全に充電してください。付属のUSB-Cケーブルをコントローラーの充電ポートに接続し、もう一方の端をUSB電源(例:ゲーム機、PC、USBウォールアダプター)に接続します。インジケーターライトが充電状態を示し、完全に充電されると消灯します。
3.2 Nintendo Switchへの接続
- On the Nintendo Switch HOME Menu, select コントローラー > グリップ/順序の変更.
- を押し続けます ホームボタン on the QRD Junior E5 controller for 3-5 seconds until the indicator lights start flashing rapidly.
- 接続されると、コントローラー上の対応するプレーヤー インジケーター ライトが点灯したままになります。
3.3 Connecting to PC (Windows/Mac)
The controller supports both wireless Bluetooth and wired USB-C connections for PC and Mac.
3.3.1 ワイヤレス Bluetooth 接続
- Ensure your PC/Mac has Bluetooth enabled.
- On your PC/Mac, go to Bluetooth settings and search for new devices.
- を押し続けます ホームボタン on the QRD Junior E5 controller for 3-5 seconds until the indicator lights start flashing rapidly.
- Select "QRD Controller" or similar from the list of available devices to pair.
- The controller supports X入力 for PC games.
3.3.2 有線USB-C接続
Connect the controller to your PC/Mac using the provided USB-C cable. The controller will be automatically recognized, and no driver installation is required.
3.4 iOS/Androidデバイスへの接続
- Enable Bluetooth on your iOS/Android device.
- を押し続けます ホームボタン on the QRD Junior E5 controller for 3-5 seconds until the indicator lights start flashing rapidly.
- 検索する "QRD Controller" or similar in your device's Bluetooth settings and pair.
4. 操作手順と機能
4.1 基本的な制御
The QRD Junior E5 controller features standard button layouts including A/B/X/Y buttons, D-pad, Left/Right joysticks, L/R/ZL/ZR triggers, Home button, and +/- buttons.
4.2 ターボ機能
The TURBO function allows for continuous or automatic rapid firing of buttons. This feature can be customized for different games and play styles.
- To set TURBO: Press and hold the desired action button (e.g., A) and then press the TURBOボタン once. The button will now continuously fire when held.
- To set Auto-TURBO: Press and hold the desired action button and then press the TURBOボタン a second time. The button will automatically fire without being held.
- To clear TURBO: Press and hold the desired action button and then press the TURBOボタン 三度目。
- TURBO速度の調整: を押す TURBOボタン そして Up/Down D-pad simultaneously to cycle through speeds: 8 times/sec, 15 times/sec, 25 times/sec.

Image 4.1: Illustration of the Turbo function for rapid actions in games.
4.3 6軸ジャイロモーションセンサー
The controller is equipped with an advanced 6-axis gyro motion sensor, allowing for precise viewpoint and tilt operations in compatible games. Tilt, turn, and twist the controller to interact with game environments dynamically.

Image 4.2: Demonstrating the 6-Axis Gyro motion sensor capability.
4.4 調整可能な振動フィードバック
Dual vibration motors provide immersive haptic feedback. The vibration intensity can be adjusted to suit personal preference and game requirements.
- Vibration modes: 0% (no vibration), 30% (weak), 70% (medium), and 100% (strong).
- To adjust vibration: Press the バイブレーションボタン (if present, or a combination like TURBO + Left/Right joystick click) to cycle through intensity levels. Refer to the quick start guide for specific button combinations.

Image 4.3: Visual representation of the adjustable vibration feature.
5. メンテナンスとケア
- コントローラーは乾燥した場所に保管し、極端な温度から遠ざけてください。
- コントローラーは柔らかく乾いた布で拭いてください。刺激の強い化学薬品や研磨剤は使用しないでください。
- コントローラーを落としたり、強い衝撃を与えたりしないでください。
- 損傷を防ぐために、使用していないときはコントローラーを安全な場所に保管してください。
6。 トラブルシューティング
6.1 コントローラーが接続されない
- コントローラーが完全に充電されていることを確認してください。
- Verify Bluetooth is enabled on your device (Switch, PC, Mac, iOS, Android).
- コントローラーがペアリング モードになっていることを確認します (インジケーター ライトが高速で点滅します)。
- コントローラーと接続しようとしているデバイスの両方を再起動してみてください。
- Switch に接続する場合は、「グリップ/順序の変更」画面が表示されていることを確認してください。
- For PC/Mac, try a wired USB-C connection to rule out Bluetooth issues.
6.2 入力遅延またはボタンの反応がない
- コントローラーが接続されたデバイスの範囲内にあることを確認します。
- 他のワイヤレス デバイスからの干渉がないか確認してください。
- Confirm the controller is fully charged. Low battery can affect performance.
- コントローラーとゲーム/デバイスを再起動します。
6.3 Vibration Not Working or Incorrect
- Check the vibration settings on the controller (refer to section 4.4) to ensure it's not set to 0%.
- プレイしているゲームが振動フィードバックをサポートしていることを確認します。
- コントローラーのファームウェアが最新であることを確認します(該当する場合は、製造元の web地点)。
7. 仕様
| モデル | Junior E5 |
| ブランド | QRD |
| 接続性 | Wireless Bluetooth, Wired USB-C |
| 互換性 | Nintendo Switch, Switch Lite, Switch OLED, PC (Windows), Mac, iOS, Android |
| 入力モード | X-input (PC), Switch-input (Nintendo Switch) |
| 特集 | 6-Axis Gyro Motion Sensor, Adjustable Vibration, TURBO Function |
| 寸法(約) | 5 x 3.31 x 2.13 インチ (12.7 x 8.4 x 5.4 cm) |
| 重量(約) | 1.06ポンド(0.48kg) |
| バッテリー | 2 Nonstandard Battery batteries required (internal, rechargeable) |

Image 7.1: Physical dimensions of the QRD Junior E5 Wireless Controller.
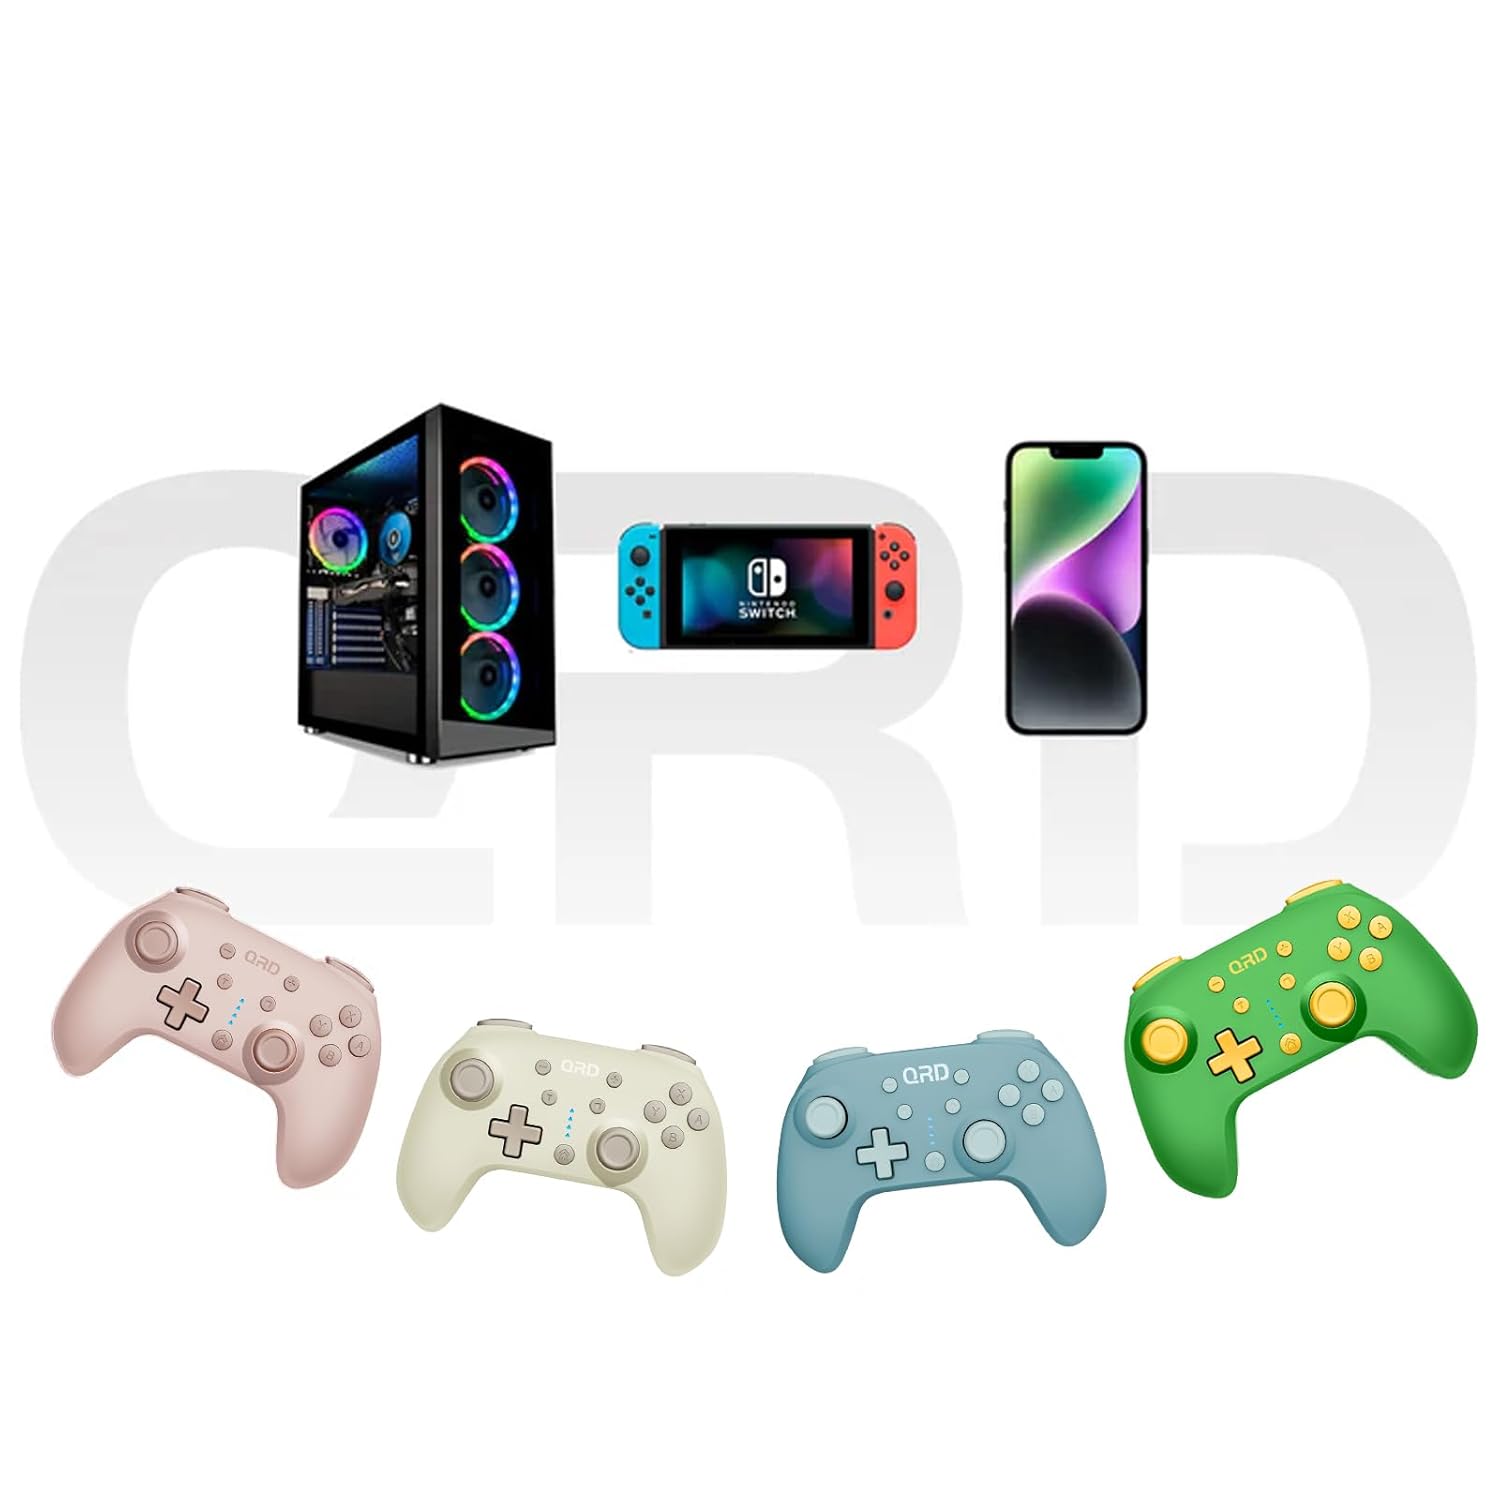
Image 7.2: Multi-platform compatibility of the QRD Junior E5 Wireless Controller.
8. 保証とサポート
QRD products are designed for reliability and performance. For warranty information, technical support, or service inquiries, please refer to the contact information provided with your purchase or visit the official QRD webサイトでご確認ください。保証請求のために購入証明書を保管してください。
さらにサポートが必要な場合は、 QRD Store on Amazon.