1. はじめに
This manual provides detailed instructions for the installation, operation, and maintenance of your WEILAILIFE Outdoor Wired Security Camera System. This system features an integrated 10.1-inch Full HD IPS display, four 5.0MP wired HD-Analog cameras, and a 500GB hard drive for local storage.
The system is designed for comprehensive surveillance, offering features such as PIR motion detection with red and blue flashing LEDs, 122° ultra wide-angle coverage, 90ft night vision, and remote view「正直なView" app without monthly fees.
2. 箱の中身
パッケージにすべてのコンポーネントが含まれていることを確認します。
- Monitor 8-Channel 5.0MP DVR with Pre-installed 500GB Hard Drive (x1)
- 5.0MP Wired HD-Analog Camera (x4)
- カメラ用 2 in 1 ケーブル 60 フィート (x4)
- DC12V2A Power Supply for DVR (x1)
- リモコン(x1)
- 1m LAN Cable (x1)
- HDMIケーブル(1本)
- USBマウス(x1)
- Separation Power Cord 1-to-4 (x1)
- Screw Kits (x4)
- ユーザーマニュアル (x1)
- Security Sticker (x1)

図2.1: パッケージ内容
3. セットアップとインストール
3.1カメラの設置
Follow these steps to install the cameras:
- ドリル穴のマーキング: Position the camera in the desired location. Use a marker to indicate the positions for drilling the mounting holes.
- 掘削: マークされた位置にドリルで穴を開けます。
- Inserting Wall Anchors: Insert the provided wall anchors into the drilled holes to ensure a secure fit for the screws.
- Securing the Camera: Align the camera base with the wall anchors and secure it using the provided screws.
Video 3.1: Camera Installation Guide. This video demonstrates the physical installation process of the WEILAILIFE security camera, including marking, drilling, and securing the camera to a wall.
3.2 DVR接続
Connect the DVR (Digital Video Recorder) to power, network, and display:
- 電源接続: Connect the DC12V2A power supply to the DVR's power input and plug it into an electrical outlet.
- ネットワーク接続: Connect one end of the LAN cable to the DVR's Ethernet port and the other end to your router.
- ディスプレイ接続: Connect the HDMI cable from the DVR's HDMI output to an HDMI input on your monitor or TV. Alternatively, use a VGA cable for VGA displays.
- USBマウス: Connect the USB mouse to one of the DVR's USB ports for navigation.
- カメラ接続: Connect each camera to the DVR using the provided 2-in-1 cables. Ensure secure connections for both video (BNC) and power (DC connector). Use the separation power cord if multiple cameras share a single power adapter.
Video 3.2: DVR Connection Setting. This video illustrates the correct wiring and connection procedures for the DVR unit, including power, network, display, and camera inputs.
3.3 Initial Setup and App Configuration
After connecting all hardware, power on the DVR. The system will boot up and display on the connected monitor. For remote viewing and advanced settings, download and configure the "HonestView" アプリ:
- アプリをダウンロードする: 無料の「HonestView「」アプリをApp Store(iOS)またはGoogle Playストア(Android)からダウンロードしてください。
- デバイスを追加: Open the app, tap the "+" icon to add a new device.
- QRコードをスキャンします: Scan the QR code displayed on the DVR monitor or located on the DVR unit itself.
- ネットワークセットアップ: Follow the on-screen prompts to complete the network setup.
- ライブ View: 接続したら、再生ボタンをタップしてライブを開始します viewing from your cameras.
Video 3.3: CCTV Camera System App Setup. This video guides users through the process of setting up the security camera system with the mobile application, including device pairing and live view アクティベーション。
4. システムの操作
4.1 ライブモニタリング
The integrated 10.1-inch Full HD IPS display provides a clear view of all camera feeds. You can also monitor live footage remotely via the "HonestView「」アプリをスマートフォン、PC、タブレットでご利用ください。
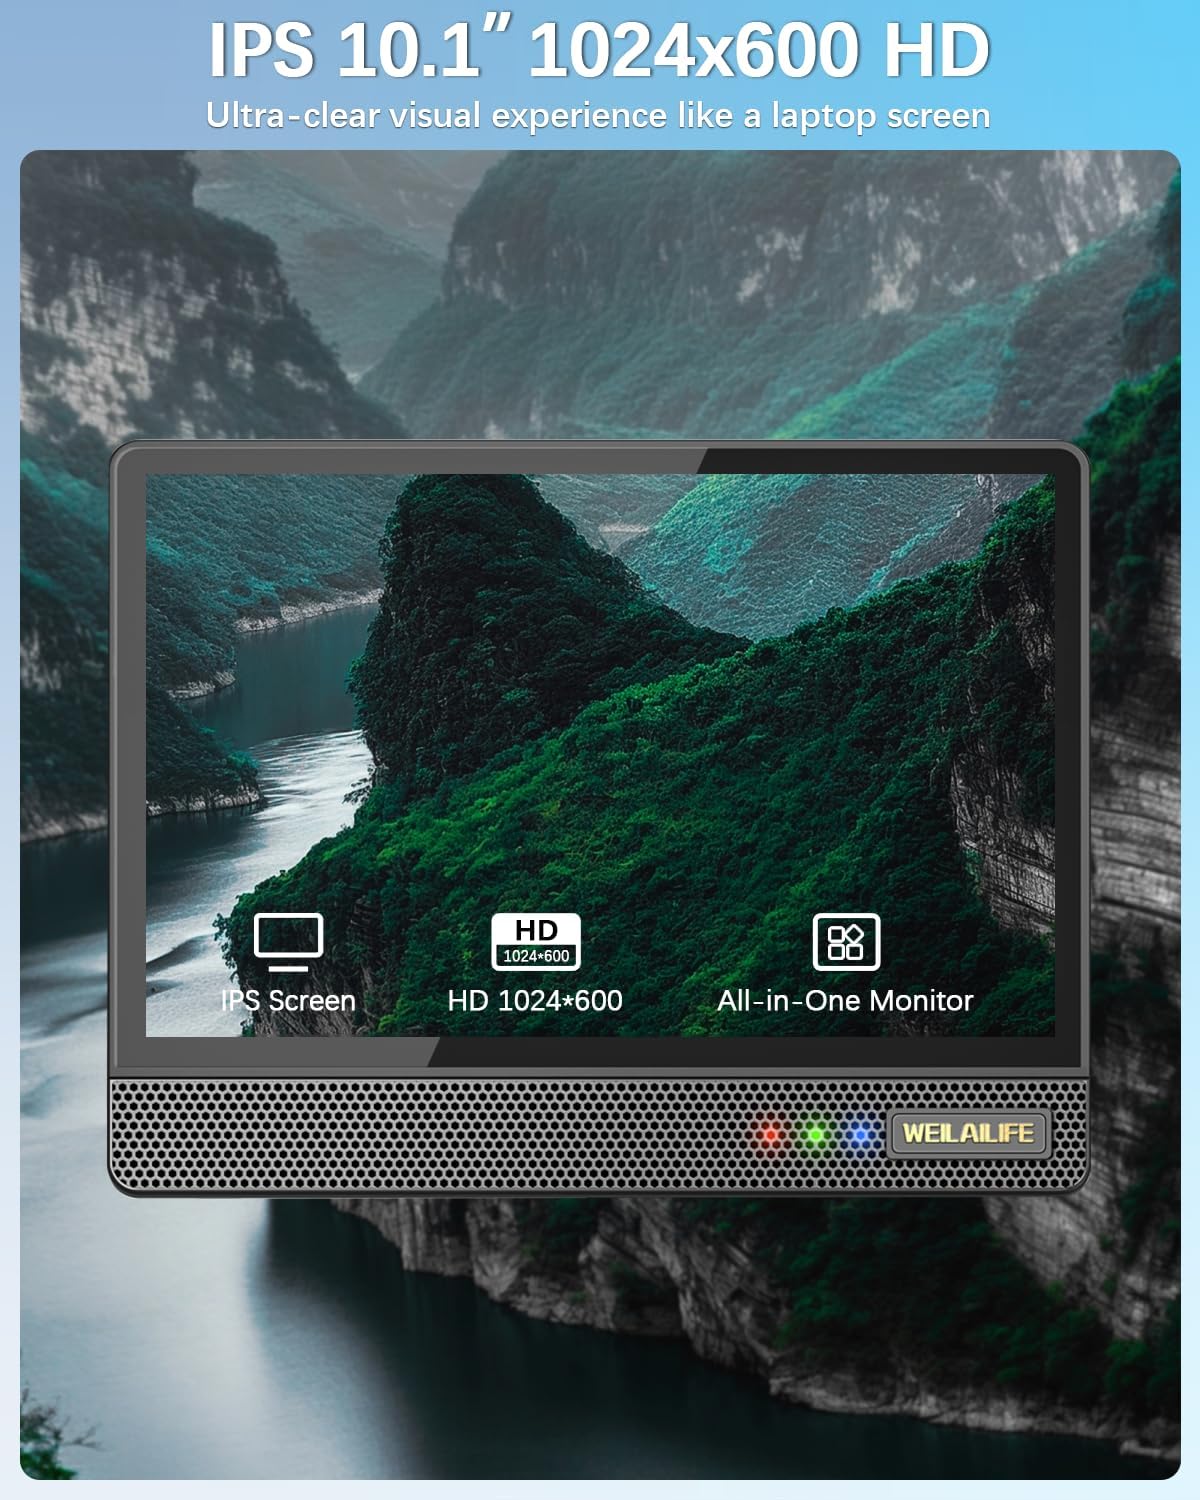
Figure 4.1: 10.1-inch Full HD IPS Monitor Display
4.2 動きの検出とアラート
The system features PIR motion detection. When motion is detected, the cameras activate red and blue flashing LEDs for 15 seconds to deter potential intruders. The system can also send email alerts and app notifications, and trigger recording.
- カスタマイズ: You can customize the motion detection area, sensitivity, and time within the DVR settings or the "HonestView" アプリ。
- AI WDR機能: The AI WDR (Wide Dynamic Range) function enhances image clarity by balancing bright and dark areas in surveillance footage, ensuring details are visible in challenging lighting conditions.

Figure 4.2: Red & Blue Flashing LEDs in Action

Figure 4.3: PIR Motion Detection Zones

Figure 4.4: AI WDR Function
4.3 録音モード
システムは監視ニーズに合わせて複数の録画モードをサポートしています。
- 動き検出記録: 動きが検知されたときのみ録画し、ストレージスペースを節約します。
- スケジュールの記録: Records continuously during specified time periods.
- 手動録音: Allows you to start and stop recording manually.

図4.5: 複数の記録モード
4.4 ナイトビジョン
The cameras are equipped with 90ft Super Night Vision, utilizing enhanced 2 Array Infrared Light and an Auto IR-Cut Filter for clear black-and-white video even in complete darkness.
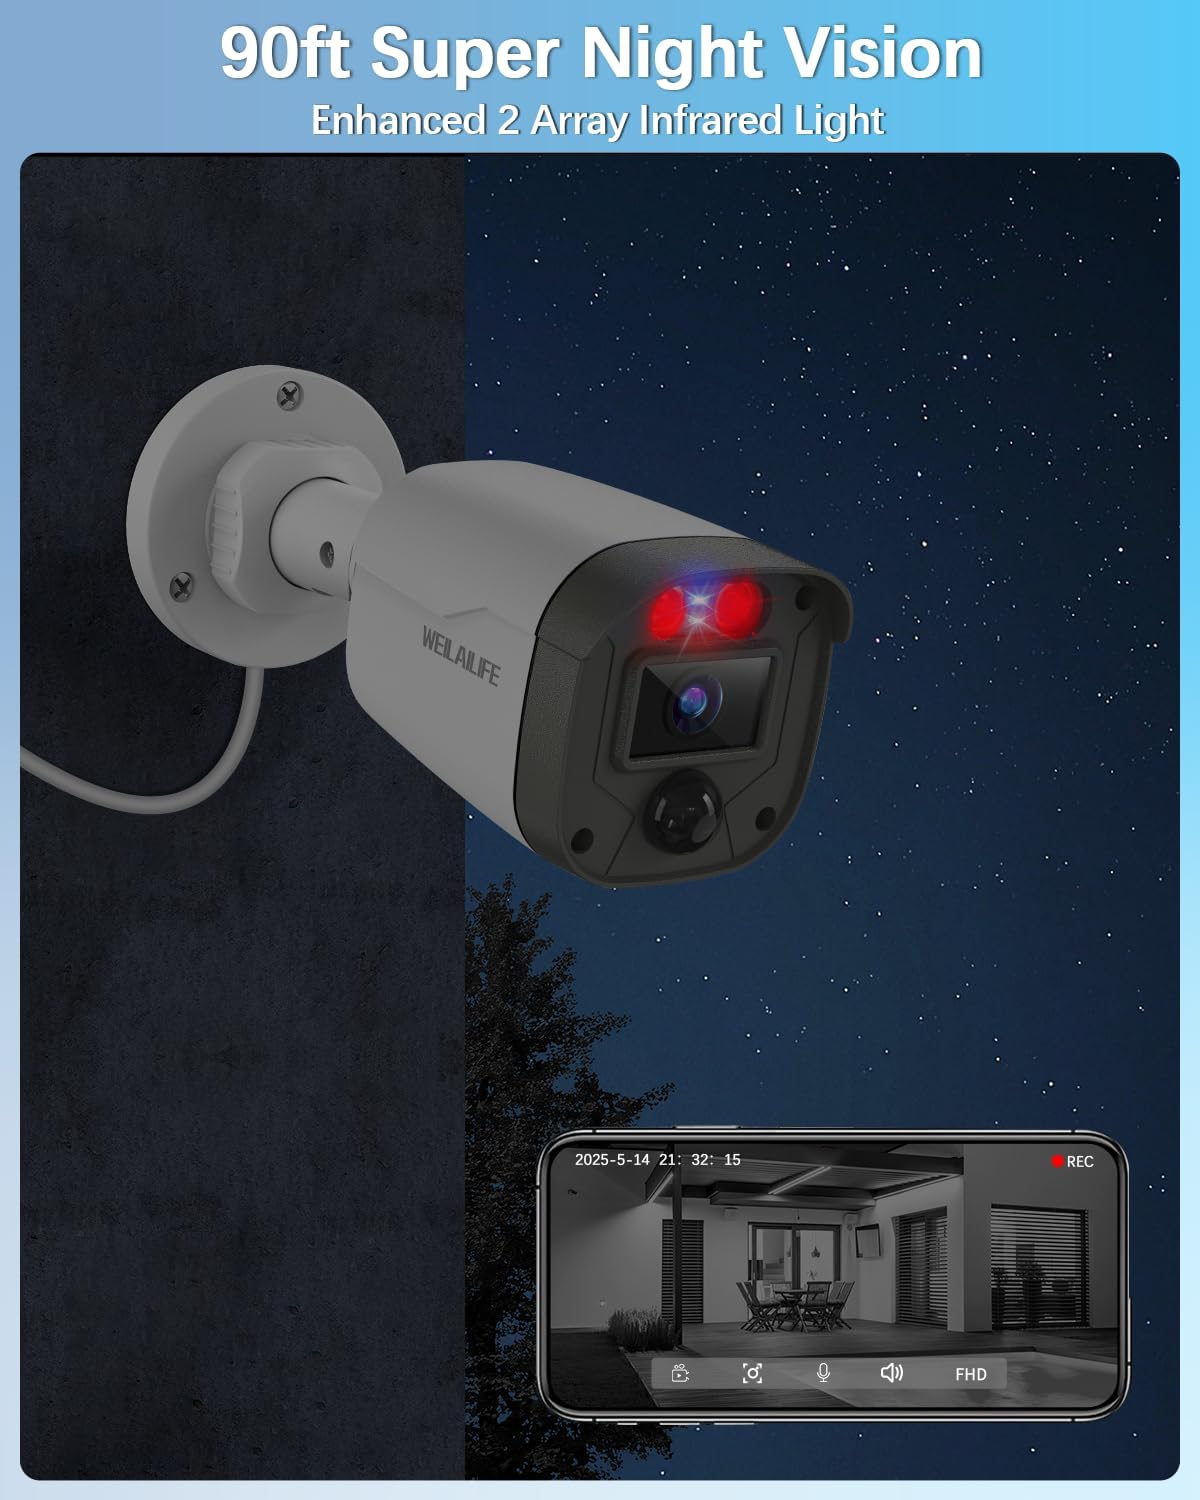
Figure 4.6: 90ft Super Night Vision
4.5 双方向オーディオ
While the product description mentions two-way audio in a customer review, specific details on its operation are not provided in the product features. If available, this feature typically allows you to speak through the camera's speaker and hear audio from the camera's microphone via the mobile app.
5. メンテナンス
5.1 耐候性
The outdoor cameras are IP67 waterproof, ensuring reliable operation in various weather conditions including rain, snow, and extreme temperatures ranging from -20°C (-5°F) to 60°C (140°F).

図5.1: IP67防水カメラ
5.2一般的なケア
- カメラのレンズは定期的に柔らかくてきれいな布で拭いてください。amp 鮮明な画質を確保するための布。
- Ensure all cable connections remain secure and free from damage.
- Keep the DVR unit in a well-ventilated area to prevent overheating.
6。 トラブルシューティング
このセクションでは、発生する可能性のある一般的な問題に対する解決策を示します。
- ビデオ信号なし: Check all cable connections (power, video, HDMI/VGA) to ensure they are secure. Verify that the cameras are powered on.
- 画質が悪い: Clean camera lenses. Ensure there are no obstructions in the camera's field of view. Adjust camera position if necessary.
- 動き検出が機能しない: Verify motion detection settings in the DVR or app. Adjust sensitivity and detection areas. Ensure the PIR sensor is not obstructed.
- リモート View問題: Check your internet connection and router settings. Ensure the DVR is connected to the network and the "HonestView" app is properly configured and updated.
- DVRが録画しない: Check hard drive status in DVR settings. Ensure sufficient storage space is available. Verify recording schedules and motion detection settings.
7. 仕様
| 特徴 | 詳細 |
|---|---|
| ブランド | ワイライライフ |
| モデル番号 | WE-44500 |
| 接続技術 | HDアナログ、有線 |
| ビデオキャプチャ解像度 | 2536 x 1944p、5.0メガピクセル |
| 特集 | 10" Full HD IPS Screen, 90ft Night Vision, AI WDR Function, Human Detection, Red & Blue Flashing LEDs |
| チャンネル数 | 8(システムには4台のカメラが含まれます) |
| メモリストレージ容量 | 500 GB (Pre-installed) |
| 色 | 白 |
| 電源 | コード式電気 |
| 商品の寸法 (長さ x 幅 x 高さ) | 13 x 11 x 7インチ |
| オペレーティング·システム | リナックス |
| 推奨用途 | 屋内、屋外 |
| 対応デバイス | カメラ、パソコン、スマートフォン、テレビ、タブレット |
| その他のカメラ機能 | 122° Wide-Angle, 90ft Super Night Vision, Motion Detection |
| 低照度テクノロジー | 自動IRカットフィルターと赤外線LEDを備えた90フィートのナイトビジョン |
| 暗視範囲 | 90フィート |
| フレームレート | 15fps |
| 録画モード | イベント、スケジュール |
| USBポート合計 | 2 |
| ハードウェアインターフェイス | HDMI、USB 2.0 |
| レンズタイプ | 広角 |
| ビデオ入力 | HD-Analog Cameras, RJ45 |
| View角度 | 122度 |
| メーカー | ワイライライフ |
| スマートホームの互換性 | Smart Home Compatible |
| アイテム重量 | 11.05ポンド |
8. 保証とサポート
Specific warranty details are not provided in the product information. Please refer to the warranty card included in your package or contact WEILAILIFE customer support for information regarding warranty coverage and technical assistance.
For customer support, please visit the official WEILAILIFE website or use the contact information provided in your product documentation.