
1.製品オーバーview
This manual provides instructions for the installation and use of the SDYYDS 68064995AA Coolant Temperature Sensor Connector. This connector is designed as a replacement wiring harness for various Chrysler and Dodge vehicles, ensuring proper connection to the coolant temperature sensor.
1.1. 含まれるもの
- 1 Pc Connector - Coolant Temp Sensor wiring harness
- 2 Pcs Terminals

Image 1.1: The SDYYDS 68064995AA Coolant Temperature Sensor Connector, including the wiring harness and two terminals.
2. 仕様
| 部品番号 | 68064995AA, PT2427, 1P2227, S2442 |
| モデル番号 | SD55-505 |
| ハーネスの長さ | 7.87インチ(約20cm) |
| コネクタサイズ | 約3.6×2.0×2.0cm |
| 材料 | Silicon, Copper, Plastic (Tinned Copper Wires) |
| 上限温度定格 | 摂氏125度 |
| 測定精度 | ±1.5°C (for sensor, not connector itself) |

Image 2.1: Visual representation of the connector's wire length and overall dimensions.

Image 2.2: Detail of the tinned copper wiring, highlighting resistance to humidity and high temperatures.
3. 互換性
This connector is compatible with the following vehicle models. Please verify your vehicle's specific requirements and existing part numbers before installation.
3.1. Chrysler Models
- Chrysler 200 (2011-2017)
- Chrysler 300 (2008-2023)
- Chrysler Aspen
- Chrysler Grand Caravan
- クライスラー パシフィカ
- クライスラー・セブリング
- クライスラー タウン&カントリー
3.2. Dodge Models
- ダッジ アベンジャー
- Dodge Challenger (2008-2023)
- ダッジ チャージャー (2008-2023)
- ダッジダコタ
- ダッジ・ダート
- ダッジ デュランゴ
- ダッジ グランドキャラバン
- Dodge Journey (2009-2019)
- ダッジ ナイトロ
- Dodge Ram 1500, 2500, 3500
3.3. Jeep and Ram Models
- ジープ チェロキー
- ジープコマンダー
- ジープ コンパス
- ジープ グランドチェロキー L
- ジープ グランドワゴニア
- ジープ リバティ
- ジープ レネゲード
- ジープ ワゴニア
- ジープ ラングラー
- Ram 1500, 1500 Classic, 2500, 3500, 4500, 5500
- Ram C/V
- Ram Dakota
- Ram ProMaster 1500, 2500, 3500
4. セットアップとインストール
安全警告:
Always disconnect the vehicle's battery before performing any electrical work. Ensure the engine is cool to avoid burns from hot coolant or engine components. If you are unsure about any step, consult a qualified automotive technician.
4.1.必要なツール
- ワイヤーストリッパー/クリンパー
- Heat gun (for heat shrink terminals, if used)
- マルチメーター(テスト用、オプションだが推奨)
- Basic hand tools (e.g., screwdriver, wrench, depending on sensor access)
4.2. インストール手順
- センサーを見つけます。 Identify the coolant temperature sensor on your vehicle. Its location can vary by make and model, often found near the thermostat housing or on the engine block.
- バッテリーを外します: 電気的なショートを防ぐために、車両のバッテリーのマイナス端子を外してください。
- Access Old Connector: Carefully disconnect the old coolant temperature sensor connector. Inspect the existing wiring for any damage.
- ワイヤーを準備する: If replacing the connector, cut the old connector off, leaving enough wire length to work with. Strip approximately 1/4 to 1/2 inch of insulation from the ends of the vehicle's wires and the new connector's wires.
- 新しいハーネスを接続します:
- Match the wire colors of the new connector to the vehicle's existing wiring. While standard colors exist, always verify with a wiring diagram for your specific vehicle if available.
- Use the provided terminals (or appropriate connectors) to securely join the wires. Crimp the terminals firmly onto the stripped wire ends.
- For a robust connection, consider soldering the wires and then using heat-shrink tubing over the connections to protect them from moisture and corrosion.
- 安全な接続: Ensure all connections are tight and insulated. Avoid any exposed wire.
- Connect to Sensor: Plug the new connector securely onto the coolant temperature sensor.
- バッテリーを再接続します: 車両のバッテリーのマイナス端子を再接続します。
- テストシステム: Start the vehicle and monitor the coolant temperature gauge or diagnostic system to ensure the sensor is functioning correctly and no warning lights appear.

画像4.1:リア view of the connector, illustrating the secure entry points for the blue and yellow wires.
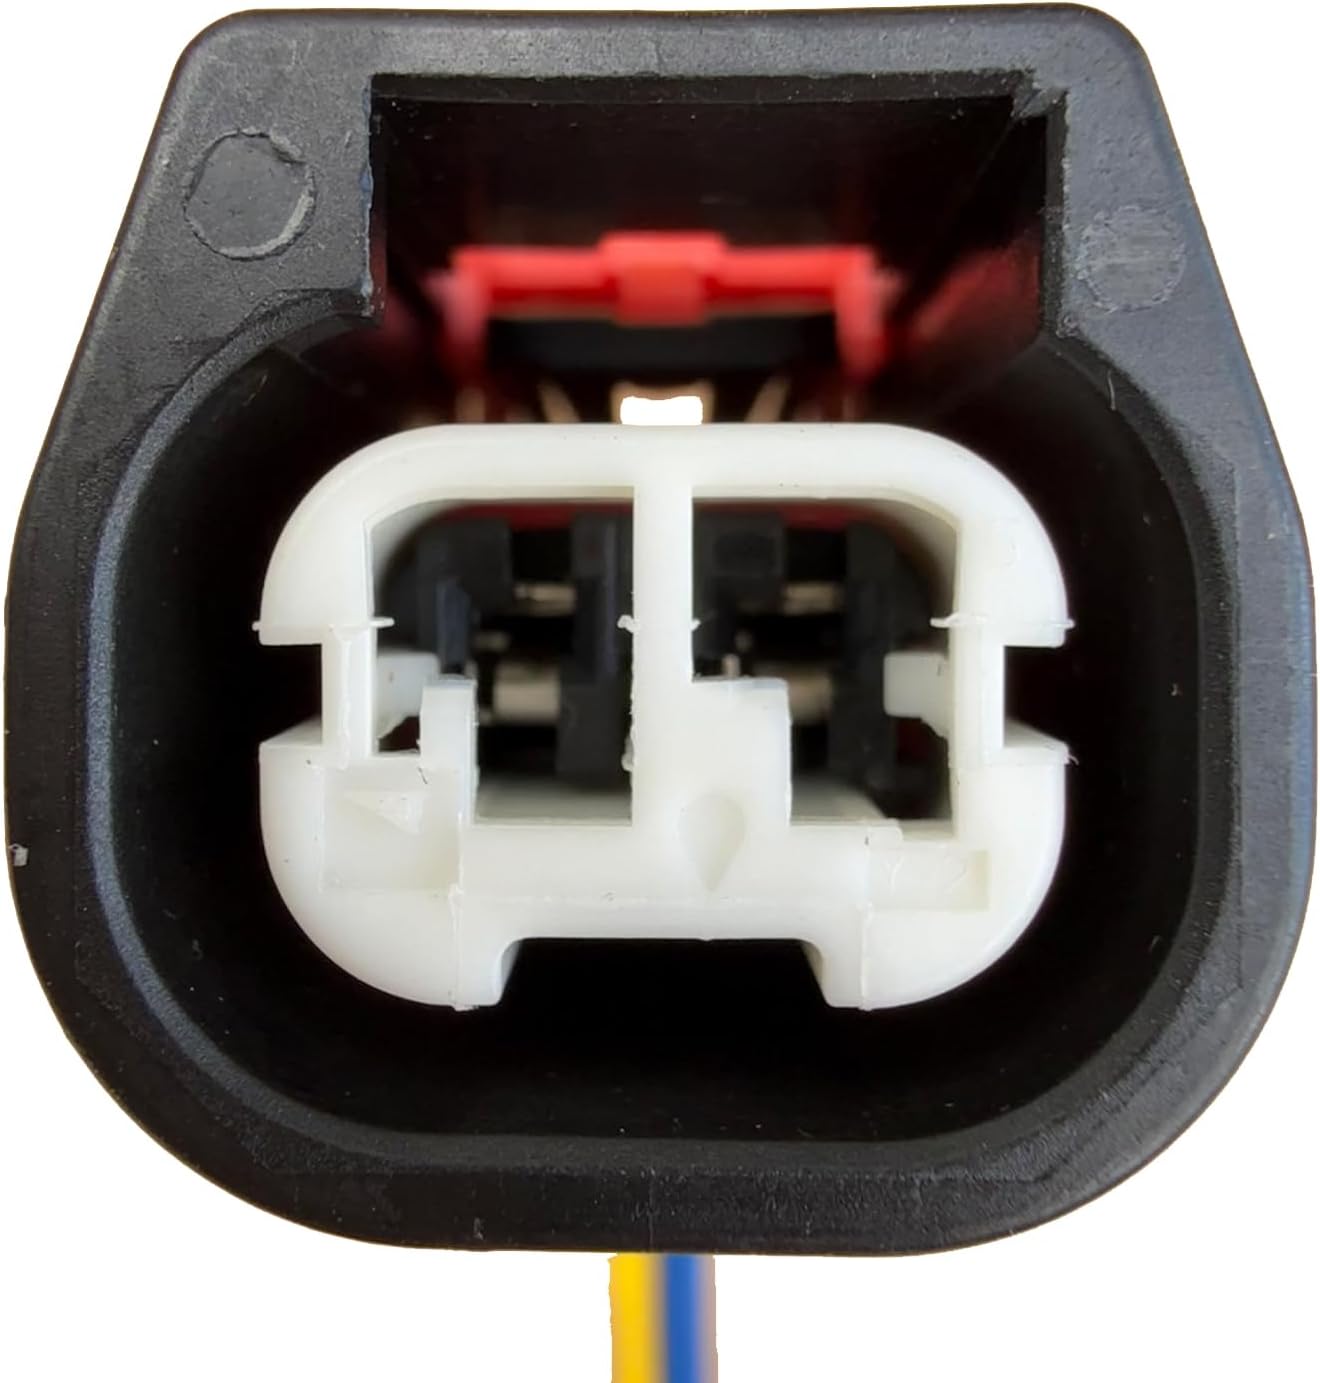
画像4.2:正面 view of the connector, showing the internal terminal slots designed for a secure fit with the sensor.
5. 操作(設置後のチェック)
Once the connector is installed, its "operation" is passive, facilitating the electrical signal from the coolant temperature sensor to the vehicle's engine control unit (ECU). Proper function is indicated by accurate temperature readings and the absence of diagnostic trouble codes (DTCs) related to the coolant temperature sensor.
5.1. Verification Steps
- エンジン始動: After installation, start the vehicle's engine.
- 温度計: Observe the vehicle's coolant temperature gauge on the dashboard. It should rise steadily as the engine warms up.
- Diagnostic Scan (Recommended): Use an OBD-II scanner to check for any pending or active DTCs. A properly functioning sensor and connector will not trigger codes like P0117 (Engine Coolant Temperature Sensor Circuit Low Input) or P0118 (Engine Coolant Temperature Sensor Circuit High Input).
- リークチェック: Visually inspect the area around the coolant temperature sensor for any coolant leaks, especially if the sensor itself was removed or disturbed during the process.
6. メンテナンス
The SDYYDS coolant temperature sensor connector is designed for durability and requires minimal maintenance once properly installed. However, periodic inspection can help ensure its longevity and reliable performance.
6.1. 検査ガイドライン
- 目視検査: During routine vehicle maintenance (e.g., oil changes), visually inspect the connector and its wiring for any signs of wear, fraying, cracks, or corrosion.
- 接続セキュリティ: Gently check if the connector is still firmly seated on the sensor.
- 環境への暴露: Ensure the wiring and connector are not exposed to excessive heat, sharp edges, or areas where they could be damaged by moving engine components.
- 清潔さ: Keep the connector free from excessive dirt, oil, or coolant residue. A clean, dry cloth can be used for cleaning.
7。 トラブルシューティング
If you experience issues after installing the coolant temperature sensor connector, consider the following troubleshooting steps:
7.1. よくある問題と解決策
- Incorrect Temperature Readings or No Reading:
- 接続を確認してください: Ensure the connector is fully seated on the sensor and all wire connections are secure and properly crimped/soldered.
- ワイヤー極性: Verify that the wires are connected with the correct polarity (if applicable, consult vehicle wiring diagram).
- センサーの故障: The issue might be with the coolant temperature sensor itself, not the connector. Test the sensor if possible.
- ECU/Wiring Harness Issue: Inspect the vehicle's main wiring harness for damage further upstream.
- Check Engine Light (CEL) or Diagnostic Trouble Codes (DTCs):
- コードをスキャン: Use an OBD-II scanner to retrieve specific DTCs. Common codes related to the coolant temperature sensor include P0117, P0118, P0116 (Engine Coolant Temperature Circuit Range/Performance).
- 配線を確認してください: Ensure there are no shorts or open circuits in the new connector's wiring or its connection to the vehicle's harness.
- クリアコード: After addressing any issues, clear the DTCs and re-test the vehicle.
- 接続が緩い、または断続的:
- Re-crimp/Re-solder: If connections feel loose, re-crimp or re-solder them to ensure a solid electrical contact.
- 端末の検査: Check the terminals inside the connector for bending or corrosion.
Always refer to your vehicle's service manual for specific diagnostic procedures and wiring diagrams.
8. 保証とサポート
For warranty information or technical support regarding your SDYYDS 68064995AA Coolant Temperature Sensor Connector, please contact the manufacturer directly. Details can typically be found on the product packaging or the official SDYYDS webサイト。
When contacting support, please have your product model number (SD55-505) and purchase information readily available.