VEVOR JW-731
VEVOR JW-731 Kitchen Sink Garbage Disposal User Manual
モデル:JW-731
1. はじめに
Thank you for choosing the VEVOR JW-731 Kitchen Sink Garbage Disposal. This manual provides essential information for the safe installation, operation, and maintenance of your new appliance. Please read it thoroughly before use and retain it for future reference.
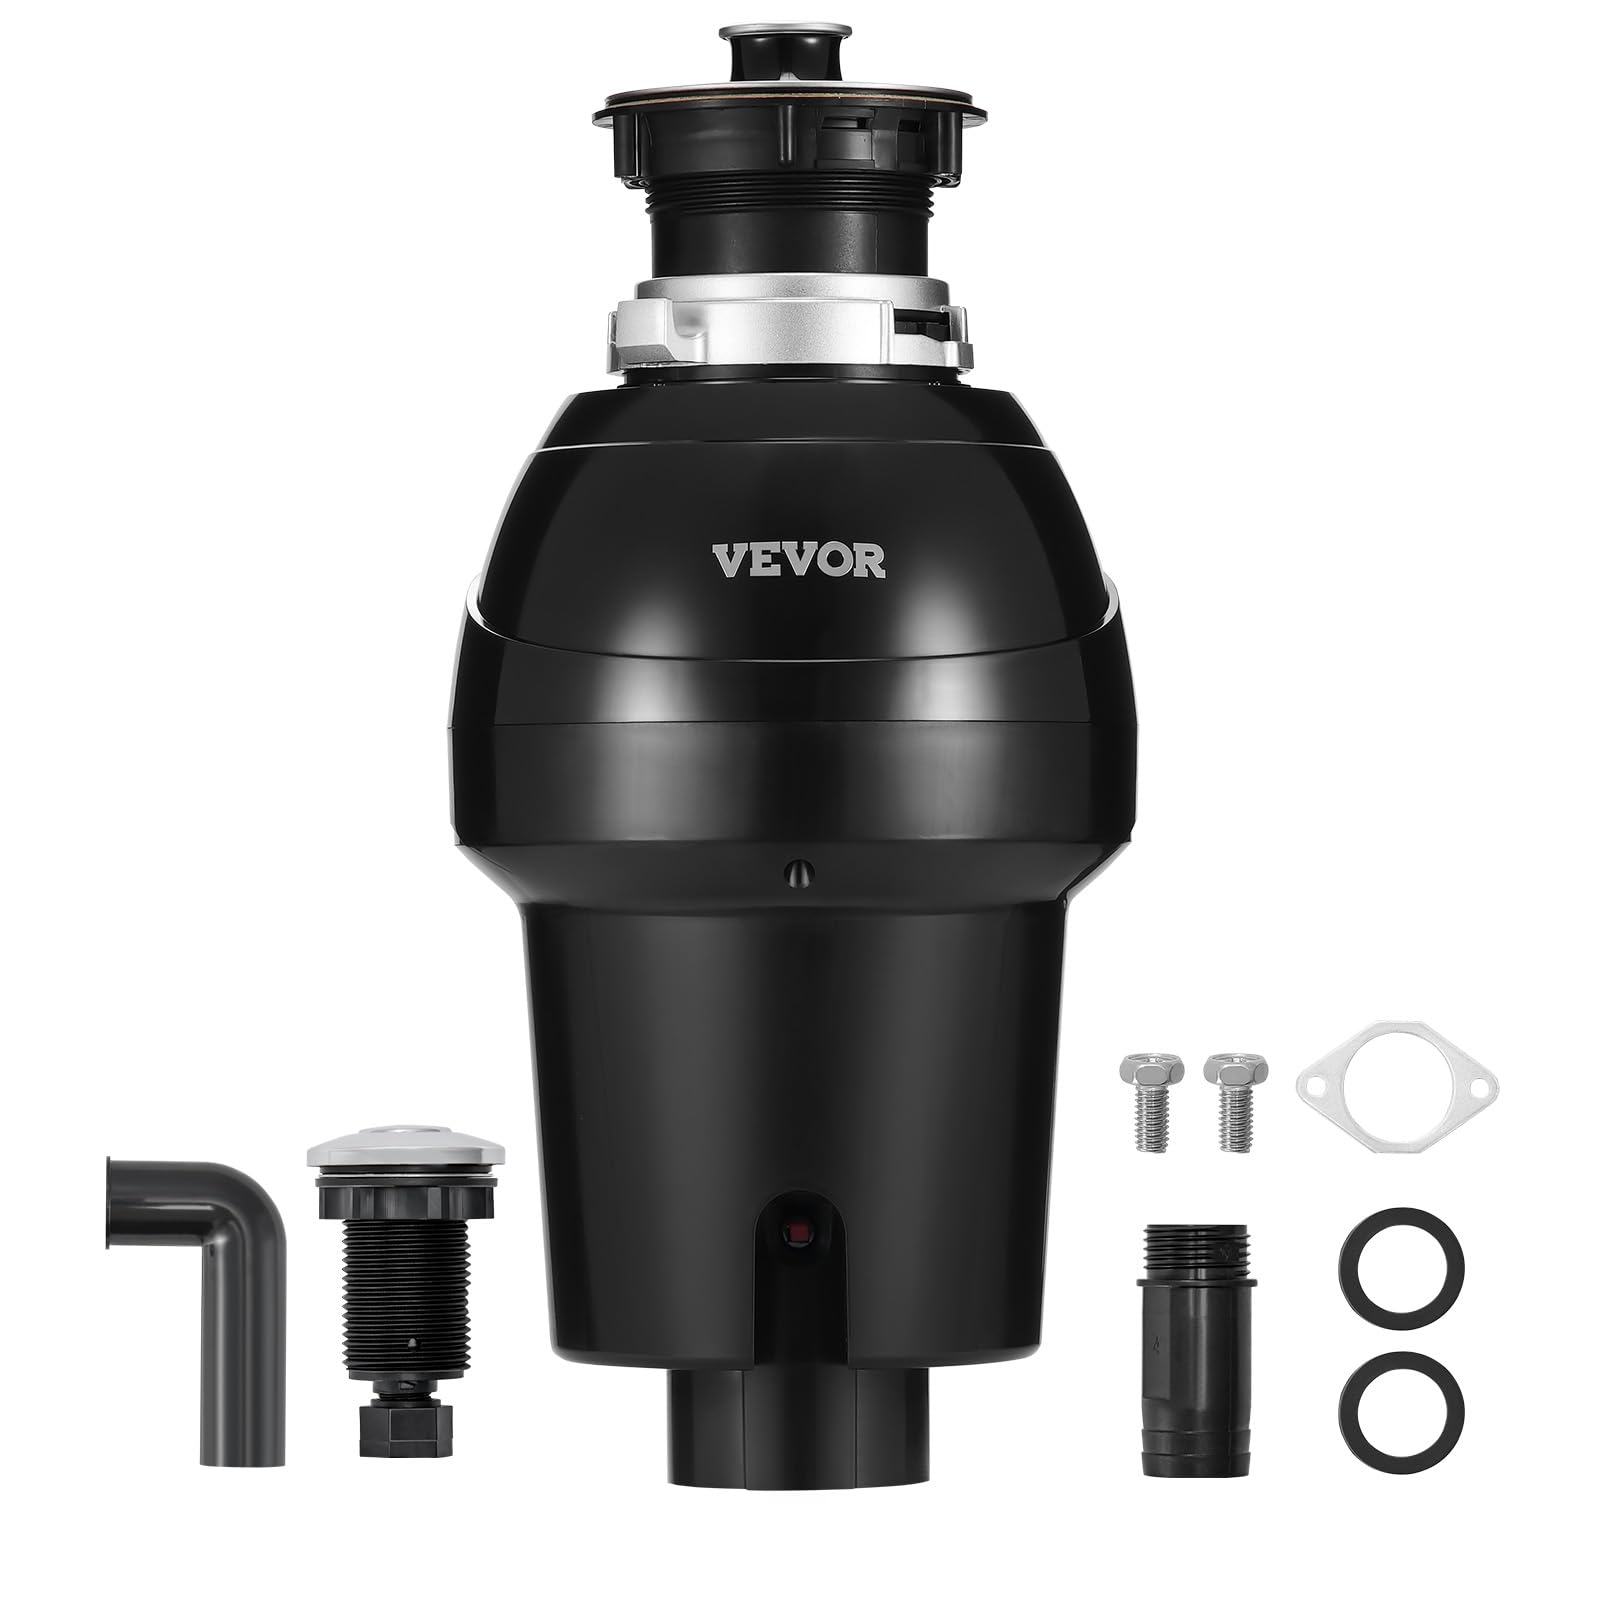
Image: The VEVOR JW-731 Kitchen Sink Garbage Disposal unit.
2. 重要な安全上の注意事項
警告: When using electrical appliances, basic precautions should always be followed, including:
- 機器を使用する前にすべての説明書をお読みください。
- 怪我のリスクを減らすために、子供の近くで機器を使用する場合は、厳重な監視が必要です。
- Do not put fingers or hands into a garbage disposal.
- 詰まりを解消したり、ディスポーザーから物体を取り除いたりする前に、電源スイッチをオフの位置に戻してください。
- When attempting to loosen a jam in a garbage disposal, use a wooden spoon or a similar non-metallic object.
- When attempting to remove objects from a garbage disposal, use long-handled tongs or pliers.
- Do not dispose of large whole bones, corn husks, fibrous materials, glass, metal, or plastic in the disposer.
- Do not pour grease or fat down the disposer as it can solidify and cause clogs.
- Ensure the splash guard is properly installed before operating the unit.
- この機器はアース接続が必要です。適切にアース接続されたコンセントにのみ接続してください。
3.インストールガイド
3.1 開梱とコンポーネント
Carefully unpack all components and ensure all parts are present. Refer to the "What's in the Box" section for a complete list.

Image: Diagram showing the VEVOR JW-731 garbage disposal unit and its included components, such as the user manual, drain elbow, gasket, drain stopper, sealing rings, and screws.
3.2 EZ Mount Twist-Lock Installation
The VEVOR JW-731 features an EZ Mount twist-lock system for quick and secure installation. Follow these steps:
- Remove Old Sink Drainer: Disconnect and remove any existing sink drainer or disposal unit.
- Disassemble Mounting Ring and Flange: Separate the mounting assembly components.
- Install Splash Guard and Support Ring: Place the splash guard and support ring into the sink opening.
- Assemble Mount Ring and Cushion Mount: Securely assemble the mount ring and cushion mount from underneath the sink.
- 排水管を接続する: Attach the drainage pipe to the disposal unit's outlet.
- Attach the Disposer to the Flange: Align the disposer with the sink flange and twist to lock it into place using the 3-point locking mechanism.

Image: Visual guide illustrating the six steps for installing the VEVOR JW-731 garbage disposal using the EZ Mount twist-lock system.
Note: Ensure all connections are watertight to prevent leaks. If you are unsure about any step, consult a qualified plumber.
4. 操作手順
4.1 Continuous Feed Operation
The VEVOR JW-731 is a continuous feed garbage disposal, designed to process food waste efficiently.
- Turn on the cold water tap to a moderate flow.
- Flip the power switch to activate the disposal unit.
- Scrape food waste into the sink opening. The multi-stage grinding system will process various food scraps.
- Allow the disposal to run for a few seconds after the grinding sound subsides to ensure all waste is flushed away.
- Turn off the disposal unit, then turn off the water.

Image: Diagram showing the continuous feed operation of the VEVOR JW-731, illustrating how various food scraps like vegetables, chicken bones, fish bones, fruit pits, and nuts are shredded by the multi-stage grinding system.
Acceptable Waste: Vegetables, fruit peels, small bones (chicken, fish), fruit pits, nuts, and other soft food scraps.
Unacceptable Waste: Large bones, fibrous materials (celery stalks, artichokes), glass, metal, plastic, harsh chemicals, or large amounts of grease.
5. メンテナンスとケア
5.1 Cleaning Your Disposal
- 定期清掃: Grind small citrus peels (lemon, orange) to freshen the disposal and clean the grinding chamber.
- ディープクリーニング: For stubborn odors, pour a cup of baking soda into the disposal, followed by a cup of white vinegar. Let it sit for 10-15 minutes, then flush with hot water while running the disposal.
- スプラッシュガード: Periodically remove and clean the rubber splash guard to remove food debris buildup.
5.2 ノイズ低減機能
The VEVOR JW-731 is designed with multi-layer noise reduction for quieter operation. This includes:
- スプラッシュガード: Helps contain noise within the grinding chamber.
- Soundproof Cotton: An internal layer of sound-absorbing material.
- Thickened ABS Shell: 頑丈な外側のcasing further dampens operational noise.

Image: Diagram showing the three layers of noise reduction in the VEVOR JW-731: the splash guard, soundproof cotton, and the thickened ABS shell, all contributing to quiet operation.
6。 トラブルシューティング
| 問題 | 考えられる原因 | 解決 |
|---|---|---|
| 廃棄が開始されません。 | No power, tripped circuit breaker, motor jam. | Check power supply. Reset circuit breaker. Press the red reset button on the bottom of the disposal. If jammed, turn off power, use a wooden spoon to clear the jam. |
| 廃棄物処理機はブーンという音はするが、粉砕はしない。 | Grinding plate is jammed. | Turn off power. Use a wooden spoon to dislodge the object. Alternatively, use the hex wrench (if provided) in the center bottom hole to manually turn the motor shaft. |
| 廃棄物からの漏れ。 | Loose connections, faulty seals, crack in housing. | Check and tighten all plumbing connections. Inspect seals and gaskets for damage and replace if necessary. If housing is cracked, the unit may need replacement. |
| 不快な臭い。 | Food buildup, bacterial growth. | Clean the disposal with citrus peels or baking soda and vinegar as described in the Maintenance section. |
7. 仕様
| 製品仕様 | |
|---|---|
| モデル番号 | JW-731 |
| 馬力 | 1馬力(0.74kW) |
| モータータイプ | DCモーター |
| 回転速度 | 3960 RPM (EU Plug) |
| 騒音レベル | ≤72dB |
| 主な材料 | ABS + ステンレススチール |
| 製品重量 | 5.1 kg (11.24 ポンド) |
| 製品寸法(長さ x 幅 x 高さ) | 210 x 210 x 415 mm(8.27インチ x 8.27インチ x 16.34インチ) |
| 色 | 黒 |

Image: A cutaway diagram of the VEVOR JW-731 garbage disposal, highlighting its premium ABS shell for corrosion resistance and the high-strength stainless steel grinding disc for durability.
8. 保証とサポート
VEVOR製品は耐久性と性能を重視して設計されています。保証情報およびカスタマーサポートについては、VEVORの公式ウェブサイトをご覧ください。 webご購入いただいたレシートは、保証請求の際に購入証明としてお渡しいたしますので、保管してください。
For technical assistance or inquiries, please visit www.vevor.com or contact VEVOR customer service.
関連文書 - JW-731
 |
VEVOR Food Waste Disposer JW-730 User Manual Comprehensive user manual for the VEVOR Food Waste Disposer, Model JW-730. Includes installation, operation, safety precautions, troubleshooting, and maintenance instructions. |
 |
VEVOR JW-730 Food Waste Disposer Installation and Operation Manual This manual provides detailed instructions for the installation, operation, troubleshooting, and maintenance of the VEVOR JW-730 Food Waste Disposer. It includes product specifications, safety precautions, and electrical connection guidelines. |
 |
LEFTON LGD-714 取付マニュアル: 3/4HP 連続式ゴミ処理機 LEFTON LGD-714 3/4HP連続式生ごみ処理機の包括的な設置ガイドです。詳細な部品リスト、ステップバイステップの組み立て手順、食器洗い機への接続ガイド、そして適切な設置と使用に必要な安全上の警告が含まれています。 |
 |
VEVOR Food Waste Disposer Installation Manual - FCD-1006, FCA-715 Comprehensive installation, care, and troubleshooting guide for VEVOR Food Waste Disposers, models FCD-1006 and FCA-715. Includes safety warnings, product specifications, parts list, and step-by-step setup instructions. |
 |
Moen Prep Series GXP50c PRO Garbage Disposal: Specifications, Features, and Dimensions Explore the Moen Prep Series GXP50c PRO garbage disposal. This document details its powerful 1/2 HP motor, 360° Clean Rinse system, easy installation, and comprehensive specifications. Find dimensions, warranty information, and accessory links for this efficient kitchen appliance. |
 |
TECASA 生ごみ処理機の設置説明書 TECASA 食品廃棄物処理機の包括的な設置ガイド。安全上の注意事項、必要なツール、部品リスト、段階的な設置、操作手順、トラブルシューティングなどを網羅しています。 |
Ask a question about this manual
Ask about setup, troubleshooting, compatibility, parts, safety, or missing instructions. Manuals+ will review the question and use this page’s manual context to help answer it.