
1. はじめに
Thank you for choosing the KOORUI N07 27-inch 4K UHD Monitor. This monitor is designed to provide a superior visual experience with its 3840x2160 resolution, IPS panel, 60Hz refresh rate, HDR10 support, and Adaptive Sync technology. This manual provides essential information for setting up, operating, and maintaining your monitor to ensure optimal performance and longevity. Please read this manual thoroughly before using the product.
2. 安全情報
- モニターは常に安定した平らな面に置いてください。
- 換気口をふさがないでください。
- 製造元が提供する電源アダプターのみを使用してください。
- モニターを水や過度の湿気から遠ざけてください。
- Avoid exposing the monitor to direct sunlight or high temperatures.
- 雷雨のときや長期間使用しない場合は、電源ケーブルを抜いてください。
3. パッケージ内容
開封後はパッケージの内容をご確認ください。不足品や破損品がございましたら、販売店までご連絡ください。
- KOORUI N07 27-inch 4K UHD Monitor
- モニタースタンド(ベースとネック)
- 電源アダプタと電源ケーブル
- HDMIケーブル
- DisplayPortケーブル
- ユーザーマニュアル
4. モニターの組み立てとセットアップ
4.1 スタンドの取り付け
- 傷がつかないように、モニターの表面を下にして、柔らかく清潔な布の上に慎重に置きます。
- 取り付けポイントを合わせて、スタンドネックをモニターの背面に取り付けます。
- 付属のネジでスタンドネックを固定します。
- スタンドベースをスタンドネックに取り付け、つまみネジを締めます。

図4.1:背面 view of the monitor showing VESA mount and tilt adjustment.
4.2接続ケーブル
The KOORUI N07 monitor offers versatile connectivity options. Ensure your computer is turned off before making any connections.
- 電源接続: 電源アダプタをモニターの DC 入力ポートに接続し、電源ケーブルを電源コンセントに差し込みます。
- ビデオ接続: Connect one end of the HDMI or DisplayPort cable to the corresponding port on your computer's graphics card and the other end to an HDMI (HDMI1 or HDMI2) or DisplayPort (DP) input on the monitor.
- オーディオ出力: If desired, connect external speakers or headphones to the 3.5mm audio output port on the monitor.

Figure 4.2: Connectivity options for the KOORUI N07 monitor.
4.3電源オン
After connecting all necessary cables, press the power button on the monitor to turn it on. The monitor will automatically detect the active input source.
5. 操作手順
5.1 オンスクリーンディスプレイ(OSD)メニュー
OSDメニューでは、モニターのさまざまな設定を調整できます。モニターの右下にあるボタンを使って、オプションを移動したり選択したりできます。
- 電源ボタン: モニターのオン/オフを切り替えます。
- メニューボタン: OSDメニューを開きます。
- ナビゲーションボタン: メニュー オプションを移動したり値を調整したりするために使用されます。
- 終了ボタン: OSDメニューを終了します。
5.2 主要なOSD設定
- 画像設定: 明るさ、コントラスト、シャープネス、色温度を調整します。
- カラーモード: Select from various preset modes like Standard, Movie, Game, and Eye Care.
- 入力ソース: Manually select between HDMI1, HDMI2, or DisplayPort inputs.
- アダプティブ シンク: よりスムーズなゲームプレイのために Adaptive Sync を有効または無効にします。
- HDR10: Activate HDR10 for enhanced dynamic range with compatible content.
6. 機能終了view
6.1 4K UHD Resolution (3840x2160)
Experience incredible detail and clarity with a resolution four times higher than Full HD. This monitor provides 8.3 million pixels for a sharper and more colorful image.

Figure 6.1: 4K UHD resolution detail comparison.
6.2 IPSパネル技術
The IPS panel offers a wide 178° viewing angle and vibrant color reproduction (90% DCI-P3, 99% sRGB), ensuring consistent image quality from almost any perspective. This is ideal for graphic designers, gamers, and movie enthusiasts.

Figure 6.2: IPS panel with 99% sRGB color accuracy.
6.3 HDR10 サポート
Enjoy content with enhanced dynamic range. HDR10 provides brighter whites, deeper blacks, and more vivid colors, bringing your favorite movies and games to life with greater realism.

Figure 6.3: HDR10 technology for improved image quality.
6.4 アダプティブシンクテクノロジー
Adaptive Sync eliminates screen tearing and stuttering, providing a smoother and more fluid visual experience, especially during fast-paced gaming or video playback.

図 6.4: Adaptive Sync が動作し、画面のティアリングを防止します。
6.5 アイケア技術
The monitor features a Blue Light Filter and Flicker-Free technology to reduce eye strain during prolonged use. The Eye Care mode optimizes settings to minimize blue light emission, promoting visual comfort.
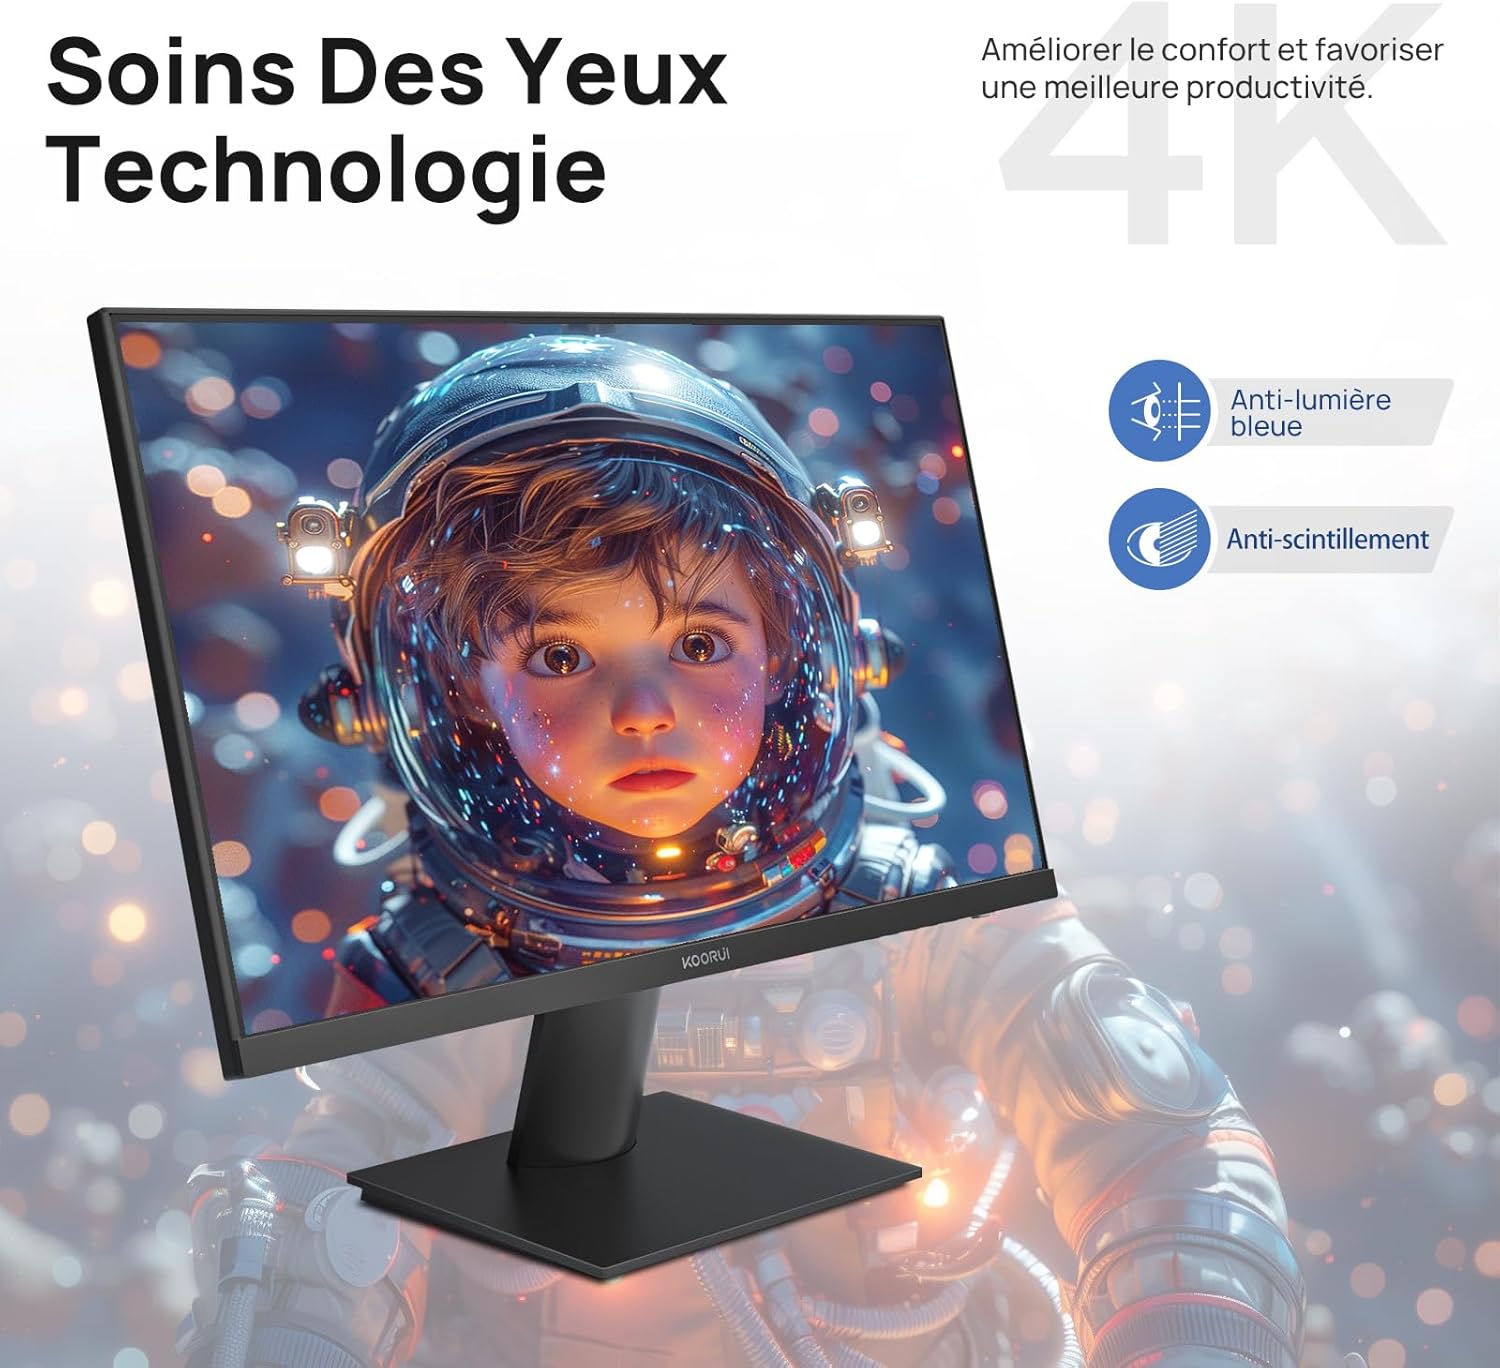
Figure 6.5: Eye Care technology for reduced eye strain.
6.6 人間工学に基づいた設計
The monitor stand allows for tilt adjustment from -5° to 20°, enabling you to find the most comfortable view姿勢に合った角度に調整します。
6.7 VESAマウント互換性
The KOORUI N07 supports 100x100mm VESA mounting, allowing you to easily attach it to a wall mount or an articulated monitor arm for a flexible and clutter-free workspace.

Figure 6.6: VESA mount compatibility for flexible setup.
7. 製品ビデオ終了view
ビデオ7.1: オーバーview of the KOORUI N07 27-inch 4K UHD monitor, highlighting its key features such as 4K resolution, DCI-P3 color gamut, HDR10 support, versatile usage for creation, viewing, and gaming, adjustable tilt, and VESA mounting capabilities.
8。 トラブルシューティング
モニターに問題が発生した場合は、次の一般的な問題と解決策を参照してください。
| 問題 | 考えられる解決策 |
|---|---|
| 画面に画像がありません | Ensure power cable is securely connected. Check video cable connection (HDMI/DP) to both monitor and computer. Verify correct input source is selected in OSD. |
| 画像がぼやけたり歪んだりする | Check display resolution settings on your computer. Ensure it is set to 3840x2160. Adjust sharpness in the OSD menu. |
| 色が正しく表示されない | Adjust color temperature and color settings in the OSD menu. Try resetting picture settings to factory defaults. |
| 画面のちらつき | Ensure the video cable is securely connected. Disable Adaptive Sync if enabled, or update your graphics card drivers. |
9. 仕様
| 特徴 | 詳細 |
|---|---|
| ブランド | クールイ |
| モデル番号 | 07円 |
| 画面サイズ | 27インチ |
| 解決 | 4K UHD(3840 x 2160ピクセル) |
| パネルタイプ | IPS |
| リフレッシュレート | 60Hz |
| 応答時間 | 4ミリ秒 |
| アスペクト比 | 16:9 |
| コントラスト比 | 1000:1 |
| 輝度 | 300 cd/m² |
| View角度 | 178度 |
| 接続性 | HDMI 2.0 x 2、DisplayPort 1.4 x 1、オーディオ出力 x 1 |
| VESA互換性 | 100x100mm |
| 特集 | Blue Light Filter, Tilt Adjustment, Frameless, Flicker-Free, Adaptive Sync, HDR10 |
| 寸法(D x W x H) | 20.5P x 61l x 45Hセンチメートル |
| 重さ | 3キログラム |
10. メンテナンス
To ensure the longevity and optimal performance of your KOORUI N07 monitor, follow these maintenance guidelines:
- 画面の掃除: 柔らかく糸くずの出ない布で画面を優しく拭いてください。頑固な汚れには、amp布に水または専用のスクリーンクリーナーを軽く含ませてください。絶対に液体をスクリーンに直接吹きかけないでください。
- Cのクリーニングasing: モニターを清掃するには、柔らかく乾いた布を使用してください。asing. 研磨剤入りの洗剤や溶剤は使用しないでください。
- 換気: 過熱を防ぐため、モニターの通気口が塞がれていないことを確認してください。
- 電源を切る: 長期間使用しない場合はモニターの電源をオフにしてください。
11. 保証とサポート
The KOORUI N07 monitor comes with a 2年間のメーカー保証. This warranty covers defects in materials and workmanship under normal use. For warranty claims or technical support, please contact KOORUI customer service or your retailer with your proof of purchase.
For additional support, troubleshooting guides, and driver downloads, please visit the official KOORUI webサイト。


