
1. はじめに
This manual provides detailed instructions for the setup, operation, and maintenance of your JoFomp 17.3" Large Digital Wall Clock. Please read this manual thoroughly before use to ensure proper functionality and longevity of the product.
2. 安全情報
- Ensure the clock is connected to a stable power source (5V/2A adapter included).
- デバイスを極端な温度、直射日光、高湿度にさらさないでください。
- お子様の手の届かない場所に保管してください。
- 自分でデバイスを分解したり修理したりしないでください。 サポートが必要な場合は、カスタマー サポートにお問い合わせください。
- リモコンには単2電池がXNUMX本必要です (別売り)。
- A 1 AAA battery (not included) is required for the memory function to retain settings during power outages。
3. パッケージ内容
パッケージにすべてのアイテムが揃っていることを確認します。
- JoFomp 17.3" Digital Wall Clock
- リモートコントロール
- 5V / 1ADC電源アダプター
- 電源コード
- Mounting Hooks (2)
- Mounting Template Ruler
- ユーザーマニュアル(このドキュメント)

図3.1:同梱の付属品と本体。
4.製品オーバーview
The JoFomp 17.3" Large Digital Wall Clock features a clear LED display and multiple functions for convenience.

Figure 4.1: Front display of the digital wall clock.
4.1 表示機能
- 時間表示: Large 17.3" LED digits.
- 日付表示: 月と日。
- 曜日: Indicated by illuminated text (Mon-Sun).
- 温度: 摂氏または華氏で表示します。
- 湿度: Displays relative humidity percentage.
- デュアルアラーム: 2 つの独立したアラーム設定。
- DSTインジケーター: Daylight Saving Time status.

Figure 4.2: Labeled display functions.
4.2 Back Panel and Buttons
The back of the clock houses control buttons and connection ports.

Figure 4.3: Back panel with labeled components.
- 設定ボタン: Five buttons for manual adjustments (Light, SET, +, -, Alarm).
- Memory Battery Compartment: For 1 AAA battery (not included) to retain settings.
- 電源ポート: 電源アダプタを接続します。
- 取付穴: 壁面設置用。
5. セットアップ
5.1電源接続
- Connect the power cord to the clock's power port.
- Plug the 5V/2A power adapter into a standard electrical outlet. The clock will power on and display.
注記: The clock requires continuous power to operate. It is not battery-powered for primary display.
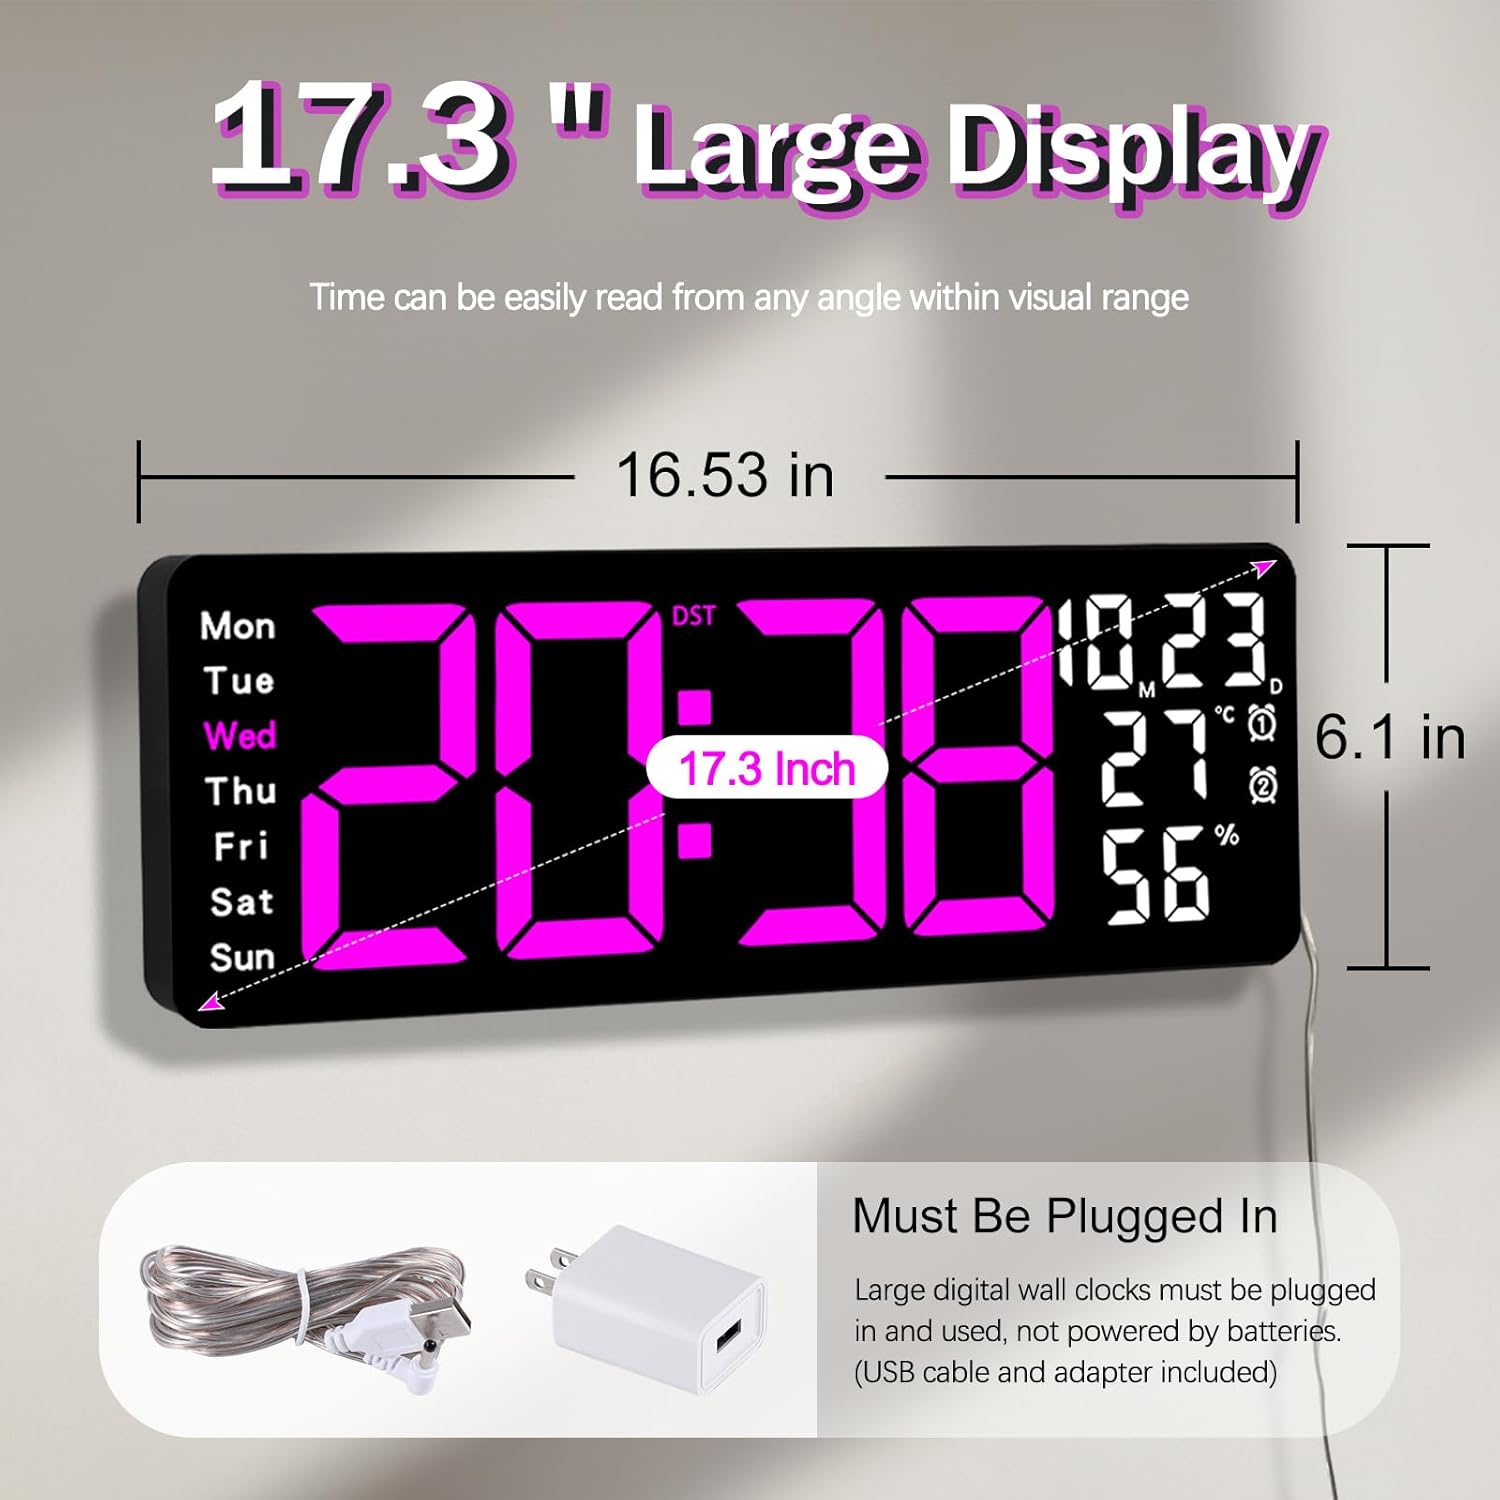
Figure 5.1: Power connection and dimensions.
5.2 Memory Battery Installation (Optional)
電源オフ時に時間と設定を保持するtage, install a 1 AAA battery (not included) into the memory battery compartment on the back of the clock.
- Locate the memory battery compartment on the back of the clock.
- コンパートメントカバーを開きます。
- 正しい極性 (+/-) を確認して、1.5V AAA 電池を 1 本挿入します。
- 収納部カバーをしっかりと閉めてください。
5.3 壁面への取り付け
Use the included mounting template ruler and hooks for easy wall installation.
- Determine the desired location for your clock.
- Place the mounting template ruler on the wall at the desired height.
- Mark the positions for the mounting hooks according to the ruler's indications.
- Install the mounting hooks into the wall at the marked positions.
- Carefully hang the clock onto the installed hooks, ensuring it is level and secure.
6. 操作手順
The clock can be operated using either the remote control or the buttons on the back.
6.1 時刻と日付の設定
Use the remote control or the "SET" button on the back of the clock.
- を押す セット button (on remote or back of clock) to enter setting mode.
- 使用 + そして - 点滅している値(時間、分、年、月、日など)を調整するためのボタン。
- プレス セット again to confirm the current setting and move to the next parameter.
- すべての設定が完了するまで繰り返します。
6.2 12/24時間形式の変換
12 時間形式と 24 時間形式を切り替えるには:
- 専用の 12/24時間 リモコンのボタン。
- Alternatively, during time setting, the format option will appear.

Figure 6.1: 12/24H format conversion.
6.3 温度単位の変換(°C/°F)
摂氏と華氏の温度単位を切り替えるには:
- を押す °C /°F リモコンのボタン。
6.4 アラーム設定(デュアルアラーム)
時計は 2 つの独立したアラームをサポートします。
- を押す アラーム button on the remote control or the back of the clock.
- 使用 + そして - 希望のアラーム時間を設定します。
- プレス アラーム again to confirm and move to the next alarm or exit.
- To activate/deactivate an alarm, press the corresponding alarm button (e.g., AL1 or AL2) リモートで。
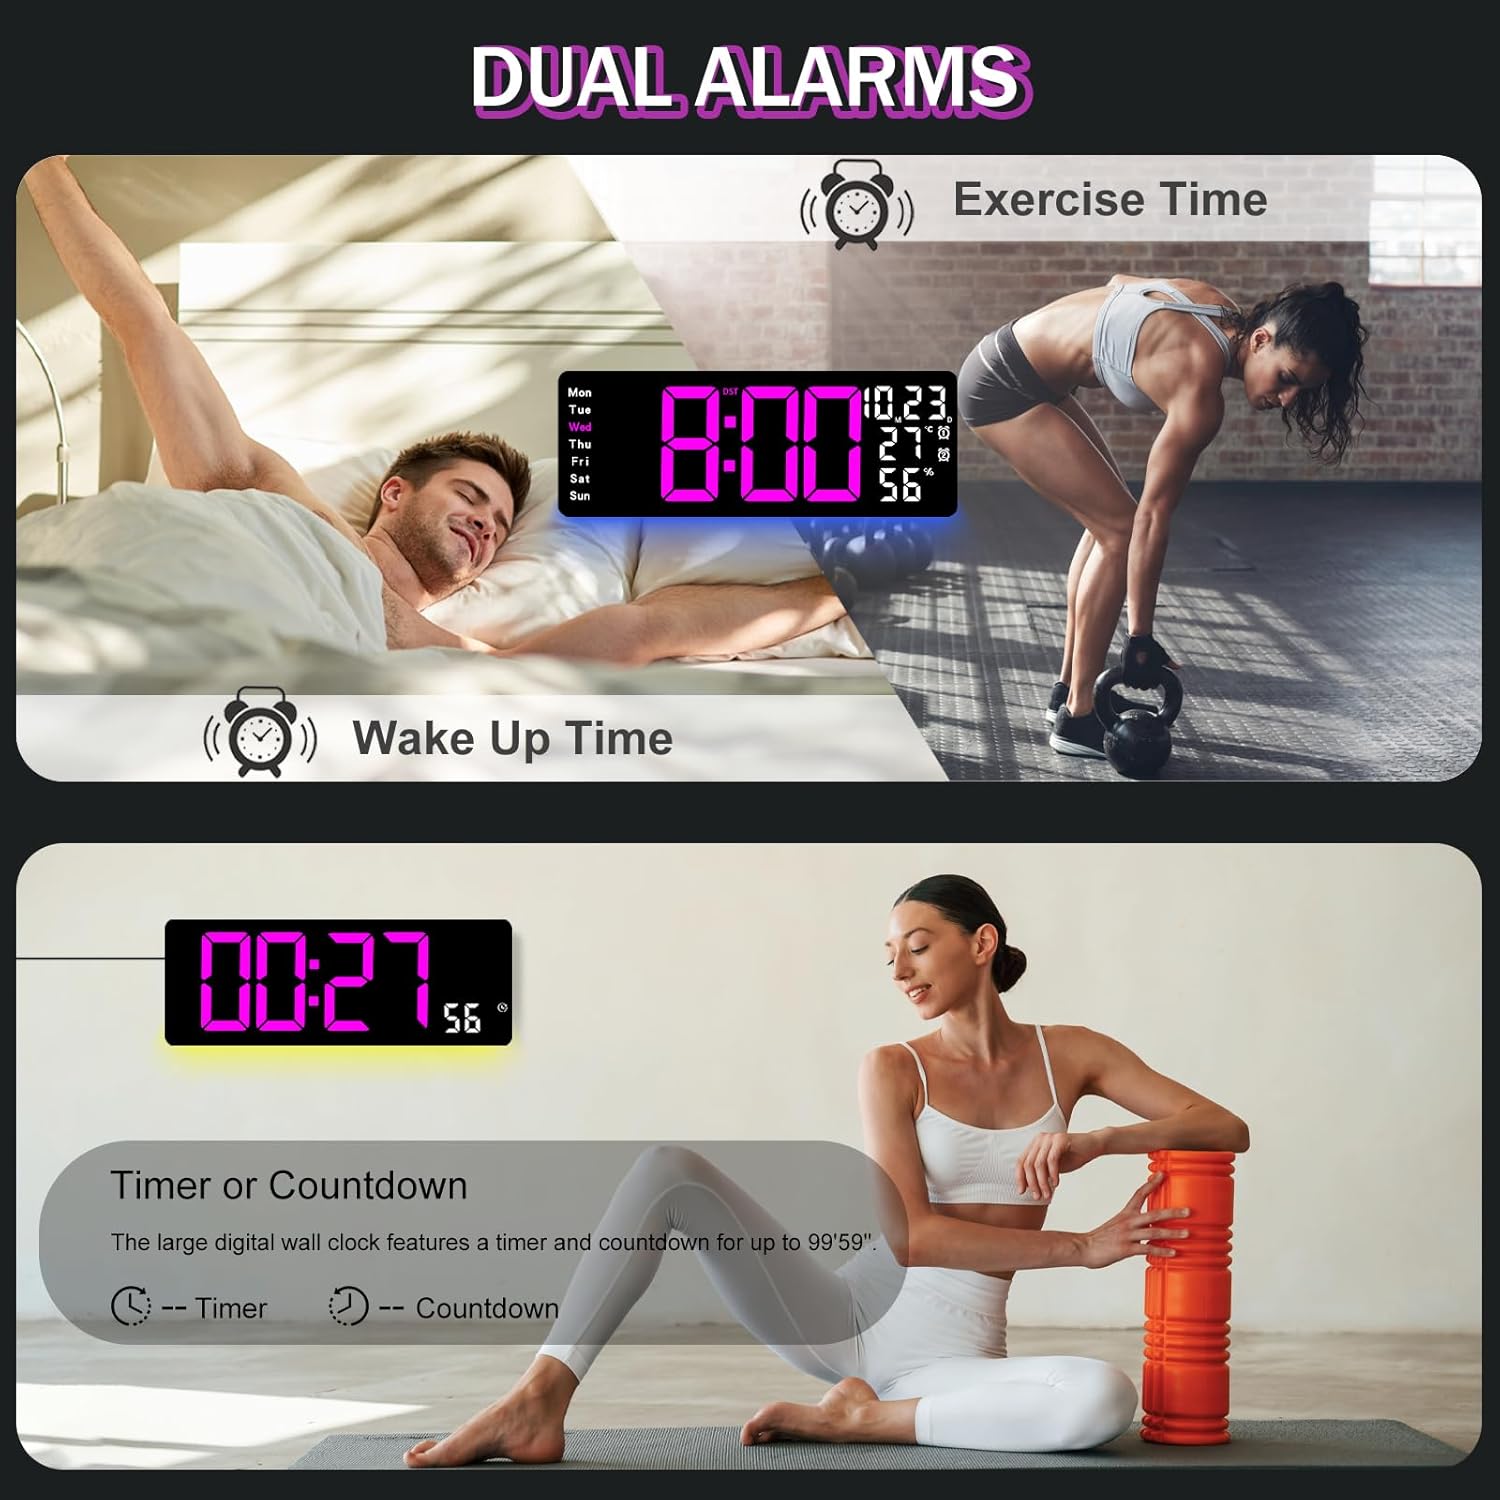
Figure 6.2: Dual alarm and timer functions.
6.5 明るさ調整
The clock offers 10 levels of brightness, adjustable manually or automatically.
- 自動明るさ: The built-in light sensor adjusts brightness based on ambient light. Activate this mode by pressing the オート リモコンのボタン。
- 手動明るさ: を押す 輝度 button on the remote, then use + そして - to select one of the 10 levels.

Figure 6.3: Custom and auto-brightness settings.

Figure 6.4: Brightness regulator illustration.
6.6 Ambient Light Features
The clock includes a night light feature at the bottom with multiple color options.
- を押す ライト button on the remote control or the back of the clock to cycle through 8 fixed colors and 1 multi-color mode.
- In multi-color mode, the colors automatically convert. Press OK to fix a favorite color.
- Adjust the brightness of the ambient light using the + そして - buttons when the ambient light is active.

Figure 6.5: Multiple ambient night light options.

Figure 6.6: 9 color ambient light options.
6.7 Timer and Countdown Function
The clock features a timer (count-up) and countdown function up to 99 minutes and 59 seconds.
- を押す タイマー リモコンのボタン。
- 使用 + そして - to set the desired time for countdown.
- プレス スタート/ストップ to begin or pause the timer/countdown.
- プレス リセット タイマーをクリアします。

Figure 6.7: Timing function (count-up/countdown).
Video 6.1: Demonstration of multi-functional features including night light change, brightness control, count-up, and countdown. This video also shows the time, date, day, alarm clock, temperature, and humidity displayed on the same screen, along with 12/24 hour conversion, Celsius/Fahrenheit conversion, and DST enablement. The back design and buttons are also briefly shown.
6.8 夏時間(DST)
If DST is observed in your region, you can enable or disable it.
- 長押し - button on the remote control to enable or disable DST. The DST indicator will appear/disappear on the display.

Figure 6.8: Enabling and disabling Daylight Saving Time.

Figure 6.9: Daylight Saving Time (DST) functionality.
6.9 リモートコントロールの使用
The remote control provides convenient access to all clock functions without needing to reach the clock directly.

Figure 6.10: Remote control and its functions.

図 6.11: 使用中のリモコン。
- Ensure the remote control has 2 AAA batteries installed (not included).
- Point the remote control directly at the clock for optimal response.
- Each button on the remote corresponds to a specific function as described in this manual.
7. メンテナンス
- Clean the clock's display and body with a soft, dry cloth. Avoid abrasive cleaners or solvents.
- Ensure the power adapter and cord are free from damage.
- Replace the memory battery annually to ensure settings are retained during power interruptions.
8。 トラブルシューティング
| 問題 | 考えられる原因 | 解決 |
|---|---|---|
| 時計の表示がオフになっています。 | 電源がありません。 | Check if the power adapter is securely plugged into the clock and the outlet. Ensure the outlet is functional. |
| リモコンが機能しない。 | Low or dead batteries in remote; obstruction; remote out of range. | Replace remote batteries (2 AAA). Ensure no obstructions between remote and clock. Point directly at the clock within effective range. |
| 電源を切ると設定が失われるtage. | No memory battery or dead memory battery. | Install a fresh 1.5V AAA battery in the memory compartment. |
| 温度/湿度の読み取りが正しくありません。 | センサーの干渉または配置。 | Ensure the clock is not placed near heat sources, direct sunlight, or in areas with extreme drafts. Allow time for the sensor to stabilize. |
| 周囲光の色が変わりません。 | Stuck in fixed color mode. | Press the LIGHT button on the remote to cycle through modes. If stuck on a fixed color, press the OK button to release it from fixed mode. |
9. 仕様
| 特徴 | 詳細 |
|---|---|
| ブランド | ジョーフォンプ |
| モデル番号 | 6669 |
| 表示タイプ | デジタルLED |
| 表示サイズ | 17.3インチ |
| 製品寸法 | 幅16.5インチ x 高さ6.7インチ |
| 電源 | コード式電気(5V/2Aアダプター付属) |
| メモリバッテリー | 1 x AAA(含まれません) |
| 明るさレベル | 10 (Auto/Manual) |
| 周囲光の色 | 8 Fixed + 1 Multi-color |
| 特集 | Large Display, Adjustable Brightness, Temperature Display, Humidity Display, Dual Alarms, Timer, Countdown, DST, Remote Control |
| 取り付けタイプ | 壁掛け |
| アイテム重量 | 1.95ポンド |
10. 保証とサポート
JoFomp products are designed for reliability and performance. For warranty information or technical support, please refer to the contact details provided with your purchase or visit the official JoFomp webサイトでご確認ください。購入証明として購入レシートを保管してください。