1. はじめに
The Hello Kitty Sunrise Alarm Clock is designed to provide a gentle and natural waking experience with its sunrise simulation feature. This digital alarm clock includes multicolor lights, an LED display showing time, date, and temperature, a USB charging port, and a convenient snooze function. Its charming Cinnamoroll design adds a whimsical touch to any room.

Image 1: Hello Kitty Cinnamoroll Sunrise Alarm Clock with multicolor lighting.
2. 安全情報
- デバイスを極端な温度、直射日光、高湿度にさらさないでください。
- 付属の USB 電源ケーブルまたは認定された同等品のみを使用してください。
- デバイスを水やその他の液体から遠ざけてください。
- ご自身でデバイスの分解や修理を試みないでください。資格のあるサービス担当者にご連絡ください。
- デバイスが安定した平らな面に置かれていることを確認してください。
3. パッケージ内容
パッケージに以下の項目が含まれているか確認してください。
- Hello Kitty Sunrise Alarm Clock (Cinnamoroll design)
- USB電源ケーブル
- ユーザーマニュアル(このドキュメント)
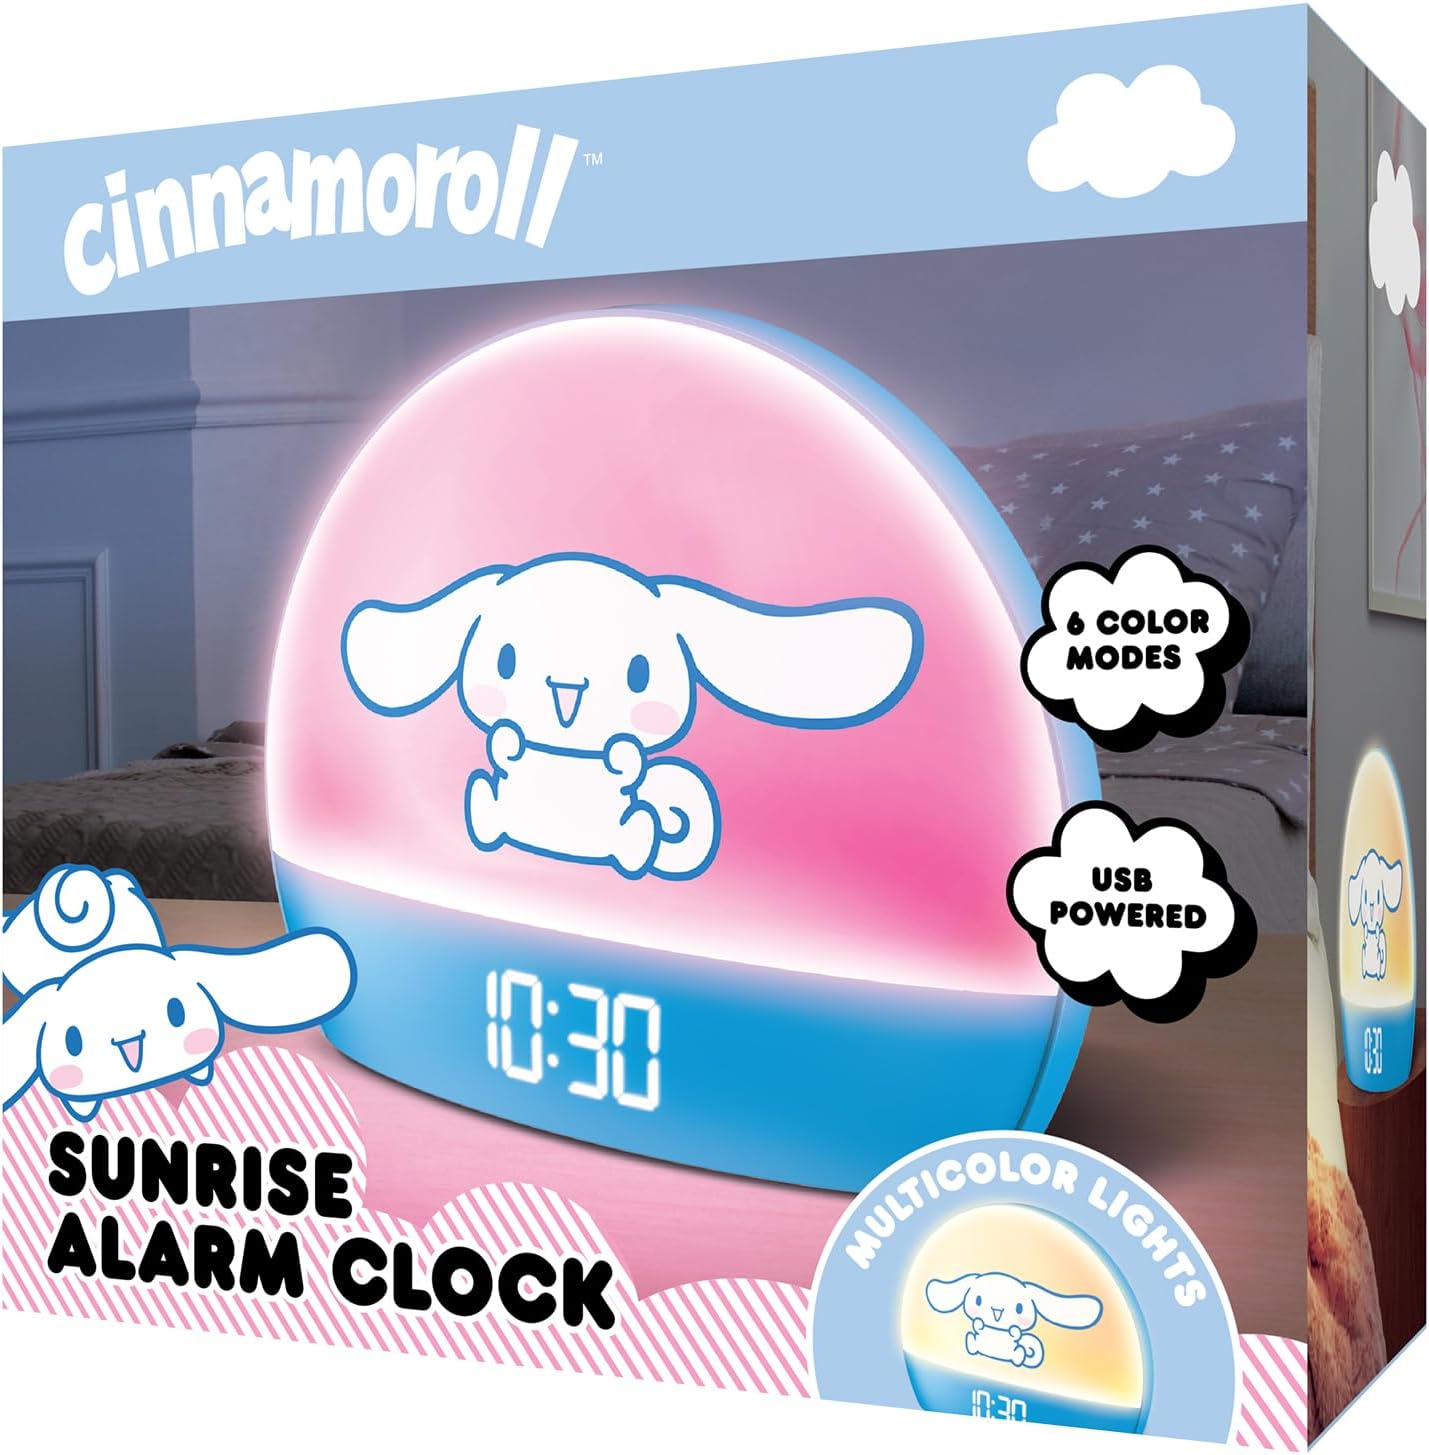
Image 2: Front packaging of the Hello Kitty Cinnamoroll Sunrise Alarm Clock.
4.製品オーバーview
目覚まし時計の主な構成要素をよく理解しましょう。
- LEDディスプレイ: 時間、日付、温度を表示します。
- ライトパネル: Emits multicolor and sunrise simulation lights.
- コントロールボタン: Located on the back or bottom for setting time, alarm, and light functions.
- USB充電ポート: For powering the device and charging external devices.
- スヌーズボタン: Typically a prominent button on the top or front.

Image 3: Hello Kitty Cinnamoroll Sunrise Alarm Clock in a bedroom setting.
5. セットアップ
5.1電源接続
- 付属の USB 電源ケーブルを目覚まし時計の背面にある USB ポートに接続します。
- USB ケーブルのもう一方の端を、互換性のある USB 電源アダプタ (別売) または電源が供給されている USB ポートに差し込みます。
- LED ディスプレイが点灯し、デバイスの電源がオンになっていることを示します。
5.2 時刻と日付の設定
Specific button names are not provided, so general instructions are given. Refer to the physical device for exact button labels.
- Press the "SET" or "TIME" button to enter time setting mode.
- Use the "UP" and "DOWN" buttons to adjust the hour. Press "SET" again to confirm.
- Adjust the minute using "UP" and "DOWN" buttons. Press "SET" to confirm.
- Continue this process to set the year, month, and day.
- The clock may offer 12-hour or 24-hour format selection. Follow on-screen prompts or consult the device's specific button functions.
6. 操作手順
6.1アラームの設定
- 「ALARM」ボタンを押してアラーム設定モードに入ります。
- Use "UP" and "DOWN" buttons to set the desired alarm hour. Press "ALARM" to confirm.
- Adjust the alarm minute. Press "ALARM" to confirm.
- Some models may allow setting alarm volume or sound. Follow prompts if available.
- To activate/deactivate the alarm, look for an "ALARM ON/OFF" button or a toggle within the alarm setting menu.
6.2 日の出シミュレーション
The sunrise simulation feature gradually increases light intensity before your set alarm time, mimicking a natural sunrise.
- This feature is typically linked to the alarm function. When the alarm is active, the light will begin to brighten a set period (e.g., 30 minutes) before the alarm sounds.
- Consult the device's specific controls for adjusting the duration or intensity of the sunrise simulation, if applicable.
6.3 個のマルチカラー ライト
The clock offers various color modes for ambient lighting.
- Press the "LIGHT" or "COLOR" button to cycle through different color options or activate a color-changing mode.
- Press and hold the "LIGHT" button to turn off the ambient light.
- Brightness of the display and ambient light can often be adjusted using dedicated buttons or by holding the "LIGHT" button.
6.4スヌーズ機能
When the alarm sounds, press the large "SNOOZE" button (usually on top) to temporarily pause the alarm. The alarm will sound again after a short interval (e.g., 5-10 minutes).
6.5USB充電ポート
The integrated USB port can be used to charge small electronic devices like smartphones or tablets. Simply connect your device's charging cable to the USB port on the alarm clock.
6.6 温度表示
The LED display shows the current room temperature. No specific action is usually required to view this, as it cycles with time and date or is displayed continuously.
7. メンテナンス
- 時計は柔らかく乾いた布で拭いてください。研磨剤入りの洗剤や溶剤は使用しないでください。
- Ensure the USB port is free from dust and debris.
- 長期間使用しない場合は、時計を涼しく乾燥した場所に保管してください。
8。 トラブルシューティング
| 問題 | 考えられる原因 | 解決 |
|---|---|---|
| 時計の電源が入りません。 | USB ケーブルが正しく接続されていないか、電源に問題があります。 | Check USB cable connection. Try a different USB power adapter or port. Ensure the cable is securely inserted. |
| Time is incorrect or drifts. | Time not set correctly or internal clock issue. | Re-set the time following Section 5.2. If the issue persists, try disconnecting and reconnecting power. |
| アラームは鳴りません。 | アラームが作動していないか、または正しく設定されていません。 | Verify the alarm is set and activated (check for an alarm icon on the display). Ensure the volume is not set to zero if adjustable. |
| ボタンが反応しません。 | 一時的なソフトウェアの不具合または物理的なボタンの問題。 | Disconnect power for a few seconds and reconnect to reset the device. If buttons remain unresponsive, contact support. |
| USB充電ポートが機能しません。 | Cable issue, device not fully powered, or port malfunction. | Ensure the clock is properly powered. Try a different USB charging cable. Check if the port is clean and free of debris. |
9. 仕様
| ブランド | ハローキティ |
| モデル番号 | HKCLK01CR-MFN |
| 色 | シナモロール |
| 表示タイプ | デジタル |
| 特集 | Adjustable Brightness, Alarm, Charging Port, LED Display, Temperature Display, Sunrise Simulation, Multicolor Lights |
| 製品寸法 | 幅7インチ x 高さ6インチ |
| 電源 | コード付き電気 (USB) |
| 材料 | プラスチック |
| アイテム重量 | 0.4キログラム(14オンス) |
| 接続技術 | USB |
| メーカー | サザンテレコム |
10. 保証とサポート
For warranty information or technical support, please refer to the contact details provided on the product packaging or visit the official Hello Kitty product support webサイト。 保証請求に備えて購入時のレシートを保管しておいてください。