
1. はじめに
This manual provides detailed instructions for the installation, operation, and maintenance of your Luowice Solar Security Camera. This wireless outdoor camera features a 3W solar panel for continuous power, 360° pan and tilt functionality, 3MP color night vision, and is designed to be weatherproof for reliable outdoor use. Please read this manual thoroughly before use to ensure proper setup and functionality.

Image 1.1: Luowice Solar Security Camera with integrated solar panel.
2.製品オーバーview
2.1 主な特徴
- 100%ワイヤレスセットアップ: Operates on WiFi and powered by a 3W solar panel, eliminating the need for frequent battery charging and complex wiring.
- 広角カバレッジ: Offers 355° horizontal and 90° vertical rotation for comprehensive area monitoring via the O-KAM PRO app.
- 3MP Color Night Vision: Provides clear, high-resolution video day and night, including full-color night vision with floodlights.
- Motion-Triggered Floodlights & Auto Tracking: Automatically activates floodlights and tracks human-shaped objects upon detection, enhancing security.
- 双方向オーディオ: Allows real-time communication with visitors or deterrence of intruders.
- ローカルおよびクラウドストレージ: Supports micro SD card (up to 128GB, not included) for 24/7 loop recording and optional cloud storage services.
- 耐候性設計: IP66 rated, ensuring reliable performance in various severe weather conditions.
- Multi-User Sharing & Data Encryption: Securely share camera access with family members with advanced encryption.
2.2 コンポーネント
通常、パッケージには次のものが含まれます。
- Luowice Solar Security Camera
- 3W Solar Panel (integrated or separate with mounting bracket)
- 取り付けブラケットとネジ
- USB充電ケーブル
- ユーザーマニュアル
3. セットアップ手順
3.1 バッテリーの充電
Before initial use, fully charge the camera's internal battery using the provided USB cable. Connect the cable to the camera's charging port and a standard 5V USB power adapter (not included). The indicator light will show charging status.
3.2 アプリのインストールとアカウント作成
- ダウンロード オカムプロ スマートフォンのアプリストア(iOS または Android)からアプリをダウンロードします。
- アプリを開き、画面の指示に従って新しいアカウントを作成するか、既にアカウントをお持ちの場合はログインします。
3.3 カメラをWi-Fiに接続する
- In the O-KAM PRO app, tap the "+" icon to add a new device.
- カメラのモデルを選択するか、プロンプトが表示されたらカメラの QR コードをスキャンします。
- Follow the app's instructions to connect the camera to your 2.4 GHz Wi-Fi network. Ensure your phone is connected to the same 2.4 GHz network during setup.
- 接続されると、カメラのインジケータ ライトが変わり、アプリで確認が表示されます。

Image 3.1: The camera supports 2.4 GHz Wi-Fi for stable data transmission.
3.4カメラの取り付け
ソーラーパネルに最適な日光が当たる場所と、 view 監視したいエリアのWi-Fiネットワークの範囲内にカメラがあることを確認してください。
- 取り付けブラケットをテンプレートとして使用して、穴あけ位置をマークします。
- 必要に応じて穴を開け、壁アンカーを挿入します。
- 取り付けブラケットをネジで壁に固定します。
- Attach the camera to the mounting bracket. Adjust the angle of the solar panel to maximize sunlight exposure.

Image 3.2: Camera mounted outdoors, demonstrating continuous solar power.
4. 操作手順
4.1 ライブ View パン/チルトコントロール
Open the O-KAM PRO app and select your camera to access the live view. Use the on-screen controls to pan (355° horizontal) and tilt (90° vertical) the camera to adjust its view角度。

Image 4.1: Remote pan and tilt control via the O-KAM PRO app.
4.2 双方向オーディオ
ライブから view, tap the microphone icon to speak through the camera's speaker. Tap the speaker icon to listen to audio from the camera's vicinity.

Image 4.2: Demonstrating two-way audio communication.
4.3 動きの検出とアラート
The camera features advanced motion detection with human shape recognition. When motion is detected, the camera can automatically turn on floodlights, track the object, and send instant alerts to your phone.
- Setting Detection Sensitivity: In the app settings, adjust the detection sensitivity to minimize false alarms.
- Defining Detection Zones: Create specific detection zones to focus monitoring on critical areas and ignore irrelevant movements.
- アラート: Receive instant app notifications and email alerts when motion is detected.

Image 4.3: Motion detection with intelligent recognition for humans, vehicles, and pets.

Image 4.4: Configuring custom motion detection zones.
4.4 記録と保存
カメラは主に 2 つの保存方法をサポートしています。
- マイクロSDカード: Insert a micro SD card (up to 128GB, not included) into the designated slot for continuous 24/7 loop recording, even without network access.
- クラウドストレージ: Optional cloud storage services are available through the O-KAM PRO app for secure, remote access to your footage.

画像 4.5: ローカル ストレージ用の Micro SD カード スロット。
5. メンテナンス
5.1 クリーニング
- カメラのレンズとソーラーパネルを定期的に柔らかくて乾いた布で拭いてください。amp cloth to remove dust and debris. This ensures optimal image clarity and solar charging efficiency.
- 過酷な化学薬品や研磨剤入りのクリーナーは使用しないでください。
5.2気象保護
The camera is IP66 weatherproof, designed to withstand rain, snow, and dust. However, extreme weather conditions may temporarily affect performance. Ensure all ports are securely sealed.
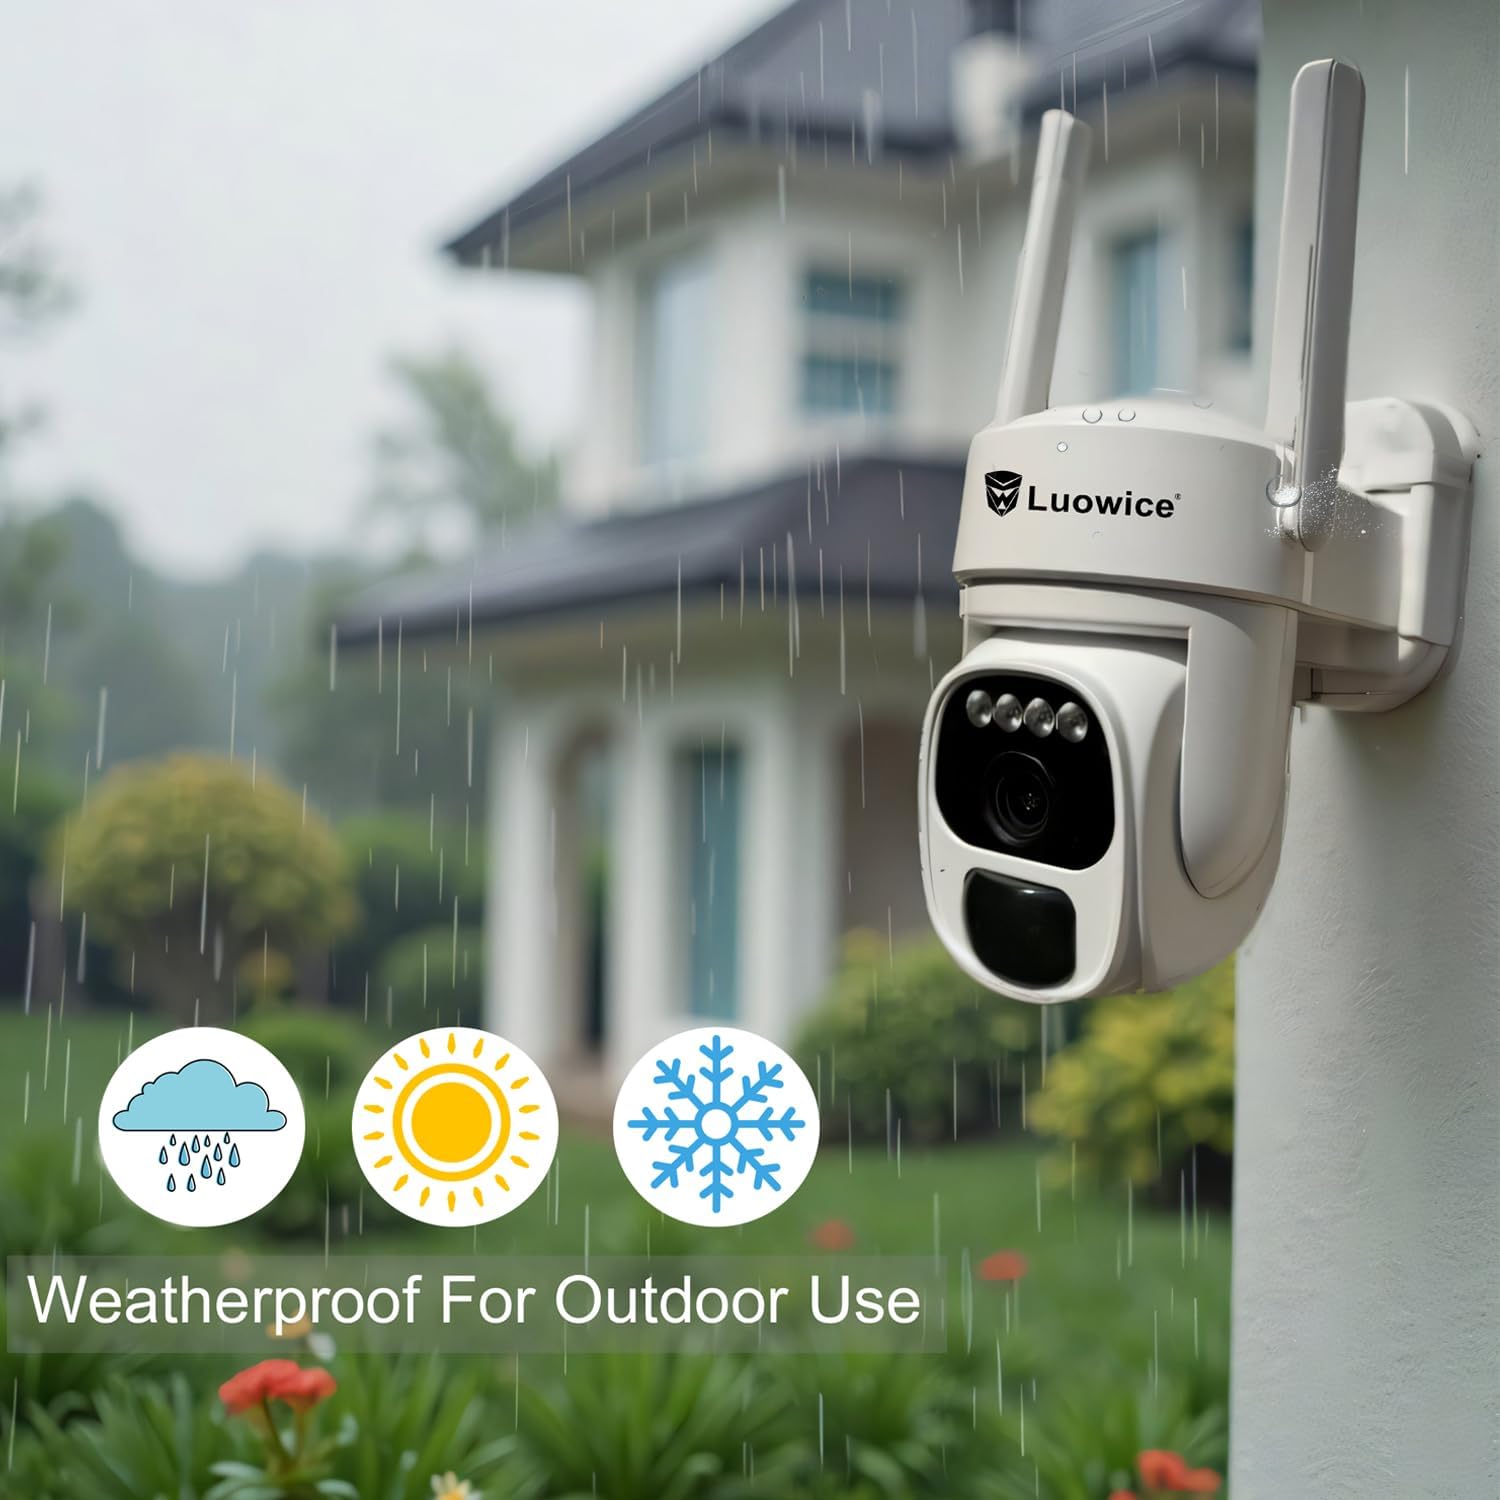
Image 5.1: The camera's weatherproof design for outdoor use.
6。 トラブルシューティング
- カメラがWi-Fiに接続できない: Ensure your Wi-Fi is 2.4 GHz. Check Wi-Fi signal strength at the camera's location. Restart your router and the camera.
- バッテリーが充電されない: Verify the solar panel is clean and receiving direct sunlight. Check the USB charging cable connection. Ensure the ambient temperature is within the operating range for charging.
- ビデオ品質が悪い: カメラのレンズをきれいにしてください。十分な照明を確保してください。インターネット接続速度を確認してください。
- 誤動作アラート: アプリでモーション検知の感度を調整できます。特定の検知ゾーンを定義して、不要なエリアを除外できます。
- Pan/Tilt not responding: Check app connectivity. Ensure there are no physical obstructions. Restart the camera.
7. 仕様
| 特徴 | 仕様 |
|---|---|
| ビデオキャプチャ解像度 | 3 MP |
| 電源 | 太陽光発電(3Wソーラーパネル) |
| 接続プロトコル | Wi-Fi(2.4 GHz) |
| パン/チルト範囲 | 横長、355°垂直°90 |
| ナイトビジョン | Color Night Vision with Floodlights |
| ストレージオプション | マイクロSDカード(最大128GB)、クラウドストレージ |
| 耐候性評価 | IP66 |
| 電池が必要 | リチウムイオン電池1個(付属) |
| アイテム重量 | 1.85ポンド |
| 寸法 | 7.87 x 6.18 x 5.55インチ(パッケージ) |
| 対応デバイス | スマートフォン、タブレット、コンピューター |
8. 保証とサポート
8.1 保証情報
Luowice products typically come with a manufacturer's warranty. Please refer to the product packaging or the official Luowice website for specific warranty terms and conditions. Optional extended protection plans may be available for purchase.
8.2 カスタマーサポート
For technical assistance, troubleshooting, or warranty claims, please contact Luowice customer support through their official website or the contact information provided with your product. When contacting support, please have your product model (B0DF4TVZ7Z) and purchase details ready.