1. はじめに
The Optex ORT8915-UHD is a state-of-the-art 4K DVB-T2 terrestrial digital television receiver. This device allows you to receive terrestrial digital television programs in stunning 4K quality, providing a high-quality visual and audio experience. It supports HEVC encoding for efficient broadcasting and offers various features to enhance your viewing の経験。
2. パッケージ内容
インストールを続行する前に、パッケージにすべてのアイテムが揃っていることを確認してください。
- Optex ORT8915-UHD 4K DVB-T2 Receiver x1
- 電源アダプター x 1
- 1.5V Batteries x2
- ユーザーマニュアル x1
- リモコンx1
- HDMIケーブルx1

Image 2.1: The Optex ORT8915-UHD receiver along with its included accessories: power adapter, batteries, user manual, remote control, and HDMI cable.
3.製品オーバーview
3.1フロントパネル
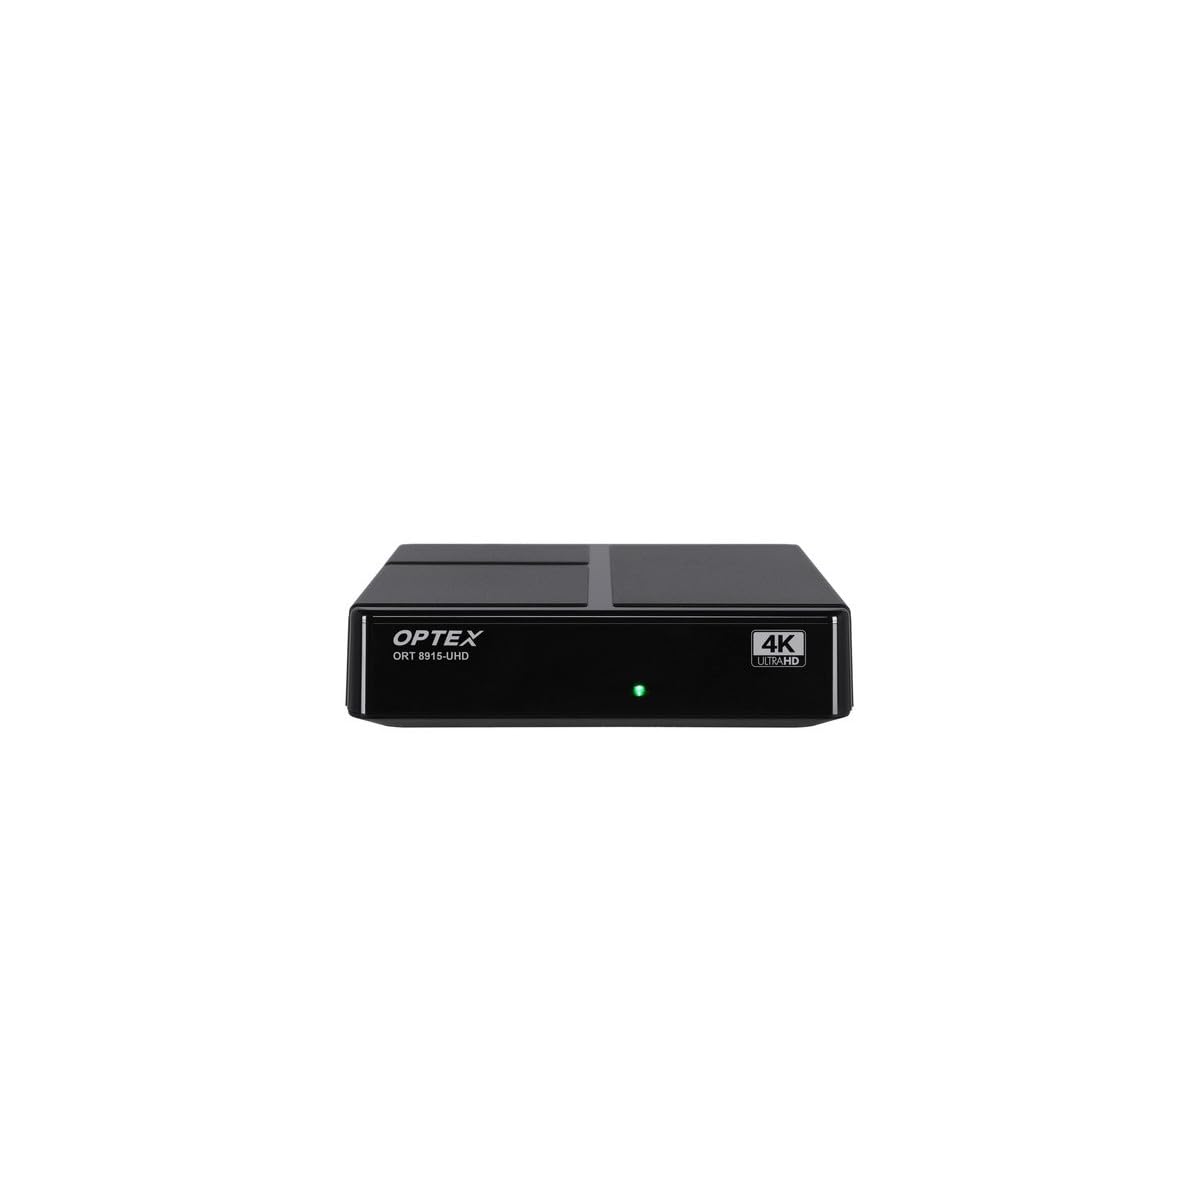
画像3.1:正面 view of the Optex ORT8915-UHD receiver, showing the USB port and control buttons.
The front panel features a USB port for connecting external storage devices, along with basic control buttons for power, menu navigation, channel selection (CH+/CH-), and volume adjustment (V+/V-).
3.2 背面パネル

画像3.2:リア view of the Optex ORT8915-UHD receiver, displaying various input/output ports.
背面パネルには次の接続が含まれます。
- ANT IN: 地上アンテナを接続するために使用します。
- OPTIC: 光デジタルオーディオ出力。
- AV: アナログビデオ/オーディオ出力。
- HDMI: High-Definition Multimedia Interface output for connecting to a TV.
- DC IN: アダプタの電源入力。
3.3リモコン

Image 3.3: The remote control for the Optex ORT8915-UHD receiver, featuring various function buttons.
The remote control provides full functionality for navigating menus, changing channels, adjusting volume, accessing program guides, and utilizing special features like Timeshift and USB recording.
4. セットアップ
- アンテナを接続します。 Connect your terrestrial antenna cable to the "ANT IN" port on the rear panel of the receiver.
- テレビに接続する:
- For High-Definition (HD) connection: Use the provided HDMI cable to connect the "HDMI" port on the receiver to an HDMI input on your television.
- For Standard-Definition (SD) connection: Use an AV cable (not included) to connect the "AV" ports on the receiver to the corresponding AV inputs on your television.
- 接続電源: Plug the power adapter into the "DC IN" port on the receiver, then plug the adapter into a power outlet.
- リモコンに電池を挿入します: Open the battery compartment on the back of the remote control and insert the two 1.5V batteries, ensuring correct polarity.
- 電源オン: Press the power button on the receiver or the remote control to turn on the device.
- テレビ入力を選択: On your television, select the correct HDMI or AV input source that corresponds to the connection you made in step 2.
5. 操作手順
5.1 初期チャンネルスキャン
Upon first use or after a factory reset, the receiver will guide you through an initial setup process, including a channel scan. Follow the on-screen prompts to automatically search for available DVB-T2 channels in your region. Ensure your antenna is properly connected for optimal results.
5.2 基本機能
- チャンネルナビゲーション: 使用 CH+ そして CH- buttons on the remote or front panel to change channels.
- 音量コントロール: 使用 V+ そして V- 音量を調整するためのボタン。
- メニューアクセス: を押す メニュー 設定と機能のメイン メニューにアクセスするためのボタン。
- 番組ガイド (EPG): を押す 電子ブック ボタンを押す view the Electronic Program Guide, which displays broadcast schedules.
- 文字放送: Access teletext services by pressing the テテックス ボタン。
5.3つの高度な機能
- Timeshift (Live Control): Connect a USB storage device to the receiver. Press the タイムシフト button (often a pause/play icon) to pause live TV, allowing you to resume view後でね。
- USB Recording (PVR): With a USB storage device connected, you can record live TV programs. Use the 記録 リモコンのボタンを押して録画を開始します。
- マルチメディア再生: The USB port also supports playback of various multimedia files (audio, video, images) from a connected USB storage device. Navigate to the multimedia section in the main menu to access this feature.
- ペアレンタルコントロール: Set up parental control features through the menu to restrict access to certain channels or programs based on age ratings.
- お気に入りリスト: Create customized lists of your favorite channels for quick access.
6. メンテナンス
- クリーニング: レシーバーの外装を清掃する際は、柔らかく乾いた布をご使用ください。液体クリーナーや研磨剤は使用しないでください。
- 換気: 過熱を防ぐため、受信機は必ず換気の良い場所に設置してください。通気孔を塞がないでください。
- ソフトウェアアップデート: Periodically check for software updates via USB to ensure optimal performance and access to new features. Refer to the main menu settings for update options.
7。 トラブルシューティング
| 問題 | 考えられる原因 | 解決 |
|---|---|---|
| 画像も音声も出ない | Incorrect TV input selected, loose cable connections, power issue. |
|
| チャンネルが見つかりません | Antenna not connected or positioned correctly, no channel scan performed. |
|
| リモコンが動作しない | Dead batteries, obstructed signal, remote not paired (if applicable). |
|
| 画質が悪い | Weak antenna signal, incorrect resolution settings. |
|
8. 仕様
| 特徴 | 詳細 |
|---|---|
| モデル | ORT8915-UHD |
| ブランド | オプテックス |
| 製品タイプ | 4K DVB-T2 Terrestrial Receiver |
| ビデオエンコーディング | VC |
| 対応デバイス | Television, Game Console, Tablet, Personal Computer, Ampライター、スピーカー、スマートフォン |
| 接続技術 | USB |
| オーディオ出力モード | ステレオ |
| オーディオ出力タイプ | HDMI、光学式 |
| サラウンドサウンドチャンネル構成 | 5.1、7.1、9.2 |
| 特集 | 動き検出器 |
| 合計HDMIポート | 1 |
| 消費電力(スタンバイ) | <0.5W |
| 寸法(長さ×幅) | 126.0mm×125.0mm |
| 製品重量 | 470グラム |
9. 保証とサポート
For warranty information and technical support, please refer to the official Optex webご購入の際は、サイトをご覧いただくか、お近くの販売店にお問い合わせください。保証請求の際は、購入証明としてレシートを保管してください。
Software updates are guaranteed until an unknown date, as per product information. For the latest information, please visit the manufacturer's support page.