
1. はじめに
Thank you for choosing the LAMA 4K UHD 75MP Digital Camera, Model LM249A. This camera is designed to capture high-quality photos and videos with ease, featuring a 75-megapixel sensor, 4K Ultra HD video recording, 18X digital zoom, autofocus, anti-shake technology, and a convenient 180° flip screen. This manual provides detailed instructions to help you get started and make the most of your new camera.
2.製品オーバーview
Familiarize yourself with the main components and controls of your LAMA digital camera.

図2.1: 前面 view of the LAMA 4K UHD 75MP Digital Camera, showing the lens and flash.

図2.2:以上view of the camera's key features including 64MP resolution, 4K video, 18X zoom, autofocus, and fill light.
2.1 カメラコンポーネント
- レンズ: Captures images and videos. Features 18X digital zoom.
- LCDスクリーン: 3.0インチディスプレイ viewing, menu navigation, and playback. It can flip 180 degrees for selfies.
- シャッターボタン: 半押しするとフォーカスし、完全に押すと写真を撮影したり、ビデオ録画を開始/停止します。
- 電源ボタン: カメラのオン/オフを切り替えます。
- モードダイヤル: Selects different shooting modes (e.g., Photo, Video, Timed).
- ズームレバー(T/W): Adjusts the digital zoom (Telephoto/Wide).
- Navigation Buttons (OK, Up, Down, Left, Right): Used for menu navigation and setting adjustments.
- メニューボタン: カメラの設定にアクセスします。
- DISPボタン: Changes display information on the LCD screen.
- 内蔵フィルライト: Provides additional illumination in low-light conditions.
- バッテリーコンパートメント: 充電式バッテリーを収納します。
- メモリーカードスロット: Micro SD (TF) カードを挿入します。
- USB-Cポート: 充電やパソコンへのデータ転送に。
3. セットアップ
3.1 バッテリーとメモリーカードの挿入
Before using the camera, ensure the battery is charged and a memory card is inserted.
- カバーを開きます: Slide to open the battery/memory card compartment cover located on the side or bottom of the camera.
- 電池を挿入します: Insert the provided battery into the battery compartment, ensuring the correct orientation.
- メモリカードを挿入します: Gently pull out the "USB/TF" silicone cover. Insert a Micro SD (TF) card (up to 64GB supported) into the memory card slot until it clicks into place. Ensure the card is facing the correct direction.
- カバーを閉じる: 収納部カバーをしっかりと閉めてください。

Figure 3.1: Visual guide for installing the battery and Micro SD card into the camera.
3.2 バッテリーの充電
Connect the camera to a power source using the provided Type-C USB cable. The charging indicator will illuminate. Once fully charged, the indicator will change or turn off.
4. 基本操作
4.1 電源のオン/オフ
電源ボタンを長押しして、カメラの電源をオンまたはオフにします。
4.2 写真を撮る
- 写真モードを選択します: Turn the mode dial to the photo icon.
- ショットのフレーミング: LCD 画面を使用して画像を構成します。
- オートフォーカス: Press the shutter button halfway down. The camera will automatically focus. A green frame indicates successful focus.
- 写真を撮る: シャッターボタンを完全に押し下げて写真を撮影します。
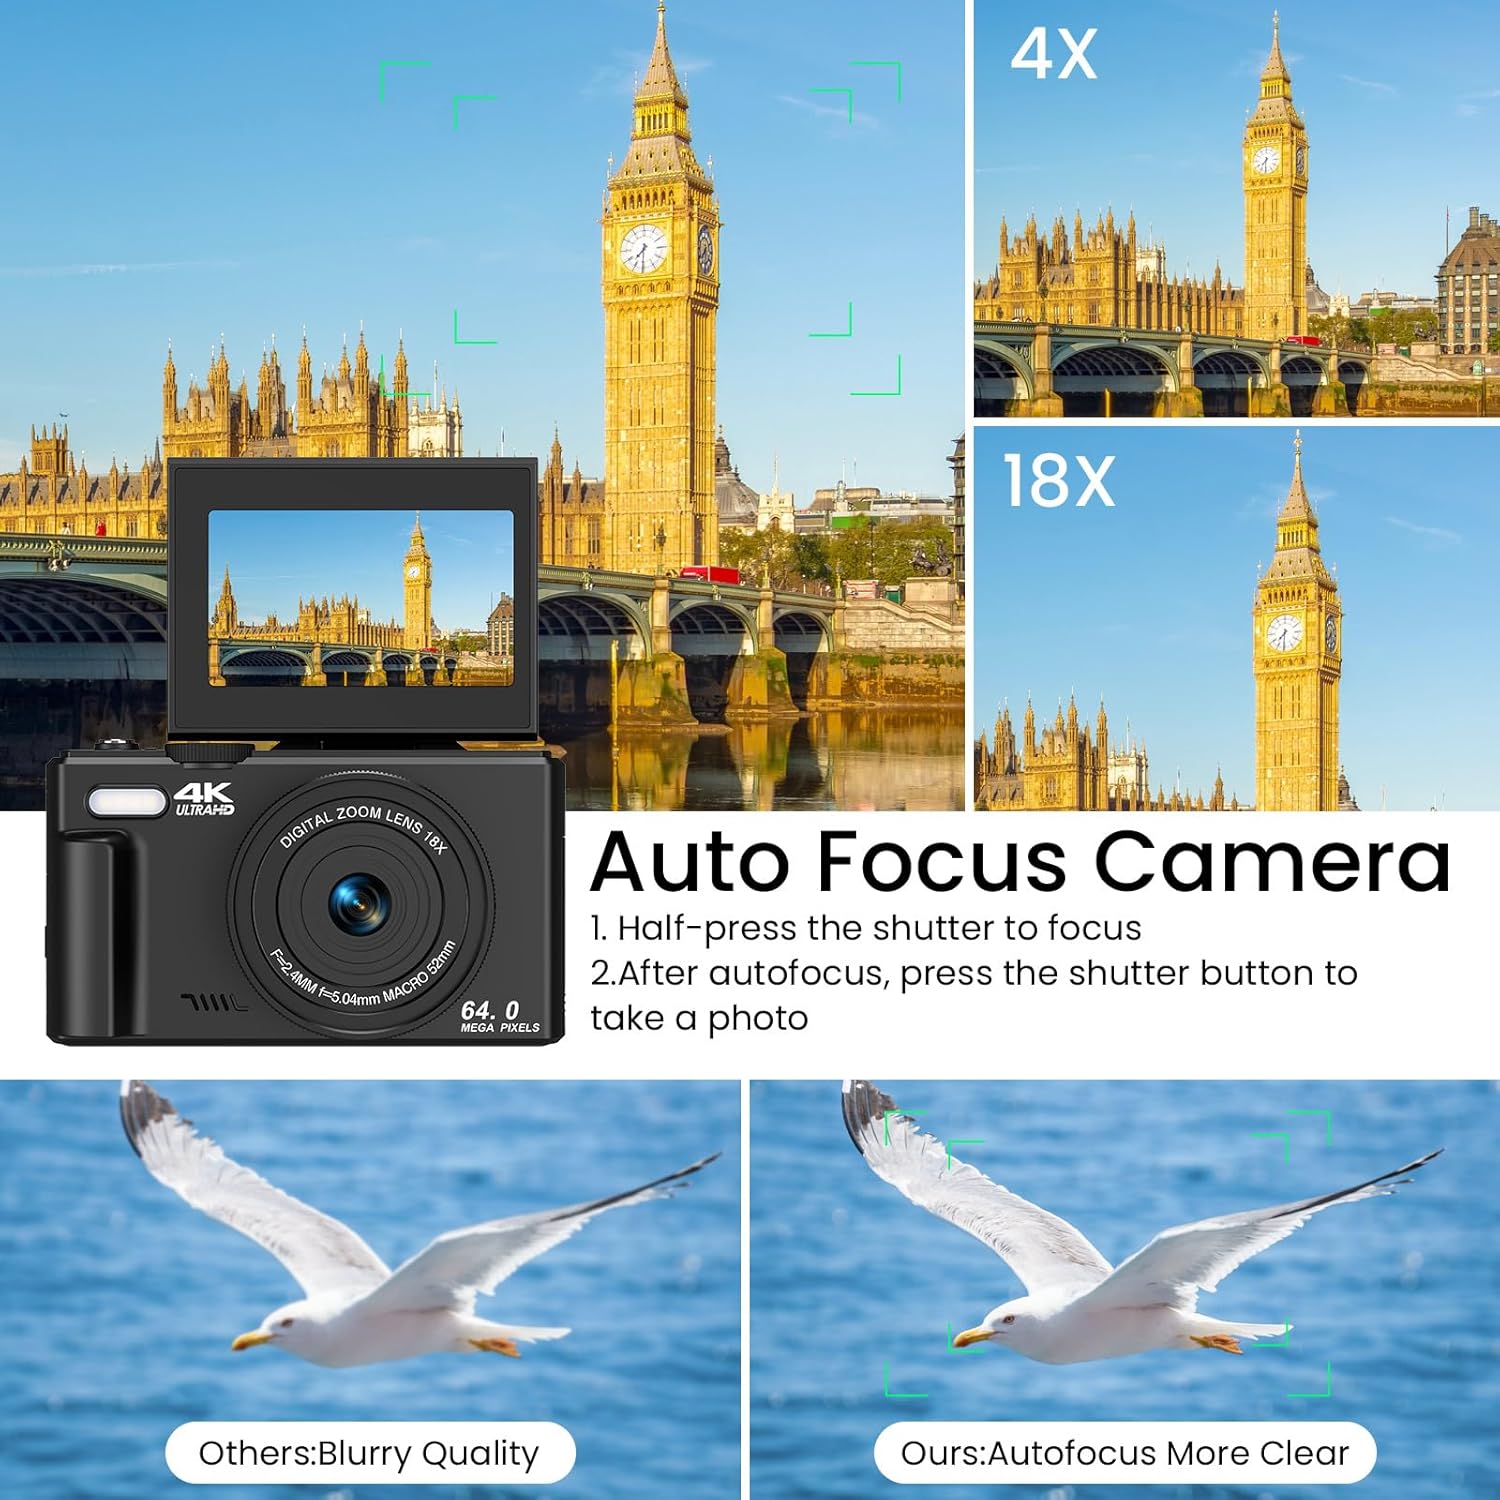
Figure 4.1: Illustration of the autofocus function, showing how to achieve clear images.
4.3ビデオの録画
- ビデオモードを選択します: Turn the mode dial to the video icon.
- 録画を開始: Press the shutter button to begin recording. A red indicator on the screen will show recording is active.
- 録画を停止: シャッターボタンをもう一度押すと、記録が停止します。
4.4 ズームの使用
Use the T (Telephoto) and W (Wide) buttons on the zoom lever to adjust the 18X digital zoom. Press T to zoom in and W to zoom out.

Figure 4.2: Demonstration of the 18X digital zoom capability, showing different levels of magnification.
4.5手ぶれ補正機能
The camera features an anti-shake function to help reduce blur in photos and videos, especially when shooting handheld or in motion. This feature is automatically enabled.

Figure 4.3: Comparison showing the effectiveness of the anti-shake feature in capturing clear action shots.
5. 高度な機能
5.1 180° Flip Screen
The LCD screen can be flipped 180 degrees, allowing you to easily frame yourself for selfies and vlogging. Simply pull the screen up and rotate it forward.
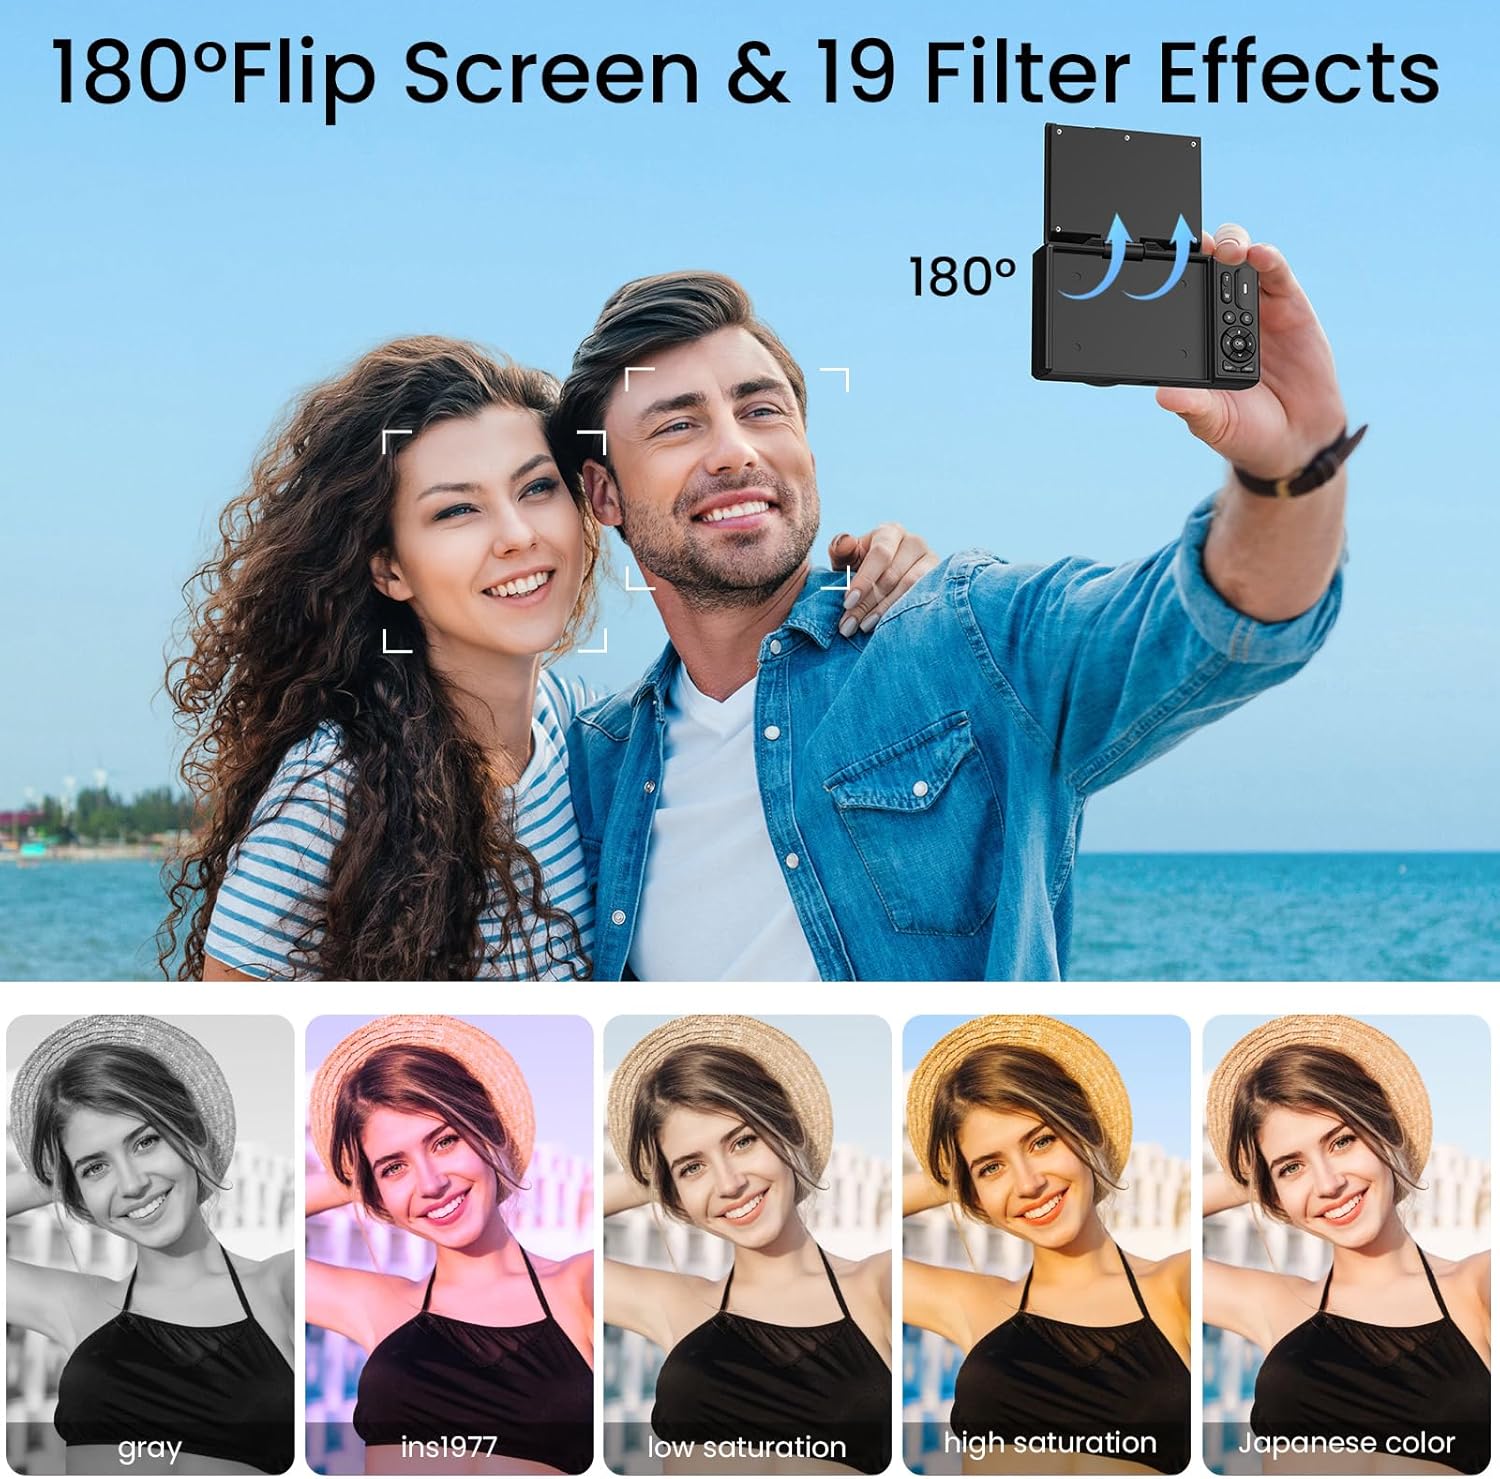
Figure 5.1: The camera's 180° flip screen, ideal for self-portraits and vlogging.

Figure 5.2: The flip screen in action, making it convenient for selfies and group shots.
5.2 Built-in Fill Light
Activate the built-in fill light to brighten your subjects in dimly lit environments, ensuring clearer photos and videos.
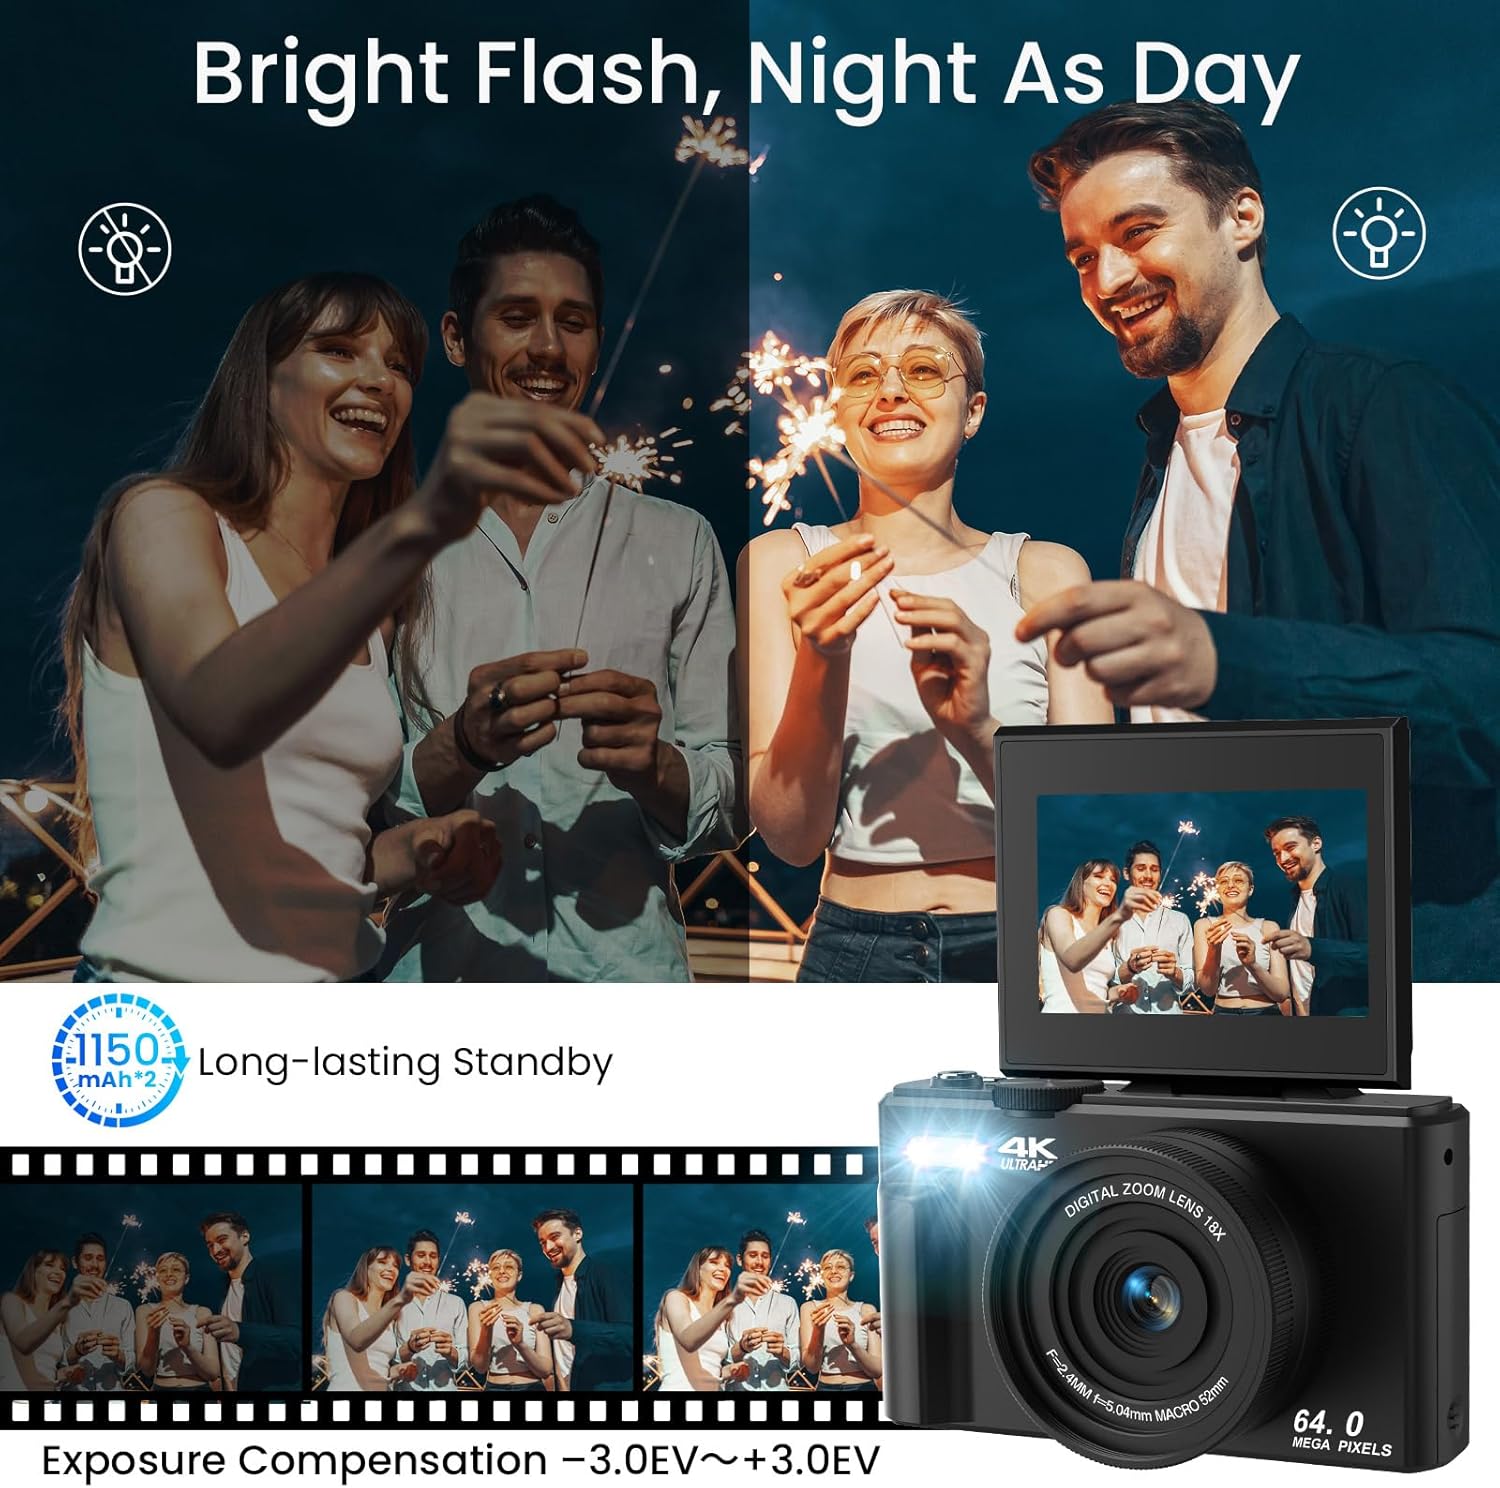
Figure 5.3: The camera's built-in fill light, enhancing visibility in low-light conditions.

Figure 5.4: Before and after comparison demonstrating the effectiveness of the fill light.
5.3 Special Shooting Modes and Effects
Your camera offers various modes and effects to enhance your creativity:
- タイムドシューティング: Set a timer (2s, 5s, 10s, 15s, 30s) for self-portraits or group photos.
- バーストモード: Capture a rapid sequence of photos for action shots.
- Slowly Shooting: ビデオをスローモーションで録画します。
- Lapse Effects: Create time-lapse videos by compressing time.
- 顔検出と笑顔キャプチャ: Automatically detects faces and captures smiles.
- Beauty Function: Enhances facial features for more flattering portraits.
- 19種類のフィルター効果: Apply various artistic filters (e.g., Gray, Ins1977, Low Saturation, High Saturation, Japanese Color) to your photos.

図5.5:以上view of creative shooting modes available on the camera.

図5.6:例amples of the 19 built-in filter effects that can be applied to photos.

Figure 5.7: The Beauty Effect and Smile Face Detection features for enhanced portraits.
5.4 WiFi転送
Transfer photos and videos wirelessly to your smartphone or computer using the camera's built-in Wi-Fi function. Refer to the camera's on-screen menu for specific instructions on connecting to a Wi-Fi network and transferring files.
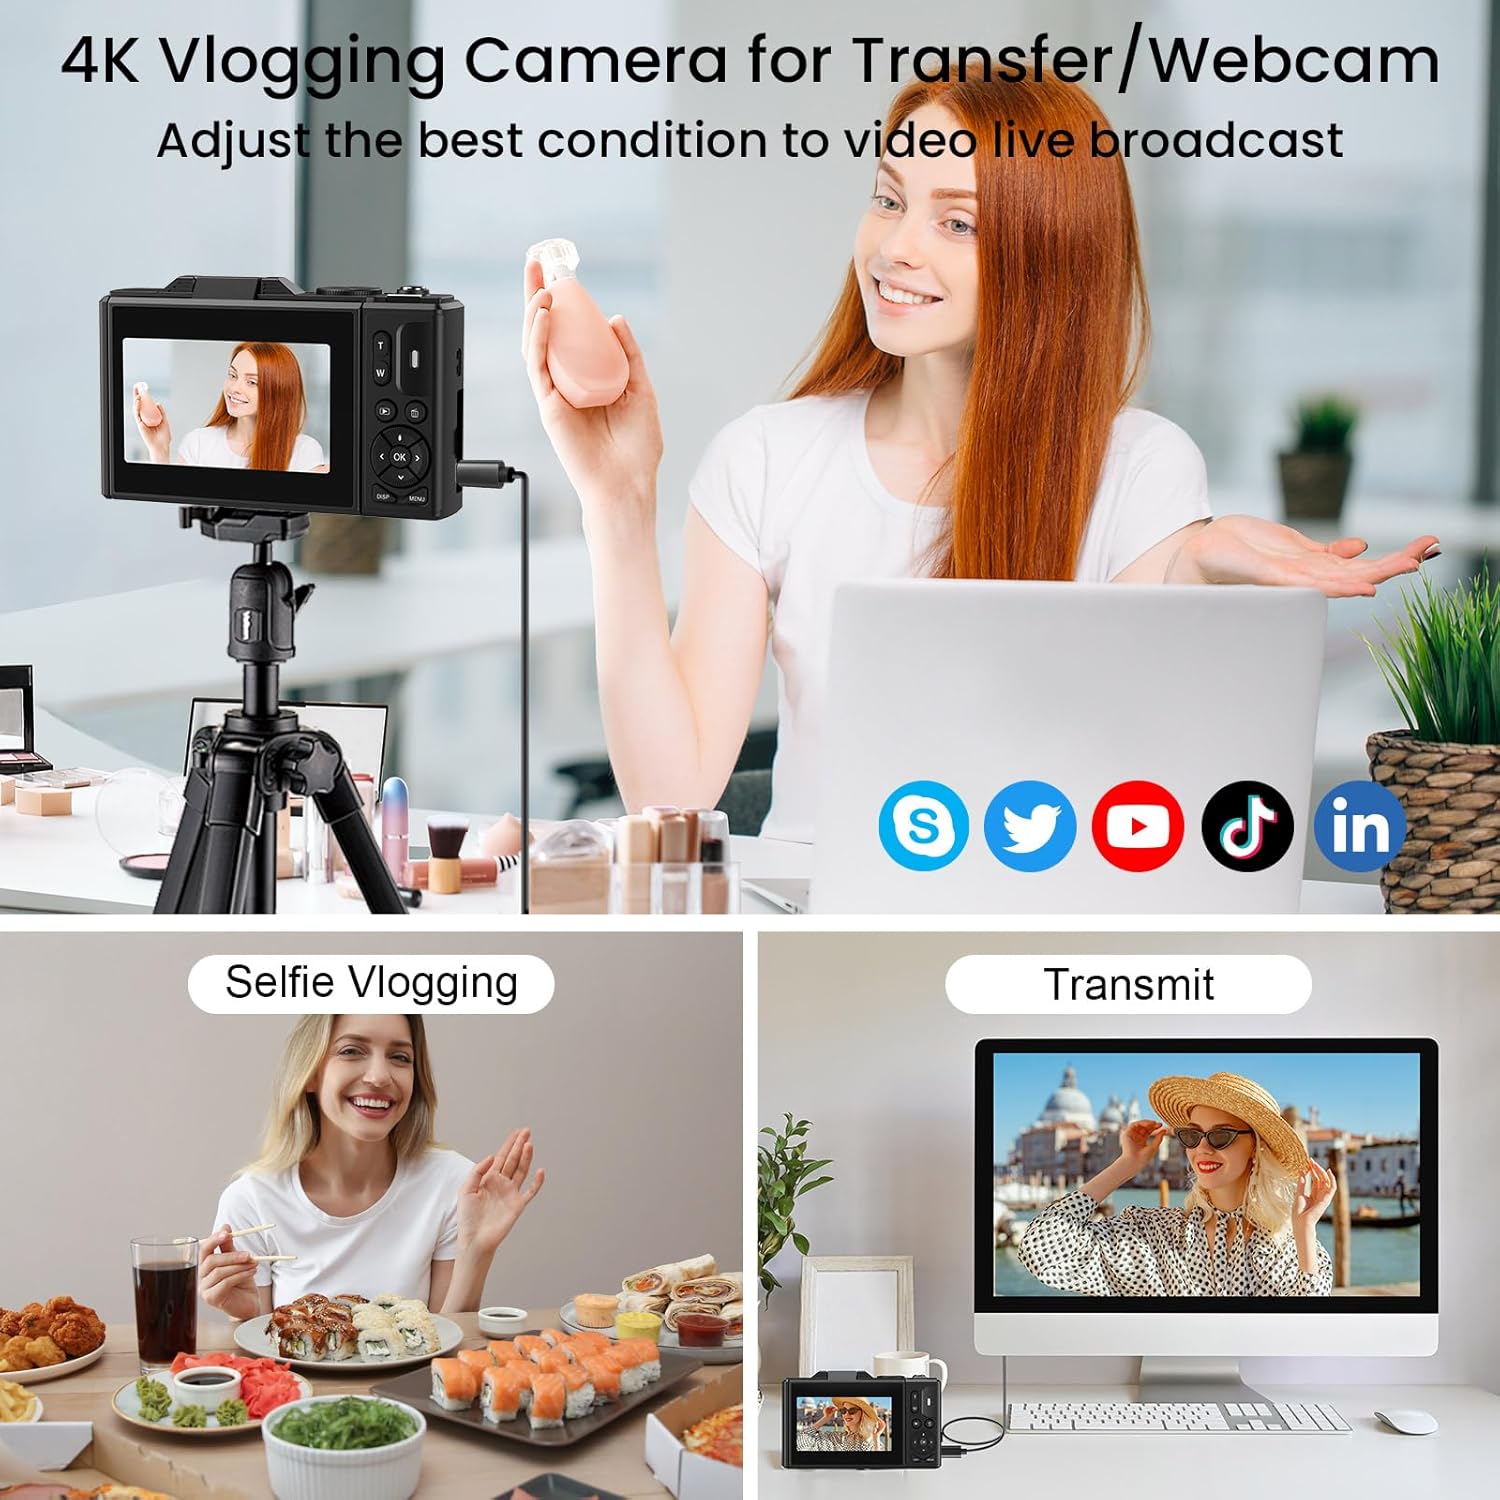
Figure 5.8: The camera supports WiFi transfer for easy sharing of content.

Figure 5.9: Visual representation of wireless file transfer from camera to smartphone.
5.5 Webカムの機能
Connect your LAMA camera to a computer via the USB-C cable to use it as a webcam for video calls or live streaming. Select the "Webcam" option on the camera's screen when prompted after connecting.

図5.10: カメラは webcam for video conferencing or streaming.
5.6 公式製品ビデオ
Watch these official videos for a visual guide on using your LAMA 4K UHD Digital Camera.
ビデオ5.1: オーバーview of the LAMA 4K UHD 64MP Digital Camera's features and functions.
Video 5.2: A demonstration of the LAMA 4K Digital Camera's capabilities in various scenarios.
6. メンテナンス
- クリーニング: カメラ本体のクリーニングには、柔らかく乾いた布をご使用ください。レンズのクリーニングには、専用のレンズクリーニングクロスと洗浄液をご使用ください。刺激の強い化学薬品は使用しないでください。
- ストレージ: カメラは直射日光や極端な温度を避け、涼しく乾燥した場所に保管してください。長期間保管する場合は、バッテリーを取り外してください。
- バッテリーのケア: Fully charge the battery before first use. Avoid overcharging or completely draining the battery.
- メモリーカード: Regularly back up your photos and videos to a computer or external storage device. Format the memory card periodically within the camera to maintain optimal performance.
7。 トラブルシューティング
| 問題 | 考えられる解決策 |
|---|---|
| カメラの電源が入りません。 | バッテリーが完全に充電され、正しく挿入されていることを確認してください。カメラを少なくとも30分間充電してみてください。 |
| 写真やビデオを撮影できません。 | Check if a memory card is inserted and has sufficient free space. Ensure the mode dial is set to the correct mode (Photo/Video). |
| 画像がぼやけてしまいます。 | Ensure the autofocus has locked onto the subject (green frame). Check for smudges on the lens and clean if necessary. Ensure sufficient lighting. |
| Wi-Fi transfer not working. | Ensure Wi-Fi is enabled on both the camera and your smart device. Follow the specific connection instructions in the camera's menu. |
| カメラがフリーズしたり、応答しなくなったりします。 | バッテリーを取り外し、数秒待ってから再度挿入し、ソフト リセットを実行します。 |
8. 仕様
| 特徴 | 詳細 |
|---|---|
| モデル名 | LM249XNUMXA |
| フォトセンサー解像度 | 75 MP(有効静止画解像度) |
| ビデオ解像度 | 4K フルHD |
| デジタルズーム | 18X |
| 画面サイズ | 3.0 inches (Tilting LCD) |
| 画像安定化 | デジタル(手ぶれ補正) |
| 接続性 | Wi-Fi、USB-C |
| ストレージメディア | マイクロSD(TF)カード、最大64GB |
| 電池のタイプ | リチウムポリマー |
| 特集 | 180° Flip Screen, Built-in Fill Light, Autofocus, Face Detection, Smile Capture, Timed Shooting, Burst Mode, Slow Motion, Time-Lapse, 19 Filter Effects, Webカム機能 |
| アイテム重量 | 8.8オンス |
9. 保証とサポート
The LAMA 4K UHD 75MP Digital Camera comes with a 1-year warranty from the date of purchase. For technical support, warranty claims, or any questions regarding your product, please contact LAMA customer service through the retailer's platform or visit the official LAMA brand store online. Please retain your proof of purchase for warranty validation.
10. 付属品
The following items are included with your LAMA 4K UHD 75MP Digital Camera:
- LAMA 4K UHD 75MP Digital Camera Body
- 64GB Micro SD (TF) Card
- 2 x充電式バッテリー
- レンズキャップ
- タイプCのUSBケーブル
- ストラップ
- 収納バッグ
- ユーザーマニュアル(このドキュメント)

Figure 10.1: All accessories included with the camera package.