T300
Generic T300 LED Mini Projector User Manual
モデル: T300
1. はじめに
ご購入ありがとうございますasing the Generic T300 LED Mini Projector. This compact and portable projector is designed for home theater use, offering a clear viewing experience with its short-focus optical lens and diffuse reflection imaging technology, which helps reduce eye strain. This manual provides essential information for setting up, operating, maintaining, and troubleshooting your projector.
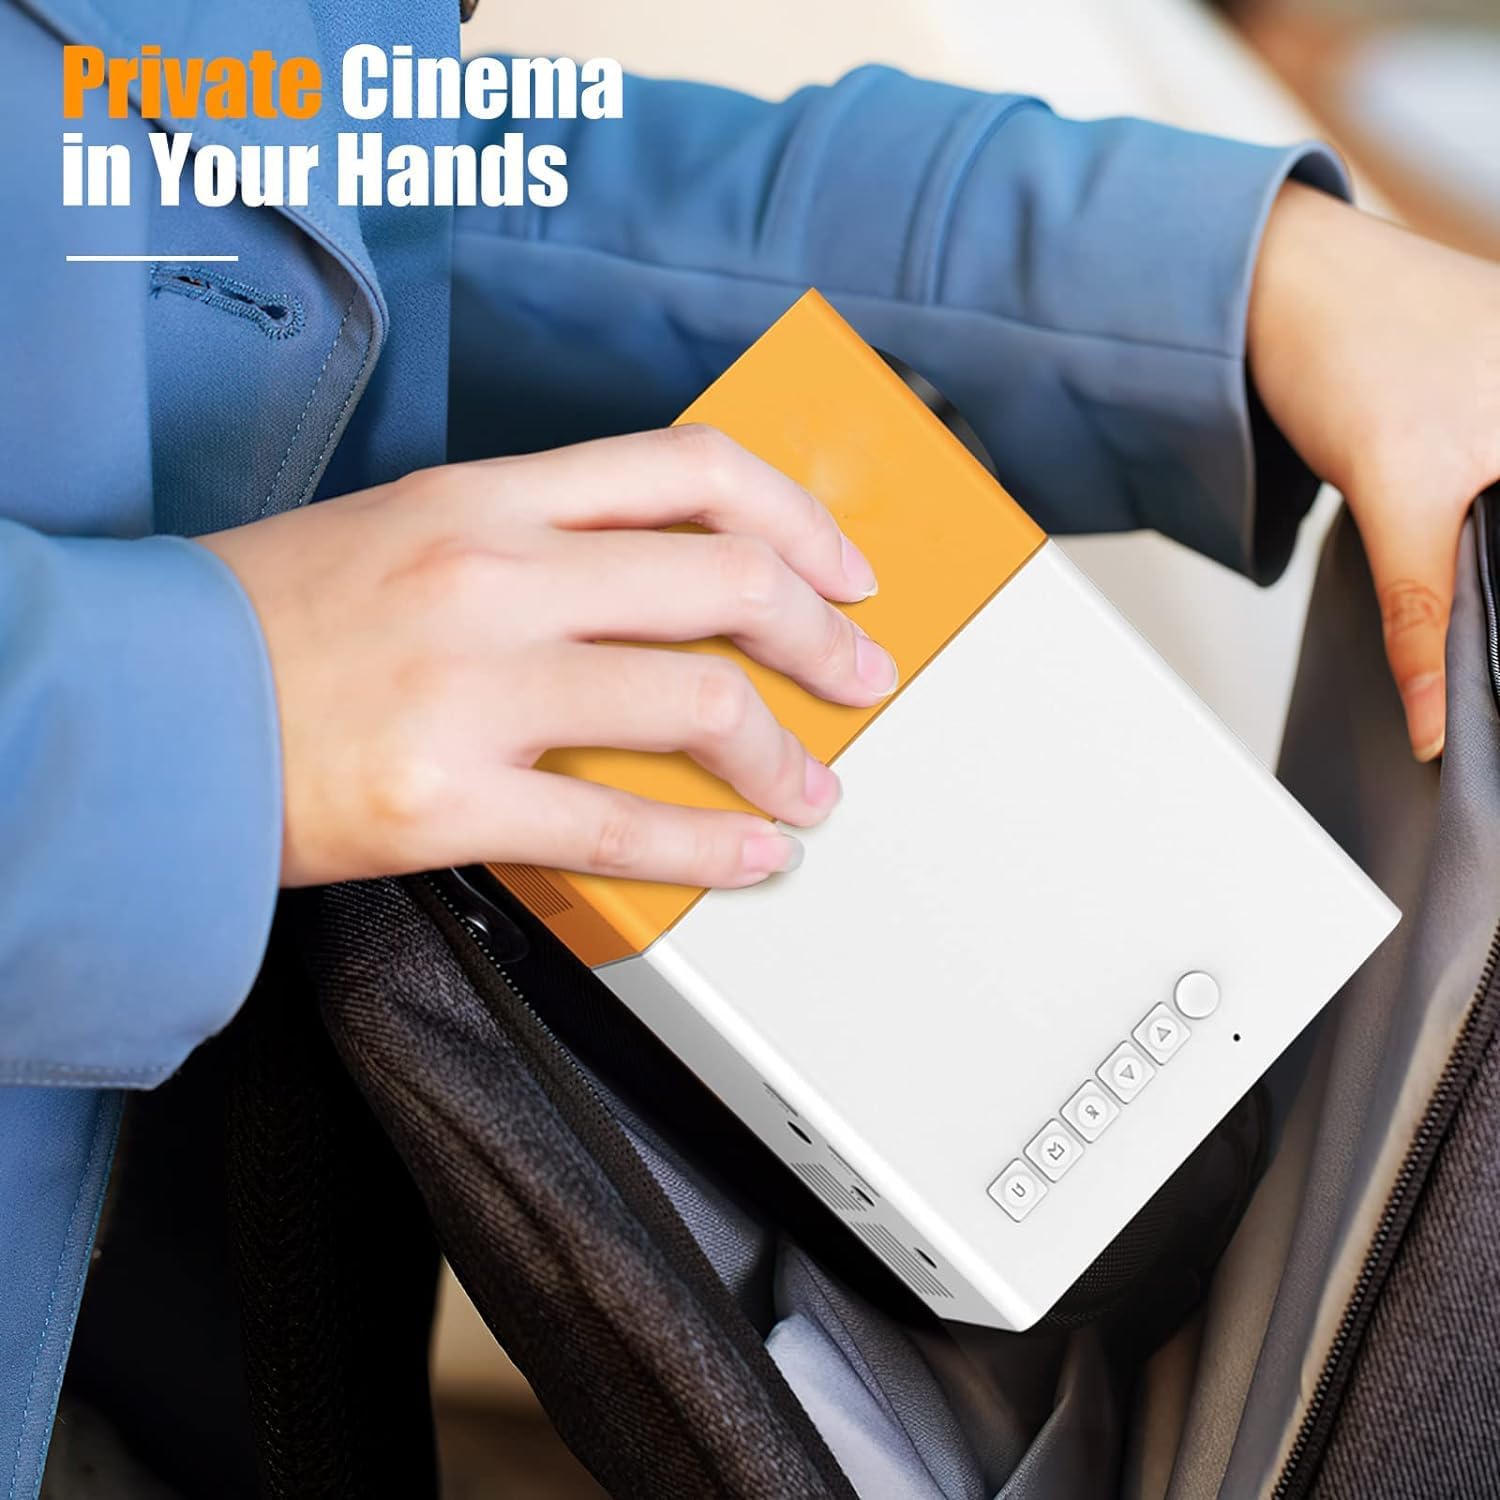
図1.1: The T300 Mini Projector's compact size allows for easy portability, fitting conveniently into a bag.
2. パッケージ内容
開梱したらパッケージの内容を確認し、すべてのアイテムが揃っていることを確認してください。
- 1x T300 Projector
- 電源アダプター(EUプラグ)×1
- リモコン x 1
- 1x AVケーブル
- ユーザーマニュアル (本書) x 1
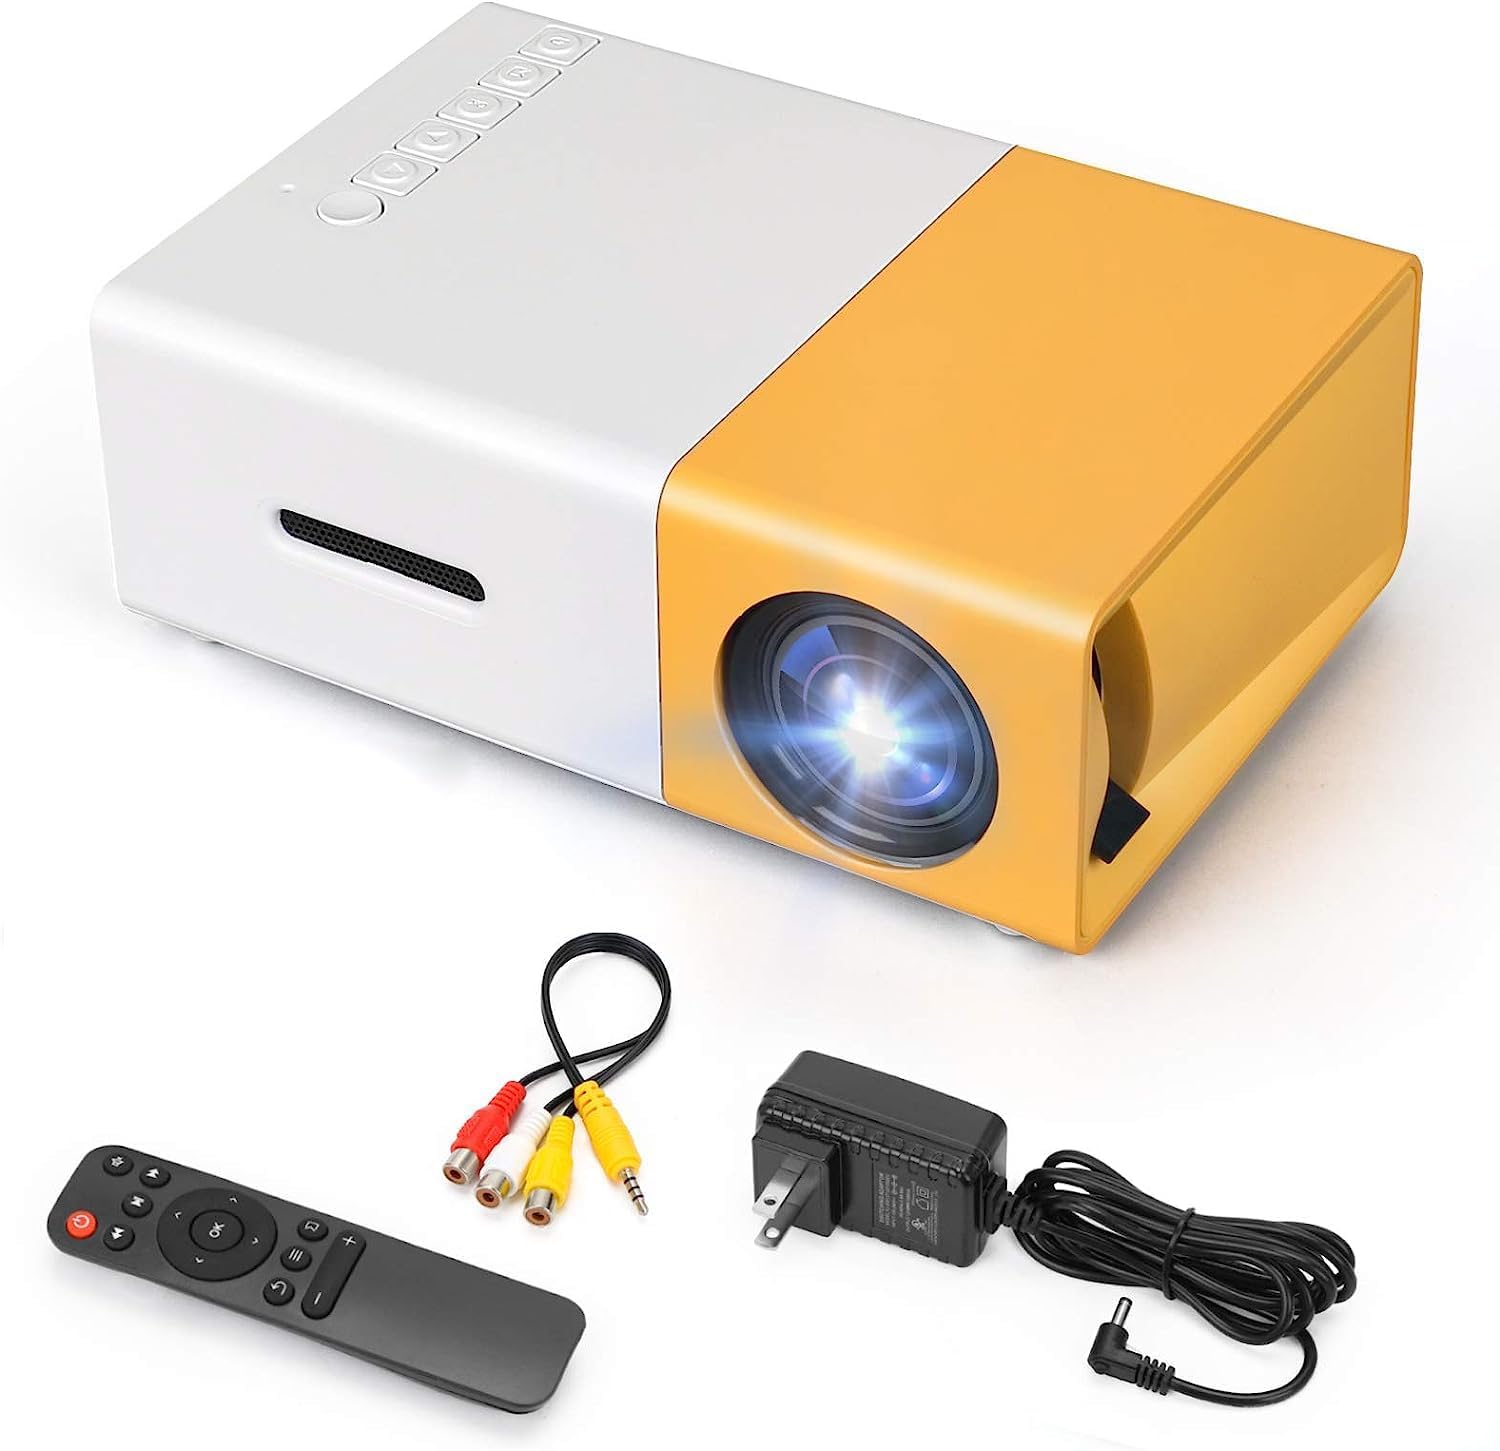
図2.1: The T300 Mini Projector and its included accessories.
3.製品オーバーview
Familiarize yourself with the various ports and controls on your T300 Mini Projector:

図3.1: フロントとリア views of the T300 Mini Projector, detailing its input/output ports and control buttons.
3.1. ポートとインターフェース
- HDMI入力: Connect to laptops, TV boxes, gaming consoles, and other HDMI-enabled devices.
- USB入力: USB ドライブから直接メディアを再生します。
- マイクロSDカードスロット: Micro SD カードから直接メディアを再生します。
- AV 入力: 付属の AV ケーブルを使用して古いデバイスに接続します。
- マイクロUSB(5V/2A): Power input option, compatible with power banks or car chargers.
- イヤホンスロット: 外部ヘッドフォンやスピーカーを接続します。
- DC電源入力: Main power input using the provided power adapter.
3.2. コントロール
- 電源スイッチ: プロジェクターの電源をオンまたはオフにします。
- Navigation Buttons (Left, Right, OK): メニューのナビゲーションと選択に使用します。
- 入力ボタン: 入力ソースを選択します。
- 戻るボタン: メニューに戻ります。
4. セットアップ
4.1. 電源接続
- Connect the provided power adapter to the DC Power Input port on the projector.
- 電源アダプタを壁のコンセントに差し込みます。
- Alternatively, for portable use, connect a 5V/2A power bank or car charger to the Micro USB (5V/2A) port.
4.2. デバイス接続
The T300 projector supports various input sources:
- HDMI: Connect your laptop, TV box, gaming console (PS4/PS3), or other HDMI devices using an HDMI cable (not included).
- USB: USBフラッシュドライブをUSBポートに挿入してメディアを再生します file直接。
- マイクロSDカード: Insert a Micro SD card into the Micro SD card slot to play media files.
- AV: Use the included AV cable to connect to devices with AV output (e.g., DVD players).

図4.1: Multimedia connectivity options for the T300 Mini Projector.
4.3. 配置と焦点
- プロジェクターを安定した平らな面に設置します。
- Position the projector at a distance between 2 to 5 meters from the projection surface to achieve an optimal image size of 60 to 150 inches.
- Adjust the focus ring on the projector lens until the image appears clear and sharp. The short-focus optical lens allows focusing at a distance of 50cm.
5. 操作手順
5.1.電源のオン/オフ
Press the Power Switch on the projector or the power button on the remote control to turn the projector on or off.
5.2. 入力ソースの選択
After powering on, use the 'Input' button on the projector or the remote control to cycle through available input sources (HDMI, USB, TF Card, AV) until your desired source is displayed.
5.3. マルチメディア再生
The projector supports multi-format video, audio, picture, and e-book playback. Navigate through your media files using the navigation buttons on the projector or remote control and press 'OK' to select.
5.4。 音声出力
The projector has a built-in miniature speaker. For enhanced audio, connect external speakers or headphones to the Earphone Slot.

図5.1: Versatile applications of the T300 Mini Projector for entertainment.
6. メンテナンス
6.1. レンズのクリーニング
柔らかく糸くずの出ない布またはレンズクリーニングペーパーを使用して、プロジェクターレンズを優しく拭いてください。レンズを傷つける可能性のある研磨剤や刺激の強い化学薬品の使用は避けてください。
6.2. 換気
過熱を防ぐため、プロジェクターの動作中は通気口が塞がれないようにしてください。プロジェクターは換気の良い場所に保管してください。
6.3. ストレージ
When not in use, store the projector in a cool, dry place, away from direct sunlight and excessive dust. It is recommended to use the original packaging or a protective case.
6.4. ルamp 人生
LED lamp in your T300 projector has an estimated life of 20,000 hours, providing long-term use without frequent lamp 交換。
7。 トラブルシューティング
プロジェクターで問題が発生した場合は、次の一般的な問題と解決策を参照してください。
- 画像が表示されない:
- プロジェクターの電源がオンになっており、電源アダプタがしっかりと接続されていることを確認します。
- Verify the input source is correctly selected (HDMI, USB, AV, etc.).
- プロジェクターとソースデバイス間の接続ケーブルを確認してください。
- 画像がぼやけています:
- 画像が鮮明になるまでプロジェクター レンズのフォーカス リングを調整します。
- 投影距離が推奨範囲(2 ~ 5 メートル)内であることを確認します。
- 音が出ない:
- プロジェクターとソースデバイスの両方の音量設定を確認してください。
- If using external speakers/headphones, ensure they are properly connected to the Earphone Slot.
- ソースデバイスのオーディオ出力設定を確認します。
- リモコンが動作しない:
- リモコンとプロジェクターの IR 受信機の間に障害物がないことを確認してください。
- 必要に応じてリモコンの電池を交換してください。
8. 仕様
| 特徴 | 仕様 |
|---|---|
| モデル | T300 |
| サポート解決 | 1920 x 1080 (フルHD) |
| ネイティブ解像度 | 1920×1080 |
| 表示タイプ | LCD, DLP |
| インターフェース | HDMI, USB, TF Card Slot, AV, Micro USB (5V-2A) |
| 内蔵スピーカー | はい |
| Lamp 人生 | 20,000時間 |
| 製品サイズ | 114 x 87 x 50 ミリメートル |
| 推奨用途 | ホームシネマ |
| 特集 | ポータブル |
| 最大画像サイズ | 150インチ |
| 最小画像サイズ | 60インチ |
| 最大投射距離 | 5メートル |
| 最小投射距離 | 2メートル |
| 電源入力 | 5V/2A |
9. 保証とサポート
9.1. 保証情報
この製品には通常、 10日間の交換ポリシー from the date of purchase. Please refer to your retailer's specific warranty terms and conditions for detailed information. The LED lamp is designed for a long life of 20,000 hours, which is not typically covered by short-term replacement policies.
9.2. カスタマーサポート
For technical assistance, troubleshooting beyond this manual, or warranty claims, please contact your original retailer or the manufacturer, SHUBH LABH ENTERPRISES. Keep your purchase receipt or proof of purchase handy when contacting support.
Ask a question about this manual
Ask about setup, troubleshooting, compatibility, parts, safety, or missing instructions. Manuals+ will review the question and use this page’s manual context to help answer it.