
導入
This manual provides instructions for the setup, operation, maintenance, and troubleshooting of your Pisichen 17.3 inch Portable Monitor. This monitor features a 1600x900 HD resolution, 800:1 contrast ratio, 250 cd/m² brightness, 16:9 aspect ratio, and a 60Hz refresh rate, designed to provide an extended display for various devices.
The monitor includes multiple interfaces for broad compatibility and a built-in kickstand for convenience. It supports various display modes for enhanced productivity and entertainment.
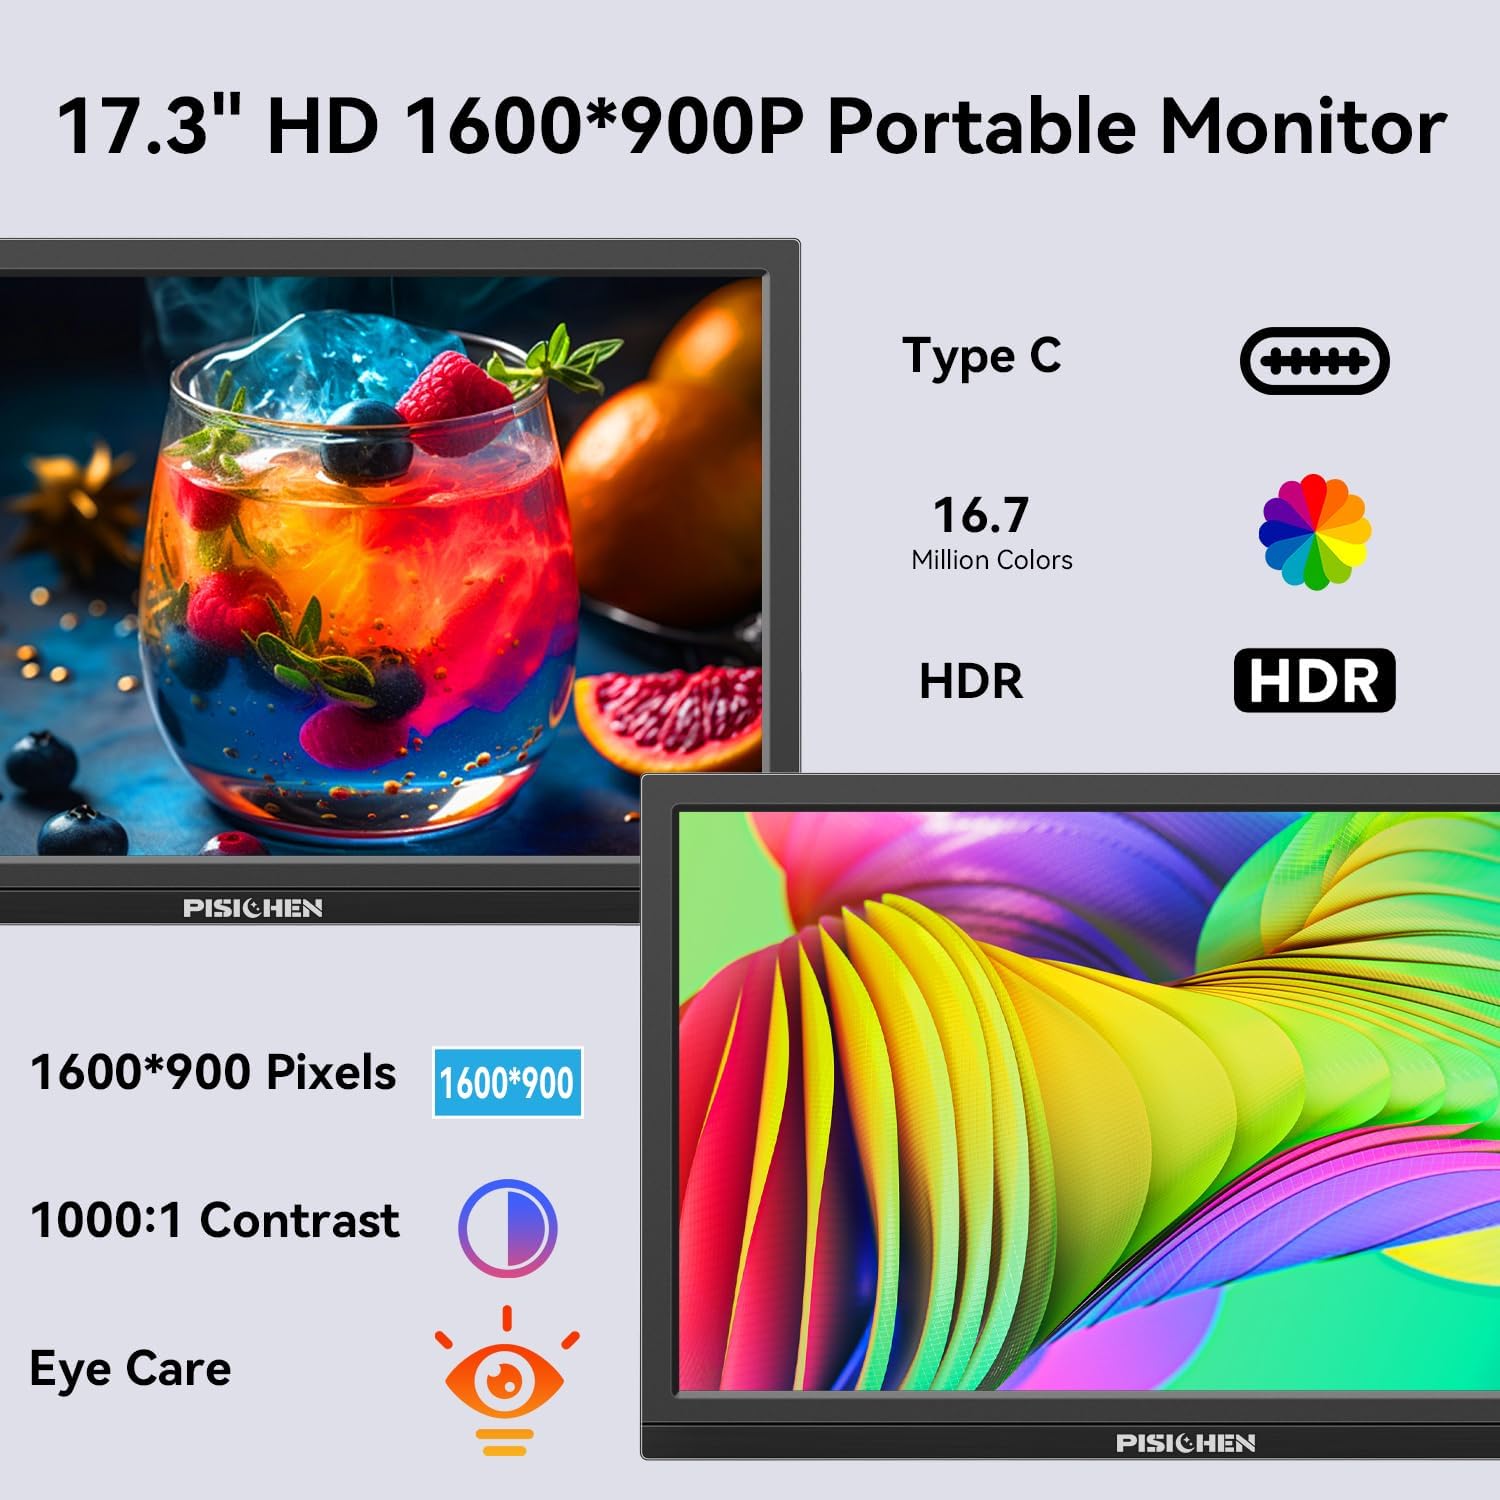
Image: The Pisichen 17.3 inch Portable Monitor highlighting its HD 1600x900 resolution, 1000:1 contrast, and eye care features.
パッケージ内容
パッケージにすべてのアイテムが揃っていることを確認します。
- 17.3インチポータブルモニター
- DC電源アダプター
- HDMI-HDMIケーブル
- USB-C から USB-C へのケーブル
- ユーザーマニュアル(このドキュメント)

Image: The portable monitor and its accompanying accessories, including cables and power adapter.
セットアップ手順
1. 電源の接続
Connect the provided DC Power Adapter to the DC Power Port on the monitor and then to a power outlet. Ensure the monitor receives sufficient power for stable operation.
2. デバイスへの接続
モニターは主に 2 つの接続方法をサポートしています。
- USB-C接続: Use the provided USB-C to USB-C cable. Connect one end to the monitor's USB-C 3.1 port (for signal input) and the other end to a compatible USB-C 3.1 (or higher) port on your laptop, PC, or smartphone. This connection can transmit both video and power.
- HDMI接続: Use the provided HDMI to HDMI cable. Connect one end to the monitor's HDMI port and the other end to the HDMI output of your device (laptop, PC, game console). When using HDMI, ensure the monitor is also connected to power via the DC power adapter.

Image: Visual guide for USB-C and HDMI connection methods, showing cable connections and power requirements.
3. 物理的なセットアップ
- 内蔵キックスタンド: The monitor features an integrated, foldable kickstand. Gently unfold it from the back of the monitor to position the screen at a desired viewing angle on a flat surface.
- VESA 取り付け: For alternative mounting options, the monitor is equipped with standard 75x75mm VESA holes on the back. This allows for mounting to compatible desktop stands or wall mounts (mounting hardware not included).
操作手順
1. Monitor Interfaces and Controls
Familiarize yourself with the ports and control buttons located on the side of the monitor:
- DC電源ポート: 電源アダプタを接続します。
- 3.5mmオーディオポート: 外部ヘッドフォンやスピーカーを接続します。
- USB C 3.1ポート: For video signal input and power delivery from compatible devices.
- USB C 2.0ポート: Primarily for charging phones or connecting OTG devices.
- HDMIポート: For video signal input from HDMI-enabled devices.
- Brightness/Up Button: Adjusts screen brightness or navigates up in the OSD menu.
- メニュー/OKボタン: Opens the On-Screen Display (OSD) menu or confirms selections.
- Volume/Down Button: Adjusts audio volume or navigates down in the OSD menu.
- OTGポート: キーボードやマウスを接続します。

画像: 詳細 view モニターのポートとコントロール ボタン。
2. 表示モード
モニターは、互換性のあるデバイスに接続すると、さまざまな表示モードをサポートします。
- 複製モード: メイン画面のコンテンツをミラーリングします。
- 拡張モード: Extends your desktop, providing additional screen space.
- セカンドスクリーンモード: ディスプレイとしてポータブルモニターのみを使用します。
These modes can typically be configured through your device's display settings (e.g., Windows Display Settings, macOS System Preferences).

画像: Example of extending a smartphone's display to the portable monitor via USB-C.
3. オンスクリーンディスプレイ(OSD)メニュー
を押す メニュー/ OK ボタンを押してOSDメニューにアクセスします。 明るさ/アップ そして 音量/ダウン buttons to navigate through options and adjust settings such as brightness, contrast, color temperature, and input source. Press メニュー/ OK again to confirm selections or exit sub-menus.
4. HDRモード
The monitor supports HDR (High Dynamic Range) technology for improved color and contrast. This mode can be enabled or disabled through the OSD menu, if supported by your connected device and content.

Image: Visual comparison of SDR and HDR display quality.
5. Low Blue Light Feature
The monitor includes a Low Blue Light feature designed to filter harmful blue light, reducing eye strain during prolonged use. This setting can be adjusted via the OSD menu.

Image: Illustration of the Low Blue Light feature for eye protection.
メンテナンス
1. モニターのクリーニング
- 清掃する前に必ずモニターの電源をオフにし、プラグを抜いてください。
- 柔らかく糸くずの出ない布を軽く拭いてください。amp水または非研磨性のスクリーンクリーナーで拭いてください。
- クリーナーを画面に直接スプレーしないでください。まず布にクリーナーを塗布してください。
- 強力な化学薬品、アルコール、アンモニアベースのクリーナーは画面の表面を傷つける可能性があるため、使用しないでください。
2. ストレージ
使用しない時は、モニターを直射日光や極端な温度を避け、涼しく乾燥した場所に保管してください。持ち運びの際は、傷や損傷を防ぐため、保護スリーブまたはケースを使用してください。
トラブルシューティング
モニターに問題が発生した場合は、次の一般的な問題と解決策を参照してください。
- 信号なし/黒い画面:
- Ensure all cables (power and video) are securely connected to both the monitor and the source device.
- ソースデバイスの電源がオンになっていて、信号を出力していることを確認します。
- Check the input source setting on the monitor via the OSD menu to ensure it matches your connection (e.g., HDMI, USB-C).
- USB-C を使用する場合は、デバイスの USB-C ポートがビデオ出力 (DisplayPort 代替モード) をサポートしていることを確認してください。
- Screen is Too Dim / Cannot Adjust Brightness:
- Access the OSD menu and navigate to the brightness settings. Ensure the brightness level is increased.
- Some devices may have their own display settings that override or limit monitor brightness. Check your connected device's display settings.
- Ensure the monitor is receiving adequate power. A weak power source can sometimes affect brightness.
- No Audio / Headphone Jack Not Working:
- モニター (OSD メニュー経由) と接続されたデバイスの両方の音量設定を確認します。
- Ensure headphones or speakers are fully plugged into the 3.5mm audio port.
- ソース デバイスのオーディオ出力がポータブル モニターに設定されていることを確認します。
- Test with different headphones or speakers to rule out a faulty audio device.
- Image Distortion / Poor Picture Quality:
- Ensure the display resolution on your source device is set to the monitor's native resolution (1600x900).
- Check for damaged or loose video cables. Try a different cable if available.
- Adjust contrast and color settings in the OSD menu.
仕様
| モデル番号 | SLZJ173 |
| 画面サイズ | 17.3インチ |
| 解決 | 1600x900 高解像度 |
| アスペクト比 | 16:9 |
| コントラスト比 | 800:1 |
| 輝度 | 250 cd/m² |
| リフレッシュレート | 60Hz |
| パネルタイプ | TN |
| View角度 | 170° |
| 色域 | 99% sRGB, 16.7 million colors (8-bit) |
| 接続性 | 1x HDMI, 1x USB-C 3.1 (signal input), 1x USB-C 2.0 (phone charging/OTG), 1x 3.5mm Audio Jack, 1x DC Power Port |
| 内蔵スピーカー | はい |
| VESAマウント | 75x75mm |
| 製品寸法 | 0.3 x 12 x 8インチ(約) |
| アイテム重量 | 3.54ポンド |
保証とサポート
For warranty information or technical support, please contact the manufacturer, Pisichen, or the retailer from whom you purchased the product. Please have your model number (SLZJ173) and purchase details ready when contacting support.