
Syncwire SW-EVP826
Syncwire 11kW 3相EV充電器(モデルSW-EVP826)取扱説明書
安全かつ効率的に電気自動車を充電するためのガイド。
1. はじめに
Thank you for choosing the Syncwire 11 kW 3-Phase EV Charger. This portable charging cable is designed to provide efficient and reliable charging for your electric vehicle. This manual contains important information regarding the safe operation, installation, and maintenance of your charger. Please read it thoroughly before use and retain it for future reference.
2. 重要な安全上の注意事項
火災、感電、および人身傷害のリスクを軽減するために、電気製品を使用するときは常に基本的な安全上の注意事項に従ってください。
- すべての指示をお読みください: Familiarize yourself with the charger's functions and safety warnings.
- 適切な取り付け: Ensure the 3-phase CEE industrial plug is connected to a compatible 400V industrial socket with appropriate grounding and circuit protection. Installation should be performed by a qualified electrician if you are unsure.
- 水に濡れないようにしてください: While the charger box is IP66 rated and the EV plug is IP54 rated, avoid submerging the unit in water. Do not operate if the charger or cables are wet or damaged.
- 損傷を検査します: Before each use, inspect the charger, cables, and connectors for any signs of damage. Do not use if any part is damaged.
- 子供とペット: Keep the charger and cables out of reach of children and pets during operation and storage.
- 換気: 充電器の使用中は、周囲の換気を十分に行ってください。充電器を覆わないでください。
- 緊急停止: 緊急の場合は、直ちに充電器を電源および車両から取り外してください。
3. パッケージ内容
パッケージにすべてのアイテムが揃っていることを確認します。
- Syncwire 11 kW 3-Phase EV Charger with Type 2 connector and 3-Phase CEE Industrial Plug
- ケーブルホルダー
- 収納バッグ
- ユーザーマニュアル(このドキュメント)

画像3.1: The Syncwire 11 kW 3-Phase EV Charger, including the main control box, Type 2 charging cable, 3-phase CEE industrial plug, cable holder, and storage bag.
4.製品オーバーview
The Syncwire 11 kW EV Charger features a robust control box with an LCD display, a Type 2 charging connector for your vehicle, and a 3-phase CEE industrial plug for the power source. The control box manages the charging process, displays real-time information, and allows for adjustable settings.

画像4.1: 詳細な view of the 3-phase CEE industrial plug (5-pin, 62mm diameter) required for 11 kW charging. The image also illustrates the significantly faster charging speed (3X) compared to a standard 3 kW charger.
5. セットアップ
5.1電源接続
- Ensure your electrical installation has a compatible 400V, 3-phase industrial socket (CEE 5-pin) with adequate circuit protection (e.g., 16A or higher).
- Plug the 3-phase CEE industrial plug of the charger securely into the industrial socket.
- The charger's LCD display should illuminate, indicating it is powered on.
5.2 Cable Holder Installation (Optional)
The included cable holder can be mounted on a wall near your charging location to keep the cable organized and prevent tripping hazards.
- 丈夫な壁の適切な場所を選択してください。
- Use appropriate screws and wall anchors (not included) to secure the cable holder.
- Hang the Type 2 connector and coil the cable neatly around the holder when not in use.

画像5.1: 元ample of an organized charging setup using the cable holder (left) compared to a disorganized setup without it (right).
6. 操作手順
6.1 充電の開始
- 充電器が電源に正しく接続されていることを確認してください。
- 電気自動車の充電ポートカバーを開きます。
- Insert the Type 2 connector firmly into your vehicle's charging port. A click sound usually indicates a secure connection.
- The charger will perform a self-check, and charging should begin automatically. The LCD display will show charging status, current, and energy delivered.
6.2 充電電流の調整
You can adjust the charging current to suit your needs or the capacity of your electrical system. The available current settings are 6A, 8A, 10A, 13A, and 16A.
- Before connecting to the vehicle, or during charging if your vehicle supports it, press the 'Current Adjustment' button on the control box.
- Cycle through the available current options (6A, 8A, 10A, 13A, 16A) until your desired setting is displayed on the LCD.
- The charger will automatically adjust to the selected current.
6.3 Scheduled Charging (Timer Function)
The charger allows you to set a delayed start time for charging, from 0 to 5 hours.
- With the charger connected to the power source but not yet to the vehicle, or before charging starts, press the 'Timer' button on the control box.
- Each press will increase the delay by one hour, up to a maximum of 5 hours.
- Once the desired delay is set, connect the charger to your vehicle. Charging will commence after the set delay.

画像6.1: The charger's LCD display illustrating the options for adjustable current (6A-16A) and scheduled charging (0-5 hours delay).
6.4 LCDディスプレイの理解
LCD ディスプレイには、充電プロセスに関するリアルタイムの情報が表示されます。
- 充電電力: Displays the current power in kW.
- Energy Delivered: Shows the total energy transferred in kWh.
- 充電時間: Indicates the elapsed charging duration.
- 現在の設定: Shows the selected charging current (e.g., 16A).
- ステータスインジケータ: Icons for power, connection, and error messages.
6.5 充電の終了
- Stop the charging process via your vehicle's interface or by pressing the stop button on the charger (if available).
- Disconnect the Type 2 connector from your vehicle's charging port.
- Disconnect the 3-phase CEE industrial plug from the power source.
- Store the cable neatly using the cable holder and in the provided storage bag.
7. メンテナンス
7.1 クリーニング
Regular cleaning helps maintain the charger's performance and longevity.
- Always disconnect the charger from both the power source and the vehicle before cleaning.
- コントロールボックスとケーブルを柔らかくて乾いた布で拭いてください。amp 布で拭いてください。刺激の強い化学薬品、溶剤、研磨剤入りの洗剤は使用しないでください。
- Ensure connectors are free of dust and debris. Use protective caps when not in use.
7.2 ストレージ
When not in use, store the charger in a dry, clean, and temperate environment.
- Coil the cable neatly and use the provided storage bag for protection.
- 直射日光や極端な温度の場所に保管しないでください。

画像7.1: The Syncwire EV charger neatly stored in its compact, waterproof PU fabric storage bag, suitable for transport in a car trunk.
8。 トラブルシューティング
If you encounter issues with your Syncwire EV Charger, refer to the following common problems and solutions:
| 問題 | 考えられる原因 | 解決 |
|---|---|---|
| 充電器の電源が入らない | No power from the industrial socket; loose connection. | Check the industrial socket for power; ensure the CEE plug is fully inserted. |
| 充電が始まらない | Type 2 connector not fully inserted; vehicle not ready to charge; scheduled charging delay active. | Ensure Type 2 connector is secure; check vehicle's charging status; verify scheduled charging settings. |
| 充電が突然停止する | Overcurrent/overheating protection activated; vehicle fault; power interruption. | Disconnect and reconnect; check for error codes on LCD; ensure adequate ventilation; consult vehicle manual. |
| LCDにエラーメッセージが表示される | Internal fault; connection issue; specific error condition. | Note the error code and refer to the Syncwire support for assistance. Try disconnecting and reconnecting. |
If the problem persists after attempting these solutions, please contact Syncwire customer support.
9. 仕様
| 特徴 | 詳細 |
|---|---|
| モデル番号 | SW-EVP826 |
| 充電電力 | Up to 11 kW (3-Phase) |
| 入力ボリュームtage | 400ボルト(AC) |
| 出力巻tage | 400ボルト(AC) |
| 現在の評価 | Adjustable: 6A, 8A, 10A, 13A, 16A |
| ケーブル長さ | 5.5メートル |
| EV Connector Type | タイプ2 |
| 電源プラグタイプ | 3-Phase CEE Industrial Plug |
| IP 定格 (コントロール ボックス) | IP66(防水・防塵) |
| IP Rating (EV Plug) | IP54 |
| アイテム重量 | 3.91キログラム |
| 動作温度 | Refer to product packaging for specific range. |
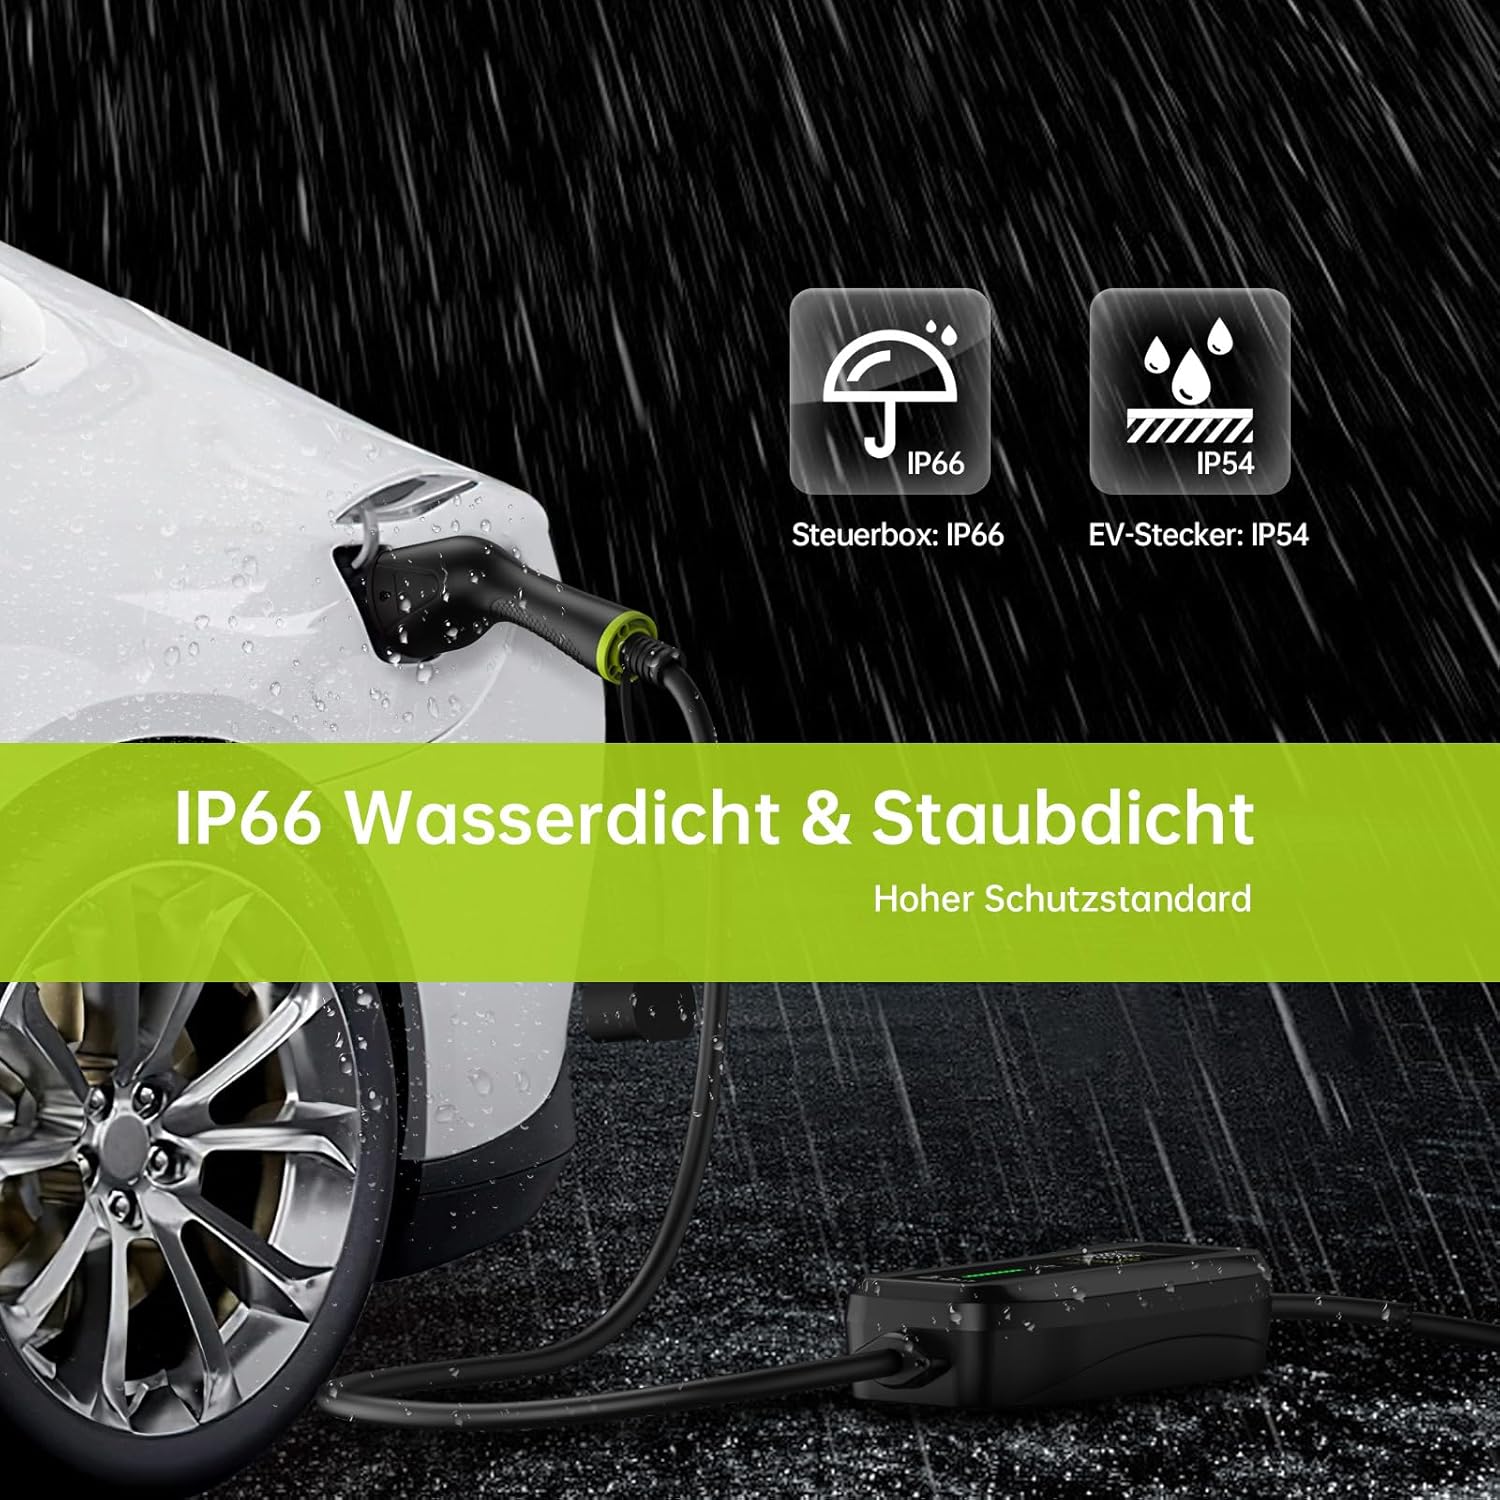
画像9.1: The Syncwire EV charger demonstrating its IP66 waterproof and dustproof rating for the control box and IP54 rating for the EV plug, suitable for outdoor use.
10. 車両の互換性
The Syncwire 11 kW 3-Phase EV Charger with a Type 2 connector is compatible with a wide range of electric vehicles. Below is a list of commonly compatible brands and models:

画像10.1: A visual representation of various electric vehicle brands and models compatible with the Type 2 EV charger, including Tesla, Volkswagen, Renault, Hyundai, Peugeot, Kia, BMW, Smart, Audi, Fiat, Nissan, Opel, Skoda, Mercedes-Benz, Mini, Dacia, MG, Polestar, Ford, Jaguar, and Porsche.
- Tesla: Model 3/Model Y/Model S/Model X
- フォルクスワーゲン: ID.3/ID.4/ID.5/e-UP!/e-Golf
- ルノー: ZOE/Twingo/Megane E-Tech
- ヒュンダイ: Kona/IONIQ 5/IONIQ
- プジョー: e-208/e-2008/e-Expert
- 起亜: Niro/Soul EV (39/64 KWH)/EV6
- BMW: i3/iX3/i4/i7/i8/X1
- 頭いい: EQ Fortwo/EQ Forfour
- アウディ: e-Tron/Q4 e-Tron/e-Tron GT
- フィアット: 500e
- 日産: Leaf/Ariya
- オペル: Corsa-E/Mokka-E
- シュコダ: Enyaq/Citigo
- メルセデス・ベンツ: EQA/EQC/EQB/EQV/EQS
- ミニ: ミニ クーパー SE
- ダチア: 春
- MG: Zs/Marvel R/5
- Polestar: 2
- フォード: マスタング マッハE
- ジャガー: アイペイス
- ポルシェ: タイカン
Note: This list is not exhaustive. Always confirm your vehicle's charging port type (Type 2) before use.
11. 保証とサポート
11.1 保証情報
Syncwire products are manufactured to high-quality standards. For specific warranty details, including coverage period and terms, please refer to the warranty card included with your purchase or visit the official Syncwire webサイトでご確認ください。保証請求に備えて購入証明書を保管してください。
11.2 カスタマーサポート
If you have any questions, require technical assistance, or need to report an issue with your Syncwire 11 kW 3-Phase EV Charger, please contact Syncwire customer support through the following channels:
- Webサイト: Visit the official Syncwire webFAQ、サポート リソース、お問い合わせフォームのサイト。
- メールアドレス: Refer to your product packaging or the Syncwire webカスタマー サポートのメール アドレスについては、サイトをご覧ください。
- 購入プラットフォーム: For issues related to your order, you may also contact the seller directly through the platform where you made your purchase.
Ask a question about this manual
Ask about setup, troubleshooting, compatibility, parts, safety, or missing instructions. Manuals+ will review the question and use this page’s manual context to help answer it.