1. はじめに
This manual provides essential information for the safe and effective operation of your xTool S1 20W Enclosed Diode Engraver and Cutter. Please read this manual thoroughly before using the device to ensure proper setup, operation, and maintenance. Keep this manual for future reference.
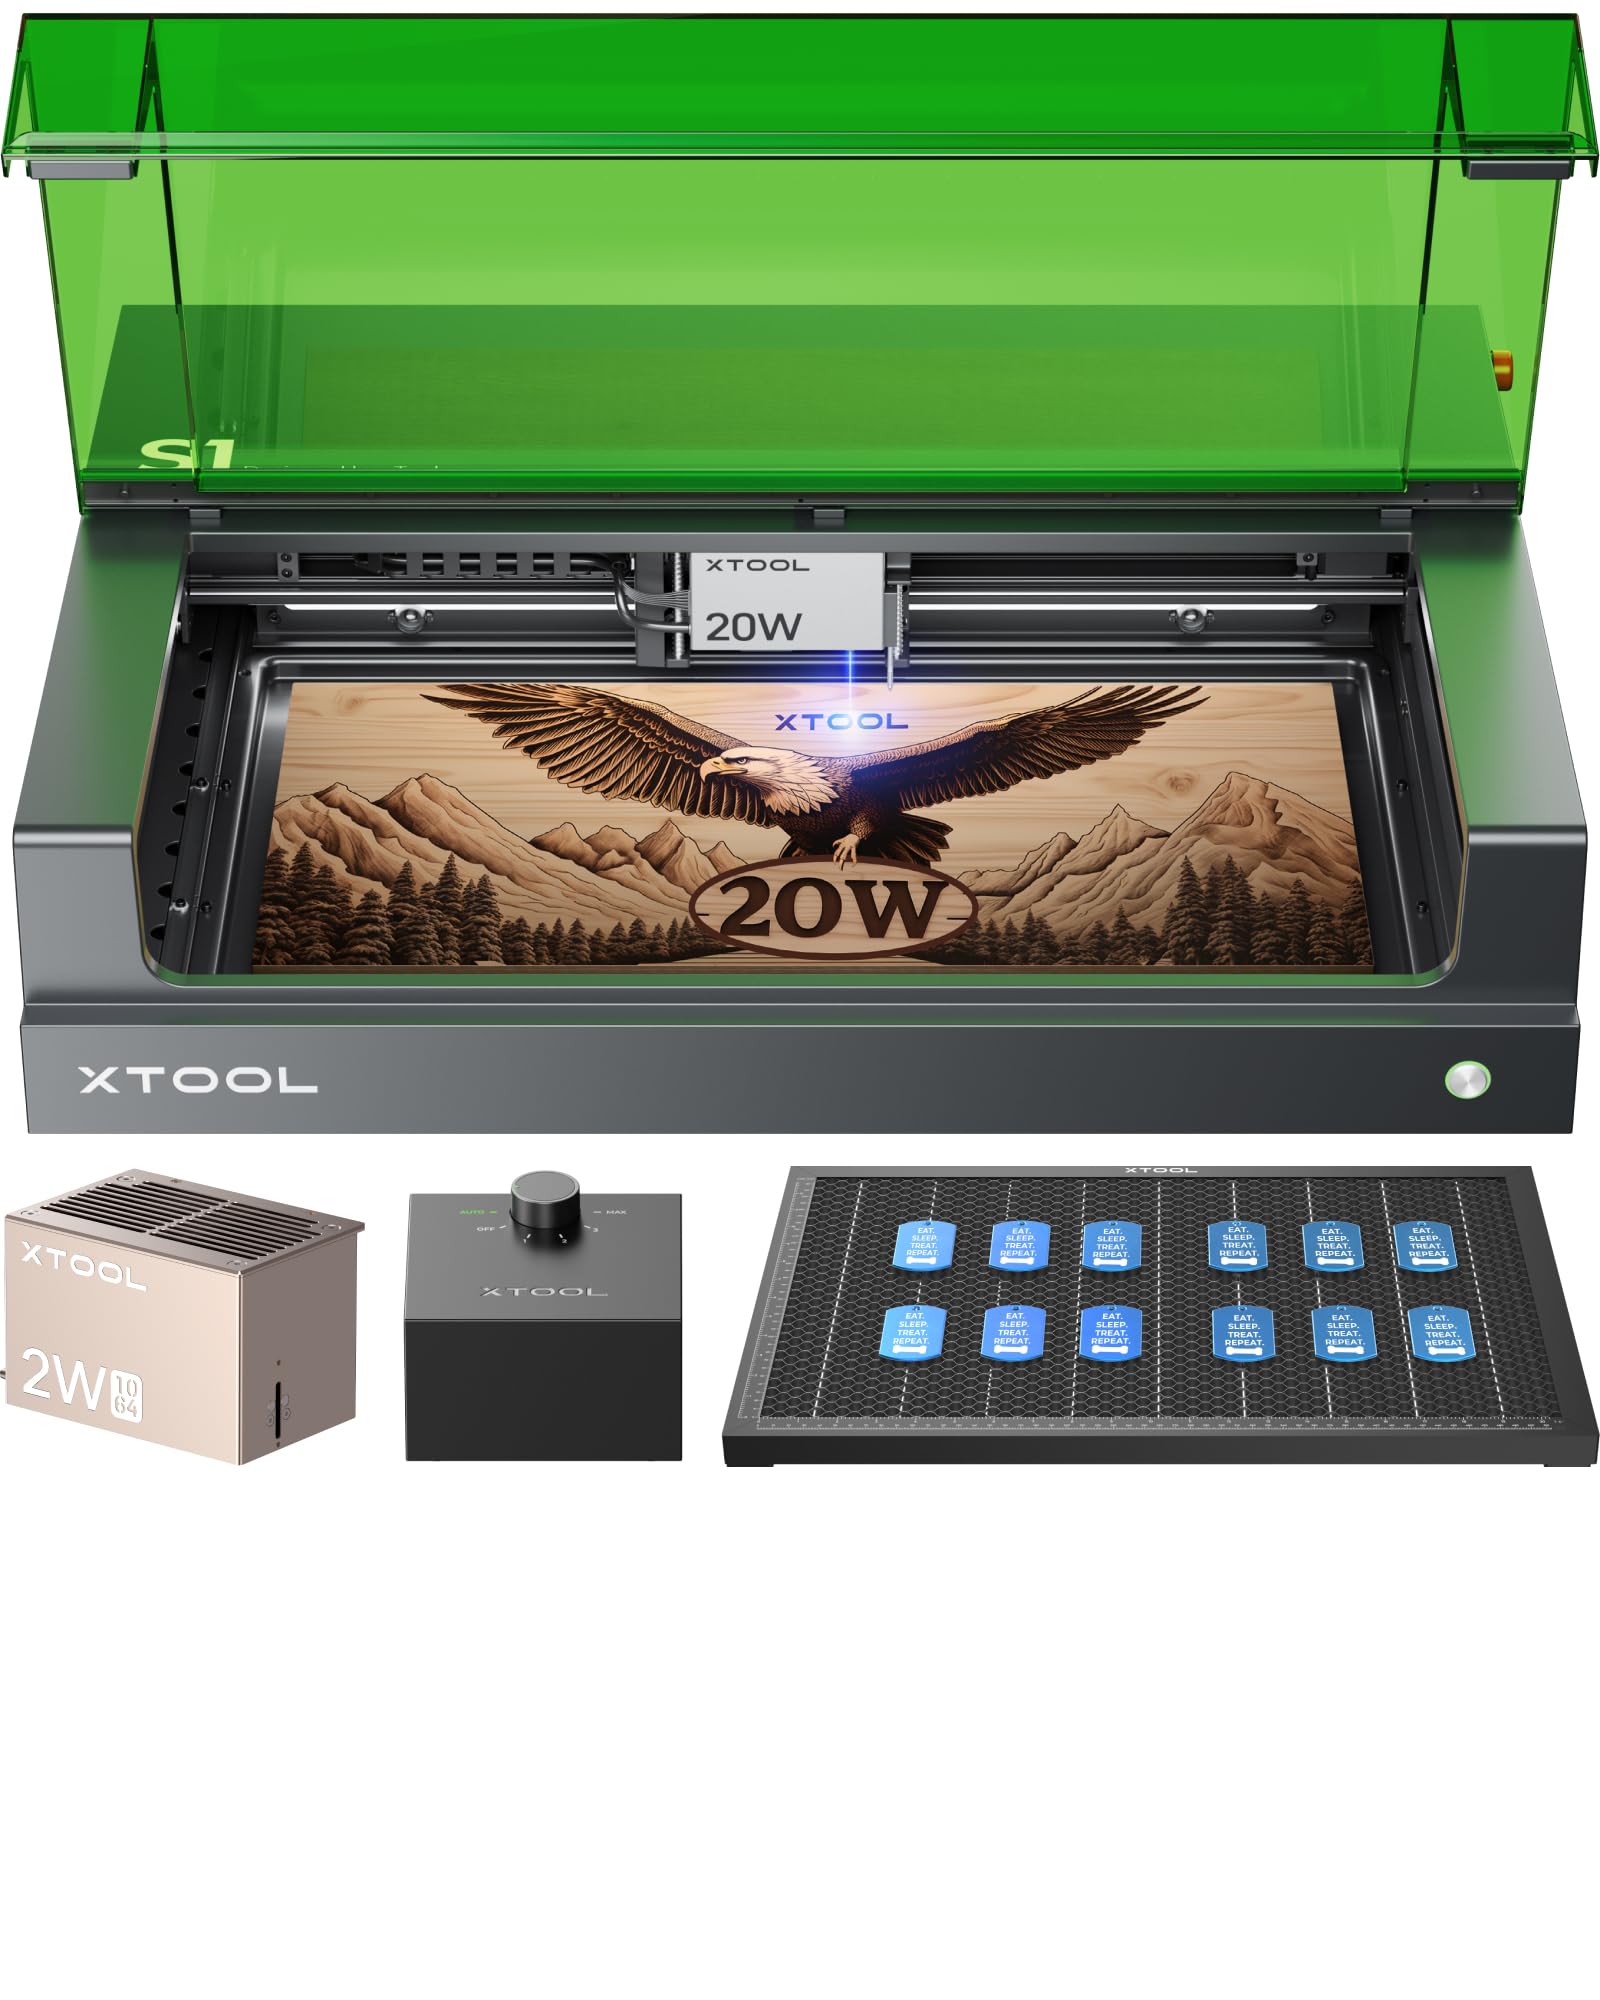
Image: The xTool S1 20W Enclosed Diode Engraver and Cutter, a compact laser processing machine.
2. 安全情報
The xTool S1 is a Class 1 (FDA certified) laser engraving machine designed with multiple safety features. Adhering to these guidelines is crucial for user safety.
- 密閉型デザイン: The machine features an enclosed and eye-friendly design that filters both diode and infrared laser emissions.
- Lid-open Safety Stop: Operation automatically stops if the lid is opened, preventing laser leakage.
- 緊急停止: An easily accessible emergency stop button is provided to halt operations immediately.
- Enhanced Flame Detection: Equipped with five flame sensors and one temperature sensor to detect potential fire hazards during engraving or cutting.
- Bottom Plate Safety: The machine will automatically stop if the bottom plate is removed or tilted.

Image: Diagram illustrating the xTool S1's safety features, including enhanced 5-direction flame detection, emergency stop design, enclosed and eye-friendly casing, and lid-open safety stop.

Image: Comparison showing the xTool S1's enclosed design and safety features versus an open laser machine with visible smoke and laser exposure.
3.セットアップガイド
3.1 開梱とコンポーネントの確認
Carefully remove all components from the packaging. Verify that all items listed in the packing list are present and undamaged. The standard bundle includes the S1 20W machine, Smart Air Assist, Honeycomb Panel, and a 1064nm Infrared Module.
3.2 機械の配置
Place the xTool S1 on a stable, level surface in a well-ventilated area. Ensure adequate space around the machine for operation and maintenance.
3.3 Power and Connection
- 電源アダプターをマシンに接続し、電源コンセントに接続します。
- Connect the machine to your computer via USB cable or establish a Wi-Fi connection.
3.4 ソフトウェアのインストール
公式xToolからxTool Creative Space(XCS)ソフトウェアをダウンロードしてインストールします。 webサイトにアクセスしてください。画面の指示に従ってインストールと初期設定を行ってください。

Image: Screenshot of the xTool Creative Space (XCS) software interface, showing design tools and project parameters.
4. 操作手順
4.1 電源のオン/オフ
- To power on, press the power button located on the machine.
- To power off, press and hold the power button until the machine shuts down, or use the emergency stop button for immediate shutdown.
4.2 Material Loading
Open the lid and place your material securely on the honeycomb panel. Ensure the material is flat and within the working area of 498x330mm.
4.3 レーザーモジュールの取り付け
The xTool S1 supports interchangeable laser modules. To install a module (e.g., 20W Diode or 1064nm Infrared), carefully align it with the carriage and secure it according to the instructions provided with the module. The 20W diode module is suitable for cutting and engraving various materials, while the 1064nm infrared module is ideal for engraving metals, plastics, and opaque acrylics.

Image: Illustration showing different laser modules (2W IR, 10W, 20W, 40W) for the xTool S1, highlighting their interchangeability.
4.4 フォーカシング
The xTool S1 features dynamic auto-focus for precise engraving and cutting.
- One-click Auto-focus: In the XCS software, use the one-click auto-focus function. This system intelligently guides the laser beam for optimal focus without manual screw adjustments.
- Dynamic Auto-focus for Curved Surfaces: For uneven or curved materials, the system automatically adjusts the Z-axis and constructs a 3D model to maintain focus across the surface, ensuring consistent results.

Image: Diagram illustrating the xTool S1's auto-focus system, showing the laser beam adjusting to cut through a 10mm thick material.

Image: The xTool S1 laser module engraving a pattern onto a curved plate, demonstrating its dynamic focus capability for uneven surfaces.

Image: Comparison of one-click precise autofocus in XCS software versus a four-step manual focus process, highlighting the ease of use of the S1's system.
4.5 Project Creation and Execution
- XCS での設計: Use the xTool Creative Space software to create or import your design.
- マテリアル設定: Select the appropriate material type and thickness in the software. The software offers over 500 preset parameters for various materials.
- ポジショニング: Utilize the twin-point positioning technique for precise placement of your design on the material. This advanced algorithm determines the exact processing location and tracks the light head's position in real-time.
- プロセスの開始: Initiate the engraving or cutting process from the software. The machine operates at speeds up to 600mm/s for efficient production.

Image: Comparison of pinpoint positioning on the xTool S1 versus an obvious offset from a single-camera system, demonstrating superior accuracy.

画像: クローズアップ view of the xTool S1's laser module and a detailed engraving on wood, highlighting the 0.06*0.08mm light spot for ultra-fine results.

Image: A hand installing a laser module into the xTool S1, emphasizing the machine's 600mm/s working speed.
4.6 Supported Materials and Modules
The xTool S1, with its dual module capability, supports a wide range of materials:
- 20Wダイオードレーザー: Suitable for wood, leather, rock, black acrylic, glass, and stainless metal.
- 1064nm赤外線レーザー(2W) Ideal for silver, plastic, solid color acrylic, gold, other metals, and stainless steel.

Image: The 2W 1064nm infrared module installed in the xTool S1, with swatches of gold, silver, copper, and titanium indicating compatibility.

Image: A visual guide showing various materials (wood, leather, rock, silver, plastic, acrylic, glass, metals) and which laser modules (diode or infrared) are suitable for them.
4.7 アクセサリ
The xTool S1 can be enhanced with various accessories (sold separately unless part of a bundle):
- 自動コンベアフィーダー: Extends the working area for projects up to 118 inches using AutoPassthrough™ Technology.
- 4-in-1 RA2 Pro: For versatile rotary engraving on cylindrical objects.
- ライザーベース: Increases the working height up to 4.92 inches.
- スマートエアアシスト: よりきれいなカットと彫刻のために 30L/分の空気の流れを提供します。
- ハニカムパネル: Included for better heat release and material support.
- 煙清浄機: For managing fumes and odors during operation.
Image: The xTool S1 machine surrounded by its various accessories, including the automatic conveyor feeder, honeycomb panel, screen printer, smart air assist, and 4-in-1 RA2 Pro.

Image: The xTool S1 with the automatic conveyor feeder, demonstrating its capability to process materials up to 118 inches long.

Image: The xTool 4-in-1 RA2 Pro rotary attachment shown with various objects like tumblers, baseball bats, and rings, illustrating its versatility for rotary engraving.

Image: Visuals of the Riser Base for increased height, the Smart Air Assist for cleaner results, and the Honeycomb Panel for better heat release.
5. メンテナンス
Regular maintenance ensures optimal performance and longevity of your xTool S1.
- クリーニング: Regularly clean the interior of the machine, especially the laser lens and the honeycomb panel, to prevent residue buildup that can affect laser performance and air assist efficiency. Use a soft, lint-free cloth and appropriate cleaning solutions as recommended by xTool.
- Laser Module Care: Handle laser modules with care. Ensure they are free from dust and debris. When not in use, store them in a protective case.
- エアアシストシステム: Check the air assist nozzle and tubing periodically for blockages. Clean as needed to maintain consistent airflow.
- ハニカムパネル: Clean the honeycomb panel to remove small cut pieces and debris. This helps maintain a flat working surface and prevents fire hazards.
6。 トラブルシューティング
This section addresses common issues you might encounter with your xTool S1.
6.1 一般的な問題と解決策
- マシンの電源が入らない:
解決: Check power cable connections. Ensure the power adapter is securely plugged into both the machine and the wall outlet. - レーザーが発射されない/出力が弱い:
解決: Verify the laser module is correctly installed and secured. Check material settings in XCS software. Ensure the laser lens is clean. Perform auto-focus again. - 彫刻/切断品質が悪い:
解決: Adjust power and speed settings in XCS. Ensure the material is flat and properly focused. Clean the laser lens. Check for material inconsistencies. - Machine Disconnects from Computer:
解決: Check USB cable connection or Wi-Fi signal strength. Restart the machine and computer. Update XCS software and machine firmware. - Safety Sensor Triggered (Machine Stops):
解決: Check if the lid is fully closed. Ensure the bottom plate is correctly in place. Inspect for any signs of flame or excessive temperature inside the enclosure. Address the cause and reset the machine.
For persistent issues, refer to the official xTool support resources or contact customer service.
7. 仕様
| 特徴 | 詳細 |
|---|---|
| モデル | xTool S1 |
| レーザー出力(ダイオード) | 20W (standard), 10W, 40W (optional) |
| レーザー出力(赤外線) | 2W(1064nm) |
| 作業エリア | 498mm x 330mm(19.6インチ x 12.5インチ) |
| ベッドサイズ | 23.93インチ×15.16インチ |
| 処理速度 | 最大600mm/秒 |
| Laser Spot Size (20W) | 0.06mm×0.08mm |
| Max Cut Thickness (20W Diode) | 10mm Basswood (one pass) |
| Max Cut Thickness (40W Diode) | 18mm Wood, 15mm Black Acrylic, 0.1mm Stainless Metal (one pass) |
| 安全クラス | Class 1 (FDA Certified) |
| 安全機能 | Enclosed design, lid-open safety stop, emergency stop, 5-direction flame sensors, temperature sensor |
| 接続性 | USB、Wi-Fi |
| ソフトウェア | xTool クリエイティブ スペース (XCS) |
| 寸法(機械) | 765mm x 561mm(30.12インチ x 22.09インチ) |
| Riser Base Height (Max) | 4.92インチ |
| Air Assist Flow | 30L/分 |

Image: Table comparing specifications for 40W, 20W, 10W diode lasers and 2W IR laser modules, including max cut thickness, working speed, and laser spot size.

Image: Diagram showing the dimensions of the xTool S1 machine and its various accessories like the riser base.
8. 保証情報
For detailed warranty information regarding your xTool S1, please refer to the warranty card included with your product or visit the official xTool webサイトをご覧ください。保証条件は地域や購入場所によって異なる場合があります。
9. サポート
If you require assistance or have questions about your xTool S1, please utilize the following support channels:
- メールサポート: Contact xTool customer service via email for technical inquiries.
- ライブチャット: 公式xToolのライブチャットサポートにアクセス webリアルタイムのサポートサイト。
- 電話サポート: Call the xTool support line for direct communication.
- オンラインコミュニティ: Join the xTool Facebook group or other online forums for peer support and shared knowledge.
xTool provides a dedicated technical service team to assist users with any issues.

Image: Icons representing multi-channel service options: Email, Live chat, Call, and Facebook group, alongside an image of a technical service team member.