
1. 重要な安全情報
- デバイスを極端な温度、直射日光、高湿度にさらさないでください。
- デバイスを水やその他の液体から遠ざけてください。
- 本製品を分解または改造しないでください。保証が無効になります。
- 付属の USB 電源アダプタとケーブルのみを使用してください。
- 24時間適切な換気を確保してください。
2. パッケージ内容
- Cadmos G10 Loud Alarm Clock
- USB電源アダプタ
- USB Power Cord (Type-C, 59 inches)
- CR2032電池(バックアップ用にプリインストール)
- ユーザーマニュアル
3.製品オーバーview
The Cadmos G10 Alarm Clock features a large LED display, dual alarms, adjustable brightness, dynamic RGB lighting, and a USB charging port. It is designed for clear visibility and ease of use.
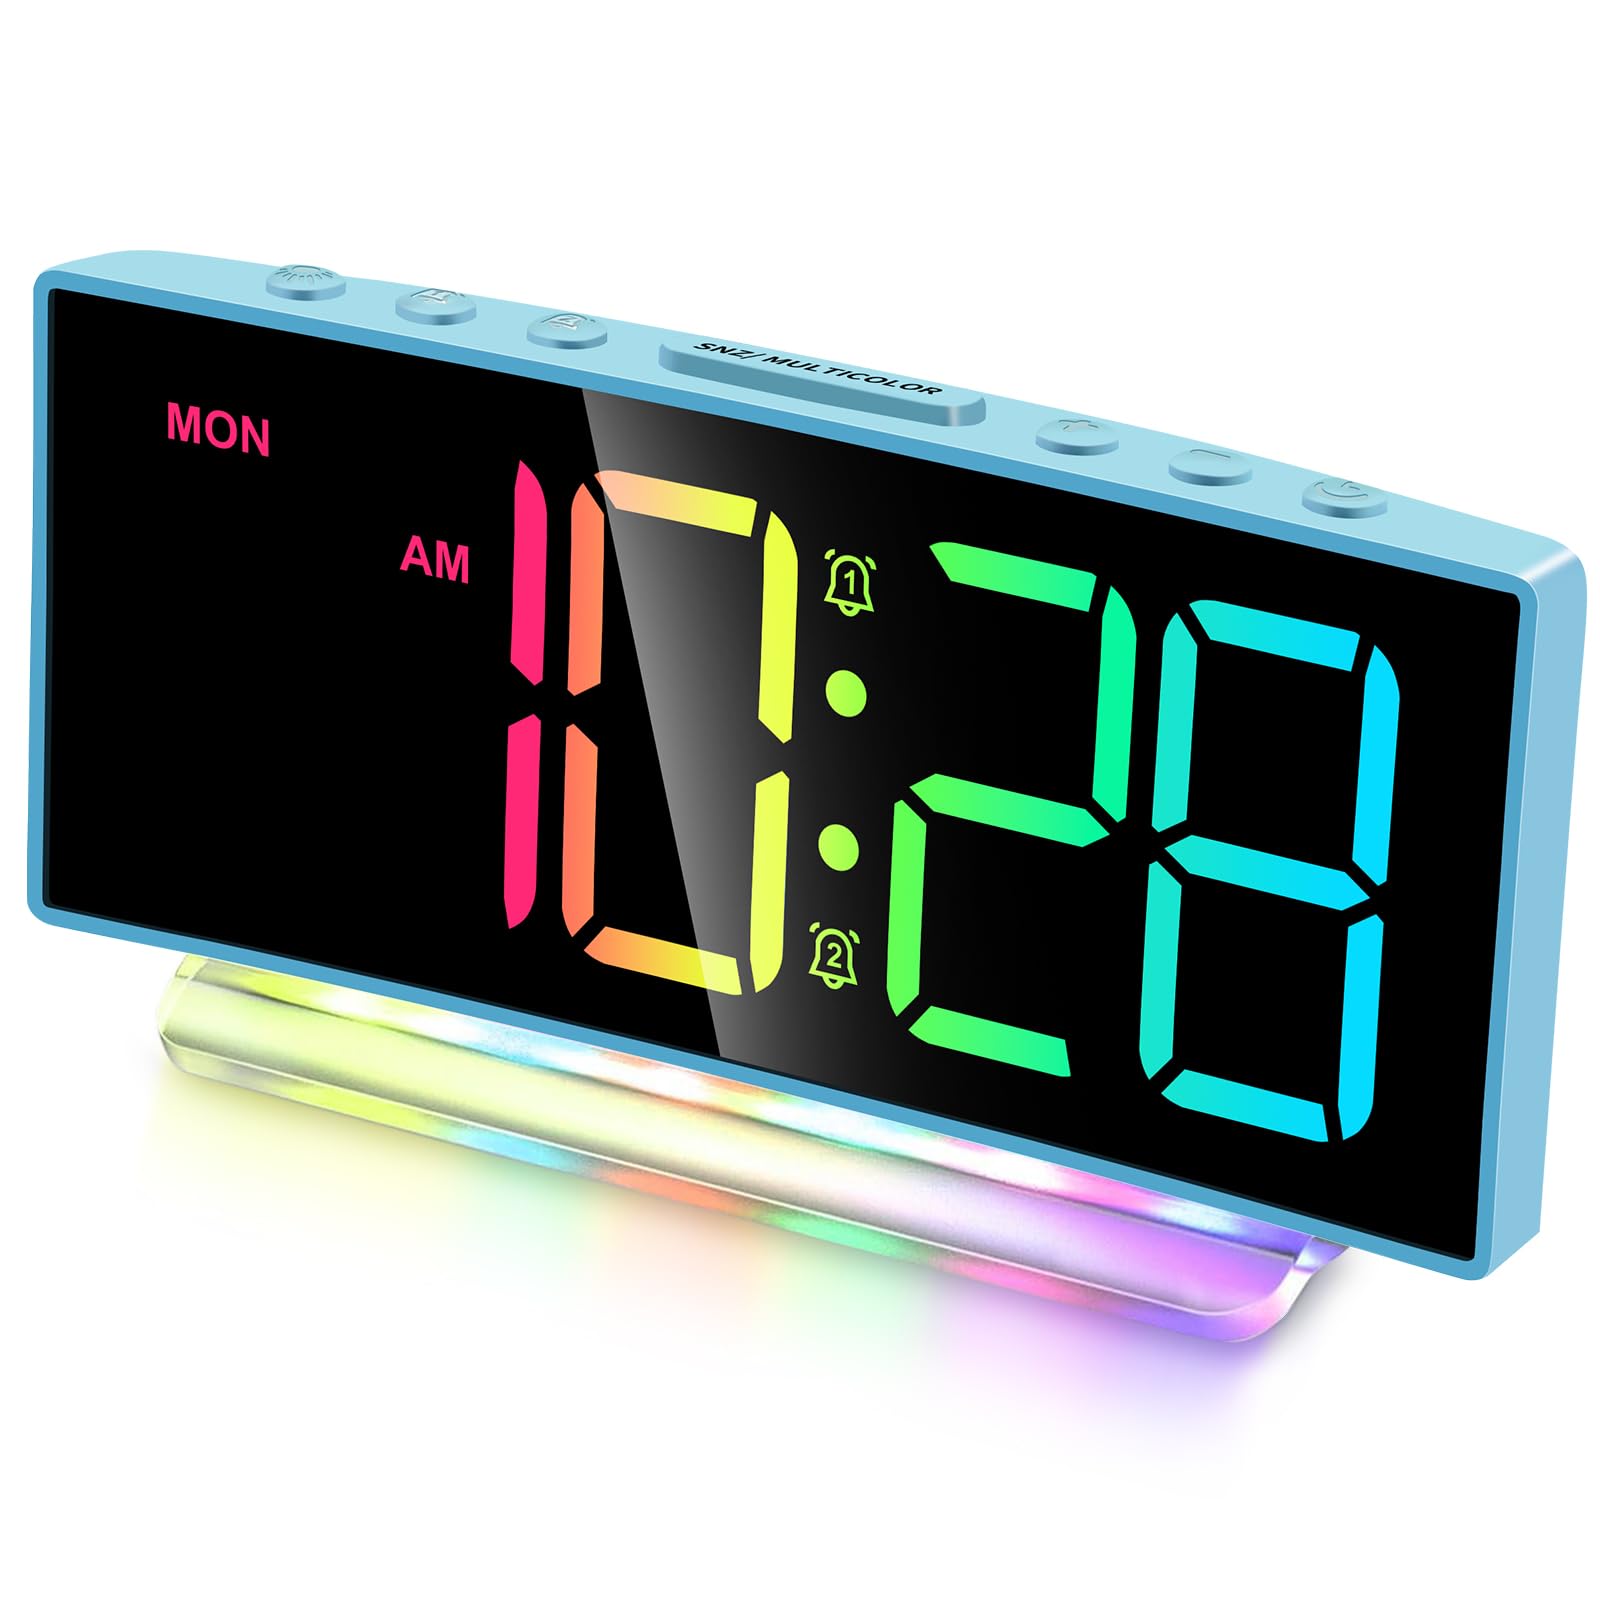
画像: 正面 view of the Cadmos G10 Alarm Clock displaying time with dynamic RGB numbers and a colorful base night light.
コントロールとポート

画像: 詳細view of the Cadmos G10 Alarm Clock, highlighting the top control buttons, rear USB charging port, power input, and battery backup compartment.
- トップボタン: Used for setting time, alarms, brightness, snooze, and color modes.
- USB Charger (DC 5V/1A-2A): Located on the back for charging external devices.
- Power Input (DC 5V/1A): For connecting the main power adapter.
- Backup-Battery Compartment: Holds 1 x CR2032 battery to maintain settings during power outages。
- Loud Buzzer: Integrated speakers for alarm sound, adjustable from 65dB to 95dB.
4. セットアップ
4.1電源接続
Connect the provided USB power cord to the 'Power Input' port on the back of the clock and plug the USB power adapter into a standard wall outlet. The clock will power on and display the time.
Image: The Cadmos G10 Alarm Clock connected to a wall outlet via its USB power adapter, with a smartphone charging from the clock's USB port.
4.2 バッテリバックアップのインストール
The clock comes with a pre-installed CR2032 battery for backup. This battery ensures that time and alarm settings are retained during a power outage. If the battery needs replacement, open the backup-battery compartment on the back of the clock and insert a new CR2032 battery, observing polarity.
Image: Illustration of the Cadmos G10 Alarm Clock's battery backup feature, showing the CR2032 battery compartment and how the clock retains time after a power interruption.
4.3 初期時間設定
Upon first power-up or after a full reset, the time may need to be set. Refer to the 'Operating Instructions' section for detailed steps on setting the time and 12/24-hour format.
5. 操作手順
5.1 Setting Time and 12/24-Hour Format
Press the 'TIME SET' button to enter time setting mode. Use the '+' and '-' buttons to adjust hours and minutes. Press 'TIME SET' again to confirm. To switch between 12-hour and 24-hour format, press the '12/24H' button.

Image: The Cadmos G10 Alarm Clock displaying time in both 12-hour (AM/PM) and 24-hour formats, illustrating the flexibility of the time display.
5.2 ディスプレイの明るさの調整
The display has 4 levels of adjustable brightness. Press the 'BRIGHTNESS' button repeatedly to cycle through the brightness levels (100%, 75%, 50%, 25%).
Image: Visual representation of the Cadmos G10 Alarm Clock's 4-level brightness adjustment, showing the display at different intensity levels from 10% to 100%.
5.3 アラームの設定(アラーム1とアラーム2)
The clock features dual alarms. Press 'ALARM 1' or 'ALARM 2' button to enter alarm setting mode. Use '+' and '-' buttons to set the desired alarm time. Press the alarm button again to confirm. You can also set the alarm volume (3 levels: 65dB, 85dB, 95dB) and choose between weekday (MON-FRI), weekend (SAT-SUN), or all 7 days (MON-SUN) alarm modes.

Image: Illustration of the Cadmos G10 Alarm Clock's dual alarm functionality, showing options for weekday, weekend, or 7-day alarms, and three levels of alarm volume adjustment (65dB, 85dB, 95dB).
5.4 スヌーズ機能の使用
When an alarm sounds, press the 'SNOOZE' button to temporarily silence the alarm for 9 minutes. The alarm will sound again after the snooze period. To turn off the alarm completely, press any other button.
Image: A hand reaching to press the snooze button on the Cadmos G10 Alarm Clock, indicating the 9-minute snooze feature for easy temporary silencing of the alarm.
5.5 Customizing Dynamic RGB Display
The clock offers 8 different colorful display screens, including 4 regular colors (White, Red, Green, Blue) and 4 dynamic RGB color-changing modes. Press the 'RGB' button to cycle through these display options.

Image: Grid showing 8 different dynamic RGB display modes for the Cadmos G10 Alarm Clock, including static colors (White, Red, Green, Blue) and various color-changing patterns.
5.6 Activating Night Light
The clock features a 7-color rainbow atmosphere night light at its base, with 5 monocolor modes and 2 dynamic RGB modes. Press the 'LIGHT' button to activate and cycle through the night light options.

Image: The Cadmos G10 Alarm Clock demonstrating its 7-color night light feature, showing the clock with different colored illumination from its base.
5.7 USB充電ポートの使用
The USB port on the back of the clock (DC 5V/1A-2A) can be used to charge compatible electronic devices such as smartphones or tablets. Connect your device's charging cable to this port.
6. メンテナンス
6.1 時計の掃除
時計をお手入れする際は、柔らかく乾いた布で表面を優しく拭いてください。研磨剤入りの洗剤、溶剤、化学薬品スプレーは使用しないでください。表面の仕上げや内部部品を損傷する恐れがあります。
6.2 Replacing the Backup Battery
If the clock consistently loses time or settings during power outages, the CR2032 backup battery may need replacement. Open the battery compartment on the back, remove the old battery, and insert a new CR2032 battery with the correct polarity (+ side up). Dispose of old batteries responsibly.
7。 トラブルシューティング
- 時計の電源が入らない: Ensure the USB power adapter is securely plugged into both the clock and a working wall outlet. Try a different outlet or USB adapter.
- アラームが鳴らない: Verify that the alarm is enabled (alarm icon displayed) and the volume is set to an audible level. Check if the alarm mode (weekday/weekend/7 days) is correctly configured.
- ディスプレイが暗い、またはちらつく: Adjust the brightness settings using the 'BRIGHTNESS' button. If the issue persists, ensure the power connection is stable.
- 電源を切った後の時刻が正しくないtage: The CR2032 backup battery may be depleted. Replace the battery as described in the 'Maintenance' section.
- USB charging port not working: Ensure the clock is powered on. Check the charging cable and the device being charged. The port provides 5V/1A-2A output; some devices may require higher power.
8. 仕様
Image: The Cadmos G10 Alarm Clock displaying its dimensions: 6.7 inches width and 3.11 inches height.
| 特徴 | 仕様 |
|---|---|
| ブランド | カドモス |
| モデル番号 | G10 |
| 表示タイプ | 導かれた |
| 製品寸法 | 幅6.7インチ x 高さ3.11インチ |
| アイテム重量 | 8.2オンス |
| 電源 | コード式電気 |
| バックアップバッテリー | 1 x CR2032(付属) |
| USB充電出力 | DC 5V/1A-2A |
| アラーム音量 | Adjustable (up to 105dB) |
| ディスプレイの明るさ | 4 レベル |
| RGB Display Modes | 8(静的4、動的4) |
| 夜間照明の色 | 7 (5 monocolor, 2 dynamic RGB) |
9. 保証情報
This Cadmos G10 Alarm Clock comes with a limited warranty. For detailed information regarding warranty coverage, terms, and conditions, please refer to the warranty card included in your product packaging or visit the official Cadmos webサイト。
10. カスタマーサポート
If you encounter any issues or have questions about your Cadmos G10 Alarm Clock, please contact Cadmos customer support. You can typically find contact information (email, phone, or website) on the product packaging or on the official Cadmos brand store page.
さらに詳しいサポートについては、 Cadmos Store on Amazon.